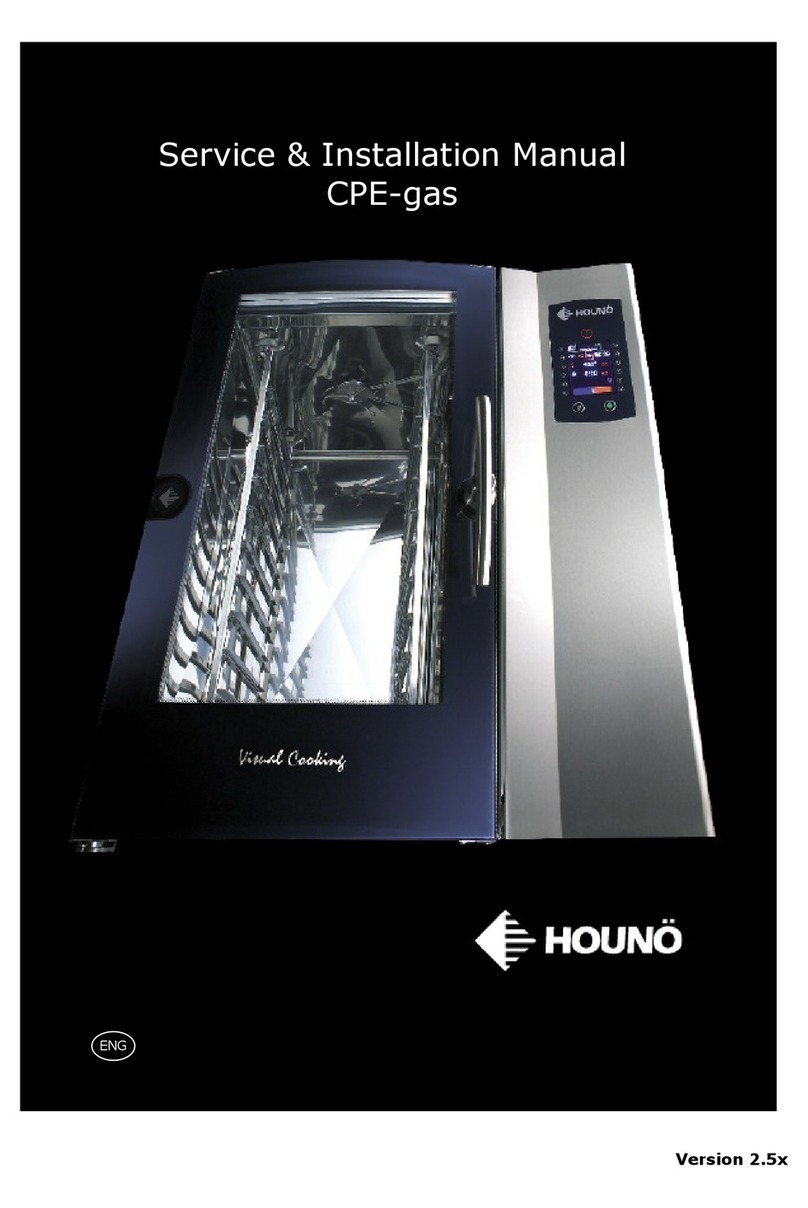
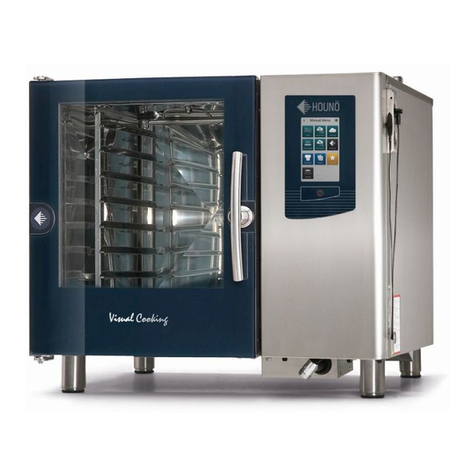
HOUNO Combislim CPE series User manual

HOUNÖ
SERVICE MANUAL - English
Combislim CPE Models
Software Version 1_5_2 07/2017
CAUTION: Read these instructions before servicing the oven

2 SERVICE MANUAL
INTRODUCTION
5
UTILITY CONNECTIONS
6
STANDARDS AND CODES
7
IMPORTANT SAFETY INFORMATION
8
SAFETY INSTRUCTIONS
9
Ready for use
9
Menu tree
13
LOCATING THE SERIAL NUMBER OF
THE OVEN
10
USING THE SMARTTOUCH® DISPLAY
11
Basic Operations
11
SETTINGS MENU
12
CHANGING SETTINGS ON THE USER
MENU
20
Setting the Oven Light
20
Setting the Screen Saver
20
Setting the Language
20
Setting the Setup Clock
20
CHANGING SETTINGS ON THE
SUPERUSER MENU
21
Setting Alarm Sounds
21
Changing Settings
23
Adjustments
26
Calibrating the Oven Door Sensor
28
Logs and Statistics
29
USB System report
31
Restart oven
31
Licence maneger
31
SETTINGS AND FUNCTIONS IN THE
TECHNICIAN MENU
32
Using the Test Functions
32
Changing the Oven Set-up
37
Making Temperature Adjustments
39
Changing Oven Settings
40
TABLE OF CONTENTS

SERVICE MANUAL 3
Specifying Middle East Specific Settings
40
Update Platform
40
Enabling Demo Mode
41
Demo Mode Acceleration.
41
Load Help From USB
41
Touch sensitivity
41
CLEANING
42
Cleaning the oven chamber
42
Cleaning the Oven Exterior
43
Cleaning Behind the Filter Housing
43
Cleaning the Air Filter
44
WATER LAYOUT
46
I/O BOARD LED
48
FREQUENCY INVERTER
49
ERROR CODES
50
TROUBLESHOOTING ERROR CODES
51
SERVICE AND REPAIR
63
SAFETY
63
WARRANTY
63
TABLE OF CONTENTS

4 SERVICE MANUAL

INTRODUCTION
SERVICE MANUAL 5
INTRODUCTION
Dear customer,
Thank you for choosing a CombiSlim oven from HOUNÖ.
This manual contains the information you need to service and maintain your oven. We
recommend that you read the manual and familiarize yourself with the service settings and
functions of the oven. This will ensure optimal cooking results and safety.
Please make the manual available to all who service and maintain the oven and retain it
for future reference.
The latest version of the manual can be downloaded from www.houno.com.
Note that this document is subject to change without notice.

UTILITY CONNECTIONS
6 SERVICE MANUAL
IMPORTANT
WARNING: Improper
installation, adjustment,
alternation, service or
maintenance can cause
property damage, injury
or death. Read the in-
stallation, operation and
maintenance instructions
thoroughly before in-
stalling or servicing this
equipment. The informa-
tion contained in this
manual is important for
the proper installation,
use, and maintenance
of this oven. Adherence
to these procedures and
instructions will result
in satisfactory baking
and cooking results and
long, trouble free service.
Please read this manual
carefully and retain it for
future reference.
ERRORS: Descriptive,
typographic or pictorial
errors are subject to cor-
rection. Specifications are
subject to change without
notice.
UTILITY CONNECTIONS
THE SERVICE INSTRUCTIONS CONTAINED HEREIN ARE FOR THE USE OF QUALIFIED
INSTALLATION AND SERVICE PERSONNEL ONLY. INSTALLATION OR SERVICE BY OTHER
THAN QUALIFIED PERSONNEL MAY RESULT IN DAMAGE TO THE OVEN AND/OR INJURY TO
THE OPERATOR.
Qualified service/installation personnel are individuals, a firm, a corporation, or a company
which either in person or through a representative are engaged in, and responsible for:
• the service/installation or replacement of gas piping and the connection, installation,
repair or servicing of equipment.
• the installation, repair or service of electrical wiring from the electric meter, main
control box or service outlet to the electric appliance.
• Qualified installation/service personnel must be experienced in such work, familiar
with all precautions required, and have complied with all requirements of state or local
authorities having jurisdiction.

STANDARDS AND CODES
SERVICE MANUAL 7
STANDARDS AND CODES
U.S. and Canadian installations
The installation must conform with local codes, or in the absence of local codes,
with the National Fuel Gas Code, ANSI Z223.1/NFPA 54, or the Natural Gas and
Propane Installation/service Code, CSA B149.1, as applicable.
Installation/service must conform with local codes, or in the absence of local
codes, with the National Electrical Code, ANSI/NFPA 70-Latest Edition and/or
Canadian National Electric Code C22.1 as applicable.
Appliance is to be installed with backflow prevention in accordance with applicable
federal, province and local codes.
Australia and general export installations
Installation must conform with Local and National installation standards. Local
installation codes and/or requirements may vary. If you have any questions
regarding the proper installation, service, repair and/or operation of your HOUNÖ
oven, please contact your local distributor. If you do not have a local distributor,
please call the HOUNÖ Oven Company at +45 87 11 47 11.

IMPORTANT SAFETY INFORMATION
8 SERVICE MANUAL
IMPORTANT SAFETY
INFORMATION
The following icons are used throughout this manual to draw special attention to safety
related information.
The service personnel should observe and/or act according to the infor-
mation in order to obtain the best possible function of the oven.
The service personnel must observe and/or act according to the infor-
mation in order to avoid any personal injury or damage to the oven.
The service personnel must observe and/or act according to the infor-
mation in order to avoid any fatal injury. The symbol indicates a hazard
arising from dangerous voltage.

SAFETY INSTRUCTIONS
SERVICE MANUAL 9
SAFETY INSTRUCTIONS
Ready for use
When the oven is correctly installed, read this manual carefully before the oven comes into
service.
This manual should be kept handy to persons using the oven.
Always place trays filled with hot liquid in the bottom runners of the oven chamber to avoid
spilling the hot liquid on yourself when you take the tray out of the oven chamber.
Some areas on the outside of the oven may get as hot as 60°C or more, therefore, you
should only touch the front of the oven.
Do not open the oven during the automatic cleaning process.
Do not store flammable materials around or under the unit.
Failure to comply with the above instructions may increase the risk of
fire!

LOCATING THE SERIAL NUMBER OF THE OVEN
10 SERVICE MANUAL
LOCATING THE SERIAL
NUMBER OF THE OVEN
When you order parts or request service for your CombiSlim oven, you need the oven’s
Serial Number,
You can find the Serial Number and Type information on the right-hand corner post of the
oven as shown in the illustration.
The serial number plate contains vital information about the oven.
• Production year and months.
• Model type and size.
• Voltage, power, phases and frequency.
• Power consumption.
• Wiring diagram number.
• Water inlet max/min pressure.
• Ipx grating.

USING THE SMARTTOUCH® DISPLAY
SERVICE MANUAL 11
USING THE
SMARTTOUCH®
DISPLAY
The SmartTouch display provides a friendly and easy way for you to operate and interact
with the CombiSlim oven. You simply use the pads of your fingertips to perform the opera-
tions.
Basic Operations
• To select an item, touch the button.
• To scroll through a list, drag your finger up or down.
• To return to the previous display push the arrow button in the upper left corner.
• To change cooking function while the oven is operating, push the down arrow
button in the upper right corner.
• To save current settings and move on to the next step, push the right arrow button
in the upper right corner.

SETTINGS MENU
12 SERVICE MANUAL
SETTINGS MENU
Before you can start the maintenance process or change settings, you have to open the
Settings Menu.
• On the Main Menu, touch the gear wheel icon to enter the Settings Menu.
Role Access rights
User Access to the User menu
SuperUser Access to the User and SuperUser menus
Technician Access to User, SuperUser, and
Technician menus
The settings you have access to depend on the role you have been assigned.
SuperUser Code
If start-up permission is set to User, you have to enter the SuperUser code to gain access
to the SuperUser menu.
1. On the Main Menu, touch the key icon .
2. On the Choose menu, touch the key icon , and then enter the code. The code is
876412.
Technician Code
If start-up permission is set to User or SuperUser, you have to enter the Technician code to
gain access to the Technician menu.
1. On the Main Menu, touch the key icon .
2. On the Choose menu, touch the key icon , and then enter the code. The code is
576021.
Note The computer has been thoroughly tested by the manufacturer prior to delivery,
and the settings have been carefully reviewed. You should therefore only allow qualified
personnel to make changes to the settings. Contact your supplier for more information.

SETTINGS MENU
SERVICE MANUAL 13
USER MENU SUB LEVEL
MENU
PARAMETER
Oven light continuous - 5min
Screen saver 1min - 1hour
Language 25 dierent languages
Setup clock Set min - hour - date
Software version x_x_xx (info only)
Oven serial number XX XX XXXXX (info only)
Touch driver version Unavailable
Main menu
Recipes
Favourites
Manual
Advanced
Menu tree
• Main menu
• User menu
• SuperUser menu
• Technician menu

SETTINGS MENU
14 SERVICE MANUAL
SUPER
USER MENU
SUB LEVEL
MENU
SUB LEVEL
MENU
PARAMETER
SETTINGS
Sounds Finished
Recipe notification
Racktimer finish
Door open
Probe missing
Insert product
Error
Timer start
Preheat done
Set defaults
Sound file 138 sound files
Repeat 1-100 repetitions
Volume 0-100%
Repeat delay 0,5sec - 60,0 sec
Playback rate 0,5-2,0
Test sound Test
Settings HACCP login Yes - No
Menu star Yes - No
Start picture Yes - No
Core probe warning Yes - No
Temp unit Celsius - Fahrenheit
Volume system Metric - US
Hardness unit German degrees - PPM
Cook to perfection Yes - No
CTP tolerance 5 - 25
CTP threshold 40 - 90%
Start up permission User - Super user
Core temp Yes - No
Time format 12- 24 houer
Date format DD-MM-YYYY
Restart key Non - Display - Both
Restart time 1 - 9 min
Restart after power failure No restart
10-20-30 min

SETTINGS MENU
SERVICE MANUAL 15
SUPER
USER MENU
SUB LEVEL
MENU
PARAMETER
SETTINGS
Adjustments Cook and hold oset 3 - 10 degrees
Delta T oset 10 - 70 degrees
Cook and Regen pulse interval 3 - 24 sec
Proving pulse interval 12 - 44 sec
Proving pulse length
Calibrate Calibrate front door Follow instructions
Calibrate back door Follow instructions
Calibrate auto humid Follow instructions
Logs and statistiks Fault Log All triggered alarms
Fault statistics Error list and counts
Service counter Component on time
Energy meters KW used
Water meters Total liter counter
Trip counter
Hardness
Filter
Filter alerts
Filter changed
Chemicals Level Warning
Container
Replaced
Level warning
Container
Replaced

SETTINGS MENU
16 SERVICE MANUAL
SUPER USER
MENU
SUB LEVEL
MENU
PARAMETER
SETTINGS
USB system report Generate system report
Install new software Application update
Restart oven Restart oven YES - NO
License manager Purchase the license codes
from HOUNÖ to unlock/activate
special features.
Keypad
Advanced racktimer
QSR

SETTINGS MENU
SERVICE MANUAL 17
TECHNICIAN
MENU
SUB LEVEL
MENU
PARAMETER
SETTINGS
Test function Oven test Main contactor Exhaust
Heat Drain
Cooling fan Jet
Oven light Fan
Door 1 (open - closed)
Oven temperature (C/F°)
Drain temperature (C/F°)
Exhaust (open - closed
Fan test High left High right
Low Left Low right
Stop Main contactor
Output for frequency inverter
(1-10V)
Wash Detergent Rinse aid
Water Main contactor
Fan Heat
Water pressure (yes - no)
Oven temperature (C/F°)
Rinse aid (xx%)
Detergent (xx%)

SETTINGS MENU
18 SERVICE MANUAL
TECHNICIAN
MENU
SUB LEVEL
MENU
PARAMETER
SETTINGS
Miscellaneous test External vent
Core temp C/F°
C/F°
C/F°
I/O temp (C/F°)
CPU temp (C/F°)
Oven setup Oven number input Enter serial number
Oem HO - BL - LE - LA - DI - KB
Oven size S2306-S1,06-S1,10
Wash system None - CombiWash
Drain cooling O
On - when using water
On - All functions
Auto humidity Yes - No
Show display Yes - No
Forced wash O - 2min - 30 Hours - 40 Hours

SETTINGS MENU
SERVICE MANUAL 19
TECNICIAN
MENU
SUB LEVEL
MENU
PARAMETER
SETINGS
Adjustments Oven temp oset -10 +10
Core temp oset -10 +10
Core temp sous vide -10 +10
Detergent conversion 10 - 30 ML/S
Rinse Aid conversion 10 - 30 ML/S
Settings Fan Speed alarm Yes - No
Need rinse Yes - No
Need steam
generator rinse
Yes - No
Middle East Yes - No
Update platform
Demo mode Yes - No
Demo mode acc. 1 -5
Load help from
USB
Yes - No
Touch sensitivity 1 - 8

CHANGING SETTINGS ON THE USER MENU
20 SERVICE MANUAL
CHANGING SETTINGS
ON THE USER MENU
You change the basic settings from the User Menu.
• On the Settings Menu, touch the User button.
Setting the Oven Light
1. To set oven light, touch Oven light.
2. Drag your finger up or down to select Continuous or 5 min., and then touch OK.
We recommend the 5 min option.
Setting the Screen Saver
1. To set the screen saver, touch Screen saver.
2. Drag your finger up or down to select the desired setting. Select how much time
elapses before the screen saver becomes active. Select O if you do not want the
screen saver on.
3. Touch OK.
Setting the Language
1. To set the language, touch Language.
2. Drag your finger up or down to select the desired language, and then touch OK.
Setting the Setup Clock
1. To set the clock, touch Setup clock.
2. In the hour and min. lists drag your finger up or down to select the desired time.
3. In the day, month and year lists drag your finger up or down to select the desired
date.
4. Touch OK.
Table of contents
Other HOUNO Oven manuals
Popular Oven manuals by other brands

Whirlpool
Whirlpool PCCI 502161 User and maintenance manual

Dacor
Dacor DOB30M977D series installation instructions

Blue Seal
Blue Seal Sapiens Reloaded Series User's operating manual

NEFF
NEFF B45E42N0GB Instructions for use

NEFF
NEFF B58VT68H0 instruction manual

Belling
Belling BI 70 / 90 FP Installation and user guide

Falcon
Falcon 1300 Dual Fuel User's manual & installation and servicing instructions

Bosch
Bosch MBA5785 6B Series instruction manual

St George
St George 8500100 Series Operating and care instructions

Haws
Haws MO202010 instruction manual

Flavel
Flavel Milano E60 ML61CD Users guide & installation

Smeg
Smeg SAC106S manual