HuntersZone Wolf 30MP 4K 4G LTE Cloud User manual

WOLF 30MP 4G LTE
Cloud

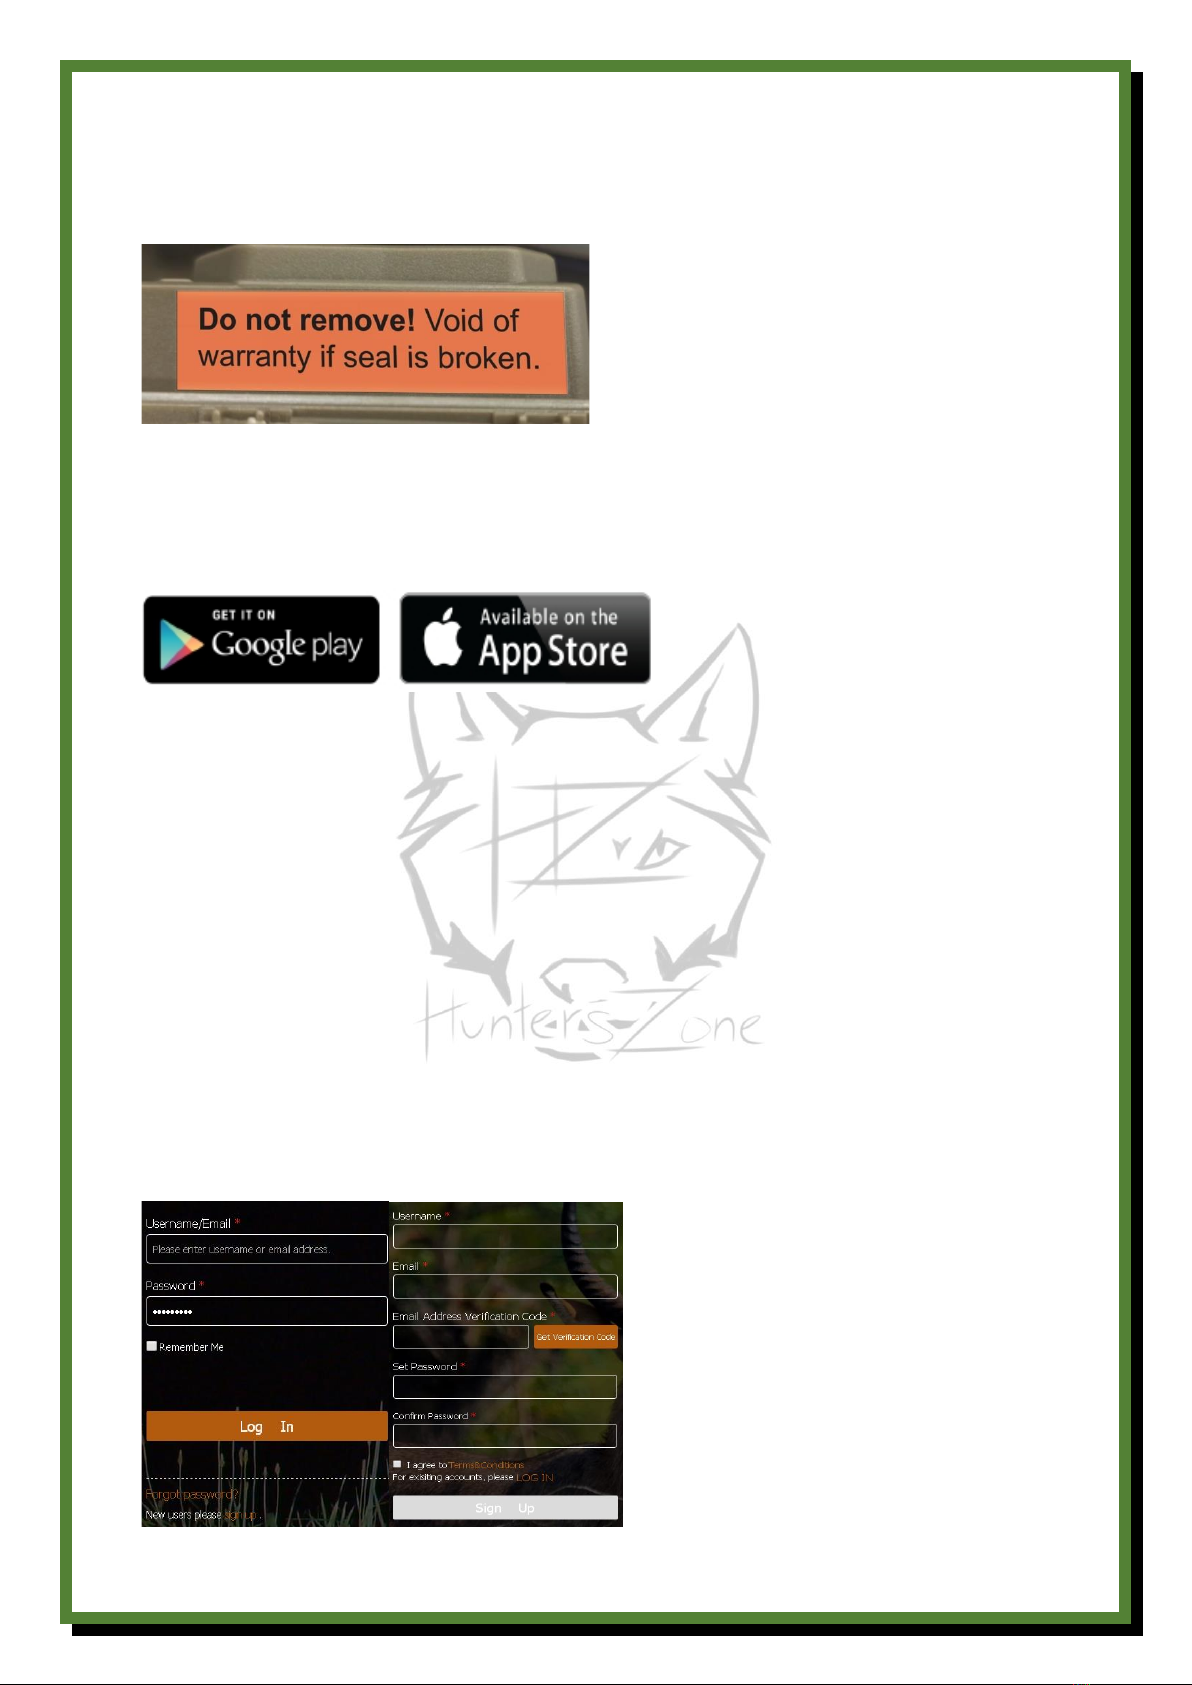
Thank you for choosing HuntersZone Wolf 30MP 4G LTE Cloud wildlife camera. A cloud camera
developed together with one of the market's best manufacturese that we have worked closely
with for many years. The focus of the model is on fast trigger speed, efficient motion sensor, high
image and video quality combined with modern and easy-to-use cloud service via LinckEasi.
What you need to install the camera:
-Internet access and visiting this URL: https://www.linckeazi.com
-12*AA batteries. NOTE: For best function use rechargeable 12X AA Lithium batteries
3400mAh from Z-aim. These emit a steady amperage from start to finish, with these the
camera also works in -25C and in addition, the maximum strength of the IR flash is
maintained.
-SD card MAX 256GB: Minimum Class 10 and 80MB/S loading speed. If you use SD cards with
too low performance, the card will not have time to load the image/video information
correctly and problems arise!
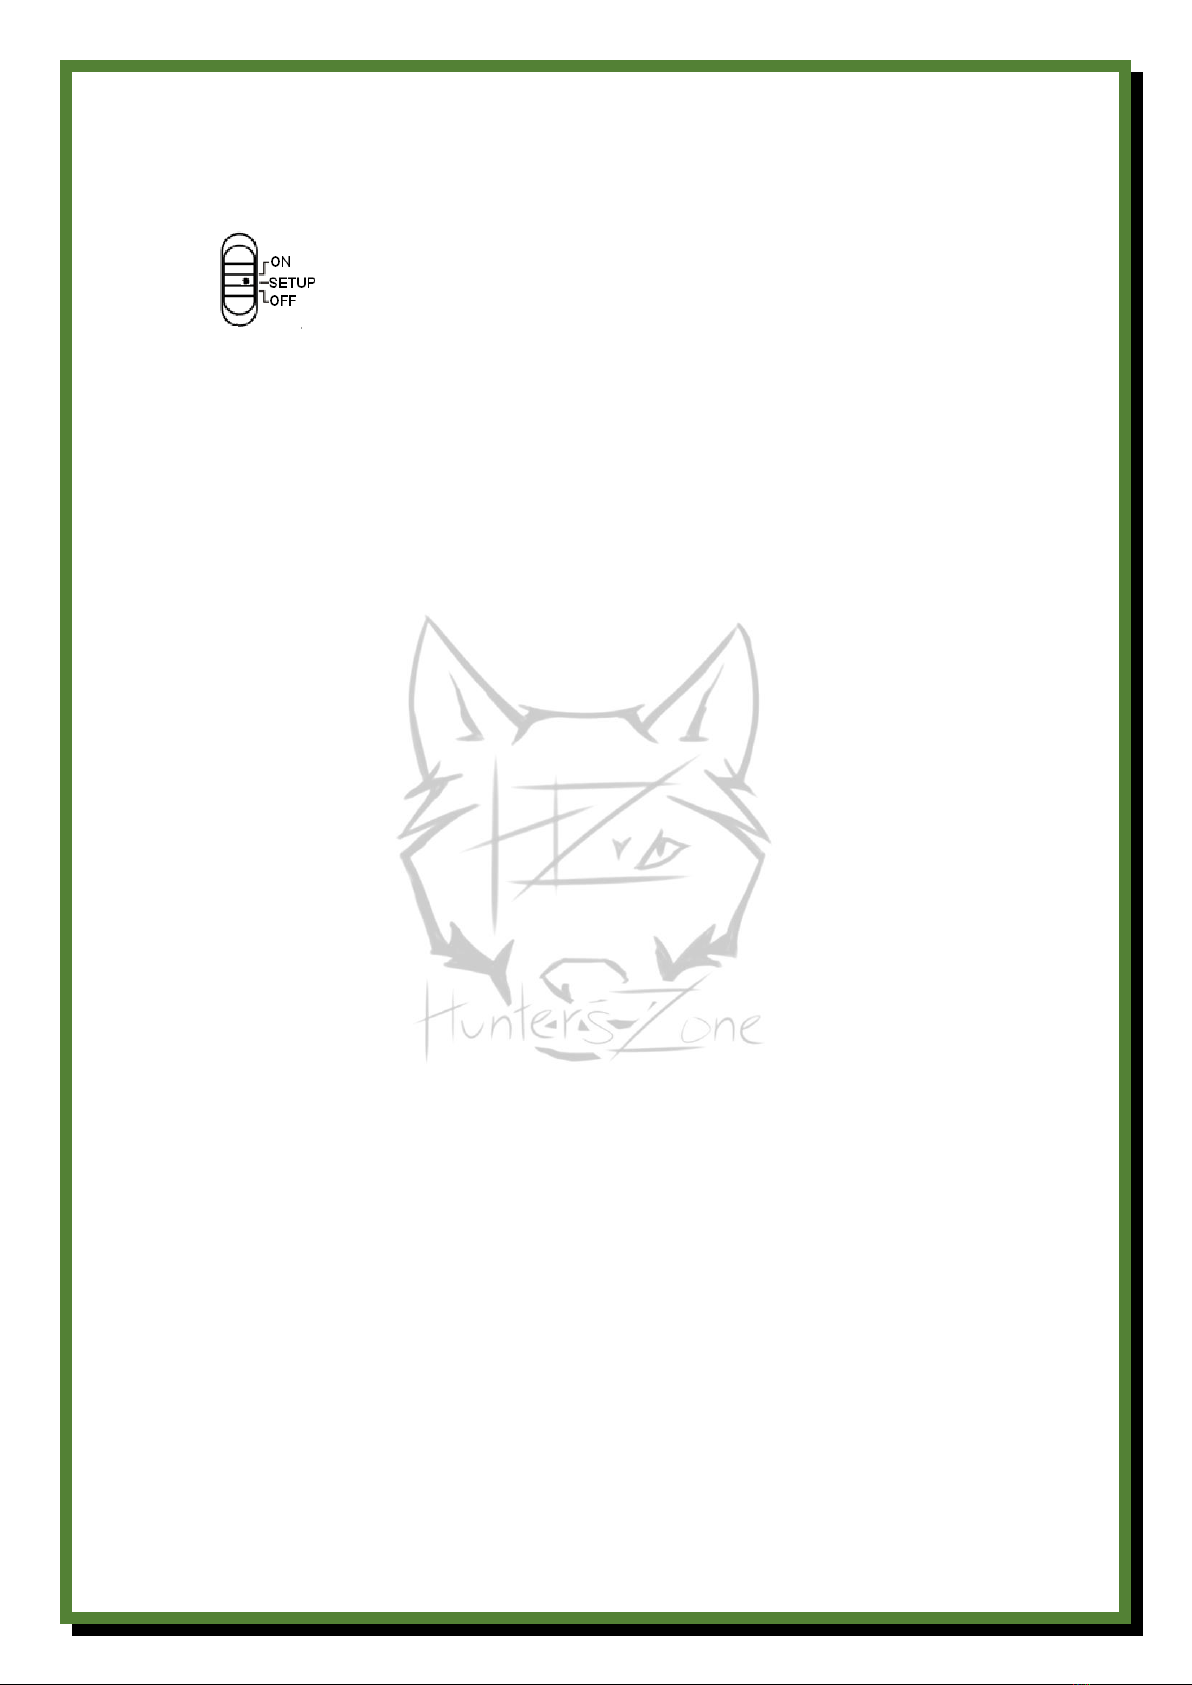
How the camera works:
-The HuntersZone Wolf 30MP 4G LTE-S cloud camera makes use of high-speed 4G LTE
connectivity via LinckEazi's cloud platform.
-It shoots in a maximum of 30MP resolution and in a maximum of 4K video with audio.
-The camera needs a SIM card loaded with SURF mounted to be able to transmit images.
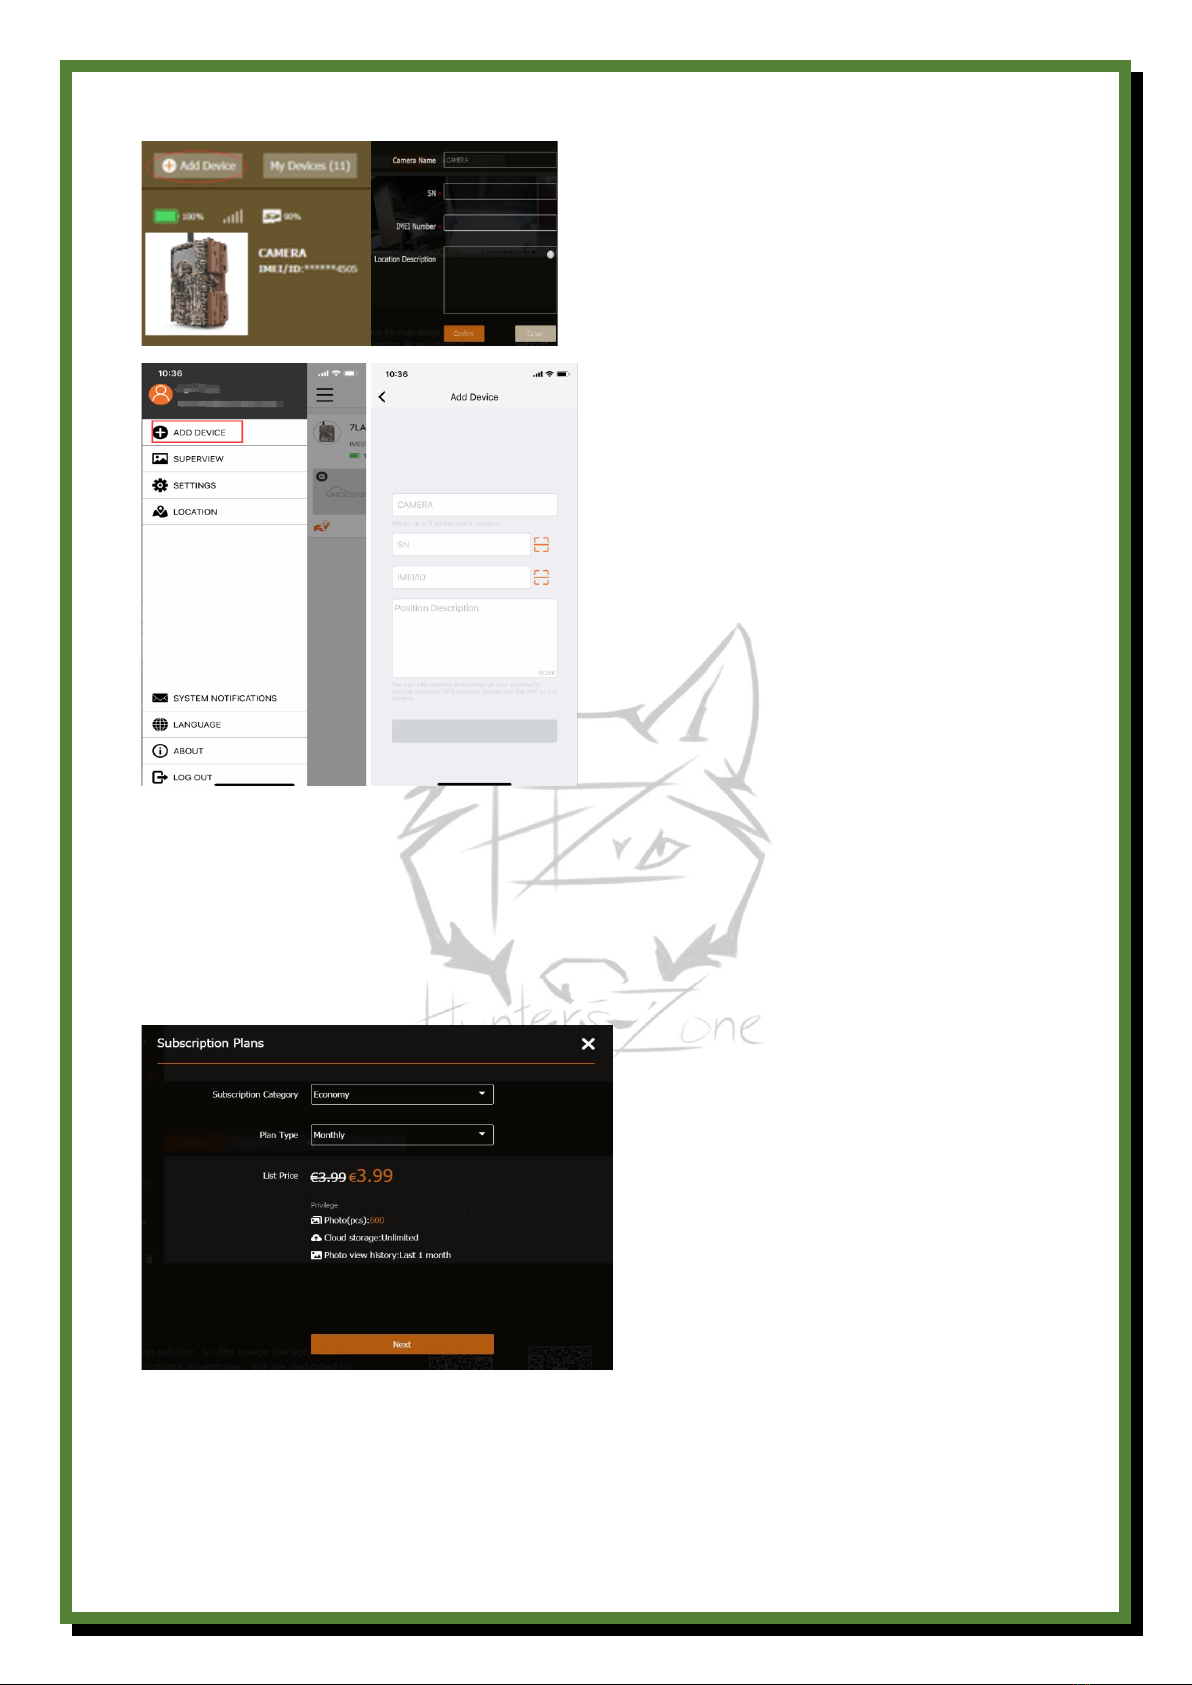
-The user can easily review their images and videos directly via the LinckEazi APP or web
portal via computer.
-The user can also easily remotely control their camera's settings via the LinckEazi APP or web
portal.
-WOLF 4G works throughout whole Europe and other areas, it connects quickly and easily to
the internet.
-Wolf 4G can be purchased in two designs:
As UNLOCKED version = can be used with SIM cards from any European operator.
-LOCKED with a SIM card installed that works no matter what EU country you are in and
always chooses the operator with the best coverage in the location. You choose your own
SIM card plan according to your need, from 100 pictures per month to the unlimited
Premium Plan. And the best part is: You don't have to make any complicated settings and
everything is done directly through LinckEasi.

1 Camera overview
1.1 Camera
1: Black Vision 940nm IR flash
2: Lens
3: Light Sensor
4: Start button
5: PIR sensor
6: Keyboard
7: HD TFT Screen
8: LTE Antenna

Fig1 Overview camera functions
1. 2 Start button and functions.
OFF: Off (Please remove the batteries when the camera is not in use);
SETUP: Setting mode of the camera via the Menu. (Keep in mind that all settings are then changed
according to what is selected in the APP)
ON: Active mode (The monitor shuts down, the camera switch to ACTIVE).
Buttons:
MENU: Enter the menu
▲▼◄ ►: Navigation buttons (Move Up/Down/Page in Menu)
OK: Confirm your selection in the menu / display pictures/movies in the camera screen.
►: Press to manually take a photo or movie. (Click again to stop video.).
2 Preparation
2.1 Installation of the batteries
This camera can be powered by 12AA batteries or 6V-12V external power. Pay attention to the (+) or
(-) molded into each sleeve to determine whether you insert the positive or negative end into the
sleeve first. Negative battery pole always comes in contact with the spring.
Note:
· Never mix different types of batteries
· Do not mix old and new batteries
· We recommend high-performance lithium batteries.
· Always remove the batteries when not in use to prevent leakage!
2.2 Install the SD card
To activate the camera, you need to install an SD card in the slot at the bottom right corner of the
camera.
SD card up to 256 GB can be used, minimum Class 10, loading speed 80MB/S.
Enter the MENU >SYS >Format SD and format the SD card before use.

Note: IF you have chosen a camera with a LinckEasi SIM card installed, this is sealed with a sticker.
Please note that ifa sticker is broken, the WARRANTY does not apply, please do not remove the
original SIM card from the camera!
2.3 Download mobile app
Seach "Linckeazi" in Google Play Store or Apple Store
Enter the web portal:
Open your browser to: https://www.linckeazi.com
You can also scan the QR code and install the APK file on your smartphone.
Android APP IOS-APP
3 Add the camera to the Linckeazi account
3.1 Login
To "send" images to your cloud account or mobile phone, you must first add the camera to your
Linckeazi account.
Open website: https://www.linckeazi.com or Linckeazi APP, log in to your account. If you have
registered on the cloud platform, enter your account and password to log in directly. If not, click
"Sign Up" on the page to open the registration page. NOTE: Save passcode/username

Fig 4 Inloggning via Linckeazi APP
3.2 Add camera
Please note: Your camera must be added to your account in the cloud service before use!
Name your camera; type in the SN and IMEI number from your camera. Add location description if
necessary. You can find SN and IMEI on a sticker inside your camera.
4.4 Change camera setting with web portal or APP
The CAM is easy to set through Web Portal or APP.
Fig 8 Device Settings via web portal

Fig 6 Add camera via APP
3.3 Select plan for your camera (SURF AMOUNT) (Applies if you purchased a Wolf 4G with a SIM card
installed)
Once you've installed your camera, choose a plan according to how much pictures/surf you think the
camera takes/consumes needs per month. If you have the camera in movie mode, you need
UNLIMITED.
3.4 Check your order information
You can check your order information on the Account >Order Info

Attention to the camera's data plan: (Applies only to camera purchased with for installed region-
free SIM card)
1. Without replenishment within 7 days of the data plan expiring, the camera will be turned off
until a new activation and data replenishment occurs (the cloud notifies you as a user to
replenish on time), but you will have to pay extra activation fee if it goes longer than 7 days
before replenishing the data plan.
1. If the camera remains completely without any data plan for a year, the SIM card tied to your
camera will be completely deregistered. In order to use the camera again, you will then need
a new SIM card from the distributor, and you will have to pay an additional activation fee.
The same principle as with ordinary Swedish SIM cards.
2. 3. It is applicable to apply a refund only to the data plan that is still in force after one month.
It is users' choice to transfer the data plan to another camera with the same model under the
same user account if they encounter camera returns.
3. Attention to the HQ Option Package Plan:
4. 1. The HQ option is tied to the camera without output but is suspended from being used
unless there is a basic data plan, while it can be reactivated after the refill.
5. 2. The HQ data package is non-refundable but can be transferred to another camera with the
same model under the same user account.

4Setting camera
4.1 Information In display
You can see a wealth of information directly in the camera's display.
Fig7 Monitor
4.2 Settings
The camera can be easily set up either via website or APP.

Click "Apply to Device" when you are done with settingsa.
Send mode off: Disable the transfer function = the camera does not transmit images but shoots as
usual!
Maximum number: Maximum number of images that the camera is allowed to transmit each day (24
hours). To control/limit the camera's data consumption, specify the maximum number of shots you
want to receive in a day. The number 00 means UNLIMITED.
Remote control: You can remotely control your camera via the APP in your mobile phone or web
portal. If you select the real-time mode, the camera is active (connected) 24H/Day to receive
commands directly, for example if you want to use the take picture command. You should use this
function very sparingly or with rechargeable Lithium batteries as the power consumption increases
dramatically.
Delay 24H means that the wireless module wakes up the device after 24 hours and then downloads
any new settings you sent via the APP, even if there is no trigger. The Delay setting is for saving
power. If the camera is triggered by any animal before 24 hours have passed, new settings are
downloaded.
Download Settings: This means that your selected settings are broadcast to your camera and synced
against the camera settings in the cloud for your camera.
Upload settings: That means syncing the settings from your camera to the cloud.
FW update: NEVER unplug the batteries or external power when updating the camera. Make sure
the batteries have more than 80% energy left before updating. Update only the camera on site with
fast and stable internet connection. If the update is interrupted before it is complete, the camera
software may be severely damaged to render it unusable.
Camera Setting
Camera mode
Photo / Video / Photo & Video;
Photo size
30MP/24MP/20MP/16MP/8MP/5M
P
IR flash
Low/Medium/High
Photo Burst
1Photo ~10Foton (Default: 1 photo)
Video size
4K@10fps/2.7K@20fps/1080p@30f
ps/720p@30fps/WVGA@30fps
Length of video
5s-1min (Standard:10s)
Video strength IR
flash
High/Low

Photo Burst: Specifies the number of shots you want the camera to take at each motion sensor
detection/trigger. If the number 3 is selected, it means that the camera takes 3 consecutive shots
when the motion sensor triggers.
PIR
Capture mode
PIR Triggers/Time Lapse/Both
PIR sensitivity
Low/High
PIR range
0s-60 min (Default:30s = change to 1min)
Timelapse
1min-24h (Standard: 1h)
Working hours 1 ~ 4
On/Off
PIR Interval: Means the time interval in which the PIR sensor/camera is active. This prevents the card
from filling up with too many redundant images. A normal delay time is 1 minute and up depending
on the purpose of shooting or whether the photo/video is active. The shortest possible delay time is
affected by how good an internet connection the camera has at the site. In the case of poor internet,
longer delay time is needed.
Time lapse: When you select time delay, the camera takes photos or videos at your specified interval
without it being triggered by a nearby live animal. It is useful for constant time-controlled monitoring
of an area or if you want to cover a large area that the motion sensor cannot handle, such as a field.
(At night, of course, you don't see what's beyond the range of the IR flash)
Working period: The camera can be set to be active only for a preset time or days. The rest of the
time, the camera is turned off. Working hours: 00:00-00:00 = the camera is active all the time. If the
settings are overnight, for example: Start: 00:00 Stop: 10:00 means 00:00-10:00, etc
SYS
Set clock
Set the date and time
Language
English, Czech, Danish, Finnish, French, German, Hungarian,
Italian, Norwegian, Swedish
Password
On/Off
Rename
On/Off
Overwrite
On/Off
Format SD card
Format SD (Erases all pictures/movies on the SD card)
Standard
Resetyour camera to default settings
Firmware version
Show firmware version.

Password: Be sure to WRITE down your password and save it so you can get into your camera if you
forget your password. The origin password is 0000.
Overwrite: This means that pictures on the SD card will be overwritten from behind if the SD card
becomes full.
4.3 Send a test photo
Step 1: Make sure your camera's data plan is valid before sending test photos.
Step 2: Once you have confirmed that the network signal is good, press the ►(SHOT) button to
manually take a photo.
Step 3: Press OK to display the photo and press the MENU button, select Send.
Step 4: You will see send prompt appear on the LCD screen. Click Submit. When you see "File
Upload", check your cloud account. You will find the photo uploaded to the cloud server.
4.4 Change the camera setting in the web portal or APP
The camera is easy to set up via the web portal or APP.
Fig 8 Setting web portal

Fig 9 Setting true APP
4.5 Other basic settings via APP
1. Check Camera Status
2. View photos or videos
3. Take one photo
4. Kamerainställningar
5. Change your camera settings
6. Request HQ photos or videos
Fig 10 Camera status

Fig 11 Request HQ Photos or Videos
5 External power supply
The camera has a contact to be powered by an external power source. If you want to connect an
external 6V-12V (2A) battery to power the camera, you can do so. The sockets plugging is a standard
4 mm jack. Buy original cable and the poles are right!
6 Montage
For best results, mount the camera about 1–1.5 meters above the ground at a 90-degree angle. The
camera's motion sensor and angle of view give you the best results in this assembly.
List:
The sun should not shine directly on the front of the camera (backlight), the best pictures you get if
the sun comes from the back of the camera towards the animals in front.
A possible background in front of the camera can increase the amount of light on the site through
reflection and provide better images!
Avoid placing the camera in a place with a lot of vegetation, this can cause wind to create false
trigging. Clear away unnecessary vegetation and branches alongside that can sway into front of the
camera and release it.

Specifications
Resolution
5/8/16/20/24/30MP
Lens
F/NO=1.8 (field of view)=58°
(FOV10m: 7.72meters)
Trigger time
0,2s
Frequency bands
FDD-LTE: B1/ B5/B7/B8/B20/B28; WCDMA: B1/ B8; GSM:
900/1800MHz.
IR- Flash 940nm
Adjustable
Screen
2.0" LCD display
Memory card
Up to 256 GB
Video resolution
4K/2.7K/1440P/1080P/720P/WVGA
PIR-sensor
Multiple zones
PIR sensitivity
Adjustable
Operating/storage temperature
-20 - +60°C / -30 -+70°C
Trigger interval
0S-60 minutes
Timelapse mode interval
1min-24h
Photo Burst numbers
1- 10st
Video length
1-60 seconds
Power source
12x AA or 6V-12V (2A) extern power
Standby power
<0.2 mA (<0.6 mAh/24h)
Low battery warning
LED indicator, push notice mobile
Montage models:
Sling/Python-lock
Measure
154 mm*112*mm*79 mm
Drift/Humidity
5%-90%
Autentisering
EC, RoHS

Appendix II.: List of Parts
Delivery List
Quantity
Wolf 30MP 4G-moln
I
Antenna
I
Montage sling
I
Manual
I
Quick Start Guide
I
GUARANTE
The camera manufacturer provides 12 months warranty service for this product against manufacturing defects or malfunctions. If the
camera does not work in normal use within one year, the camera manufacturer will repair or replace the camera free of charge. The
purchase receipt must be included from an authorized dealer to validate the warranty. Improper use of the camera leading to damage is
not covered by this warranty. The camera manufacturer can provide repair service after the expiration of the warranty. The customer is
responsible for any charges on parts, labor and shipping costs. Contact the manufacturer for more information. Contact your dealer for
more information.
Declaration of conformity with Directive 2014/53/EU
EC Deposit:
Hereby, the manufacturer declares that this camera complies with the essential requirements and other relevant provisions of Directive
2014/53/EU. Ask your distributor for a copy of the declaration of conformity with Directive 2014/53/EU.
Z-aim Hunting AB
Sverige
www.z-aim.com
Table of contents