HV Racing HVR 50.4 MINI User manual

Page 1 of 36 HVR Manual
HVR 50.4 MINI – HVR 50.4
HVR 50.4 PRO – HVR 60.4
Manual

Page 2 of 36 HVR Manual
WARNING:
Read this manual carefully before operating your HVR!
Dear HVR customer,
Thank you and congratulations on your purchase of an HVR Electric motorcycle.
Read the manual carefully and completely to ensure safe and long operation of the HVR and act
prudently during operation.
The HVR is the electric motorcycle for children, with a powerful electric drive which is perfectly
adaptable to your child's riding skills.
Due to the large battery capacity, long riding times are possible.
The electric drive system is almost maintenance-free and equipped with a variety of sensors to
ensure easy and safe handling.
Make sure that your child is mentally and physically capable to ride motorcycles.
Safe cycling is a prerequisite for this.
Your child must always wear appropriate protective clothing for motorcycling. In the beginning, you
must explain to your child the functions and the controls of the motorcycle as well as the riding
technique.
With the HVR Connect app, the performance and speed of the HVR can be adjusted in a very wide
range.
This allows you to walk next to your child with a low power setting and assist with the first driving
tests.
For experienced young racers, the HVR can be transformed in seconds into a winning motorcycle
with over 8000 watts of power and 70 km/h top speed.
With this electric motorcycle we want to give you and your child the opportunity to get into the
motorcycle off-road sport more easily and have a lot of fun.
The low maintenance effort and the low maintenance costs also bring joy to the parents.
The low emissions, especially the low noise emissions, make it possible to drive in completely new
places and much more frequently.
Nina Deitermann
Managing Director
High Voltage Racing GmbH
Neustadterstr. 13A
91085 Weisendorf
Germany
www.HVR-bikes.com
info@HVR-bikes.com

Page 3 of 36 HVR Manual
CONTENTS
1. IMPORTANT SYMBOLS AND DESCRIPTIONS Page 4
2. SAFETY NOTE Page 5
3. TECHNICAL DATA Page 6
4. CONTROL ELEMENTS Page 7
4.1 Battery indicator with on/off switch
5. ELECTRIC DRIVE Page 8
5.1 Battery
5.2 Electric motor and inverter
6. CHARGING Page 11
7. SETTING WITH THE HVR APP Page 14
7.1 Connection / Password
7.2 Watch monitor data Page 16
7.3 Adjusting the Motorcycle Setting Page 16
8. TRANSPORT Page 19
9. BEFORE YOUR FIRST RIDE Page 19
10. RIDING THE BIKE Page 19
11. CLEANING Page 20
12. DECOMMISSIONING FOR LONGER PERIODS Page 20
13. MAINTENANCE Page 20
13.1 Chain Page 20
13.1.1 Cleaning the chain
13.1.2 Checking chain tension
13.1.3 Setting chain tension
13. 2 Tires Page 23
13.2.1 Air pressure
13.3 Brake function and pads Page 23
13.3.1 Check brake discs
13.3.2 Checking brake pads
13.3.3 Changing brake fluid
13.4 Foot brake lever Page 26
13.4.1 Check the position of the foot brake lever
13.4.2 Adjust the position of the foot brake lever
13.5 Fork Page 27
13.5.1 Adjusting fork height
13.5.2 Check for tightness

Page 4 of 36 HVR Manual
13.6 Adjust the back damper Page 29
13.7 Spokes Page 31
13.7.1 Controlling spoke torque
13.8 Handlebar Page 32
13.8.1 Adjust handlebar position
14. SERVICE PLAN Page 33
14.1 Duty works
14.2 Recommended works
15. TORQUE LIST Page 34
16. EU/EC DECLARATION Page 36
1. IMPORTANT SYMBOLS AND NAMES
WARNING: "WARNING" indicates a potentially dangerous situation that can result in injury or
death and damage to objects if the situation is not prevented. The symbol
"WARNING" must therefore be given special attention.
ATTENTION: "ATTENTION" indicates a situation that can cause damage or malfunction if the
situation is not prevented. Be sure to follow the instructions marked with the
"ATTENTION" icon.
NOTE: "NOTE" displays helpful information that allows better use of the motorcycle.
Observance of the "NOTE" symbol improves or expands the range of applications
of the motorcycle.
h
h

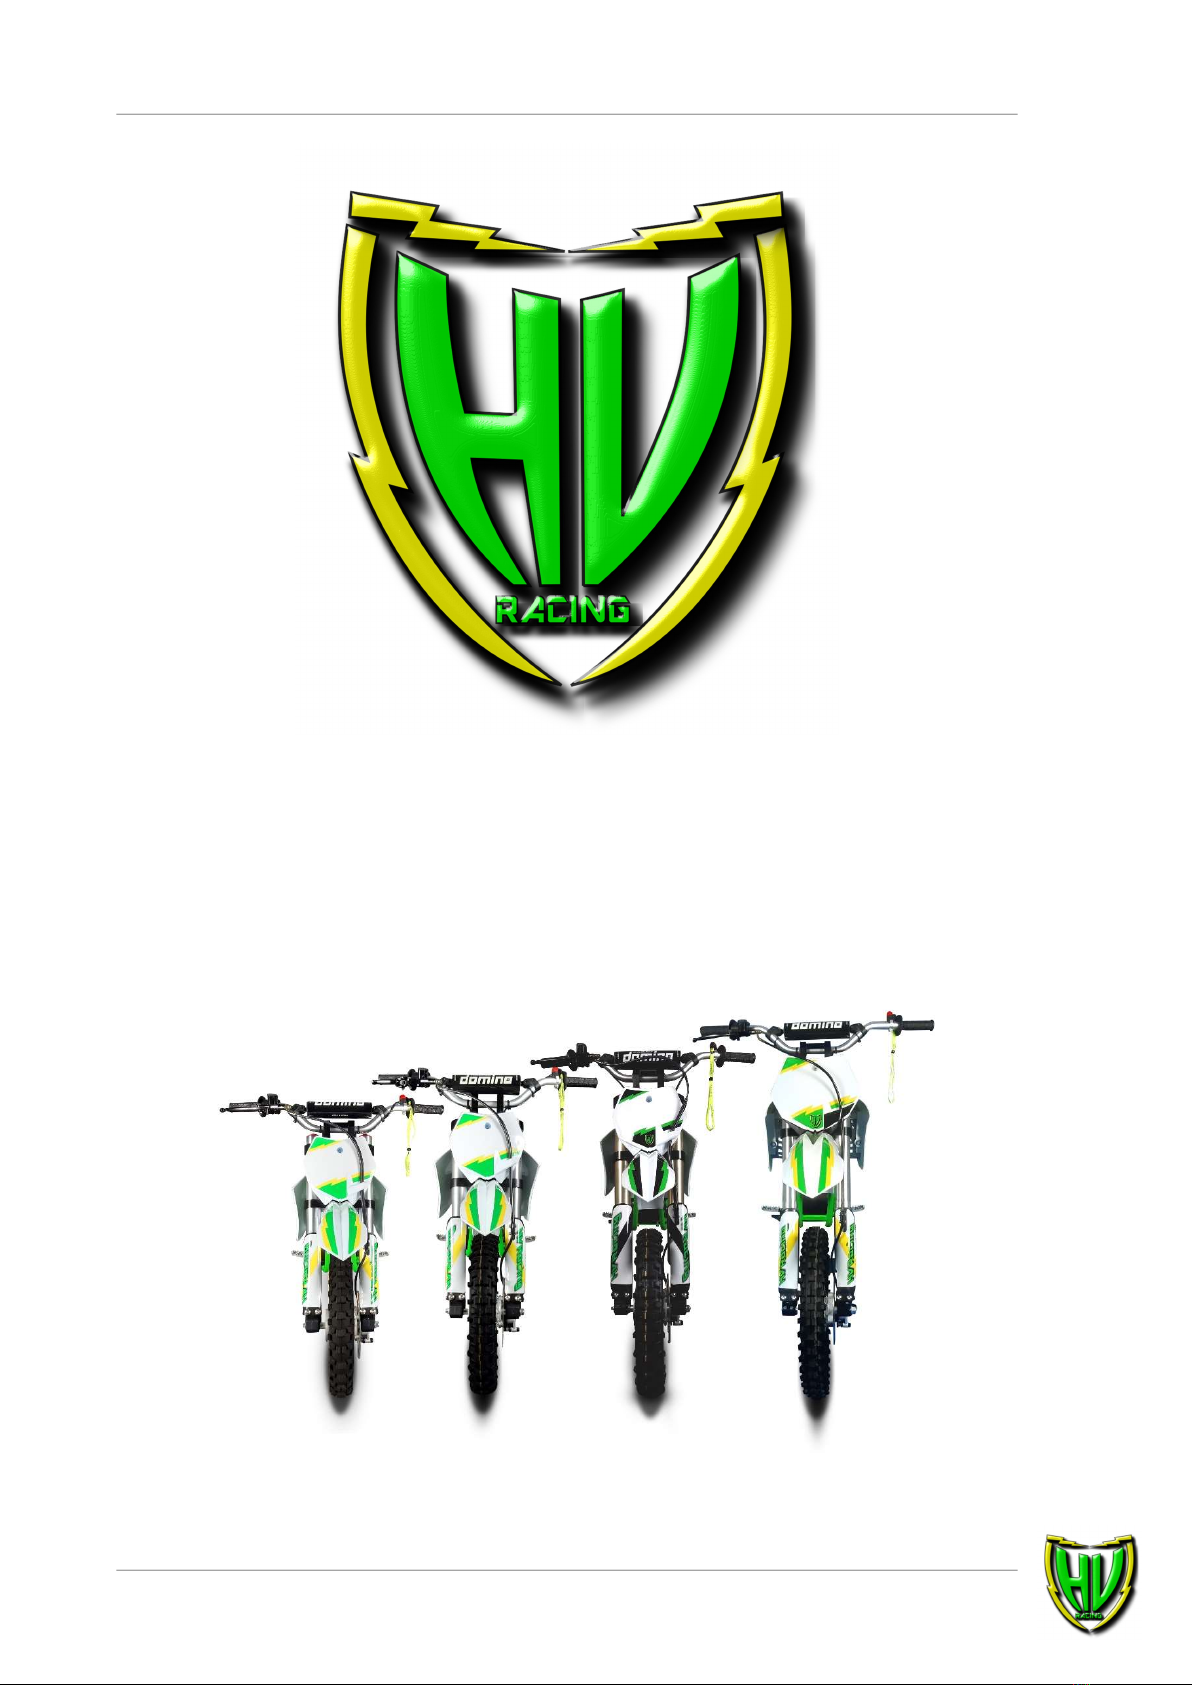
Page 5 of 36 HVR Manual
2. SAFETY NOTE
WARNING:
Read this manual carefully before operating the HVR!
To ensure safe and long operation, please observe the following instructions:
- Your child must be in the mental and physical condition to ride a motorcycle
- The minimum age is 6 years
- Cycling is the basic requirement for motorcycling
- Explain to your child how to handle the motorcycle and discuss this with your child in a way that
he or she understands the safe handling of the motorcycle
- Rotating parts such as chain, sprocket, wheels, etc. pose injury hazards for fingers and others
body parts, therefore, be sure to keep a safe distance in operation
- Never let your child ride a motorcycle unattended
- Your child must always wear appropriate protective clothing (motorcycle helmet, protectors,
motorcycle boots, gloves, etc.)
- The safety equipment must always be in proper condition
- Be a good role model and always wear protective clothing when riding a motorcycle
- Explain to your child the riding technique and the controls of the motorcycle
- Ensure the correct power and speed setting that can be used by
of your child and control this setting
- The charging of the motorcycle may only be carried out by an adult, as well as the
review before each trip and maintenance
- The charging process must be supervised by an adult
- Do not urge your child to ride above his or her abilities
- In order to participate in races, your child must have appropriate experience and be in the correct
physical and mental state.
- The wrist strap of the safety switch can be worn on the left arm while riding
to switch off the motorcycle in the event of an accident.
- The maximum rider weight is 50kg for the HVR 50.4 and 70kg for the HVR 60.4 each
including full equipment!
- Visit a training course at a motorsport club with experienced trainers
- The braking system can get very hot while driving, touch it only after a
long cooling period.
- If not in use, remove the tear-off switch to protect against unauthorised use

Page 6 of 36 HVR Manual
3. TECHNICAL DATA
HVR 50.4 MINI HVR 50.4 HVR 50.4 PRO HVR 60.4
Class 50 cc (Minicross) 50 cc (Minicross) 50 cc (Minicross) 65 cc (Minicross)
Length 1350 mm 1350 mm 1400 mm 1600 mm
Wheelbase 930 mm 940 mm 980 mm 1135 mm
Seat 580 mm 630 mm 685 mm 770 mm
Handlebar
height 770 mm 820 mm 890 mm 990 mm
Wheels 1.4x10 f
ront / 1.4x10
rear
1.4x12 front /
1.4x10 rear
1.4x12 front /
1.4x10 rear
1.4x14 front /
1.4x12 rear
Tires front 10" 2,50
rear 10" 2,50
front 12" 60/100
rear 10" 2.75
front 12" 60/100
rear 10" 2.75
front 14" 60/100
rear 12" 80/100
Brakes
Front: Two-piston
system with 195mm
brake disc
Rear: Single-piston
brake pliers with
170mm disc each
Front: Two-piston
system with 195mm
brake disc
Rear: Single-piston
brake pliers with
170mm disc each
Front: Two-piston
system with 195mm
brake disc
Rear: Single-piston
brake pliers with
170mm disc each
Front: Two-piston
system with 210mm
brake disc
Rear: Single-piston
brake pliers with
170mm disc
Motor
Brushless HVR
liquid-cooled 3
phase E-motor
Brushless HVR
liquid-cooled 3
phase E-motor
Brushless HVR
liquid-cooled 3
phase E-motor
Brushless HVR
liquid-cooled 3
phase E-motor
Inverter
BLDC inverter 300 A
peak
BLDC inverter 300
A peak
BLDC inverter 300 A
peak
BLDC inverter 300 A
peak
Battery 50,4 V 18 Ah Li Ion
50,4 V 18 Ah Li Ion
50,4 V 18 Ah Li Ion
50,4 V 18 Ah Li Ion
Performance Max. 8000 Watts Max. 8000 Watts Max. 8000 Watts Max. 8000 Watts
Speed Max. 70 Km/h Max. 70 Km/h Max. 70 Km/h Max. 60 Km/h
Primary drive 420 chain 10:45 420 chain 10:45 420 chain 10:45 420 chain 9:55
Front
Suspension
33mm USD 170mm
Road
33mm USD 170mm
Road
37mm USD 1
80mm
Road
33mm USD 215mm
Road
Rear
Suspension:
central shock
absorber
170 mm path 220 mm path 230 mm path 275 mm path
Weight 43 kg 43 kg 44 kg 56 kg

Page 7 of 36 HVR Manual
4. OPERATING ELEMENTS
And
4.1 BATTERY DISPLAY WITH ON/OFF SWITCH
The on/off switch is in the middle of the display.
Front brake and
throttle
Rear
brake
Safety killswitch
Battery indicator
with on/off switch
Charging port
Front brake with
compensating tank
for brake fluid
Battery
Electric motor
Brake fluid display
for the rear brake
with compensating
tank
Engine control unit

Page 8 of 36 HVR Manual
GREEN LED: Battery charge status (abbreviation: SOC) LED 1 - 7
YELLOW LED: Temperature warning (blink) / Temperature shutdown (solid)
RED LED: 0% charge state (SOC) or error
After pressing of the on/off switch the green LEDs of the battery indicator light up one after the other,
the yellow and the red LED briefly light up for the test. After that, the current SOC (charge status) is
displayed and the motorcycle is ready to drive.
NOTE:
For safety reasons, the HVR automatically switches off after 60 seconds of standstill, unless it is
connected to the APP
SOC Battery indicator
SOC (charge state) LED-Display
0 to 16% LED 1 blinking
16 to 27% LED 1 solid
28 to 39% LIGHTS LED 1 to 2
40 to 51% LIGHTS LED 1 to 3
52 to 63% LIGHTS LED 1 to 4
64 to 75% LIGHTS LED 1 to 5
76 to 88% LIGHT LED 1 to 6
88 to 100% LIGHTS LED 1 to 7
5. ELECTRIC DRIVE
The electric powertrain of the HVR includes the battery, the electric motor and the inverter.
5.1 BATTERY
h

Page 9 of 36 HVR Manual
The traction battery is the heart of an electric vehicle, performance and range depend to a large
extent on the battery. The HVR lithium-ion battery has a specially designed, sophisticated battery
management system (BMS) installed to ensure that the battery is always operated within the
permissible limits. A variety of sensors constantly measure the parameters of the battery such as, the
voltages of the individual cells, current, temperature, charge state (SOC) etc., the battery is
permanently monitored and protected by the BMS.
SOC (charge state) calibration:
The charge status is calculated using the current and voltage measurement in order to precisely
determine the currently available capacity of the battery. It is recommended to discharge the battery
about every 10 charging cycles to 0% SOC until the motorcycle shuts down. After that, the battery
should be charged to 100%, this procedure calibrates the charge state determination.
NOTE:
The BMS protects the battery from too cold and too warm temperatures. For driving in cold
conditions, it is recommended to warm the motorcycle before driving in a warm place with about 10-
25°. This improves performance and range.
Very hot ambient temperatures and driving with high power consumption heats the battery cells. The
aluminium side plates serve as heat sinks for the battery cells.
NOTE:
If the battery is too hot or too cold to drive or charge, the yellow LED of the indicator lights up and the
BMS prevents driving or charging until the battery temperature is back in the required range.
The battery temperature can be displayed with the app.
NOTE:
For safety reasons, the HVR 50.4 automatically turns off after 60 seconds of standstill, unless it is
connected to the app.
HVR Battery Specifications:
Cells 84 individual 18650 li-Ion cells
Battery case Plastic Aluminum Composite Enclosures
Voltage 50.4 Volt
Capacity 18 Ah
Energy content 907 Wh
Battery temperature range driving 0°C to 67°C
Battery temperature range charging 5°C to 50°C
Charging time (300 Watts standard charger) 3 hours
Fast charger charging time (optional) 1 h (typical charge from on the track 20-90%)
h
h
h

Page 10 of 36 HVR Manual
WARNING:
Risk of fire and burning
- NEVER open, damage or burn the battery
- NEVER short-circuit the battery poles
- NEVER reverse polarity
- NEVER bring near high heat or fire.
- NEVER try to use another charger than the original HVR charger.
5.2 ELECTRIC MOTOR AND MOTOR CONTROL UNIT (INVERTER)
The HVR electric motor and inverter ensure an easy-to-control power delivery. No clutch or gear shift
is required for driving, the power is available when the driver wants it.
NOTE:
The HVR electric motor has an innovative liquid cooling system to transfer the temperature from the
inside to the housing. The cooling is designed for the service life of the motorcycle and therefore does
not need to be changed.
ATTENTION:
Do not open the motor, otherwise coolant will leak. The motor may only be removed all in one via the
4 screws at the bottom of the mounting brackets, the mounting angles remain on the motor.
If oil has leaked, it can be refilled by the central screw 1 into the engine block. Use only HVR
coolant and only fill up to the hole.
h
h
1

Page 11 of 36 HVR Manual
WARNING:
The motor housing can get very warm after high-performance rides, so don't touch it.
NOTE:
The cooling fluid is a special oil that is completely non-toxic and does not attack components or
is harmful to the environment.
NOTE:
The cooling fluid is only used for better dissipation of heat from the inside of the engine, even if it
is driven without a cooling fluid, there is no damage to the vehicle. However, it can cause the
engine to become hot under heavy loads and the motorcycle to shut down to protect the engine
from damage.
6. CHARGING
WARNING:
The HVR charger is operated with 230 V, make sure that the housing and cables do not show any
damage before each operation, never use the charger if the charger or cables are damaged, but send
it to HVR for repair. Never open the charger, there is high voltage inside. The HVR charger is only
indoors approved for use, never use the charger in wet conditions. The Air intakes and the fan must
not be blocked or obstruct the airflow. Use only the original HVR charger to charge the HVR. The
charging process must always be performed and supervised by an adult, never let a child perform the
charging process of the motorcycle.
NOTE:
Driving during charging is prevented by the vehicle electronics.
NOTE:
To start charging, the battery must have a temperature in the range of 5-50°.
CHARGING PROCESS HVR:
▷ Connect the electrical plug of the HVR charger to the 230 V household socket.
▷ Open the dust cap (bayonet closure) on the charging port of the HVR.
h
h
h
h

Page 12 of 36 HVR Manual
▷ Connect the charger's charging plug to the charging port of the motorcycle
(bayonet closure), charging now starts automatically and the LED on the HVR charger lights up
red.
▷ The flashing green LED on the motorcycle shows the current SOC.
SOC (charging state) LED display on motorcycle
0 to 16% LED 1 flashes
16 to 27% LED 1 solid, LED 2 Flashes
28 to 39% LED 1 to 2 solid, LED 3 Flashes
40 to 51% LED 1 to 3 solid, LED 4 Flashes
52 to 63% LED 1 to 4 solid, LED 5 Flashes
64 to 75% LED 1 to 5 solid, LED 6 Flashes
76 to 88% LED 1 to 6 solid, LED 7 Flashes
88 to 100% LED 1 to 7 solid

Page 13 of 36 HVR Manual
NOTE:
Should the battery be too warm to charge it can be helpful to wet the black aluminum side cover of
the battery with water, for example with a simple spray bottle.
The cooling effect caused by the evaporating water very quickly removes the heat from the battery.
NOTE:
The exact charge state and other parameters can be viewed during the charging process with the
HVR app.
The battery is charged,
gradually more and more
green LEDs (the last
flashing) are glowing
depending on SOC (state of
charge) see table.
On the charger, the LED
lights up red.
The battery is fully charged.
60 seconds later the
motorcycle turns off and the
green LEDs on the
motorcycle goes out.
On the charger, the LED
lights up green.
If the yellow LED on the
motorcycle and the green
LED on the charger light up,
the battery is too hot or too
cold to charge.
If the battery cools down
within the next hour,
charging will start
automatically. If the battery
is too cold, take the
motorcycle to a warmer
place and restart the
charging process when the
battery is warm enough.
Normal char
ging
Motorcycle fully charged
The battery is too hot or
too cold to charge
h
h

Page 14 of 36 HVR Manual
NOTE:
Charging over 90% is much slower due to the balancing of the cells, so it is recommended, to charge
the bike only 90% full during the break at the track during training to maximize the training time.
▷ Remove the charging plug from the motorcycle and close the dust cap of the
charging port
▷ Remove the plug from the household socket.
NOTE:
Charging can be interrupted and restarted at any time with the on/off switch, for this the charger must
be connected to the socket and the motorcycle.
NOTE:
The BMS in the HVR battery ensures optimum battery performance and service life. Charging is only
possible with the original HVR charger.
NOTE:
To charge, the temperature of the battery must be between 5°C and 50°C, otherwise the yellow LED
on the battery indicator will light up and charging will not be possible. This is used to ensure a long
battery life and to protect the battery cells. If the battery is too warm and cools down within the next
hour, charging will start automatically. If the battery is too cold, take the motorcycle to a warmer place
and restart the charging process when the battery is warm enough.
7. SETTING UP THE HVR APP
NOTE:
For safety reasons, the HVR turns off automatically after 60 seconds of standstill.
As long as the motorcycle is connected to the app, it remains permanently active.
7.1 CONNECTION / PASSWORD REGISTRATION
To connect to the HVR and your Android smartphone (Android 5.0 or later), download the HVR
Connect app from the Google Play Store.
Open the HVR Connect app, turn on the motorcycle and press CONNECTION.
The motorcycle is found as "HVR", select this device now in the list to register it.
Assign any name for the motorcycle, enter the APP code and confirm it with OK.
h
h
h
h
h

Page 15 of 36 HVR Manual
NOTE:
The APP code can be found in the extradition document and on the inverter under the seat.
Now the motorcycle is registered and available in the list of registered motorcycles. When it is within
range, it can be connected by pressing the name of your motorcycle in the APP.
This process is also described in the Quick Start Guide!
h

Page 16 of 36 HVR Manual
7.2 MONITOR DATA WATCH
The MONITOR function shows the current parameters such as SOC, temperatures, voltage, current,
etc. of the motorcycle:
7.3 ADJUSTING THE MOTORCYCLE SETTING
ATTENTION:
The motorcycle must be jacked up (with the rear wheel in the air) and must be at a standstill during
adjustment. The safety killswitch must be removed for the adjustment process. The HVR Connect app
will show you a hint when the safety killswitch is still on the vehicle. The adjustment is only possible
after removing the safety killswitch.
Select SETTING to adjust the performance data of the motorcycle.
3 preset mappings can be selected, these mappings make it easier to get started.
If necessary, they serve as a starting point and can be individually modified and saved as new custom
mappings in order to match the HVR to your child's driving skills and the track conditions optimally.
Press CONNECT
Tap on your motorcycle
Monitor screen
h

Page 17 of 36 HVR Manual
There are 3 preset mappings available:
Press TUNE
LET´S START
For beginners
LET´S GO
For advanced
LET´S WIN
For real racers
Tap on your motorcycle

Page 18 of 36 HVR Manual
SPEED:
6 - 70 km/h
PERFORMANCE:
1000 - 8000 watts
RECUPERATION:
0 no engine brake /
Recuperation
6 strong engine brake /
Recuperation
Adjust the values accordingly and press SEND to transmit the set parameters to the motorcycle. The
display starts flashing and the motorcycle turns off after successful transmission of the data. From the
next start, the new parameters are activated.
If you want to save the set values, you can press NEW after you have set the parameters accordingly
and assign a name for it.
After confirming with OK, the new mapping is saved.
You can choose one of the following driving modes:
BEGINNER Is the mode for complete beginners, it ensures a gentle
Throttle acceptance even if the gas handle is moved jerky.
It cannot be adjusted in conjunction with high performance.
NORMAL Is the default mode and should be used as soon as there is a little feeling for
the throttle handle. In contrast to the beginner mode, it ensures a direct
response of the gas handle.
HOLESHOT Is the mode for real experts, it ensures a direct and aggressive
gas acceptance and thus, the strongest acceleration.
holeshot mode is not recommended in slippery track conditions. It cannot be
chosen in conjunction with low performance.

Page 19 of 36 HVR Manual
WARNING:
After each adjustment, check if the motorcycle behaves as you expect and the maximum speed is set
correctly. Hold the motorcycle well, then turn the throttle handle and let the rear wheel turn in the air,
making sure that no one is injured on the rotating parts.
8. TRANSPORT
When transporting, pay attention to the following points:
- Motorcycle best to transport upright and well fixed
- If you need to transport the motorcycle lying down, place the motorcycle on the left side (on
which the chain is located)
In order to protect your vehicle from contamination, please place a blanket underneath.
NOTE:
Should you transport the motorcycle lying on the left side, it is possible that a small amount of cooling
fluid is leaking. The cooling liquid is non-toxic.
9. BEFORE THE FIRST DRIVE
WARNING:
Before driving for the first time, familiarize your child with the controls of the motorcycle and explain
how to use the motorcycle. The setting of the motorcycle must match to your child's riding skills. Start
with low power and low speed. Make sure your child can reach the controls well. Get to know your
child's good and safe driving style.
10. DRIVING
WARNING:
Electric vehicles are ready to drive immediately after switching on without a running engine or noise
announcing it. An unintentional rotation on the throttle handle can set the motorcycle in motion
unexpectedly.
Driving on public roads is forbidden, let your child drive only on closed training grounds. The HVR is
not equipped with any lighting system, so it is not allowed to operate in the dark.
Before each ride, check the technical condition of the motorcycle, in particular the controls and their
smoothness, the brakes (brake pads, brake fluid level), the chain tension, the condition of the chain
and the tires.
When riding a motorcycle, your child must always wear the appropriate protective clothing with
protectors and a motorcycle helmet. The wrist-strap of the safety switch must be worn on the left arm
in order to switch off the motorcycle in the event of an accident.
Instruct your child on a driving style that is adapted to their driving ability and the route.
h

Page 20 of 36 HVR Manual
11. CLEANING
After driving in the terrain, first carefully clean the motorcycle with a scraper or spatula to remove the
coarse dirt.
ATTENTION:
Do not use a scraper or spatula made out of metal, this could lead to damage to the motorcycle.
Then wash the motorcycle with a soft water jet, do not aim the water jet directly at electronic
components and cables.
Dry the motorcycle, grease the chain and check the smoothness of the controls.
Do not use a high-pressure cleaner!
12. DECOMMISSIONING FOR LONGER PERIODS
If the motorcycle is not used for a longer time, e.g. for more than a month, clean the motorcycle,
lubricate the chain and charge or discharge (depending on the state of charge) the battery to about
50% SOC. The recommended storage temperature is between 10°C to 15°C, do not exposed the
motorcycle to direct sunlight.
For a longer decommissioning e.g. Longer than 3 months should be checked once a month with the
MONITOR function of the HVR app, if the battery voltage has fallen below 46V, charge the battery.
13. MAINTENANCE
13.1 CHAIN
13.1.1 CHAIN CLEANING
Check the chain for coarse dirt, if it is dirty it should be cleaned.
Place the motorcycle on a stand so that the rear wheel can rotate freely.
Rinse coarse dirt with a soft water jet (not a high-pressure cleaner).
Remove used lubricating residues with an appropriate chain cleaning agent.
After drying, chain spray must be applied.
h
Other manuals for HVR 50.4 MINI
1
This manual suits for next models
3
Table of contents
Other HV Racing Motorcycle manuals