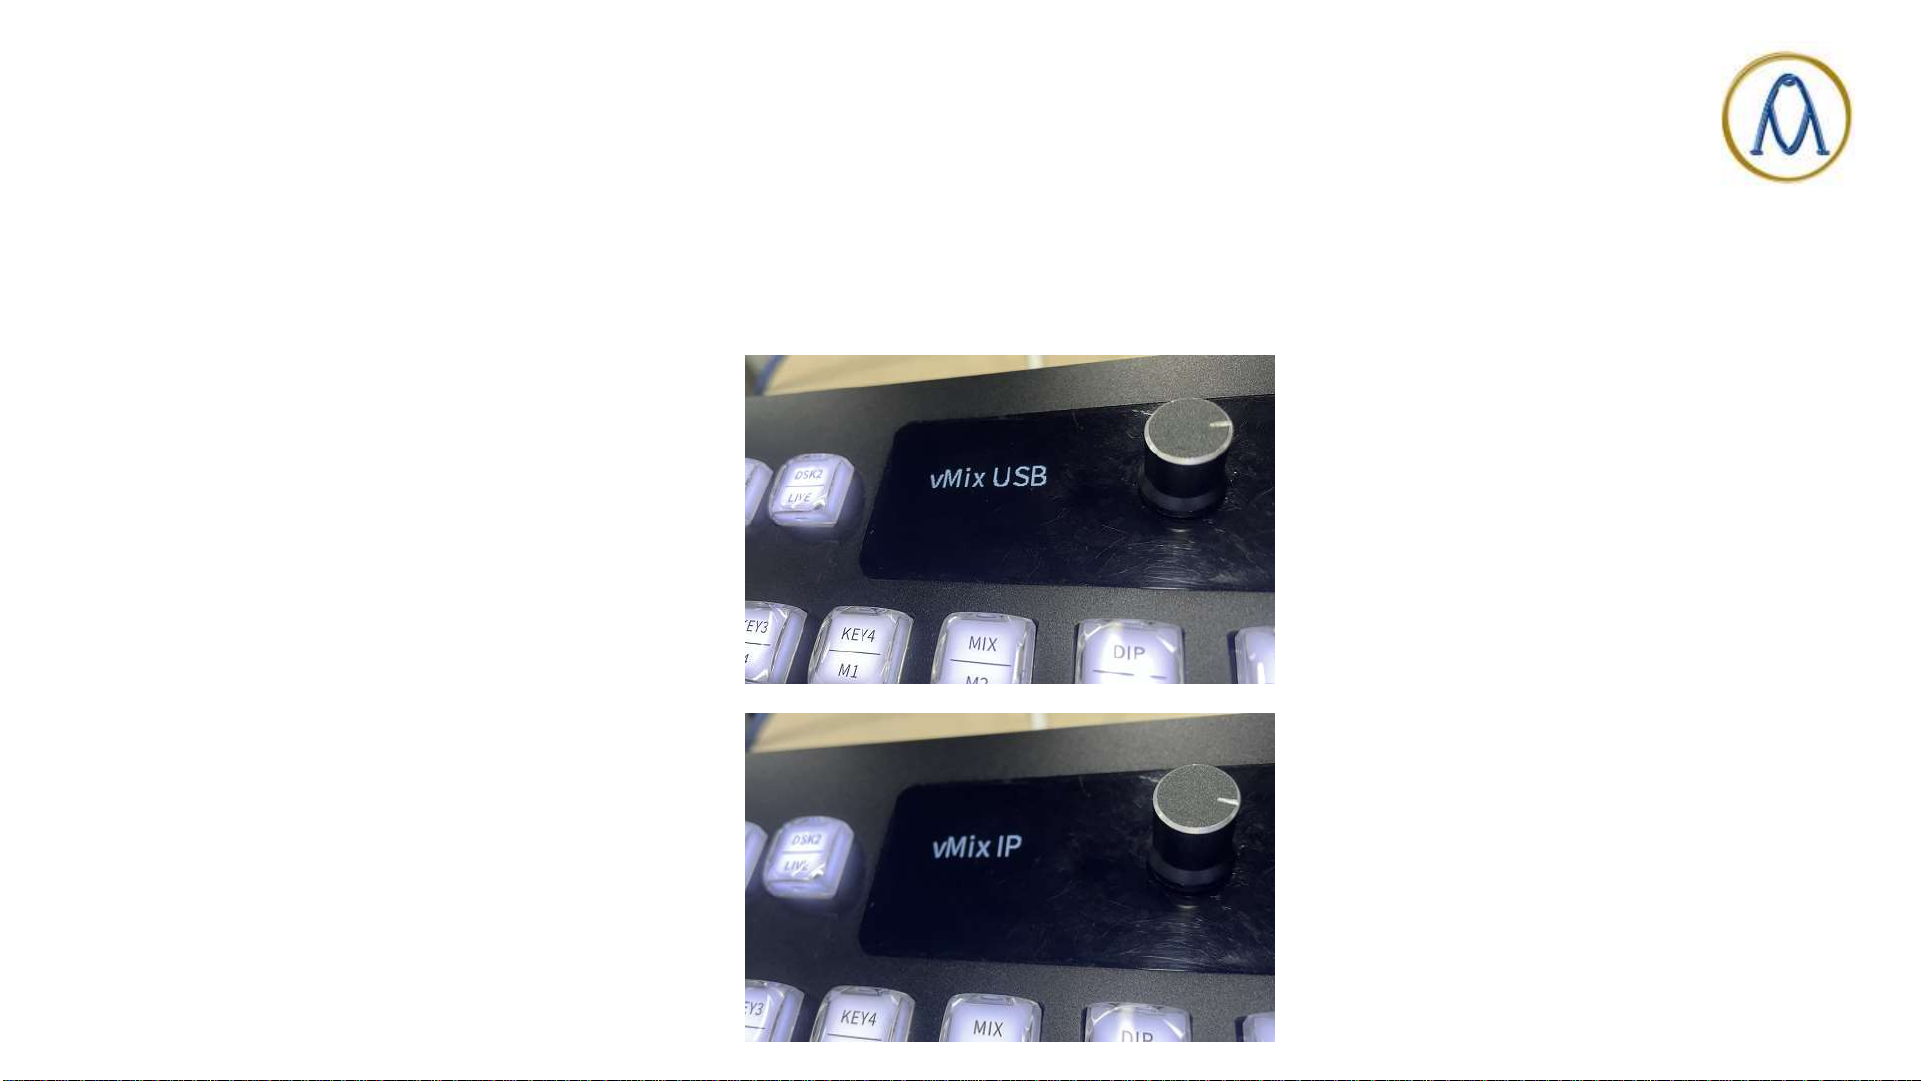
2. New added functions
•2. Button function customization
(Keymap function only available for ATEM)
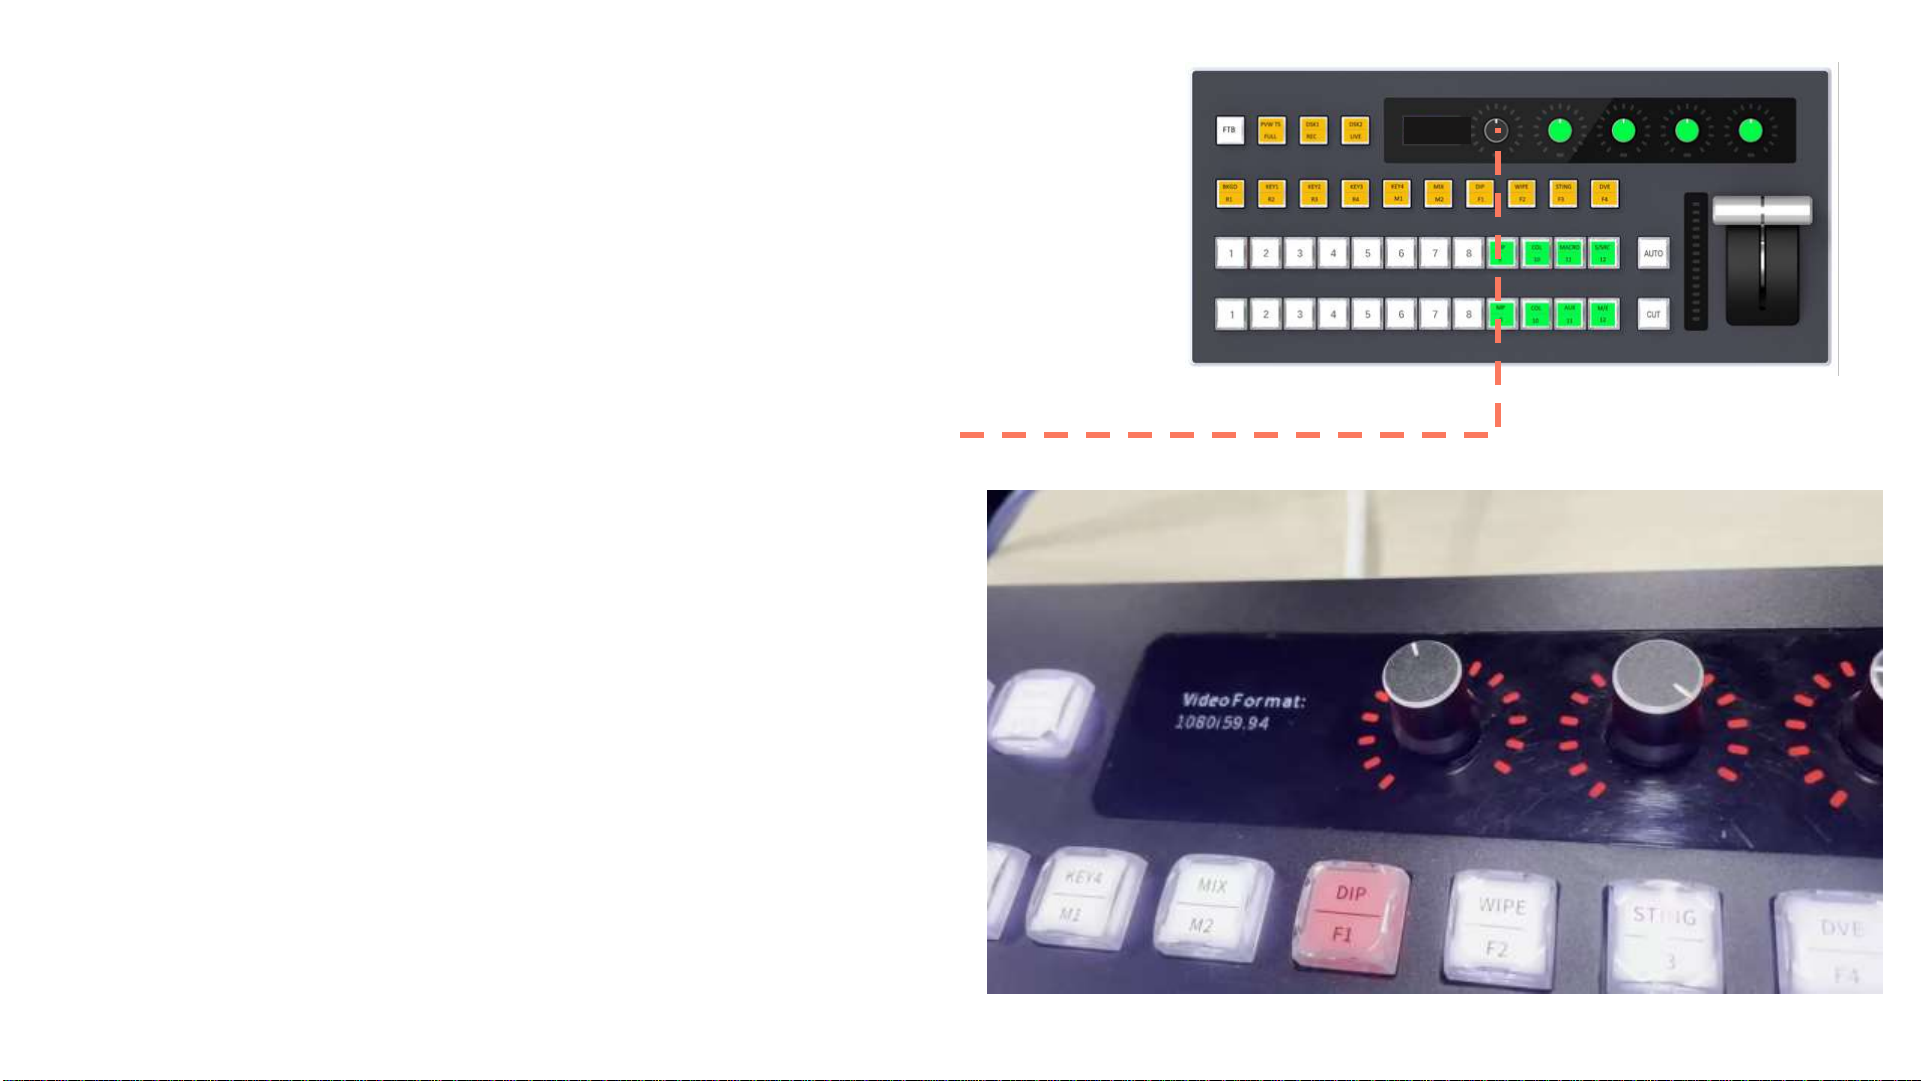
1. Press and hold the first knob for about 3 seconds
to open CP AVX37’s menu.
2. Scroll the 1st knob clockwise and move the cursor
to option” 2. ATEM Settings”. Then click the 1st
knob to open the option “2. ATEM Settings”.
3. Scroll the 1st knob clockwise and move the cursor
to option ”2. Keymap”. Then click the 1st knob to
open the option "2. Keymap“.
4. Click the 1st knob to enter its sub menu to select
the function of “Knob 2”.
5. Scroll the 1st knob clockwise and move the cursor
to select corresponded function, then click the 1st
knob to confirm your selection.
6. Press the 2nd knob to quit the menu.