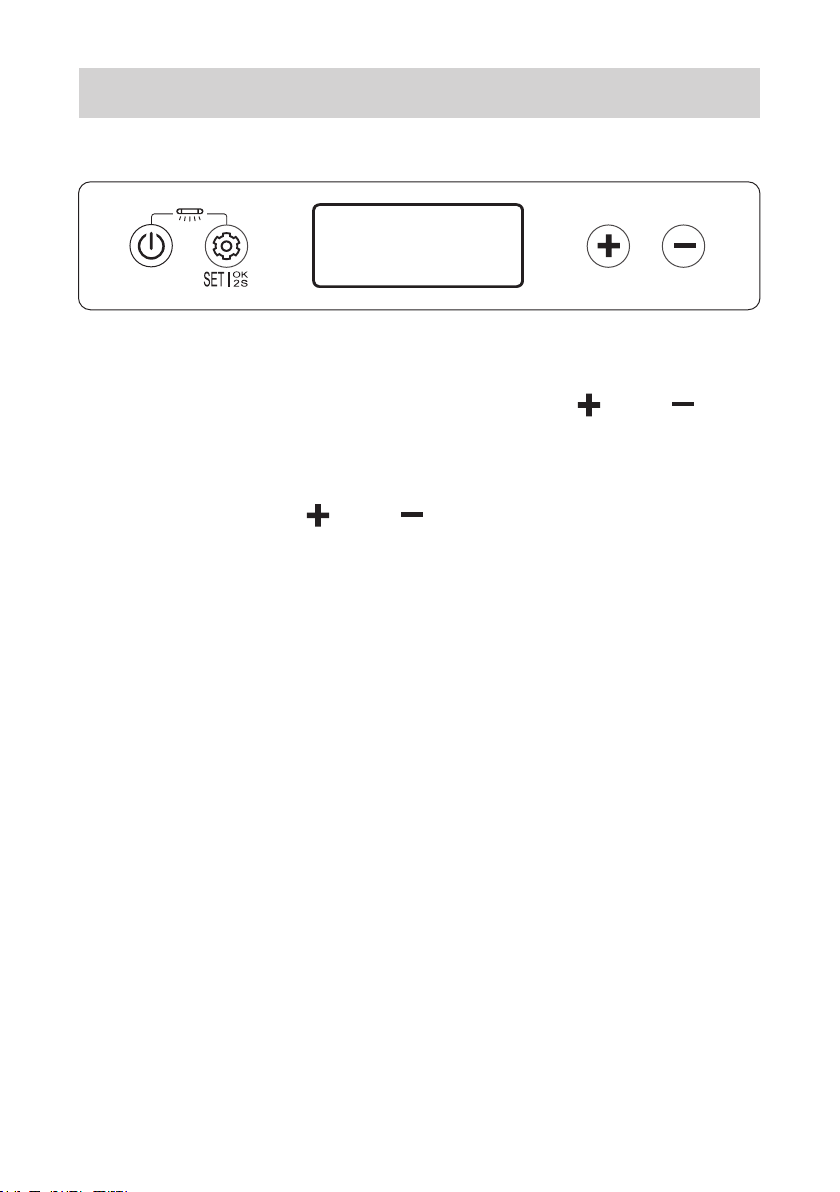
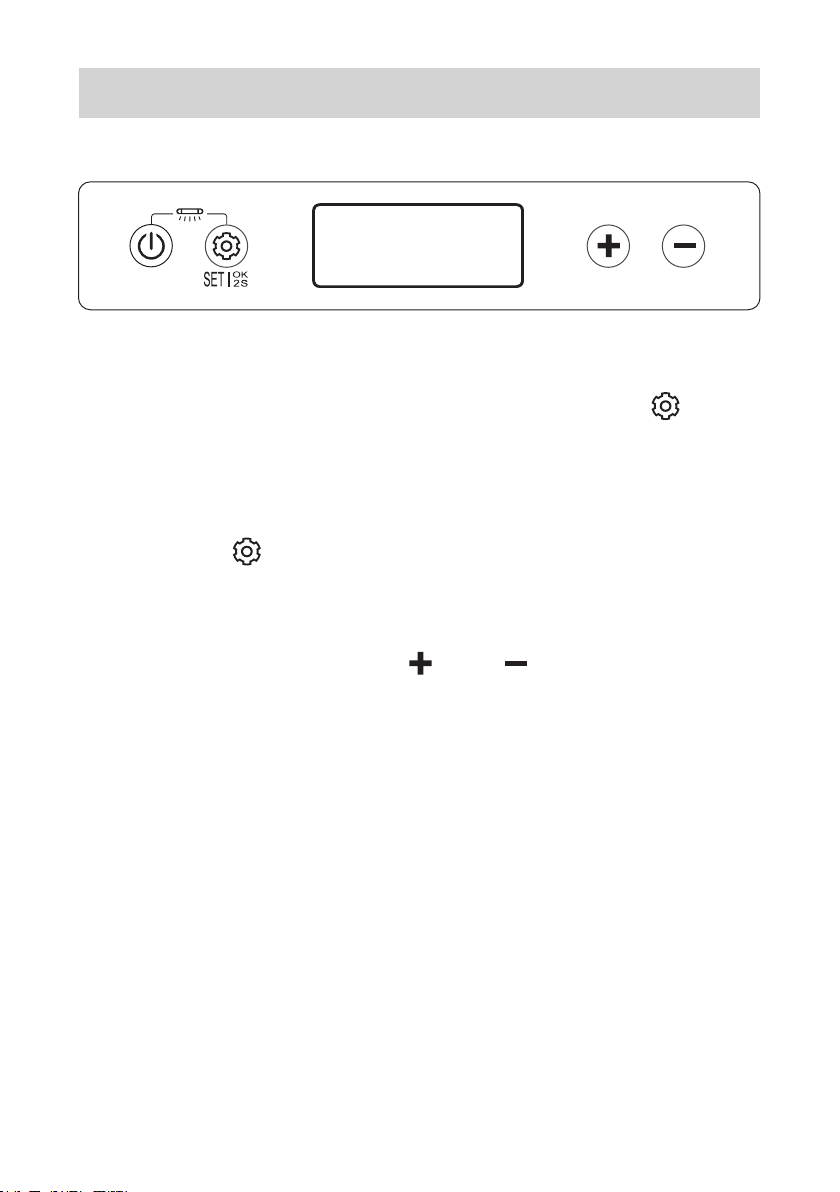
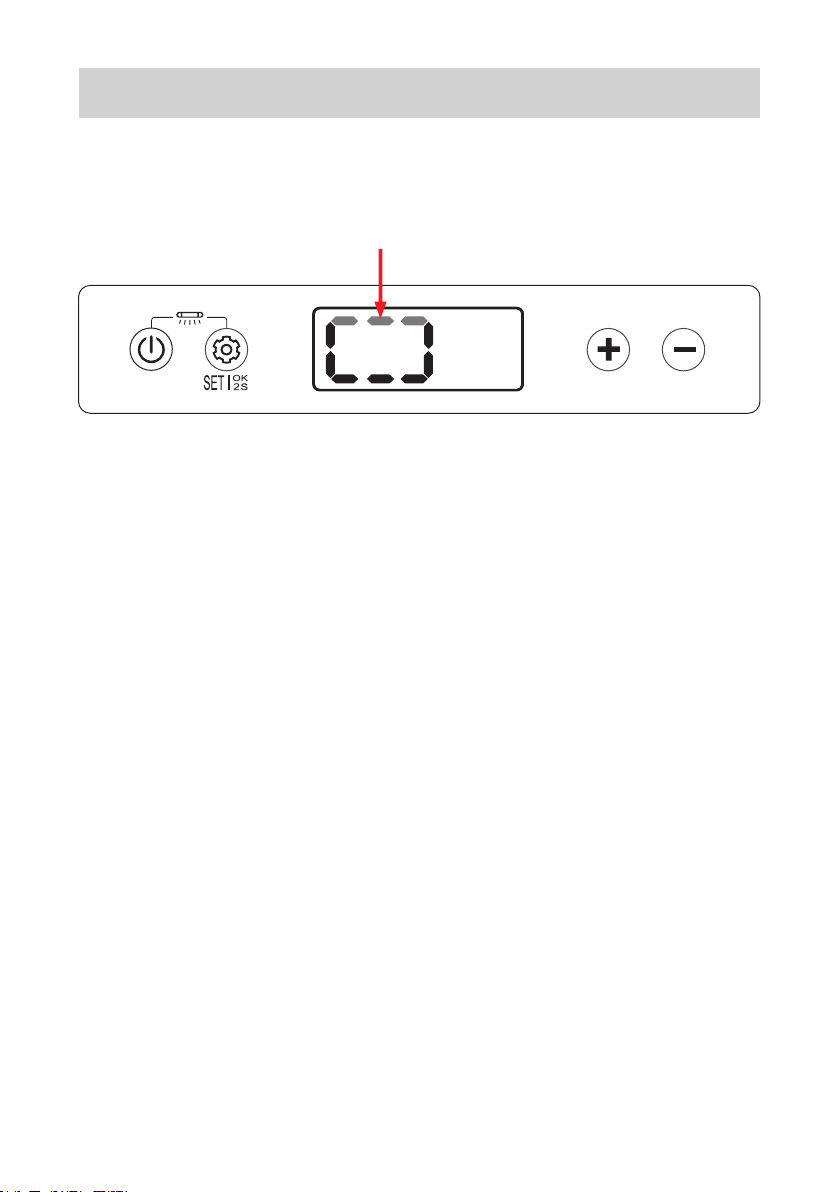
Iceco JPPRO Series User manual

Please email us at: official@icecofreezer.com
JP40/50 PRO

Catalogue
1 1
- - - - - - - - - - - - - - - - - - - - - -
Supply Details
2 2
- - - - - - - - - - - - - - - - - - - - - - - - - - -
Operation
3 9
- - - - - - - - - -
Cleaning And Maintenance
4 11
-----------
Error Codes & Solutions
5 13
- - - - - - - - - -
Warranty & Return Policy
6 14
- - - - - - - - - - -
Troubleshooting (Q & A)
7 19
-----------------
Safety Instructions
8 24
-------------------
Protective Cover

Supply Details
Refrigerator x1 Wire Basket x1
01
1
MODEL JP40 PRO JP50 PRO
Dimensions
LxWxH
Net
Weight
Storage
Volume
Refrigerant
725x350x458 mm
DC 12/24V AC 110V-240V
R513A
28.5x13.8x18 inch
725x350x533 mm
28.5x13.8x21 inch
38.4 lbs 40.8 lbs
42 quarts 52 quarts
17.4 kg 18.5 kg
40 liters 50 liters
-20°C to +20°C (-4°F to 68°F)
Temperature
Range
Voltage
8.2 Feet 12/24V
DC Cigarette
Lighter Plug Cable x1
6 Feet 110V AC Wall
Outlet Cable x1

2Operation
02
BCompressor Speed(MAX/ECO Mode)
CTemp. Setting UP
APower (Press & Hold to turn on/of f )
DTemp. Setting DOWN
A B C D
-4
°F
v
12.9
L
ECO MAX
UV
UV

03
2.1 Setting Temperature
After the fridge turned on, press “ ” or “ ” to
raise or low the set temperature.
Press & hold “ ” or “ ” to linear adjust the
temperature.
-4
UV

2.2 MAX & ECO Mode
After the fridge turned on, press & hold “ ” for
2 seconds. Fridge will enter the setting mode.
Press the “ ” to adjust the compressor
ef ficiency and the corresponding icon
(MAX, ECO) on the display board will be
FLASHING, press the “ ” or “ ” to switch
dif ferent mode. Wait 5 seconds for the system
to finish the mode change.
There are two mode “MAX” or “ECO” (the
display board will show the running mode).
The factory settings is MAX mode.
04
ECO MAX
UV

2.3 Battery Protection
When enter the fridge setting mode, press the
“ ” to adjust the battery protection level and
the corresponding icon (H, M, L) on display
board will be FLASHING. Press the “ ” or “ ”
to switch dif ferent level. Wait 5 seconds for the
system finish the level change.
05
LOW
VOLTAGE
PROTECTION
POSITION
DISPLAY
12V
CUT OFF
(V)
CUT IN
(V)
CUT OFF
(V)
CUT IN
(V)
24V
1 Bar
2 Bars
3 Bars
9.6 10.9 21.3 22.7
10.4 11.7 22.8 24.2
11.1 12.4 24.3 25.7
MED
HIGH
The factory settings is M level.

06
2.4 Switch Between °C and °F
When enter the fridge setting mode, press the
“ ” to adjust the temperature scale and the
corresponding icon (°C, °F) on display board will
be FLASHING, press the “ ” or “ ” to switch
dif ferent scale. Wait 5 seconds for the system
finish the scale change.
The factory settings is °F.
°F
°C
UV

07
2.5 UV Sterilizer Settings
After the fridge turned on, the UV light will work
automatically. The UV light will finish work after
30 minutes.
When the lid opened the UV light will turn of f
immediately.
If want to cancel the UV sanitizing function.
After the fridge turned on, press & hold “ ” and
“ ” at the same time, the function will turn of f.
Restart the function please repeat the previous
step.
UV
UV

2.6 Alarm For Lid Not Closed Properly
When the refrigerator door is opened continuously
for more than 1 minute, the fridge will ring, and
the refrigerator will display the following pattern
to notice the user to close the door.
When the refrigerator door is closed fasten, the
refrigerator resumes normal display.
This icon will flash if lid not closed completely.
08
UV

Cleaning And Maintenance
3
09
3.1 Cleaning
Always unplug the fridge before cleaning
the fridge.
You can clean the interior and exterior of
the fridge by using warm water, mixed
with a gentle non-abrasive detergent.
You may use a soft sponge, or micro fiber
cloth.
When not in use, it’s better to leave the lids
open to reduce odors.
If odors occur, please clean the fridge
thoroughly, or use baking soda in a bowl
to absorb odors.

10
3.2 Danger Behavior
Use pointed objects to scrape, or defrost ice.
Use abrasive detergents to clean.
Use heavy duty sponges (due to scratching).
Clean the fridge with running water or
pressure washer.
Clean the fridge without power input covers
secured.
+
3.3 USB Connector
NOTICE: USB connector only takes
ef fect when charging in DC power cord.
*191.4
73.7
*44.4
*26
*7.537 *32
*29
3.4
*25.1
*14.79.7
7.6
K:100 Pantone 877C
更改描述
A
插座标签
MCD30J
MCD30J.05-03
发 布
技术要求:
1.*号处为重要尺寸,未注公差按GB/T 1804-m级;
2.制件材质为PET/0.2光面,背涂3M9448胶 ;
3.制件颜色要求如图所示,字体清晰,间距均匀;
4.标签件应符合GB/T 4852-2002 斜面球法要求,贴膜(长度300mm),胶水面向上,测试角度30°,
≥21#钢球滚过贴膜不跌落;
5.高温、低温测试(贴于塑料件24H后再做测试);
60℃(6H)→-20℃(6H)→60℃(6H)→-20℃(6H),无起翘、无烧焦现象。
黄玉莲 2022.4.1
林文华 2022.4.1
罗舟明 2022.4.1
谢 羽 2022.4.1
韩梦茹 2022.4.1
DC 12V/24V
AC 100-240V
50/60Hz
USB
4-R1.5
4-R1.8
1.15.030-1315

11
Error Codes & Solutions
4
Description
The cooling fan overloads with more than
1A of current.
E2
Motor start error
The motor of compressor is blocked or the
pressure dif ference in the refrigeration
system is too high.
E3
Minimum motor speed error
The compressor overloads and the motor
can not maintain its minimun speed 1850
rpms.
E4
Thermal cut-out of electronic unit
Thermal cut-out error If the refrigeration
system overloads, or the ambient
temperature is too high, the thermal
sensoris overheated.
E5
The DC voltage is under the protection
setting and the battery protection mode is
activated.
E1
NTC failure
Open circuit or short circuit.
E6
Code

12
Solutions
If this error code appears when the fridge is
operating on 12V DC, please try to lower the
battery protection setting and see if the error
is resolved. The battery protection mode may
be triggered prematurely on certain vehicles
due to small wiring imperfections, contributing
to a measured DC voltage drop at compressor
start-up. Lowering the battery protection
setting may resolve this issue.
Please also care about the reading of your
battery voltage to make sure it is not
depleted/discharged.
If possible, please connect the AC power to try
if the refrigerator appears error code.
Please contact us directly if the error persists.

13
Warranty & Return Policy
5
30 days refund guarantee upon receiving.
For returns or exchanges, please call us,
or fill out the following return and exchange
registration form in the package as a proof
of return. All materials must be returned in
the original condition and packaging. Thank
you for your cooperation.
If the product is received damaged or
defective during transportation, you will
need to contact our customer service
within 2 business days. Make sure to
provide relevant photos or videos, your
order ID number, and your name. A
customer service agent will help assist
into solving the issue at a timely manner
(Return, Exchange, or Discount
Compensation). A free return label will be
provided if needed.
5 years warranty on the compressor.
1 year warranty for other parts or accessories.

14
Troubleshooting (Q & A)
6
1. Heat resistance & water resistance
ICECO refrigerators are engineered to operate at
an ambient temperature of up to 55 °C(131 °F).
Heat resistance
ICECO refrigerators can operate under light rain
conditions. Please keep the vents above clear
of water, and please add some clearances to
the bottom of the fridge if the ground is wet.
Weather Proof
We DO NOT recommend exposing the fridge
to moderate or heavy rain.
As with all electrical appliances, over-exposure
to moisture may shorten the fridge’s life.

15
2. Why did it change back to the original
temperature after setting the
temperature?
The Solid/Non-Flashing number on the display
is the CURRENT interior temperature.
The Flashing number is your SET temperature
after adjustment. The compressor will shut of f
when the SET temperature is reached.
3. What should I do if the refrigerator is
upside down when it is delivered?
Please leave your refrigerator upright for 24
hours to allow the compressor lubricant to
resettle before powering on the fridge.
Otherwise it may contribute to certain operation
abnormalities.

4. What is the function of triple battery
protection? How do they work?
The triple battery protection is designed to
prevent over-discharge and battery depletion.
When the measured DC voltage is below the
set value, the compressor is shut off to prevent
battery depletion.
LOW
VOLTAGE
PROTECTION
POSITION
DISPLAY
12V
CUT OFF
(V)
CUT IN
(V)
CUT OFF
(V)
CUT IN
(V)
24V
1 Bar
2 Bars
3 Bars
9.6 10.9 21.3 22.7
10.4 11.7 22.8 24.2
11.1 12.4 24.3 25.7
MED
HIGH
For example, when you switch to a LOW MODE,
the battery voltage is under 9.6 volts, the
refrigerator will automatically cut the power OFF;
The refrigerator will start again till the battery
voltage reached back to 10.9 volts.
16

17
5. What is the power draw in max/ fast
cooling mode?
Model Electrical
Power
GO12 50W
Model Electrical
Power
JP42 55W
GO20 50W VL35
Series 65W
JP Series 60W VL Series 85W
VL45 ProS 45W VL60 ProS 47W
VL75 ProD 57W VL90 ProD 61W
This data is only suitable for laboratory testing,
and the actual power is subject to actual
conditions.
JP40 Pro JP50 Pro
60W 60W

18
Because of the sinking nature of cold air, the
dif ferent temperatures may exist in dif ferent
locations in the refrigerator (the temperature of
the bottom will be the lowest). The panel only
shows the average temperature of the refrigerator.
6. Why is there a temperature dif ference
(between the actual temperature of the
refrigerator and the set temperature)?
7. What kind of cable do I need to use in
the car and at home?
The DC cable is provided. You can power it
from your vehicle's cigarette lighter plug using
the DC cable. You can also power it at home,
but you need to use with AC cable as
precondition.
8. What is the specification of the fuse
of the refrigerator?
The supply line is protected by a 15A fuse
located in the refrigerator.
This manual suits for next models
2
Table of contents
Other Iceco Freezer manuals