5
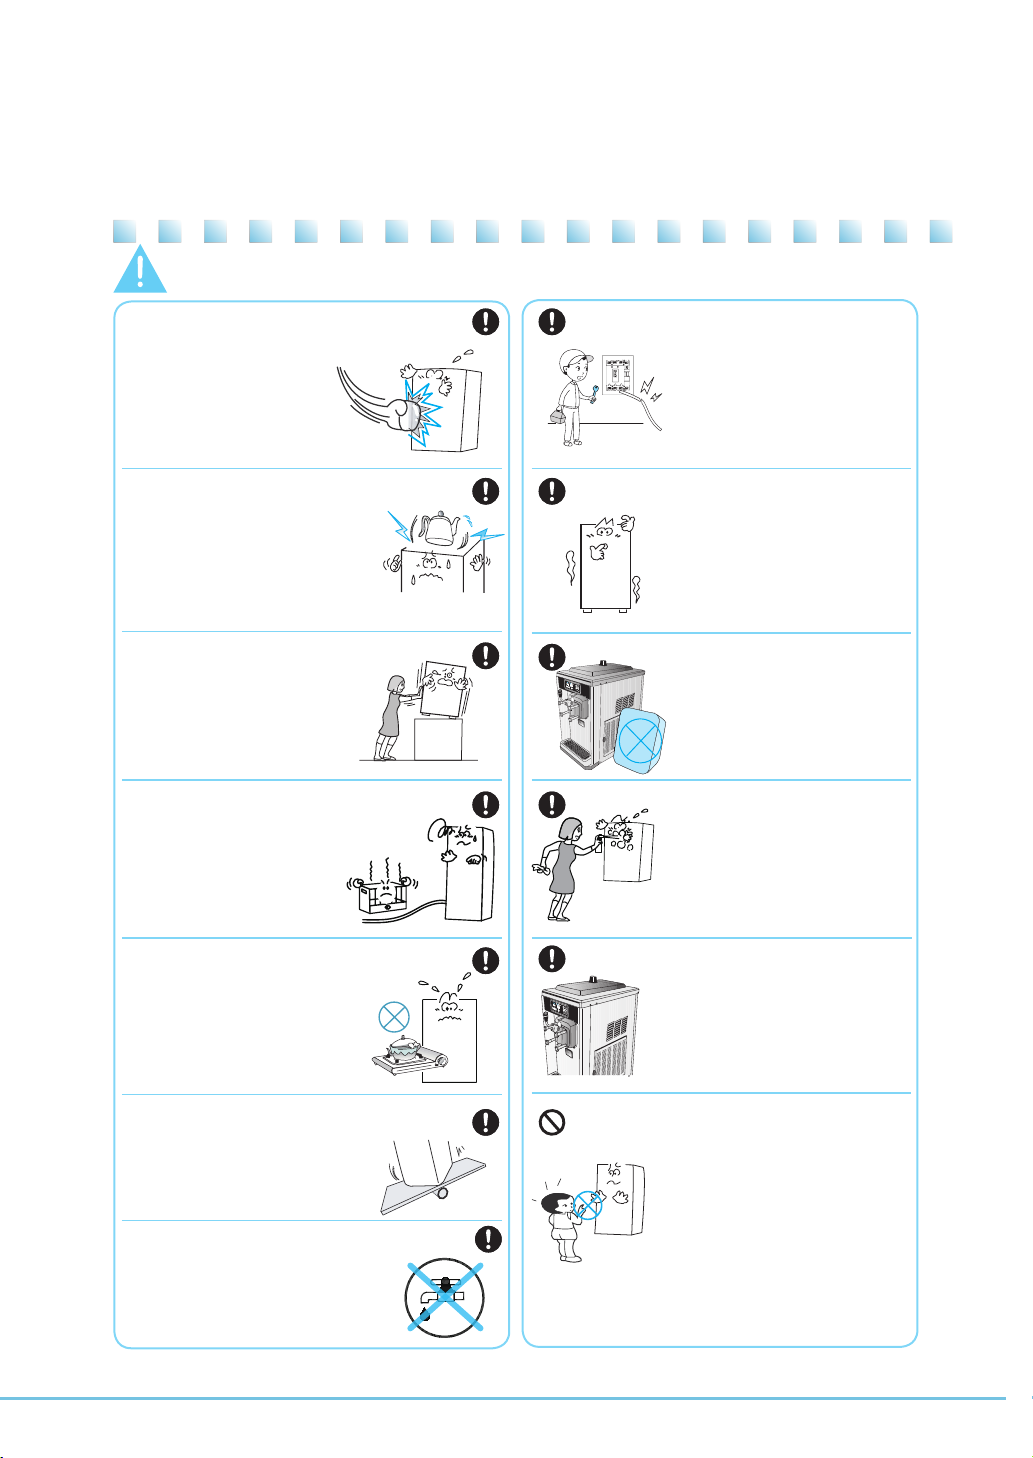
Warning
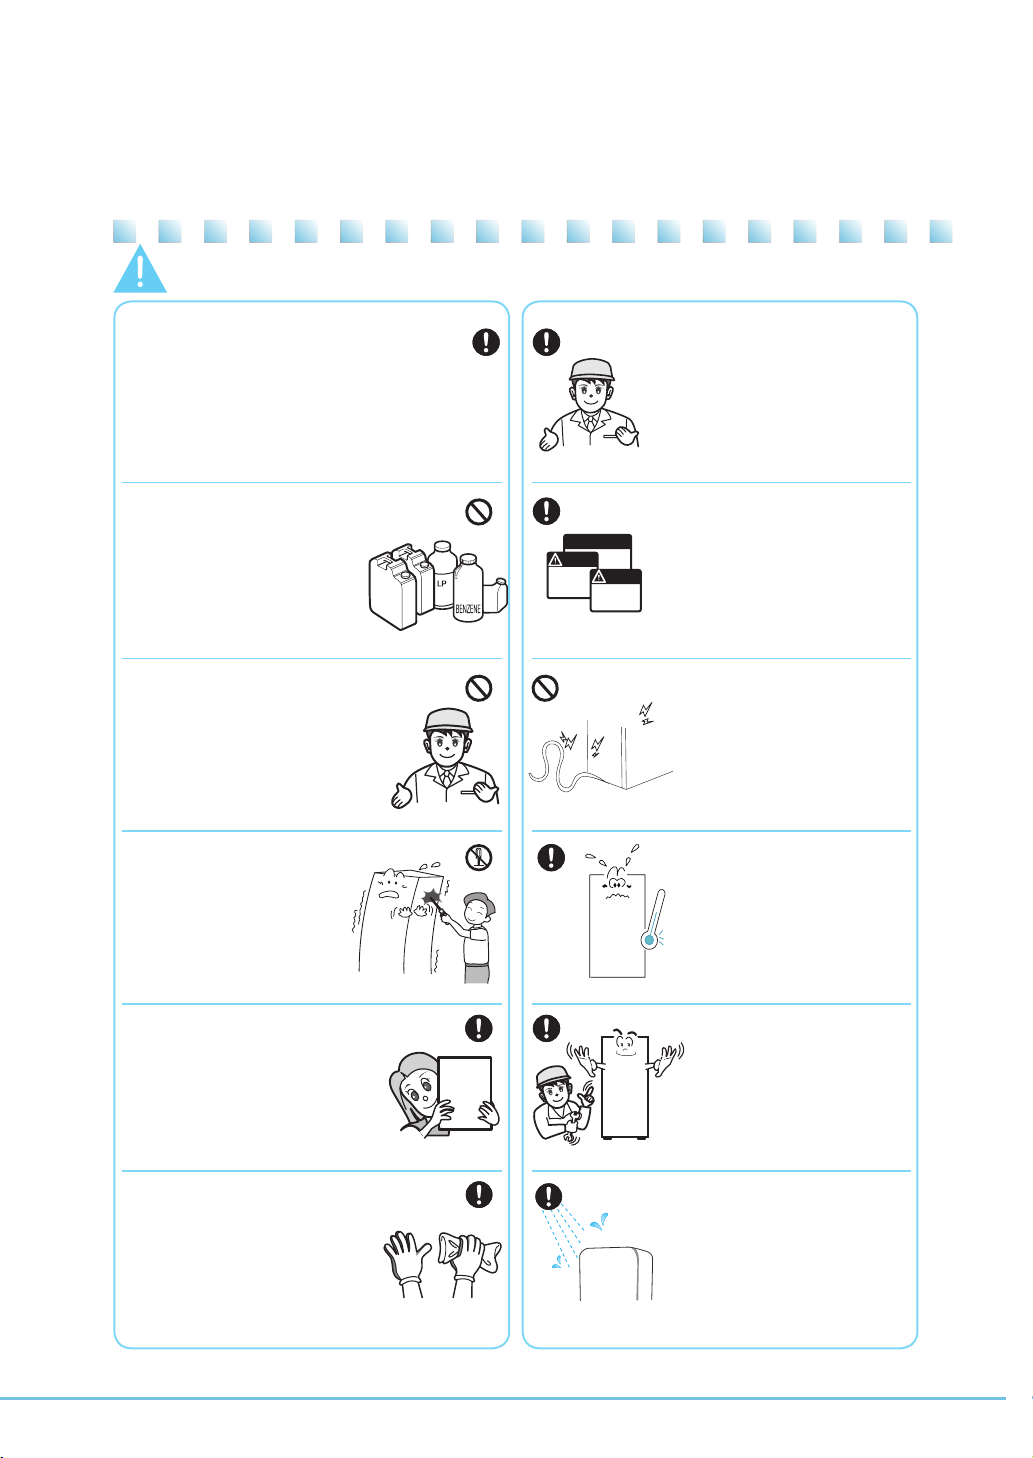
Do not disassemble or
modify the product.
It may cause electric
shock, fire, or injury.
Contact a professional service
supplier to repair the product.
Incomplete repair may cause
electric shock, fire, or injury.
For relocation of the product, call an expert.
Incorrect installation may cause damage
due to electric conduction.
Installation requires construction work in accordance with
related standards or laws including, but not limited to, KS,
road traffic act, fire service act, food sanitation act, etc.
Improper installation may cause accidents.
※: Please contact the agent where the product was purchased.
Keep your warning and
cautionlabels clean for easy
legibility.
If the user misunderstands
the content of such a label,
an accident may occur.
※: Contact the customer service
center if the product appears to
be defective or acts abnormally.
※: Check your labels.
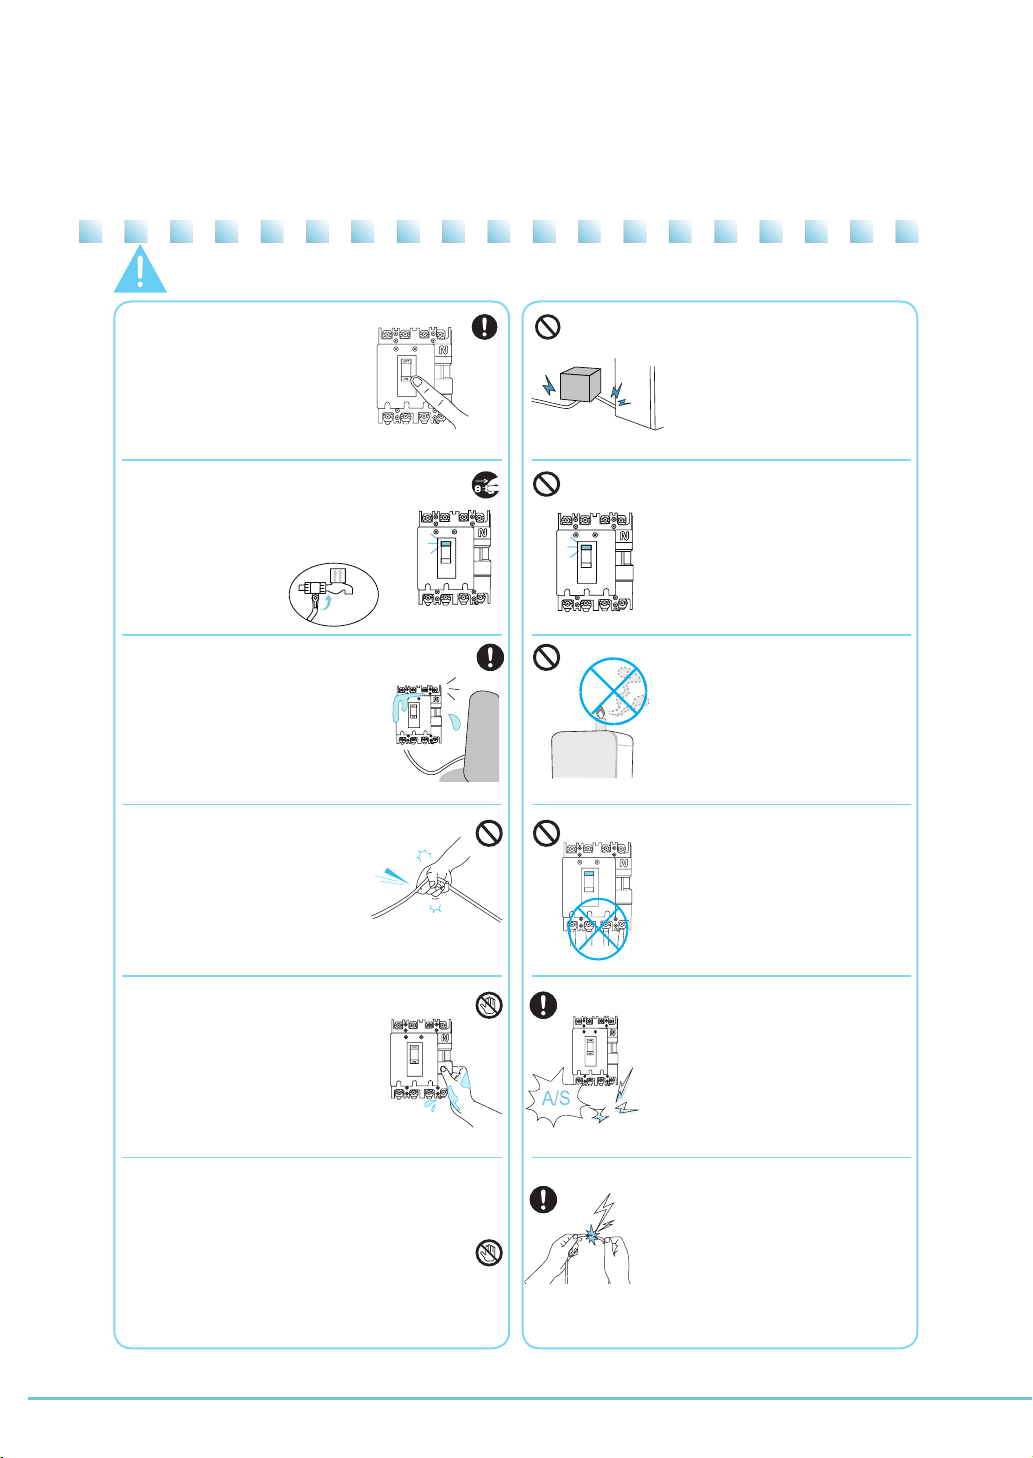
Stop using the product if the
power cord is damaged.
It may cause fire or electric
shock.
Combustible gas or flammable
material (benzene, gasoline,
thinner, LP gas, etc.) must be
kept away from the product
and should never be put on
the product.
It may explode or cause fire
or injury.
Oh! NO
To replace or repair the power cord,
contact a professional technician or
our customer service center.
If you sell or hand over
the product, make sure
to hand over the user’s
manual with it.
without the manual, an accident
may occur because of erroneous
handing or operation.
Contact a professional
disposal service
provider when disposing
of the product.
Failure to dispose of the
product properly may result
in accidents.
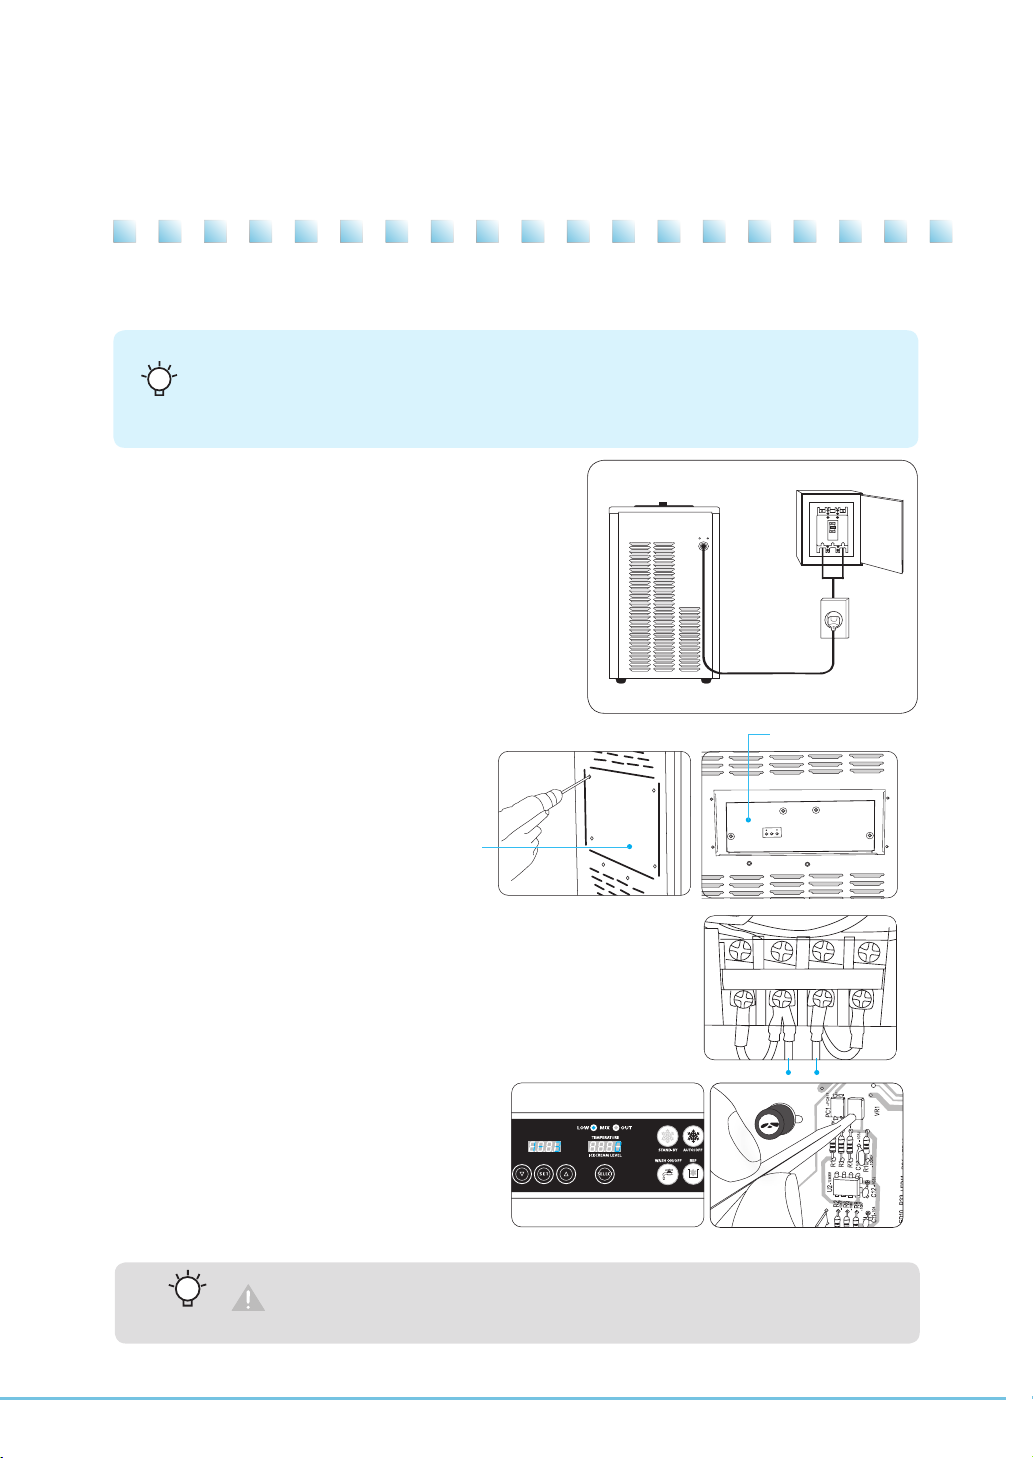
This product shows
the Optimal performance
at temperature of 10~30°C.
Do not install it near dust,
moisture or rainwater(water) popping.
It can cause electrical
shocks or fires.
MANUAL
When cleaning the inside of the
product, remove the power cord
from the outlet and wear
protective gear such as rubber
gloves.
Failure to do so may cause electric
shock or injury.