ignik FireCan User manual
PORTABLE FIRE PIT
OWNER’S MANUAL
MODEL # IGPRO-00121
TM
Installation and service must be performed by a
qualified installer, service agency, or gas supplier.
Improper installation, adjustment, alteration, service
or maintenance can cause injury or property damage.
Read the installation, operating and maintenance
instructions thoroughly before installing or servicing
this equipment.
WARNING: FOR OUTDOOR USE ONLY
WARNING:
If the information in this manual is not followed
exactly, a fire or explosion may result causing
property damage, personal injury or loss of life.
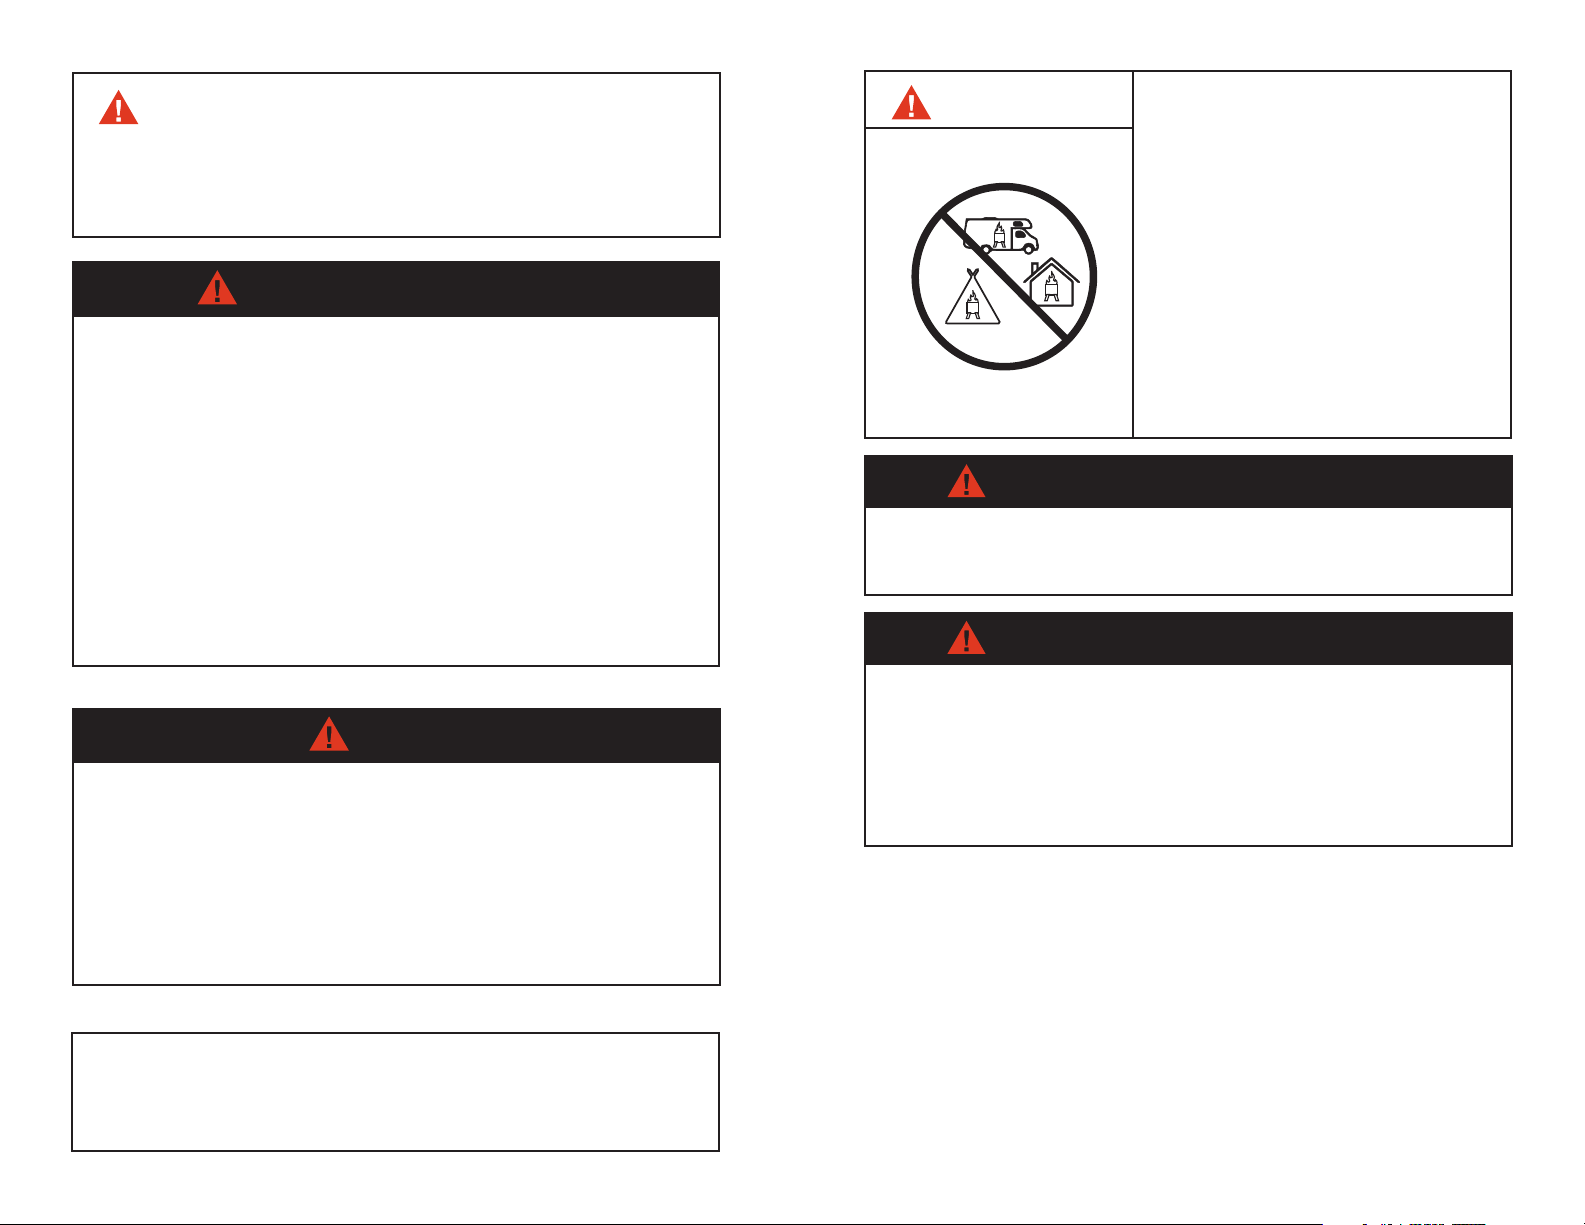
WARNING:
This appliance can produce
carbon monoxide which has
no odor.
Using it in an enclosed space
can kill you.
Never use this appliance in
an enclosed space such as a
camper, tent, car or home.
CARBON MONOXIDE HAZARD
DANGER
Do not store or use gasoline or other liquids with
flammable vapors in the vicinity or this or any other
appliance.
An LP cylinder not connected for use shall not be
stored in the vicinity of this or any other appliance.
WARNING
If you smell gas:
1. Shut off gas to the appliance
2. Extinguish any open flame.
3. If odor continues, keep away from the appliance
and immediately call your gas supplier or fire
department.
Failure to follow these instructions could result in fire
or explosion, which could cause property damage,
personal injury, or death.
FIRE OR EXPLOSION HAZARD
INSTALLER: Leave this manual with the appliance.
CONSUMER: Retain this manual for future reference.
• Never refill disposable propane cylinders.
• Only use the regulator that came with your unit. Do not adjust the regulator.
• Check all the fittings for leaks during setup using soapy water as described in this
manual. Never use a flame.
• Never leave heater/burner unattended when hot or in use.
• Extreme caution is necessary when any heater/burner is used by or near children
or invalids. Keep out of reach of children.
• Do not move the unit while lit. Use extra care when touching carry handle while
unit is hot, severe burns can result.
• This is not a toy. Keep out of the reach of children.
• Do not place any objects inside the burner component of the FireCan™.
• Do not add wood or any other material to the fire. It is designed to safely combust
propane only.
• Do not connect to a remote gas supply.
• Do not use this appliance if any part has been under water. Immediately call a quali-
fied service technician to inspect the appliance and to replace any part of the control
system and any gas control which has been under water.
• Do not leave this appliance in the rain.
• Do not obstruct flow of combustion air and/or ventilation air for the FireCan™
• Do not wear loose clothing while operation the FireCan™. Always wear fully covered
shoes while operating the FireCan™.
• The unit should be placed on the ground area out of traffic where it will not be tipped
over. Do not leave unit unattended or where children or adults may cause the heater/
stove to tip-over.
• Do not operate this unit in any moving vehicle.
• Do not use heater/stove when tired or under the influence of alcohol, drugs or any
medication. Any inattentive activity may result in serious personal injury.
• Do not leave FireCan™ unattended while in use. Operate the FireCan™ with close
supervision.
• Do not operate this unit in areas where the surroundings can ignite in the presence of
combustible materials such as paper or cardboard, volatile or airborne combustibles
such as gasoline, flammable liquids, explosive powders, solvents, paint thinner, dust
or unknown chemicals. Sparks that occur during heater/stove operation may ignite
these materials, leading to serious injury.
FOR RECREATIONAL USE ONLY INSPECT PRODUCT BEFORE USING
WARNING
• This heater/burner is a combustion appliance. All such appliances produce Car-
bon Monoxide (CO) during the combustion process. Do not block air flow into the
or out of the heater/stove.
• Carbon Monoxide (CO) poisoning produces flu-like symptoms, watery eyes,
headaches, dizziness, fatigue, nausea and possibly death. You can not see or
smell Carbon Monoxide gas. It is an invisible killer. if these symptoms are present
during the operation of this heater/stove, get fresh air immediately!
• FOR OUTDOOR USE ONLY
• Never use inside house, camper, tent, vehicle or any other enclosed areas. This
heater/stove consumes air (oxygen). Do not use in unventilated or enclosed areas
to avoid endangering your or other lives.
CARBON MONOXIDE HAZARD
DANGER
DANGER
• Keep all connections and fittings clean. Inspect propane cylinder and connection
for damage before attaching.
• During setup of your unit, check all the connections and fittings for leaks using
soapy water. Never use a flame. Bubbles in the water indicate a leak. Check that
your connections are not cross-threaded and they are tight. Perform another leak
test. If there is still a leak, remove the cylinder and contact IGNIK for service or
repairs.
• Use as a temporary heating appliance only. Never alter the unit in any way or
install any device or part not included with your unit.
• Clean your unit frequently to avoid any debris build-up.
MAINTENANCE SAFETY
CAUTION
It is impossible to foresee every use for this product. If you have any concerns about
the use of this product in your environment, contact your local fire safety authority.
Additional standards govern the use of fuel gases and heat producing products for
specific uses. Your local authorities can advise you about these standards.
Inspect hose prior to each use of the unit. The hose assembly must be replaced prior
to the appliance being put into operation if there is evidence of excessive abrasion or
wear, or if the hose is damaged. Contact Ignik Outdoors should you require a replace-
ment hose.
Inspect burner prior to each use. Burner must be replaced prior to the appliance
being put into operation if there is evidence of damage. Replacement burners are
available from Ignik Outdoors.
Should any part of this appliance (including the burner) become soiled or dirty, wipe
lightly with a damp cloth. Do not use flammable or corrosive cleaning products on or
near this unit.
Ensure that gas hose is placed in an area where it is unlikely to be tripped over (such
as pathways or trails) or subject to other accidental damage.
Keep the appliance area clear and free from combustible materials, gasoline and
other flammable vapors and liquids.
Solid fuels shall not be burned in this appliance.

PRODUCT SETUP - GETTING STARTEDFIRECAN™ PARTS
FIRST TIME SETUP:
Ensure the following steps are completed:
1. Using the lid lock, remove lid completely from
FireCan™
2. Remove all items from inside the unit
including the regulator hose.
3. Fold open all foldable legs and place
FireCan™ on a flat, non-flammable surface.
4. Pull back spring collar of Quick-Connect
socket and push on to Quick-Connect stem
attaching the regulator hose to the FireCan™.
5. With the Quick-Connect attached to the
FireCan™, follow the LP SETUP direction on the
next page to connect the regulator hose to the
LP Tank and test for leaks.
TANK PRESSURE:
Minimum Supply Pressure - 5 PSI
Maximum Supply Pressure - 200 PSI
Removable Lid
Lid Lock
Silicone
Handles
Propane Burner
Heat Shield Tray
Flame Screen
FireCan™ Housing
Quick-Connect Stem
Quick-Connect
Socket
Tool-Less
LP Tank Attachment
Adjustable Regulator Valve
Regulator Hose
Foldable Legs
Hose Shield
FireCan™ Portable Fire Pit - Model # IGPRO-00121
2
5
WWW.IGNIK.COMSUSTAINABLE OUTDOOR HEAT
4
3
1
Assembled, Legs Open 12 x 6 x 7.5 in | 30.4 x 15.2 x 19 cm
Assembled, Legs Closed 7.1 x 12.3 x 9.1 in | 18 x 31 x 23 cm
Weight 14.1 lbs. | 6.4 kg
Hose Compatibilty Inlet - QCC-1 | Outlet - Quick Connect
DIMENSIONS:
Installations must conform with local
codes warning.
WARNING
All LP cylinders to be used with this appliance must be:
• Constructed and marked in accordance with the specifications for LP-gas cylinders
Standard, CAN / CSA B339, Cylinders, Spheres and Tubes for the Transportation
of Dangerous Goods
• Provided with a listed overfilling prevention device.
• Provided with a cylinder connection device compatible with the connector for
outdoor appliances.
• The LP gas cylinder used for this appliance must not have a capacity larger than
20 lb. (9 kg).
• Approximately 18” (46 cm) high & 12” (30 cm) diameter.
• The use of an approved LP gas cylinder stabilizer, must be used when using this
appliance in order to prevent the LP gas cylinder from tipping over.

CONNECTING THE LP TANK
1. Check that the LP tank valve knob on the LP
tank is turned clockwise to closed position.
2. Check that the red flame adjustment knob on
the FireCan™ regulator hose is turned counter-
clockwise to off position.
3. Remove the protective cap from the LP tank
valve and coupling nut, if present.
4. Hold the regulator in one hand and tighten
the QCC coupling turning clockwise until it
comes to a full stop. Firmly tight by hand only.
5. Place the tank to the side or rear of the
FireCan™. Make sure the hose does not touch
any part of the FireCan™ housing.
Ensure that the LP gas cylinder is kept at
a minimum distance of 36 in (91 cm) away
from appliance.
WARNING
APPLIANCE PROPANE SOURCEMINIMUM 36 in / 91 cm
LP SETUP - LEAK TESTING
CHECKING FOR LEAKS
1. After all connections are completed, check all
connections and fittings for leaks with a soap
solution.
2. With all valves closed, apply leak check
solution (50/50 mix of dish washing soap
detergent and water) to all gas carrying
connections and fittings.
3. Open tank valve. Presence of bubbles at
areas of wet solution indicated a gas leak. If
leaks are detected or you smell or hear gas, shut
off the valve and repair the leak or replace the
defective part.
* Do not use the fire pit until all leaks are corrected.
LIGHTING & ADJUSTMENT
INSTRUCTIONS FOR USE:
1. Slowly rotate LP tank valve knob
Counter-Clockwise to fully “OPEN” position
(approximately 2.5 full rotations).
2. With hand ready on red Flame Adjustment
Knob, place elongated lighter (BBQ style lighter)
in Ignition Hole on side of FireCan™ and ignite
lighter.
3. Slowly rotate Flame Adjustment Knob
clockwise, about 1/2 of a rotation until you hear
fuel starting to flow.
4. Place lighter flame near FireCan™ burner
and wait for FireCan™ to Ignite. Warning: If
FireCan™ does not ignite within 10 seconds,
turn Flame Adjustment Valve to “OFF” and
repeat from step #2.
5. After burner is ignited, adjust Flame by
rotating red Flame Adjustment Knob Clockwise
for larger flame, and Counter-Clockwise for
smaller flame.
TIPS:
• 3 full rotations is full pressure and maximum
flame. This should be reserved for extreme
conditions and use at higher elevations.
• One to 1-1/2 rotations is generally a good flame
height
• GOT A LOW FLAME?: If your FireCan™
experiences low flame, or flame height does not
appear to be normally adjusted by the
Flame Adjustment knob, it is likely that the CSA
excess flow safety device has been tripped in
the hose regulator. If this occurs, turn the LP
tank knob to the closed position and the Flame
Adjustment Knob to the off position and start
over from step one above.
Make sure lid is completely removed
from FireCan™ and legs are fully
extended before lighting.
WARNING
DO not move or re-position the
FireCan™ while in-use.
CAUTION
The burner must be inspected before
each use of the appliance. If it is evident
that the burner is damaged it must be
replaced before the appliance is put into
use.The burner must be replaced only by
factory authorized parts as specied by the
manufacturer.
CAUTION
Not intended for commercial use. For
outdoor use only. Use only in well-ventilated
spaces. Do not operate in a building, garage
or any other enclosed area.
Minimum Clearance from sides and back of
appliance to any material is 36” and from top
is 72”. Do not use under overhead structure.
CAUTION
1
2
3
4
5
WWW.IGNIK.COMSUSTAINABLE OUTDOOR HEAT
• Installation must conform with local codes
or, in the absence of local codes, with either
the National Fuel Gas Code, ANSI Z223.1
/ NFPA 54, Natural Gas and Propane
Installation Code, CSA B149.1 or Propane
Storage and Handling Code, B149.2

EXTINGUISHING & BREAK DOWN PERFORMANCE PROMISE
TO DISCONTINUE USE:
1. Turn Flame Adjustment Knob (Red Plastic)
Counter-Clockwise until valve is fully closed.
Flame will start to diminish within 1 minute.
2. After flame is extinguished, rotate valve on
Propane Tank Clockwise to fully close.
3. LET THE FIRECAN™ COOL DOWN FOR AT
LEAST 10 MINUTES BEFORE MOVING OR
REMOVING HOSE.
4. After cool, remove Quick-Connect Socket
from FireCan™, and remove hose connector
from LP tank valve..
5. When FireCan is cool to the touch, it is safe to
coil and place hose inside.
6. Reconnect lid by placing lid hinge on
FireCan™ bar in an approximately 90-degree
“open” position. Rotate lid closed to engage
hinge.
7. Engage clasp-lock, and press down firmly
until handle snaps down in closed position.
8. Break down Quick-Snap legs for easy packing
and storage.
PERIODIC INSPECTION:
• Keep your FireCan™ out of the rain and store it
in a dry place.
• This device has been engineered to provide
the maximum amount of heat and comfort. If
you experience any signs of your propane
cylinder ‘freezing off’ or start to experience
lower flames than usual, please simply turn the
burner control setting to low for 5–10
minutes, or replace the cylinder with a full one.
• Ensure that you clean the inside and outside
of the housing of your FireCan™ by wiping down
combustion particulates with a rag after the
housing has fully cooled down.
1
2
3
4
5
6
7
FireCan™ will get VERY HOT. Do not
touch while in use or after use until
product has cooled down.
CAUTION
CAUTION
LET FIRECAN™
COOL DOWN!
WE BELIEVE PRODUCTS SHOULD WORK.
If you have a problem with an Ignik product, let us know
and we will make it right. Ignik stands behind what we
design and offer. When things are less than perfect, we
will repair, replace, or refund, whatever it takes to make
things right.
GOT QUESTIONS?
FIND OUT MORE:
If you have a comment, suggestion, or issue,
please let us know.
Contact us at:
www.ignik.com

WWW.IGNIK.COM
IGNIK Outdoors
403 Madison Ave N #240,
Bainbridge Island, WA 98110
WE GIVE 1% OF ALL
SALES TO FIGHT CLIMATE
CHANGE IN THE ARCTIC
COMMITTED TO
RECYCLED MATERIALS
AND MANUFACTURING
KEEP UP ON THE LATEST
& HELP US BE THE CHANGE
@ignikoutdoors
#sustainableoutdoorheat
#bethechange
This manual suits for next models
1
Table of contents
Popular Outdoor Fireplace manuals by other brands

Charnwood
Charnwood TH160-01 instructions

Livoo
Livoo DOC245 instruction manual

Firegear
Firegear LOF-2412HTPSI-N Installation and operating instructions

Regency Fireplace Products
Regency Fireplace Products Plateau PTO50 Owners & installation manual

OVE
OVE BELLEVUE G2S424S owner's manual

Charmate
Charmate Fletcher CM140-036 instructions


