IKUSI SPI-300 User guide

SYNC STATUS
+V
LNB
IKUSUP
QPSK/8PSK IN
+12V
COFDM OUT
CONTROL
MTI-900
QPSK/8PSK
®
COFDM
TRANSMODULATOR
SYNC STATUS
+V
LNB
IKUSUP
QPSK/8PSK IN
+12V
COFDM OUT
CONTROL
MTI-900
QPSK/8PSK
®
COFDM
TRANSMODULATOR
SYNC STATUS
+V
LNB
IKUSUP
QPSK/8PSK IN
+12V
COFDM OUT
CONTROL
MTI-900
QPSK/8PSK
®
COFDM
TRANSMODULATOR
SYNC STATUS
+V
LNB
IKUSUP
QPSK/8PSK IN
+12V
COFDM OUT
CONTROL
MTI-900
QPSK/8PSK
®
COFDM
TRANSMODULATOR
SYNC STATUS
+V
LNB
IKUSUP
QPSK/8PSK IN
+12V
COFDM OUT
CONTROL
MTI-900
QPSK/8PSK
®
COFDM
TRANSMODULATOR
SYNC STATUS
+V
LNB
IKUSUP
QPSK/8PSK IN
+12V
COFDM OUT
CONTROL
MTI-900
QPSK/8PSK
®
COFDM
TRANSMODULATOR
SYNC STATUS
+V
LNB
IKUSUP
QPSK/8PSK IN
+12V
COFDM OUT
CONTROL
MTI-900
QPSK/8PSK
®
COFDM
TRANSMODULATOR
SPI-300
4
7
C0
8
5
1
9
BASIC GUIDE to Programme ClassA Modules
SPI-300

SPI-300 - Basic Guide
2
PRESENTATION
This guide explains the Basic Handling of the SPI-300 (Ref. 4070) Progra-
mming Unit to programme ClassA and SZB headend modules from IKUSI.
The particular user guides for each type of module, which explain in detail
the respective programming processes are on the website of each module.
All programming processes are carried out through a guided menu that
uses the keypad of the SPI-300 :
Keys and :
- Vertical displacement of the slide.
- Modication of a parameter value.
- Change of page within a menu option.
Keys and :
- Horizontal displacement of the slide.
- Change of the command displayed at the lower left
corner of the screen.
- Change of page in selection lists.
Keys and :
- Use of the commands displayed at the lower corners
of the screen (left and right, respectively).
Numerical keys
:
- Selection of menu option.
- Selection of parameter.
- Entry of parameter value.
Key "C" :
- Deletion of the character selected by the slide.
Key "." :
- Entry of decimal point.
1 2 3
4 5 6
7 8 9
C 0
SPI-300

3
SPI-300 - Basic Guide
Accesories
The SPI-300 is supplied with the following accessories:
- 1 "RJ-45 / DB-9" interfacing cable to link the unit to the ClassA modules.
- 1 "RJ45 / USB" interfacing cable to link to the SZB-400 modul. NO use to upda-
te or upload rmwares.
Connecting the Cable
To programme ClassA modules you must use the enclosed RJ-45 / DB-9
cable. The RJ-45 tip plugs in the rear socket of the SPI-300 and the DB-9
tip plugs in the CONTROL socket of the module.
Using an Auxiliary Power Supply
The SPI-300 does not require batteries, it is powered directly from the
module to which is connected. Only if you are going to perform a rmware
update through your PC, you need an auxiliary +15VDC/1A power supply.
The DC cable of the power supply plugs in the rear jack socket of the
programming unit.
Cable RJ-45 / DB-9 Cable RJ-45 / USB
SYNC STATUS
+V
LNB
IKUSUP
QPSK/8PSK IN
+12V
COFDM OUT
CONTROL
MTI-900
QPSK/8PSK
®
COFDM
TRANSMODULATOR
SPI-300
SPI-300
SZB-400
AUDIO VIDEO
MHz
SZB-400
AUDIO VIDEO
RJ-45 / DB-9
SPI-300 ClassA modul SZB-400 modul
USB
DB-9
cable DC
alimentador auxiliar
(+)
conductor central

SPI-300 - Basic Guide
4
Index
1. User's Interface
1.1 - Screens 5
1.2 - The Main Menu Screen 8
1.3 - Entering Data 9
2. Programming the Modules
2.1 - Connecting the SPI-300 10
2.2 - Detection of Module 10
2.3 - Parameter Setting 11
2.4 - Looking Up Information 12
2.5 - Using Module Congurations 13
2.6 - Updating Module Firmware 15
Appendix A — Firmware Update
A.1 - Installing Load Software on the PC 16
A.2 - Loading Firmware Files on the SPI-300 18
A.3 - Updating SPI-300 Firmware 19

5
SPI-300 - Basic Guide
1. USER'S INTERFACE
Access to programming functions of the SPI-300 is very simple through a
collection of screens that allow to select options, adjust parameters and
obtain diverse information.
1.1 - Screens
All screens have a similar format. There are 5 types:
The Menu Screens, the Setting Screens, the Information Screens, the War-
ning Screens and the Error Screens. In the lower corners of every screen
are displayed one or two commands which are used pressing the keys
and . (The key is for the command on the left corner and the key
for that on the righ corner).
Menu Screen
There is one main menu screen and several submenu screens. Within a
menu or submenu, choosing of an option may be done in two ways:
1 Country
2 Input
3 Output
4 TSProcessing
5 ConditionalAccess
ESC SEL
• Placing the slide on the corresponding line of the screen and then using
the SEL command (key ). Or, more directly:
• At the numerical keypad, pressing the digit that heads the screen line
that refers to the option.
At the lower corners of the menu screens two commands appear: ESC
(return to the previous menu) and SEL (access to the selected menu or
submenu). When a menu or submenu has many options, it is displayed in
several screens, so-called "pages". This pages present in the lower line the
scroll arrows ; change of page is accomplished through the keys
and .
Setting Screen
They allow to set the operating parameters of the connected module. A
module may have several screens grouping parameters of a same section
or category (for example: input parameters, video/audio selections, etc).

SPI-300 - Basic Guide
6
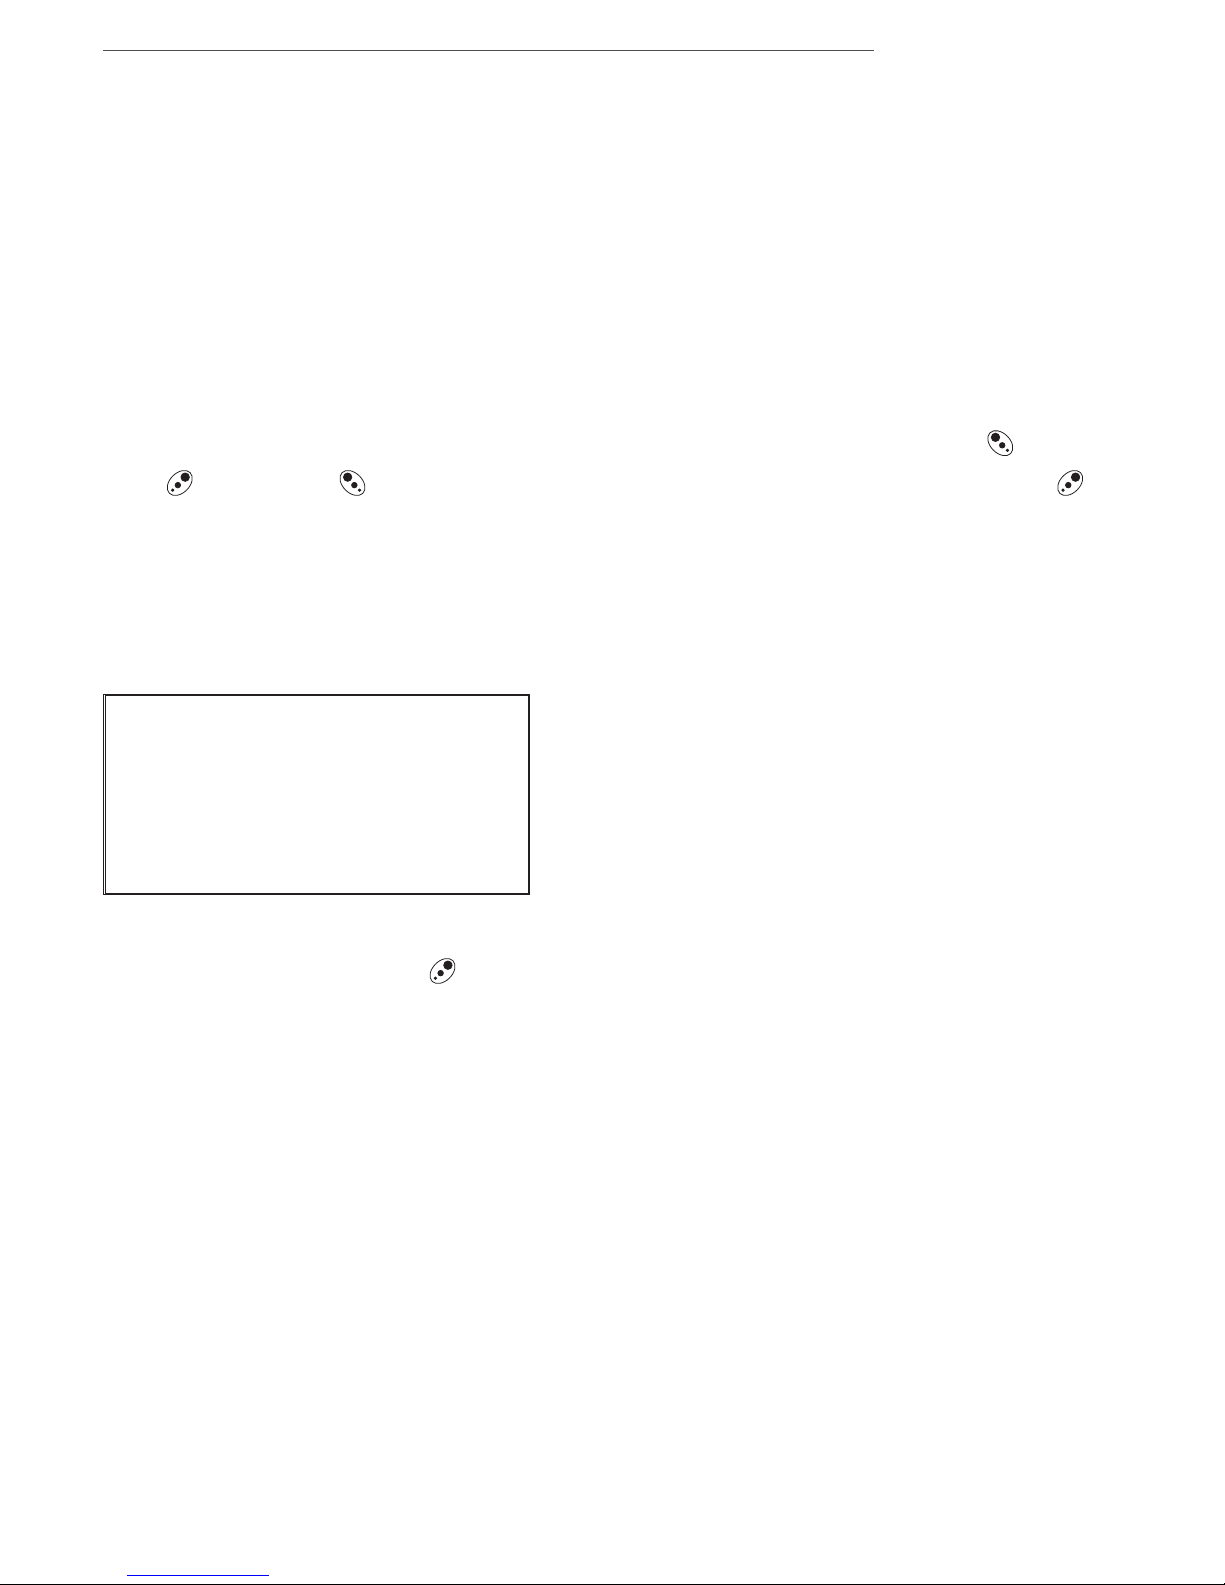
These screens show in the lower line the arrows , which means that it is
possible to change, through the keys and , the command that appear
at the left corner of the screen. These commands are the folowing:
- SEND : When you use this command, the setting values shown on the
screen are established in the module. The SEND command will be auto-
matically replaced by the DONE command just when the values have been
sent.
- DONE : The setting values are simply stored in the SPI-300, so that they
remain available either to be sent to the module (SEND command) or to
constitute a "module conguration". After using the DONE command the
programme goes back to the previous screen.
- CANCEL : This command closes the screen without saving any change
or setting.
Selection of a parameter for adjusting it next may be done in two ways:
• Placing the slide on the corresponding line of the screen and then using
the command (key ). Or, more directly:
• At the numerical keypad, pressing the digit that heads the screen line
that refers to the parameter.
When you select a parameter, the two commands at the lower corners of
the screen are replaced for these others:
: Validate a modied parameter value.
: Invalidate the changes which you have done in the present screen.
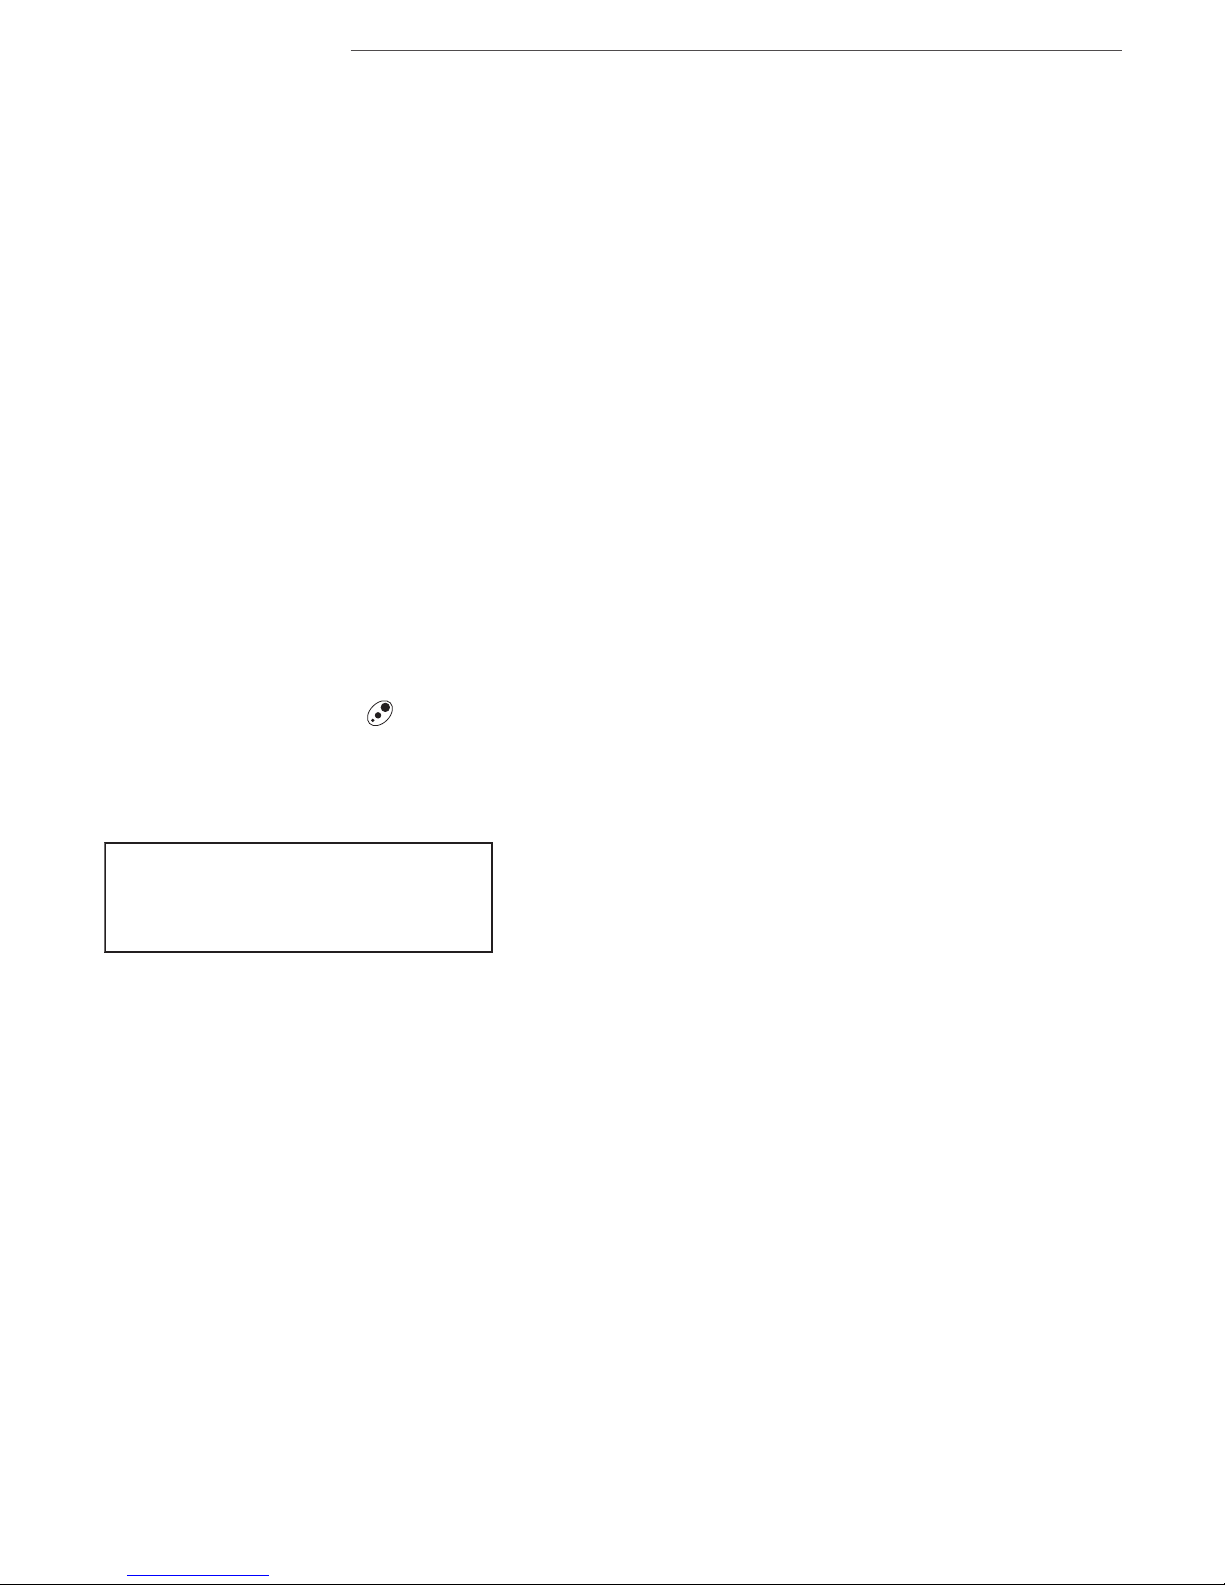
When a module has many setting parameters within the same category (for
example, it has many output parameters) the setting screen is composed
of several pages, each one with scroll arrows and that warn such a
circumstance. Change of page is accomplished through keys and .
1 Frequency : 1550
2 SymbolRate : 27.500

7
SPI-300 - Basic Guide
Information Screen
They present the results of a determined operation and inform about the
conguration and status of the connected module. The About... screen is
an example of this type of screens:
These screens close using the OK command at the lower right corner —by
pressing, as it has already said, the key .
Warning Screen
They appear to inform about the development of an operation or to advise
the cancellation. They close using the OK command (key ).
Error Screen
They appear to inform about the impossibility to perform a determined
operation or to complete the action of a command.They close, in the same
way, using the OK command.
SPI-300
vXX.XX(DD/MM/YY)
Copyrigt2009
IKUSIOK
1 Frequency : 1550
2 SymbolRate : 27.500
3 Standard : DVB-S
SENDWait...SEL
ATTENTION
Nomodulehasbeen
detected

SPI-300 - Basic Guide
8
1.2 - The Main Menu Screen
From this screen you can accede all options, parameters and commands.
It has 4 menus, among them the menu for changing the operation langua-
ge.
—Language menu : The SPI-300 comes to operate in english. To chan-
ge the language, press "4" on the numerical keypad. A list of languages
appears. Place the slide on the wished line and press . Henceforth the
SPI-300 will operate in the language you have chosen.
—General menu : Includes general application commands.
—Settings menu : Contains, grouped by sections or categories, all the
setting parameters of the connected module.
—Info menu : Allows to get access to detailled information about the
functionning of the module, further on the one provided by the screen that
comes after the initial screen (this screen appears just when the SPI-300 is
connected to the module).
The commands of the General menu are the same for all the modules:
1Detect
2Send
3Update
ESC SEL
4Recall
5Save
6FactoryReset
ESC SEL
7About...
ESC SEL
• Detect : Performs the detection process of the connected module.
• Send : Establishes in the module the parameter values which have been
modified.
•English
French
Spanish
Italian
1 General
2 Settings
3 Info
4 Language SEL

9
SPI-300 - Basic Guide
• Update : Updates the firmware installed in the module.
• Recall : Brings back to the screen a "module configuration" which was
previously created with the Save command. This menu option is manifes-
ted useful to quickly load repetitive data on different modules.
• Save : It is used to create a "module configuration" with the parameter
values and use options which are currently displayed in the Settings menu.
• Factory Reset : Restores all parameter values that were established in
the module when it left the factory.
• About... : Indicates simply the firmware version of the SPI-300.
The contents of the Settings and Info menus are different for each type of
functional module and they are explained in the particular user guides.
1.3 - Entering Data
Three different types of elements may be presented on the screens to
enter adjustment or selection data:
- "Numerical eld" : As the name indicates, this element admits only nume-
rical data. Modication of a number (value of parameter) may be carried
out in three different ways:
a) Digit by digit. Place the slide on the digit you want to change (the
slide is moved using keys and ) and then press repeatedly the key
and until the desired digit appears.
b) Changing the number complete. Place the slide on the rst digit of
the number you want to change and then enter the new number com-
plete through the keypad. The key "C" is used to delete a wrong digit.
c) Using increments. Place the slide on the right of the number you want
to change and then press repeatedly the key ( or ).
Each time the key is pressed the number is changed by a preestablished
amount. If the key is held pressed, the change is effected fast.

SPI-300 - Basic Guide
10
- "Slide Icon" : This element is used to modify without precision the value
of a parameter, by moving left-right the slide over a group of vertical bars
which serve as reference for setting.
- "Pick list" : Is a element that contains a folded list. When you select it
(SEL command), the choices of the list are displayed. Then you can select
a choice. (With the keys and you can browse through the pages of the
list).
• 21471.25MHz
22479.25MHz
23487.25MHz
24495.25MHz
2. PROGRAMMING THE MODULES
2.1 - Connecting the SPI-300
The modules of a headend are programmed one
by one through individual connections to the
SPI-300. To begin the programmation of a mo-
dule, rst power it and then plug the cable of the
programming unit into the CONTROL socket.
2.2 - Detection of the Module
When you connect the SPI-300 to the module, all data for identication,
conguration and status of the module are loaded on the SPI-300. A
detection screen appears for a short time, and next the display shows the
Basic Information screen, which identies the module and presents its
most representative conguration and status data.
MTI-900 Alarm:No
F01.95 f01.15
Adq:X BER:4.29E-5
OK
Attenuac : IIIIIIIIIII
IQInv:X
CellID:65535
SEND SEL
SYNC STATUS
+V
LNB
IKUSUP
QPSK/8PSK IN
+12V
COFDM OUT
CONTROL
MTI-900
QPSK/8PSK
®
COFDM
TRANSMODULATOR
SPI-300

11
SPI-300 - Basic Guide
The screen closes using the OK command (key ). The Main Menu Screen
appears; through the Settings and Info menus you can know in detail all
current conguration and status data of the module.
If because of any circumstance the module has not been detected (it is
not powered, there is a failure in the connection to the SPI-300, ...) the
following error screen appears:
Close the screen by using the OK command. The Main Menu Screen
appears. In this case —module not detected— the unique menu is Gene-
ral, which contains only the Detect and About Of commands. To perform
again a module detection operation, choose the Detect command.
2.3 - Parameter Setting
The parameter setting is carried out all the Settings menu long. This menu
presents, throughout several screens, the module's parameters grouped
by sections or categories.
Regardless the module type is, the setting process is as follows:
1. In the Settings menu, select the category of the parameters to be set
(Input, Output, V/A Selections, ...).
2. Enter the setting values.
3. Send the set values to the module by using the SEND command at the
left lower corner of the screen (key ).
4. Select, if necessary, other parameter category and repeat the previous
operations as far as all the parameter values have been set.
NOTE: Each time you use the SEND command, you send to the module
not only the values you have modied in the present screen, but also all
the values modied in the previous screens. Remember that the SEND
command is also available in the General menu.
Nevertheless the process described, some parameters are set in real time,
i.e. the values entered are transmitted instantaneously to the module (you
have not to use the SEND command). It occurs, for example, with the
"Modulation Depth" and "Audio Level" parameters:
ATTENTION
Nomodulehasbeen
detected

SPI-300 - Basic Guide
12
8Moddep:
9Audlev:
iAttenuation:
SENDSEL
If after entering new setting values you use the DONE command (left lower
corner of the screen) instead of the SEND command, these values are not
sent to the module, but they are stored in the RAM memory of the SPI-300.
If you use the CANCEL command, the screen closes without having effect
the parameter values previously entered.
The software controls the setting values you enter, in such a way that an
error message is displayed if these values are not appropriated. The mes-
sage appears just when you try to make effective these values using the
SEND or the DONE commands.
2.4 - Looking Up Information
From the Info menu you have access to detailed information about the
connected module, regardless it has been programmed or not. Information
is shown throughout three or more screens, each one related to a menu
option. There are three available options for every module:
– Status : Displays the module working conditions.
– Alarms : Reports what alarms are active and the type of them.
– Details : Identies the module and displays outstanding data.
The information is periodically updated. To close the screen, use the OK
command (key ).
1 Frecuency:175.25
2 Ch:WrongValue!
3TVSystem:B/G
CANCEL SEL
1 Status
2 Alarms
3 Details
ESC SEL
STATUS
Adq:x
Vid:x BER:1.02E-3
Aud:x
STOP

13
SPI-300 - Basic Guide
2.5 - Using Module Configurations
A Module Conguration is a collection of parameter values and use op-
tions. Working with congurations allow to quickly load repetitive data in
different modules: instead of entering, one by one, the setting values for all
the parameters and use options, you can enter a conguration by using a
simple command. The SPI-300 allows to create, and to use later on, up to
500 different congurations for each type of module; for this, it utilizes the
two following functions:
a) Save Conguration: All parameter values and use options which are
currently in the RAM of the SPI-300 (those displayed throughout the
Settings menu after using the SEND or DONE commands) are stored in
a register of the programming unit, with a conguration name which is
assigned by the user.
b) Recall Conguration: The parameter values and use options that corres-
pond to a conguration are loaded onto the RAM of the SPI-300. Then
they can be established in the module by using the SEND command.
Both functions are chosen from the Save and Recall options of the General
menu:
– Save conguration :
When you choose the Save option in the General menu, a new screen
appears. In this screens you must enter the name you want for the con-
guration:
You can use either numerical or alphabetical characters using the keypad.
To write an alphabetical character, enter any digit and next press repetea-
dly the key or until the desired character appears
( ...7, 8, 9, A, B, C...).
Press the key ( ) to validate the name you have entered: a new
screen appears. Use the DONE command (key ) to nally create the
conguration.
Or press the key ( ) to close the screen without creating any congu-
ration.
– Recall option :
SAVE
Configuration:
1234
HECHO
SAVE
Configuration:

SPI-300 - Basic Guide
14
When you select the Recall option of the General menu, a screen with three
options appears:
1 Conguration : You can select a conguration from a pick list.
2 View : Allows to view the contents of the conguration you have selected
in the conguration option.
3 Clear : It is used to clear the conguration selected.
Once you have selected a conguration, you can either send it directly to
the module (SEND command, key ), or simply to load the data onto the
RAM of the SPI-300 (DONE command) in order to modify some parameter
value through the Settings menu. By using the CANCEL command you
leave without doing any operation.
2.6 - Updating Module Firmware
The rmware is a software loaded on the module that takes charge of its
basic functionning. This software is not modiable by the user, but may be
updated for some ClassA and ClassB modules (those where the General
menu contains the Update option).
To perform a rmware update, you need, naturally, the corresponding le
supplied by IKUSI (www.ikusi.tv).
To perform an update process, rst you must load the rmware le on the
SPI-300 in the way that is explained in the Appendix A - Firmware Update.
Once the rmware has been loaded on the SPI-300, choose Update in the
General menu. The following screen appears:
"Firmware" : You can select a rmware le from a pick list.
"Clear" : It is used to clear in the list the le you have selected in the pre-
vious option. It allows to eliminate old les.
1 Configur.: 1234
2 View
3Clear
DONE SEL
1 Firm:MTI-fICc0166
2 Clear
3Versions:03.1201.66
SEND SEL

15
SPI-300 - Basic Guide
"Versions" : This line displays two version numbers: the current rmware
version of the module —on the left of the arrow— and the
version of the le shown in the "Firmware" line (that is to say,
the last four digits). Make sure the version number on the right
of the arrow is the one you want to load in the module.
Use the SEND command (key ) Loading of rmware begins and a pro-
gress bar displays the course of the process:
Once loading is completed, an information message announcing that the
rmware has been succesfully updated appears on the screen. Use the OK
command (key ). The screen closes and the programme goes back to
the General menu.
If diverse errors during rmware updating prevent go on the process, an
error screen appears:
Use the OK command (key . The screen closes and the programme
goes back to the General menu.
UPDATE
Updatingfirmware
UPDATE
Firmwareupdate
succesfully!!
OK
UPDATE
FirmwareFile
notdetected!!
OK
UPDATE
FirmwareUpdate
aborted.Errorsdetected!!
OK

SPI-300 - Basic Guide
16
Appendix A — FIRMWARE UPDATE
The les required for using the SPI-300 are:
• The Instaling Load software "Install SPI-300". Install the pc to interact
with the SPI-300, when it is intended to update the rmware of both Clas-
sA modules, such as the own SPI-300 to be able to recognize new control
modules.
This application allows you to load the rmware from the pc to the SPI
controller to be installed later in ClassA modules.
• The SPI-300 firmware is the operating system of the controller progra-
mming unit.
Both les can be downloaded from the website of ikusi, http://www.ikusi.
tv/en/headends/class-a/class-a-accessories/spi
A.1 - Installing Load Software on the PC
The minimum requirements your computer needs to install Load Software
are the following:
- Computer : IBM-Compatible 486 or higher
- Hard Disk : 10 MB free space
- Serial Port : COM Port, RS-232
- Mouse : Installed
- RAM : 16 MB (64 MB recommended with Windows 2000 and XP)
- Display : VGA
- Operating System : Windows® 95 / 98 / ME / NT / 2000 / XP
To install Load Software:
1. Start Microsoft Windows and open a web browser.
2. Enter to the Ikusi web page, http://www.ikusi.tv/en/headends/class-a/
class-a-accessories/spi
3. Open the le " Instaling Load software".
4. By double-clicing in SETUP.EXE enter the installation screen.
Now the programmes folder of the Start Menu will include the "Install SPI-
300" programme, from which you can launch the application.
The Load Software so installed allows:
a) To load in the SPI-300 new versions of rmware les for ClassA modu-
les. These les will remain available to be installed on the modules.

17
SPI-300 - Basic Guide
b) To update directly the rmware of the SPI-300 Programming Unit.
The rmware les are supplied by IKUSI and they can be downloaded from
http://www.ikusi.tv. You must copy these les in the hard disk of your PC.
A.2 - Loading Firmware Files on the SPI-300
The load of the rmware les on the SPI-300 is carried out from the PC on
which you have installed the Load Software. Using the RJ-45 / DB-9 cable,
connect the SPI-300 to the serial port of the computer. You require also
an auxiliary power supply to feed (15 VDC / 1A) the SPI-300. The picture
shows these interconnections:
Click on the Programmes folder of the Start menu. Then click on the
"Install SPI-300". The "SPI-300 Firmware Loader" window appears.
The window has 2 cards. The About... card shows simply the rmware
version of the "Firmware Loader" software installed:
Click on the Update label.The Update card appears:
auxiliary power supply
(+15 VDC / 1A)
SPI-300
~

SPI-300 - Basic Guide
18
"SPI-300 - Current Firmware Version" : Shows the version number of the
rmware which is currently installed on the SPI-300. If it does not appear,
click on the icon .
"Files - Firmware File" : Click on the "folder" icon . Find along the hard
disk the rmware le you want install on the SPI-300 and select it.
"Files - Module" : Name of the module to which the selected rmware le
is related.
"Files - Version to Load" : Shows the version of the selected rmware.
"Port" : You must choose the serial port to which the SPI-300 is connec-
ted.
"Status" : During load process (Load button) a progress bar appears here.
Load button : Click here to begin the load process. At the end, the r-
mware you have selected will have been loaded on the SPI-300 and it will
remain available to carry out the rmware update of the modules related.
A.3 - Updating SPI-300 Firmware
The load of the rmware les on the SPI-300 is carried out from the PC on
which you have installed the Load Software. Using the RJ-45 / DB-9 cable,
connect the SPI-300 to the serial port of the computer. You require also
an auxiliary power supply to feed (15 VDC / 1A) the SPI-300 (see gure
previous page).
Once nished the load process, the SPI-300 rmware will have been upda-
ted with the new version and, for that, new features will have been added
(interface improvement, capacity to programme new type of modules,
etc.).


120331H
(EN)
Ángel Iglesias, S.A.
Paseo Miramón, 170
20014 San Sebastián,
Spain
Tel. +34 943 44 88 00
Fax +34 943 44 88 20
www.ikusi.tv
Other manuals for SPI-300
6
Table of contents