IMPRESSA XS95 User manual

Art. 65594 – Xs95/Xs90 GB – 03/06 0044494/1806/0905/2000
IMPRESSA Xs95 / Xs90
Short operating instructions

12
3
17
7
10
9
8
12
11
13
14
16
15
18
19
21
20
22
26
25
24
23
27
6
4
5
Control elements Control elements
1. Drip tray
2. Drip grate
3. Programming door
4. Rotary Switch
5. Selection key for pre-ground coffee
6. Coffee à la Carte key
7. 1 Coffee key
8. 2 Coffees key
9. 1 Espresso key
10. 2 Espressos key
11. ON / OFF key
12. Rinse key
13. Display dialog system
14. Water tank with handle
15. Aroma preservation cover
16. Bean tank cover
17. Lid for pre-ground coffee filler funnel
18. Height-adjustable coffee spout
19. Heatable cup shelf
20. Constant Steam key
21. Steam Portion key
22. Hot Water switch
23. Pivoting steam spout
24. 2-stage frothing jet
25. Height-adjustable hot water spout
26. Coffee grounds bin
27. Power switch

First use
Switch on main switch (I)
Press operating button
Fill water tank
Fill bean tank
Display text: SPRACHE DEUTSCH
Open the programming door
Turn Rotary Switch until desired language appears
Press Rotary Switch to confirm selection
Display text: FILL SYSTEM
/
PRESS STEAM
Place container under 2-stage frothing jet
Press one of the steam keys
System fills automatically
Display text: PRESS RINSE
Place container under coffee spout
Press maintenance key
The pipes are rinsed with fresh water
The machine is ready for use
(1)
(2)
Insert filter (first use)
Open the programming door
Press Rotary Switch until you hear an acoustic signal
Display text: FILTER NO
Press Rotary Switch to start the maintenance menu
Turn Rotary Switch until FILTER YES appears
on the display
Press Rotary Switch to confirm setting
Remove water tank and empty it
Display text: INSERT FILTER
/
PRESS STEAMn
Open cartridge holder
Fix extension (1) in position on top of CLARIS plus filter
cartridge (2)
Use gentle pressure to insert filter cartridge in water tank
Close cartridge holder (it clicks audibly into place)
Fill the water tank and reinsert
Position container (approx. 0.5 litre) under 2-stage frothing jet
Press one of the steam keys
Filter rinse stops automatically
The machine is ready for use

Cleaning (duration: approx. 15 minutes)
Display text: CLEAN MACHINE
Press maintenance key
Displaytext: EMPTY TRAY
/
GROUNDS
Empty drip tray and coffee grounds container and reinsert
Place container (approx. 0.5 litre) under coffee spout
Display text: PRESS RINSE
Press maintenance key
Wait until an acoustic signal is heard
Display text:
ADD TABLET
/
PRESS RINSE
Open funnel cover for pre-ground coffee powder
Drop in an original JURA cleaning tablet and close cover
Press maintenance key
Wait until an acoustic signal is heard
Display text:
EMPTY TRAY
/
GROUNDS
Empty drip tray and coffee grounds container and reinsert
The machine is ready for use
Changing the filter
After 50 litres of water, the filter is no longer effective.
A reminder to change the filter appears on the display.
Display text: CHANGE FILTER
Press maintenance key
Remove water tank and empty it
Open cartridge holder
Remove the used CLARIS plus filter cartridge from water tank
Fix extension (1) in position on top of CLARIS plus filter
cartridge (2)
Use gentle pressure to insert filter cartridge in water tank
Close cartridge holder (it clicks audibly into place)
Fill the water tank and reinsert
Position container (approx. 0.5 litre) under 2-stage frothing jet
Press one of the steam keys
Filter rinse stops automatically
The machine is ready for use
(1)
(2)
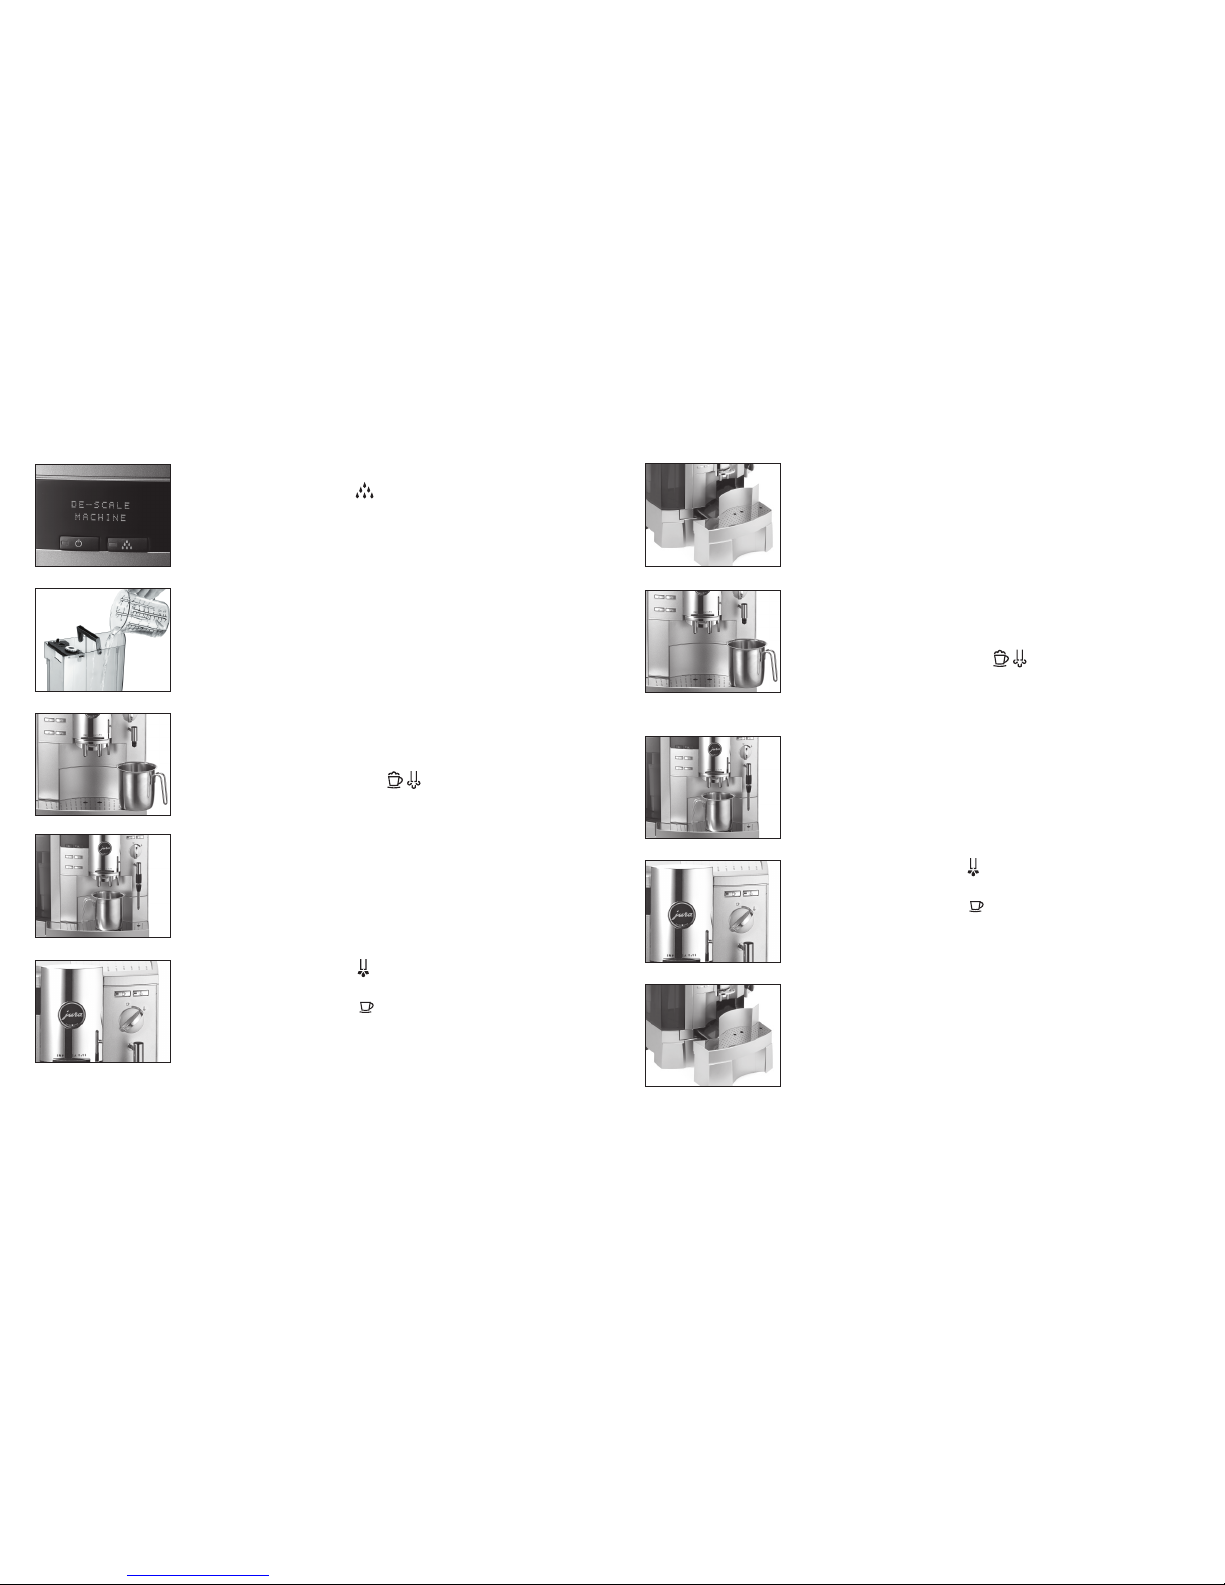
Display text: DE-SCALE MACHINE
Press maintenance key
Display text: EMPTY TRAY
/
GROUNDS
Empty drip tray and coffee grounds container and reinsert
Display text: AGENT IN TANK
/
PRESS STEAM
Remove water tank and empty it
Completely dissolve contents of one blister (3 tablets) in
0.6 litre of water
Pour solution into water tank
Reinsert water tank
Remove the 2-stage frothing jet or Professional Cappuccino
Frother
Place container under frother
Press one of the steam keys
Wait until an acoustic signal is heard
Display text: OPEN TAP
Place container under hot water spout
Open the hot water key
Wait until an acoustic signal is heard
Close the hot water key
Wait until an acoustic signal is heard
Decalcifying (duration: approx. 50 minutes)
Display text: EMPTY TRAY
/
GROUNDS
Empty drip tray and coffee grounds container and reinsert
Display text: FILL
/
RINSE WATER TANK
Rinse water tank well, fill with fresh, cold tap water and reinsert
Place container under pivoting steam spout
Press one of the steam keys
Wait until an acoustic signal is heard
Displaytext: OPEN TAP
Place container under hot water spout
Open the hot water key
Wait until an acoustic signal is heard
Close the hot water key
Wait until an acoustic signal is heard
Display text: EMPTY TRAY
/
GROUNDS
Empty drip tray and coffee grounds container and reinsert
The machine is ready for use
Decalcifying (continuation)
Cleaning the cappuccino system
If you use milk products, you should clean the cappuccino system
daily.
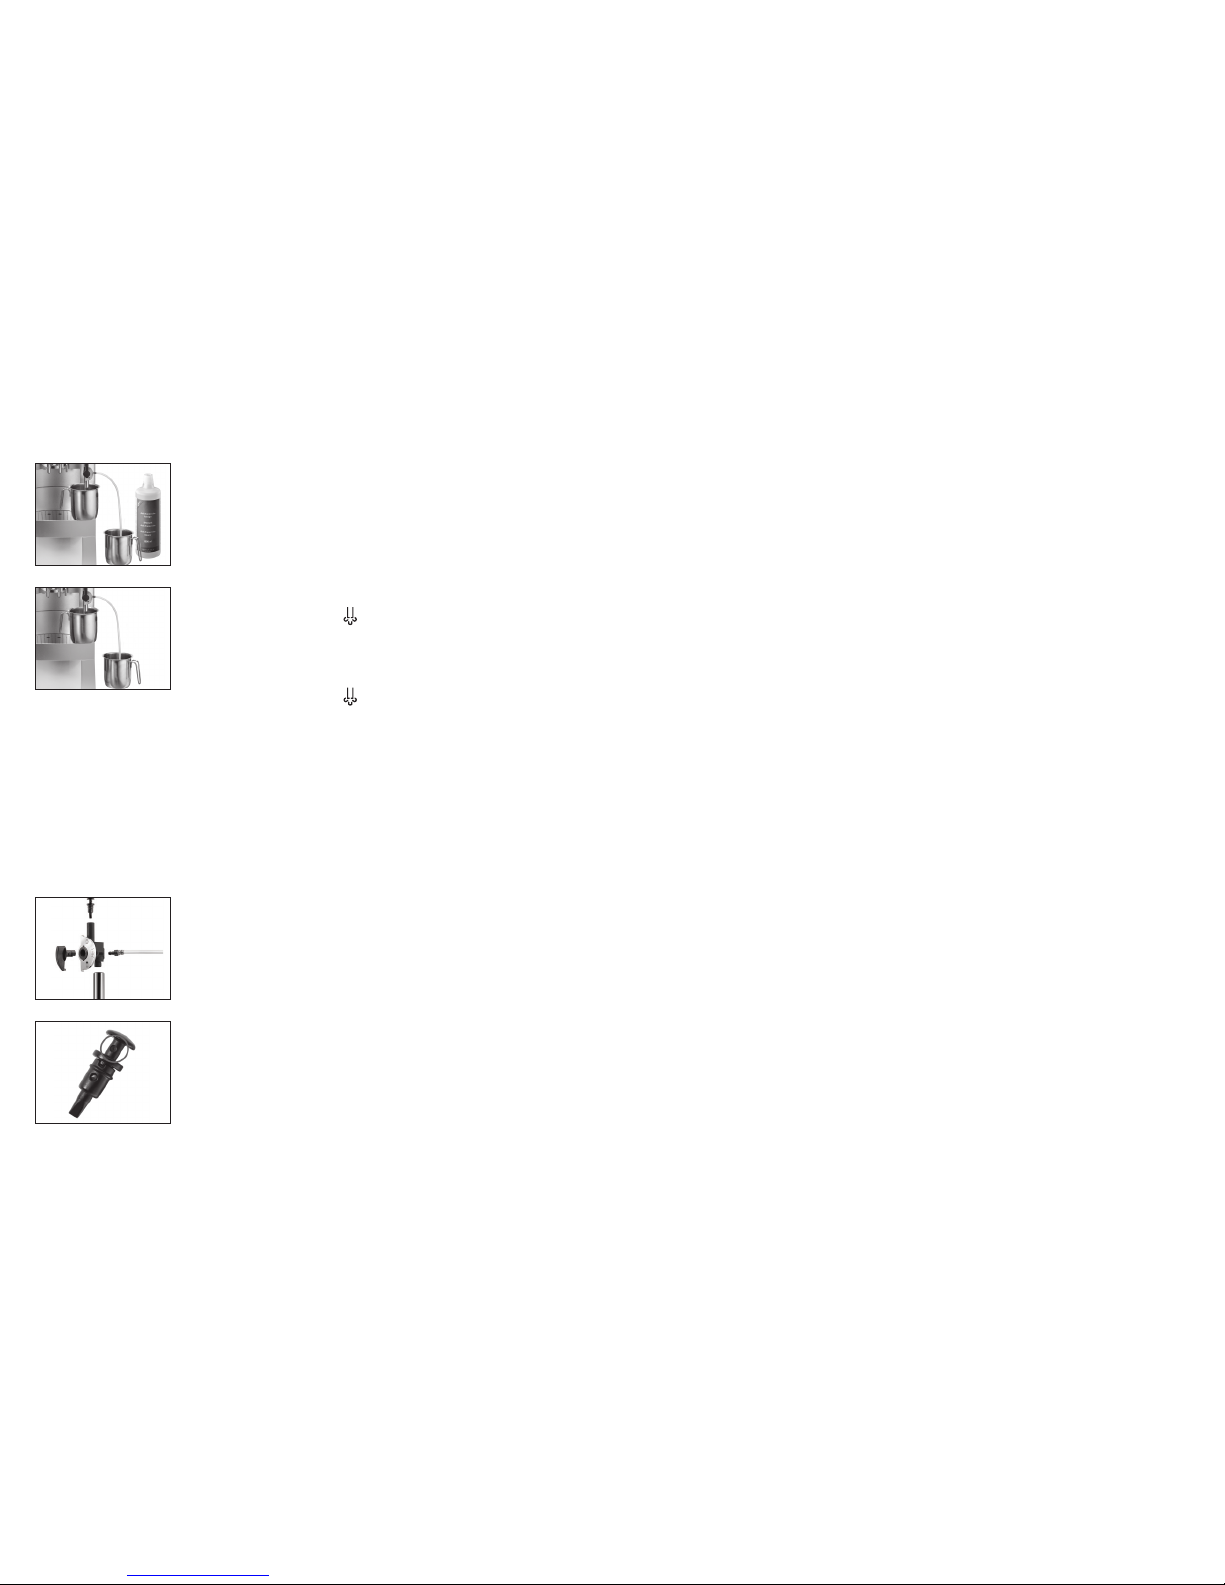
Fill a container with 2.5 dl of water
Add 1 capful (max. 15 ml) of Auto-Cappuccino cleaner
Dip milk suction tube into this mixture
Position container (approx. 0.5 litre) under the Professional
Cappuccino Frother
Press the steam key
As soon as the container is empty:
Fill a container with fresh tap water
Dip milk suction tube into the container
Press the steam key
The machine is ready for use as soon as the tap water has run
through
In addition to using the cappuccino cleaning system, you should
also remove the Professional Cappuccino Frother regularly and
rinse it under running water.
Remove the Professional Cappuccino Frother
Dismantle the frother
Rinse all parts of the frother under running water
Reassemble the frother and reattach to machine
Please make sure that the aperture of the air supply
(= gray circle) is rinsed very carefully and is free of
impureness. Please don’t clean the frother with sharp tools!
Cleaning the Professional Cappuccino Frother
Notes
This manual suits for next models
1
Table of contents
Other IMPRESSA Coffee Maker manuals


