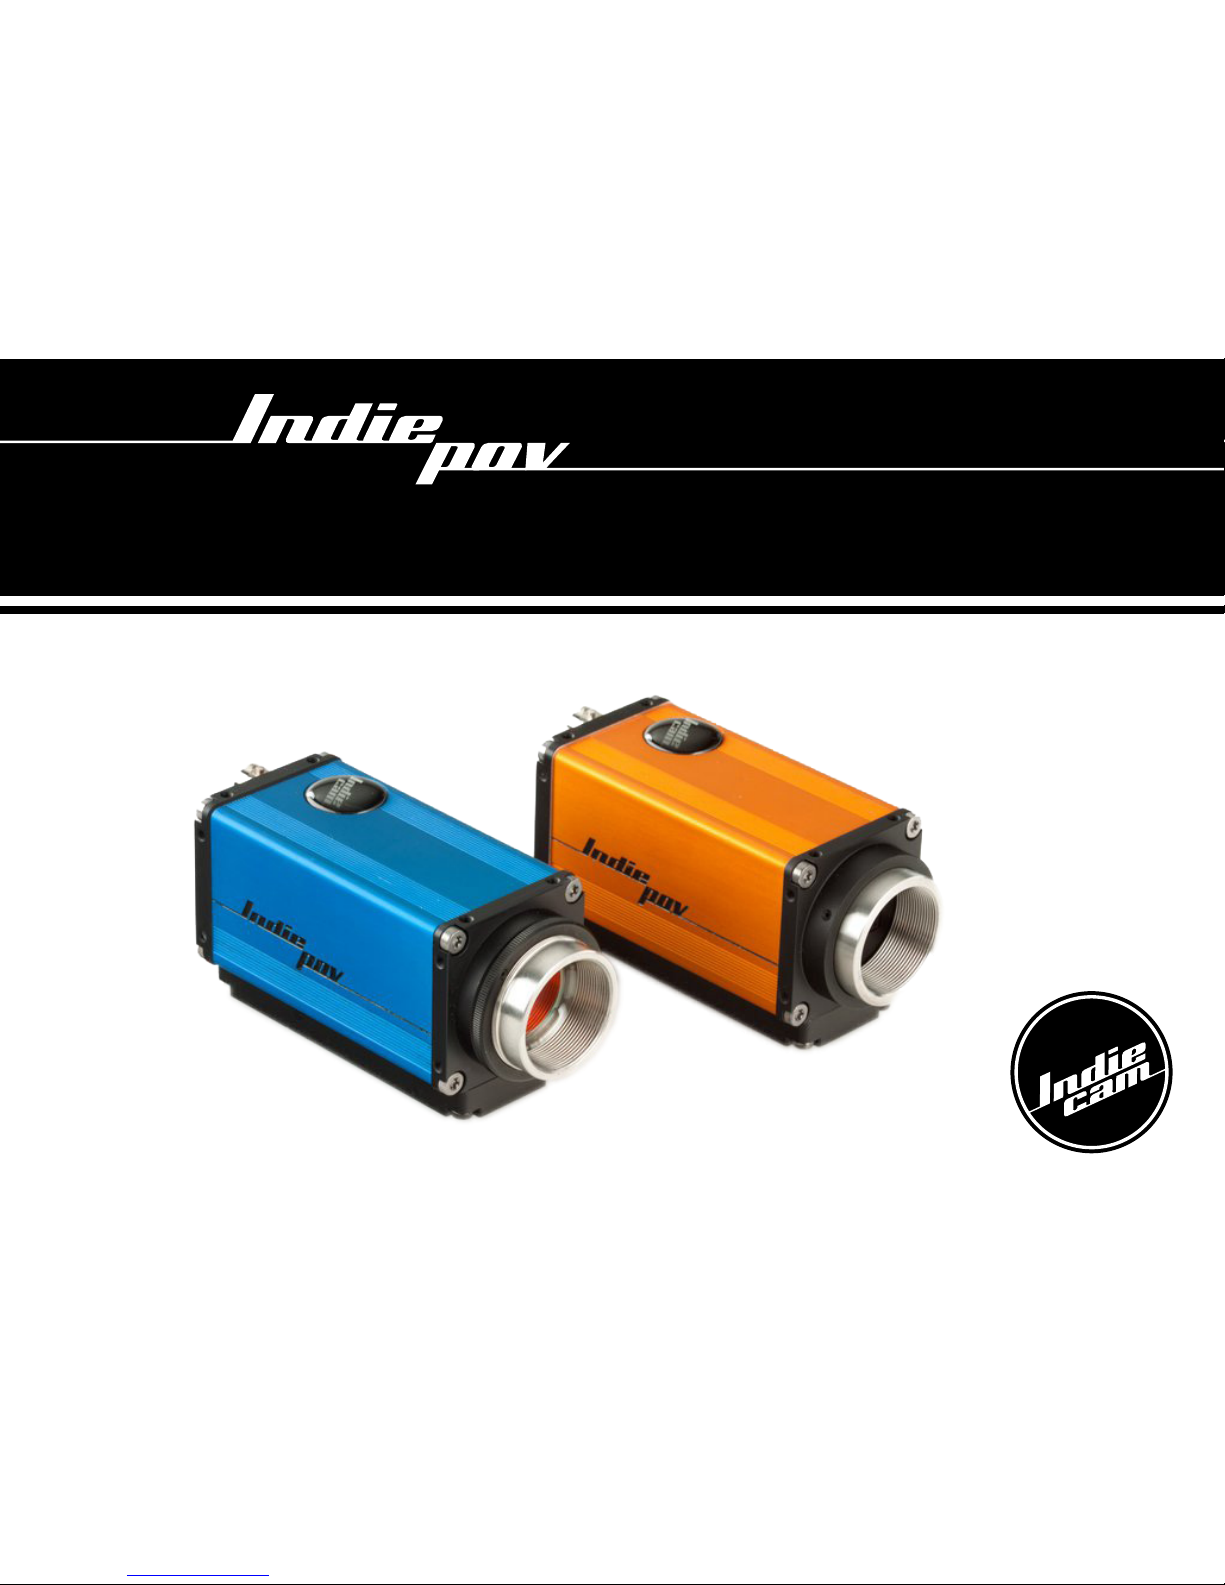
Indiecam IndiePov User manual

MANUAL
incl. GUI V 2.1.5.0
We build cameras.

2
CONTACT INFORMATION
HEADQUARTER
[vienna, austria]
indiecam gmbh
1070 vienna, seidengasse 26/4-5
offi[email protected]om
www.indiecam.com
tel: +43 1 810 5636
UNITED KINGDOM
[bedforshire, england]
polecam uk
kempston, MK42 7TN
offi[email protected]om
www.polecam.com
tel: +44 1234 855 222
NORTH AMERICA
[califormia, u.s.a.]
camadeus inc
north hollywood, CA 91605
www.camadeus.com
tel: +1 818 764 1234
INTERESTED?
[excellent service worldwide]
Feel free to contact us any
time and check our webpage
frequently for updates
www.indiecam.com

3
TABLE OF CONTENTS
Contact Information 2
Safety Instructions 4
Introduction 5
Indie Workflows 6
Mechanical Specifications 8
Technical Details 11
GUI V 2.1.5.0
- Software 13
- Installation 14
- Camera Modes 16
- Image Properties 17
- White Balance 18
- Correction Parameter 19
IndiePOV Additions 20

4
SAFETY INSTRUCTIONS
OPERATION
•Onlyusethetypeofpowersourceindicatedinthemanual!
•Donotinsertobjectsofanykindintoanypartofthesystem
ifnotclearlyqualiedforthetaskinthemanual!
•Changingcameralensesshouldbedoneinadryanddust-
free environment. If this is not possible, take extra care that
nodustentersthecamerawhilethelensisoff!
•Whennolensisattachedtothecamera,immediatelyplace
theprotectivecaponthelensmount!
•Afterchanginglenses,alwaysperformadustchecktomake
surenodusthassettledonthesensorcoverglass!
•Nevertrytoremovethesensorcover!
CLEANING
•Cleanopticallenssurfacesonlywithacleanlensbrushor
lens cloth.
•Neverusesolventstoclean!Theuseofmethanoltoclean
opticalsufacesisnotrecommended!
•Neveruseacetonetocleanopticalsurfaces!
•Neverusecanswithcompressedairorgastoblowoffthe
dust!
SAFEKEEPING
•Donotstorethecamerainplaceswhereitissubjecttoextreme
temperatures, direct sunlight, high humidity, severe vibration, or
near strong magnetic fields.
•Ifcameraneedstobestoredinaplacethatisconsiderably
cooler than the location where it will be used, consider keeping
the camera powered from a mains unit in addition to using the
air-drying cartridge.
TRANSPORTATION
•Allcableshavetobeunpluggedfromthecamerawhenitis
transported or stored inside a camera case.
•Whenmovingthecamerafromacooltoawarmlocationor
when the camera is used in a damp environment, condensation
may form inside the lens compartment, on the sensor cover
glass, between sensor and its cover glass, and on internal or
external electrical connections.
Read all of these instRuctions caRefully!

5
INTRODUCTION
Indiecam manufactures, sells and rents amazingly small
cameras and recorders, that deliver very high quality images
in RAW and 4:2:2 uncompressed over HDSDI.
Our high grade professional digital camera-systems, kinetic
3D-Systems and miniature HD-SDI POV RAW-Cameras give you
unbelievable possibilities where flexibility, usability and high
production value are key requirements.
At Indiecam we strive to build professional film recording
equipment that gives you the highest possible image quality,
flexibility, good ergonomics and an intuitive workflow at a
very attractive price.
All of our equipment is based on these principles. We employ
RAW-image recording, HD-SDI connections for ease of use and
minimal cabling requirements and the new industry standard
CinemaDNGworkowtoachievethesegoals.
The team at Indiecam

6
INDIE WORKFLOWS
RAW/YUV WORKFLOW

7
INDIE WORKFLOWS
3D WORKFLOW

8
MECHANICAL SPECIFICATIONS
RIGHT/LEFT VIEW
75
92,3
86,8
80 18
20,1
TOP VIEW
17,6 12,359,85
BOTTOM VIEW
M2.5mm, max 4.5mm

9
MECHANICAL SPECIFICATIONS
FRONT VIEW
34
Standard C-Mount
34
39,8
39,8
Power
Status
SYNC/in
SDI/out I/O
I/O
17,6
20,6
REAR VIEW

10
MECHANICAL SPECIFICATIONS
SYNC 7-24V
HDSDI RS485

11
TECHNICAL DETAILS
The indiePOV is a very small HD camera, with a 12bit
CMOS sensor delivering progressive 1920x1080 images.
The camera features RAW-over-HDSDI as well as 10bit
uncompressed 4:2:2 (for preview only) via 3G-SDI output.
The indiePOV operates stand-alone without the need
of a control-box. It is especially well suited for 3D and other
multi-camera-applications because it offers Genlock-Sync
through a second 3G-SDI connector. Multiple indiePOVs can
easily be daisy-chained and simultaneously configured via
one remote connection.

12
TECHNICAL DETAILS
SENSOR Size CMOS, 2/3“
Resolution 1920 x 1080
Readout Progressive
Shutter Rolling
Pixel Size 5um
Frame rates 24/25/30p
GENLOCK Trilevel Sync Master/Slave switchable
MOUNT C - Mount with backfocus adjustments
PL - Mount optional
MODES RAW, 12 bit 1080p24 / 1080p25 / 1080p30/ 1080p23.98/
1080p29.97
IMAGE Gamma Standard & Custom LUTs
Gain -3dB, -1dB, 0, +3dB
Pedestal / Offset User adjustable
Paint Controls R, G, B
Color Space RAW RGB 4:4:4
Presets User Preset can be saved, Restore Factory Defaults
INTERFACES 3G-HDSDI BNC
Genlock BNC, switchable In/Out
2 x I/O Power + RS-485
2 x status LED Amber / Green
POWER Voltage 7 - 24 V DC
Consumption 4 w
DIMENSIONS Size w/o lens 39.8 x 39.8 x 100 mm
Weight w/o lens approx. 170 g
ENVIRONMENTAL Operation 0 - 55 °C, 10 - 90 % RH
Storage -20 - +70°C, 10 - 90% RH
Protection Class IP40, CE

13
GUI V 2.1.5.0 / SOFTWARE
The Indiecam Remote Control Software is an easy to use
Graphical User Interface (GUI) that gives you access to all
IndiePOV settings according to your preferences and needs.
You can control over 200 daisy-chained cameras via one
connection.

14
GUI V 2.1.5.0 / INSTALLATION
Windows Vista, Windows 7:
Indiecam‘s Remote Control Software works without a
classical Setup. Just copy the „GUI V 2.1.5.0“ folder to the
desired destination, make sure that there is full access to
the folder for all users and create a shortcut of the
IndiePOV_remote.exe on your Desktop.
Window XP:
For the Installation of Indiecam‘s Remote Control Software
please contact the Indiecam Customer Support.

15
GUI V 2.1.5.0
IndiePOV accepts the Indiecam Power Supply or battery
with an input voltage range from 7 to 24V.
Connect IndiePOV to the Indiecam Power Supply or battery
and wait for the system to boot.
- Supply the IndiePOV with the Indiecam Power Supply or battery (7-24V)
- Wait for the system to boot (about 20 seconds).
- Connect IndiePOV via USB 2.0 to your Laptop.
- Switch on IndiePOV-Remote V.2.1.5.0
- Chosen Camera: e.g. Com-Port COM 1
- You will see the serial number and the firmware of the camera.

16
GUI V 2.1.5.0 / CAMERA MODES
Genlock:
You only get a picture in Slave mode if an ex-
ternGenlockviaSYNC/inisconnected
(e.g. a further indiePOV in master mode or
Sync generator)
Keep in mind:
If you create Sync via IndiePOV in Master
mode you have to switch on the Master at first
(wait for 20 sec to boot). Then boot Slave.
LED flashes orange after successful
synchronisation.
SDI-Standard:
You have to choose altough already chosen.
HDR:
Ext Colorspace:
Offers increased dynamic range.
NotsuitableforLiveBroadcasting.
Mode-Selection:
Choose between YUV and RAW mode.
SAVE CONFIG after changements.

17
GUI V 2.1.5.0 / IMAGE PROPERTIES
Standard-Settings:
Exposure:1/100
Gain: 0dB
Offset 0
Gamma: 1,75
Knee: 5
DONT TOUCH
(those are pixel shifts on the Sensor)
AOI_X/AOI_Y
StandardX22/Y28
SAVE CONFIG after changements.

18
GUI V 2.1.5.0 / WHITE BALANCE
Standard-Settings:
5600K
Red 1,3
Green 1,0
Blue 1,6
3200K
Red 1,05
Green 1,0
Blue 2,0

19
GUI V 2.1.5.0 / CORRECTION PARAMETER
Pixel Replacement: Enabled
Automatic Pixel Replacement:
Select Auto-Correction in the Popdown Menu
and press OK.
SAVE CONFIG after changements.
xpersistent oAutoCor xTempAdjust
x useFPN oplainFPN
Black level balance:
- The camera has to have min 57°C.
- Close iris and cover.
-Select„CalFPN“
- Balancing black level when LED is blinking
orange
- indieGS2K-Remote responds when process
has finished.
FPN+General

20
INDIEPOV ADDITIONS
Indiecam Power Supply, Daisy-Chain Cable, ‚Loose-Ends‘
Power Cable, indieLCU (Lens Control Unit), indieRemote
and many more
Blackmagic Hyperdeck Shuttle
indieShuttle
3D-Stereo-Rig
Baseplate C-Mount lenses
Gemini Recorder
Shuttles & Recorders
nanoFlash
This manual suits for next models
2
Table of contents