InfoSafe SAT3510U2E User manual
3.5” SATA Drive Enclosure
SAT3510U2E Instruction Manual
Actual product may vary from photo
3.5” eSATA / USB 2.0 SATA Drive Enclosure

FFCCCCCCoommpplliiaanncceeSSttaatteemmeenntt
This equipment has been tested and found to comply with the limits for a Class B digital
device, pursuant to part 15 of the FCC Rules. These limits are designed to provide
reasonable protection against harmful interference in a residential installation. This
equipment generates, uses and can radiate radio frequency energy and, if not installed
and used in accordance with the instructions, may cause harmful interference to radio
communications. However, there is no guarantee that interference will not occur in a
particular installation. If this equipment does cause harmful interference to radio or
television reception, which can be determined by turning the equipment off and on, the
user is encouraged to try to correct the interference by one or more of the following
measures:
• Reorient or relocate the receiving antenna.
• Increase the separation between the equipment and receiver.
• Connect the equipment into an outlet on a circuit different from that to which the
receiver is connected.
• Consult the dealer or an experienced radio/TV technician for help.
UUsseeooffTTrraaddeemmaarrkkss,,RReeggiisstteerreeddTTrraaddeemmaarrkkss,,aanndd
ootthheerrPPrrootteecctteeddNNaammeessaannddSSyymmbboollss
This manual may make reference to trademarks, registered trademarks, and other
protected names and/or symbols of third-party companies not related in any way to
StarTech.com. Where they occur these references are for illustrative purposes only and
do not represent an endorsement of a product or service by StarTech.com, or an
endorsement of the product(s) to which this manual applies by the third-party company in
question. Regardless of any direct acknowledgement elsewhere in the body of this
document, StarTech.com hereby acknowledges that all trademarks, registered
trademarks, service marks, and other protected names and/or symbols contained in this
manual and related documents are the property of their respective holders.

TTaabblleeooffCCoonntteennttss
Introduction . . . . . . . . . . . . . . . . . . . . . . . . . . . . . . . . . . . . . . . . . . . . . . . . . . . . .1
Features . . . . . . . . . . . . . . . . . . . . . . . . . . . . . . . . . . . . . . . . . . . . . . . .1
System Requirements . . . . . . . . . . . . . . . . . . . . . . . . . . . . . . . . . . . . .1
Contents . . . . . . . . . . . . . . . . . . . . . . . . . . . . . . . . . . . . . . . . . . . . . . . .1
Installation and usage . . . . . . . . . . . . . . . . . . . . . . . . . . . . . . . . . . . . . . . . . . . .2
Software Installation . . . . . . . . . . . . . . . . . . . . . . . . . . . . . . . . . . . . . . .2
Installing the hard drive in the enclosure . . . . . . . . . . . . . . . . . . . . . . .3
Connecting the enclosure to the Host computer . . . . . . . . . . . . . . . . .5
Using eSATA . . . . . . . . . . . . . . . . . . . . . . . . . . . . . . . . . .5
Using USB . . . . . . . . . . . . . . . . . . . . . . . . . . . . . . . . . . . .5
Using the One-Button Backup utility . . . . . . . . . . . . . . . . . . . . . . . . . .6
Setting a hot-key sequence . . . . . . . . . . . . . . . . . . . . . . . . . . . . . . . . .6
Disconnecting SAT3510U2E from the Host computer . . . . . . . . . . . . .7
Specifications . . . . . . . . . . . . . . . . . . . . . . . . . . . . . . . . . . . . . . . . . . . . . . . . . . .8
Technical Support . . . . . . . . . . . . . . . . . . . . . . . . . . . . . . . . . . . . . . . . . . . . . . . .9
Warranty Information . . . . . . . . . . . . . . . . . . . . . . . . . . . . . . . . . . . . . . . . . . . . .9
Instruction Manual
i

IInnttrroodduuccttiioonn
Instruction Manual
1
Thank you for purchasing a StarTech.com 3.5” external drive case. Designed for 3.5” hard
drives, this device allows you to quickly connect and disconnect your SATA hard drives,
making data storage, backup, and file sharing easier than ever. The SAT3510U2E
provides outstanding data transfer rates, based on eSATA or USB standards, as well as a
One-Button Backup feature, that archives predefined data at the touch of a button.
Features
• One-Button Backup feature automates file backups and transfers (In USB mode,
used with PC)
• Active 80mm cooling fan enhances heat dissipation and reduces temperature
circulating around hard drive
• Durable aluminum housing helps prevent damage to the hard drive while in transit
and provides additional cooling through heat dissipation
• Compatible with SATA (SATA/150) and SATA II (SATA/300) hard drives
• Supports remote wakeup and power management control
• Data transfer rates up to 3 Gbps (SATA 300, external eSATA cabling up to 6’(2m)
using shielded cable)
System Requirements
• Host computer:
266MHz or faster CPU
64MB RAM
1 available USB or eSATA port
Windows 98/Mac OS 9.1 or greater
• 3.5” SATA hard drive
Contents
This package should contain:
• 1 x External Aluminum 3.5 inch Drive Enclosure
• 1 x USB 2.0 Cable (A-B)
• 1 x Power Adapter
• 1 x Stand
• 1 x Screw kit
• 1 x CD (W98SE Driver)
• 1 x User Manual
Instruction Manual
2
IInnssttaallllaattiioonnaanndduussaaggee
WARNING: Hard drives require careful handling, especially when being
transported. If you are not careful with your hard disk, lost data may result.
Always handle your hard drive and storage device with caution.
WARNING: Always make sure that your hard drive is fully spun down before
removing the device.
WARNING: Do not disconnect any cables or power sources while the hard
drive is active. This can result in data loss and possible damage to the hard
drive.
WARNING: Hard drives, like all computer equipment can also be severely
damaged by static electricity. Be sure that you are properly grounded before
opening your computer case or touching any components. StarTech.com
recommends that you wear an anti-static strap when installing any computer
equipment. If an antistatic strap is unavailable, discharge yourself of any static
electricity build-up by touching a large grounded metal surface (such as the
computer case) for several seconds.
Software Installation
Please complete the software installation prior to connecting the removable hard drive
enclosure to the host PC.
The following description includes the steps necessary to install drivers for SAT3510U2E
for use with Windows 98SE. If you are using Windows ME, 2000, XP, 2003 Server or
Vista, please skip to step #5.
1. Power on the computer that will be used to connect to the hard drive enclosure.
2. Insert the driver CD provided into the computer’s CD/DVD-ROM drive.
3. From the Windows Desktop, double-click on the My Computer icon. Once the My
Computer window has opened, locate and double-click on the CD/DVD-ROM drive
icon.
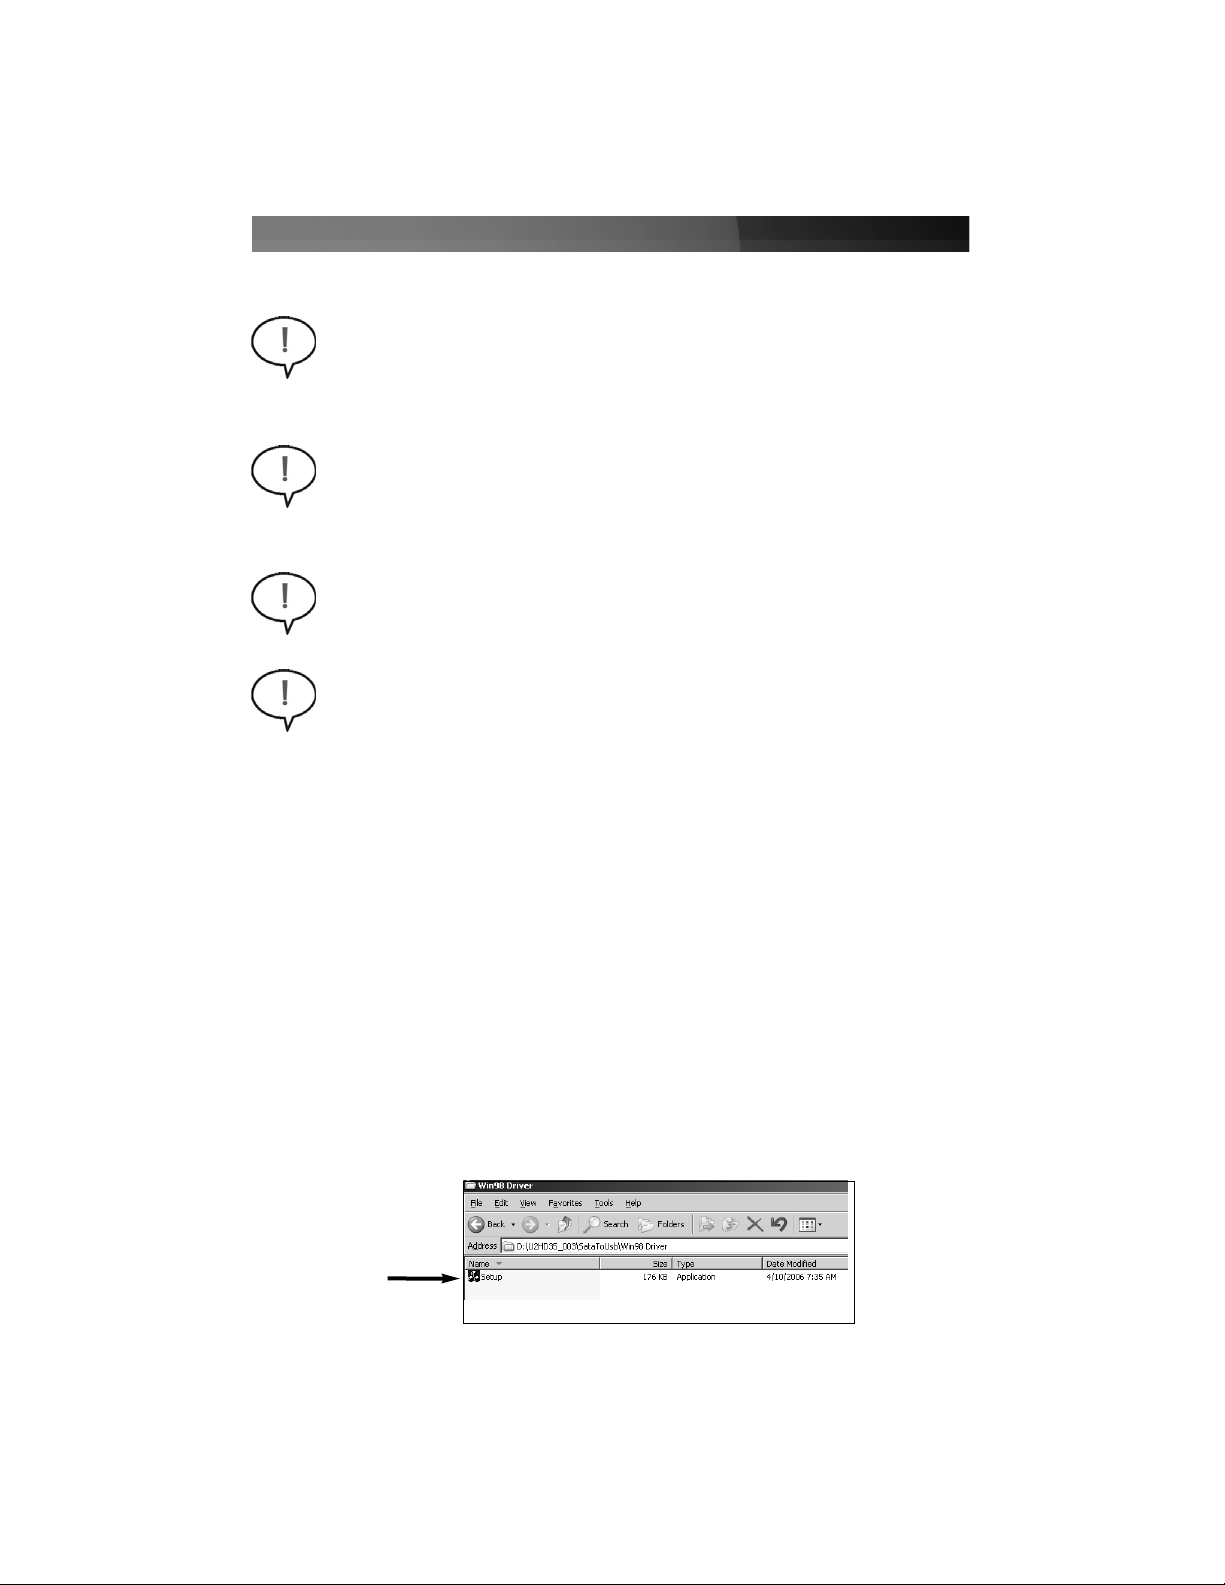
4. To locate the driver file, browse to U2HDD\U2HDD35_003\SataToUsb\Win98driver,
and double-click on the Setup file. Follow all prompts to complete driver installation.
Setup
Instruction Manual
3
Application Setup
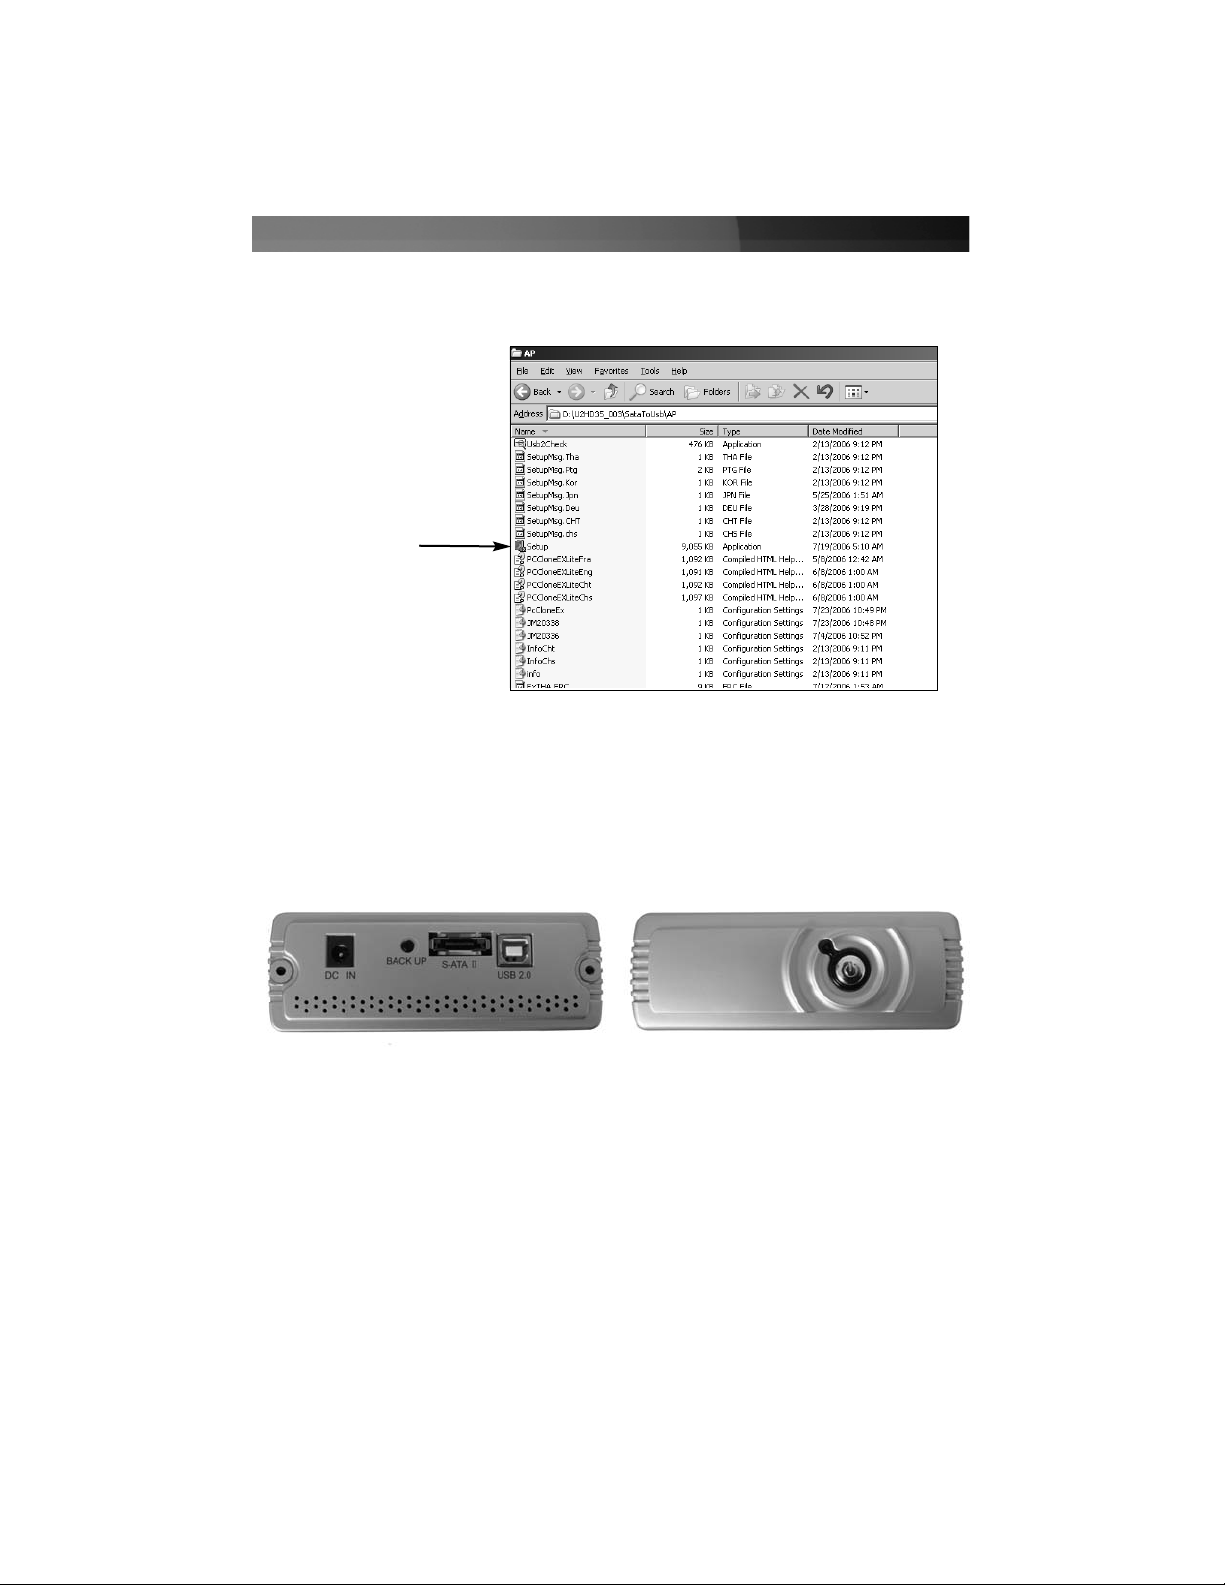
5. If you wish to use the One-Button Backup feature with your removable drive, it will be
necessary to install the Utility application located on the Driver CD. To do so, browse
to U2HDD\U2HDD35_003\SataToUsb\AP\, and double-click on the Setup icon,
as depicted:
Follow all prompts, to complete installation. Once completed, please reboot the
computer for the changes to take effect. Upon successful installation, the backup utility
(PC Clone EX Lite) will be available for use.
Installing the hard drive in the enclosure
1. Place the enclosure on a flat, stable surface.
2. Remove the thumbscrews from the rear panel of the enclosure, and remove the rear
panel faceplate from the casing.
3. Slide the front panel and tray out of the enclosure.
4. Connect the SATA power and data connectors to the power and data ports on the rear
panel of the SATA hard drive.
Front Panel
Rear Panel

Instruction Manual
4
5. Gently seat the 3.5” SATA hard drive in the enclosure, so that the hard drive label is
facing upward relative to the enclosure tray, and the data and power connections are
facing the rear panel of the enclosure. Please note: Due to the compact
design of SAT3510U2E, the hard drive will fit very snugly within the enclosure.
6. Ensure that the mounting holes at the base of the hard drive are aligned with the four
pre-drilled holes on the drive enclosure tray. Using the screws provided, fasten the
drive to the tray.
7. Align the guide rails located on the sides of the drive tray, with the guide rail located on
the inside of the casing. Gently slide the tray (with drive installed) into the casing, and
replace the rear panel faceplate that was removed in Step 2.
7. Fasten the rear panel to the enclosure, using the screws removed in Step 2.
Guide Rail

Instruction Manual
5
1. Insert the connector from one end of the eSATA cable into the rear eSATA port
(marked S-ATA II) of the drive enclosure.
2. Connect the remaining end of the eSATA cable (sold separately) to an available eSATA
port on the host computer. If the host computer does not have an eSATA connector
available, or you require an eSATA cable, please see Accessories available from
StarTech.com on page 9.
3. Power on the host computer, once the enclosure has been connected.
4. Press the Power button on the front panel of the drive enclosure.
Using USB
When used with a computer running Windows 98SE or above and connected via USB,
the drive enclosure can be connected and disconnected while the computer is running:
1. Insert the type ‘B’ connector provided by the USB cable (included) into the rear USB
port (marked USB 2.0) of the drive enclosure.
Connecting the enclosure to the Host computer
Using eSATA
2. Connect the remaining end of the USB cable to an available USB port on the host
computer or to a USB hub connected to the host computer.
3. Connect the external power adapter provided (12V DC, 1.7A) to an available power
outlet. Insert the remaining (cylindrical) connector to the port marked DC IN on the
rear panel of the hard drive enclosure.
4. Press the Power button on the front panel of the drive enclosure. The drive is now
ready for use, and should be visible under My Computer.

Instruction Manual
6
Using the One-Button Backup utility
Before the One-Button Backup will work, you are required to configure the source and
destination folders for backup.
Files Backup
Select which folders
are designated for
One-Button backup
Destination
Setting the backup source and destination
Following installation, there should be an icon for
PC
Clone EX Lite located on your
desktop. If this is not the case, please click on the Start button, followed by All
Programs to locate the utility.
1. Launch the
PC
Clone EX Lite utility.
2. Click on the Files Backup button.
3. Using the check boxes provided, select which folders will be included in automatic
backups.
4. Select the intended destination of the backed up files, using the drop-down menu
provided.
Setting a hot-key sequence
1. Click on the Setup button
If you wish to use a hot-key sequence to launch automated backups from your
keyboard:
3. Enter the hot-key
sequence to be used for
automated backups, and
save your selection
2. Click Edit

Instruction Manual
7
Once the backup utility has been configured accordingly, you will be able to launch an
automated backup session by pressing the button marked BACK UP, or entering the
customized hot-key sequence.
PCClone EX Lite
offers a wide variety of configuration options that can help customize
your data backups. For further information, please click on the Help button.
WARNING: Do not disconnect any cables or power sources while the hard drive
is active. This can result in data loss and possible damage to the hard drive.
Before disconnection, please ensure that any programs that were accessing the
enclosed drive have been terminated.
1. In Windows, click on the Safe Remove icon located in the taskbar, and select the
connected enclosure from the menu provided, then click Stop. From the menu that
appears next (pictured below), select the device to disconnect, and click OK.
*Safe Remove
2. Once the connected hard drive activity has terminated, it is safe to remove the
enclosure from the host computer, by unplugging the eSATA or USB cable from the
host computer.
Disconnecting SAT3510U2E from the host computer
Instruction Manual
8
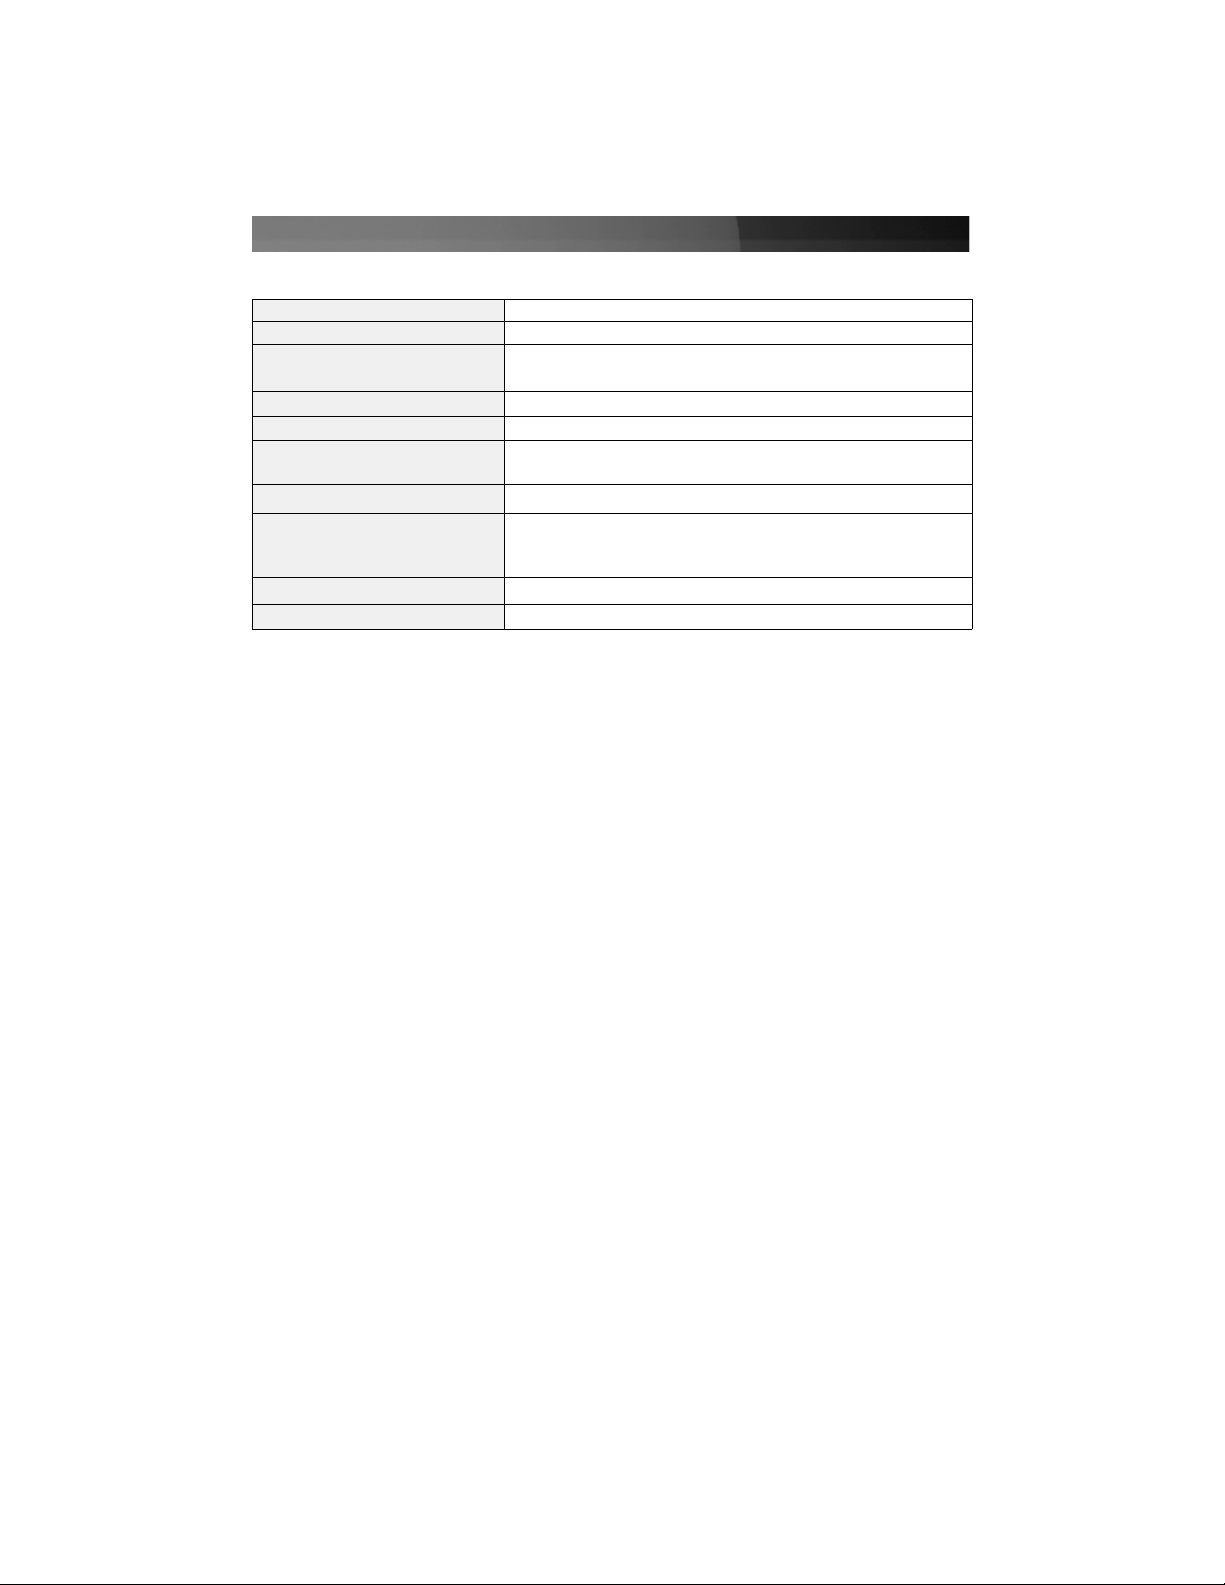
Bus Type USB / eSATA
Form Factor 3.5 inch SATA HD Drive Enclosure
Connectors USB Type B Female
eSATA 7 pin
Bus Type 12VDC, 1.7A or higher
Power Adapter 12VDC, 1.7A or higher
Maximum Data Transfer Rate USB 480Mbps
eSATA 3 Gb/s
Chipset JMicro JM20336
Operating System Support
Windows: 98SE (Setup driver CD incl.), ME, 2000, XP,
Vista
MAC OS: 9.0.x, 9.2.1, 10.1.2 to 10.3.x
Product Dimensions 198 x 118 x 42 mm (7.8 x 4.65 x 1.65”) (L x W x H)
Product Weight 410 g
SSppeecciiffiiccaattiioonnss

AAcccceessssoorryyPPrroodduuccttssffrroommSSttaarrTTeecchh..ccoomm
Contact your local StarTech.com dealer or visit www.startech.com for cables or other
accessories that will help you get the best performance out of your new product.
USB2HAB10
10 ft High Speed Certified USB 2.0 Cable
USB2HAB6
6 ft High Speed Certified USB 2.0 Cable
USB2HAB15
15 ft High Speed USB 2.0 Cable
ESATA3
3 Ft Shielded External eSATA Cable M/M
ESATA6
6' Shielded External eSATA Cable M/M
SATA2ESATA6
6 Ft Shielded External eSATA to SATA Cable M/M
ESATAPLATE1
1 ft eSATA Data Internal to External Slot Plate
Instruction Manual
9

Instruction Manual
10
TTeecchhnniiccaallSSuuppppoorrtt
StarTech.com’s lifetime technical support is an integral part of our commitment to provide
industry-leading solutions. If you ever need help with your product, visit
www.startech.com/support and access our comprehensive selection of online tools,
documentation, and downloads.
WWaarrrraannttyyIInnffoorrmmaattiioonn
This product is backed by a one-year warranty. In addition, StarTech.com warrants its
products against defects in materials and workmanship for the periods noted, following
the initial date of purchase. During this period, the products may be returned for repair, or
replacement with equivalent products at our discretion. The warranty covers parts and
labor costs only. StarTech.com does not warrant its products from defects or damages
arising from misuse, abuse, alteration, or normal wear and tear.
Limitation of Liability
In no event shall the liability of StarTech.com Ltd. and StarTech.com USA LLP (or their
officers, directors, employees or agents) for any damages (whether direct or indirect,
special, punitive, incidental, consequential, or otherwise), loss of profits, loss of business,
or any pecuniary loss, arising out of or related to the use of the product exceed the
actual price paid for the product. Some states do not allow the exclusion or limitation of
incidental or consequential damages. If such laws apply, the limitations or exclusions
contained in this statement may not apply to you.

Revised: 1 February 2007 (Rev. A)
AAbboouuttSSttaarrTTeecchh..ccoomm
StarTech.com is “The Professionals’ Source for Hard-to-Find Computer
Parts”. Since 1985, we have been providing IT professionals with the
quality products they need to complete their solutions. We offer an
unmatched selection of computer parts, cables, server management
solutions and A/V products and serve a worldwide market through our
locations in the United States, Canada, the United Kingdom and Taiwan.
Visit www.startech.com for complete information about all our products
and to access exclusive interactive tools such as the Parts Finder and the
KVM Reference Guide. StarTech.com makes it easy to complete almost
any IT solution. Find out for yourself why our products lead the industry in
performance, support, and value.
Table of contents
Other InfoSafe Enclosure manuals


