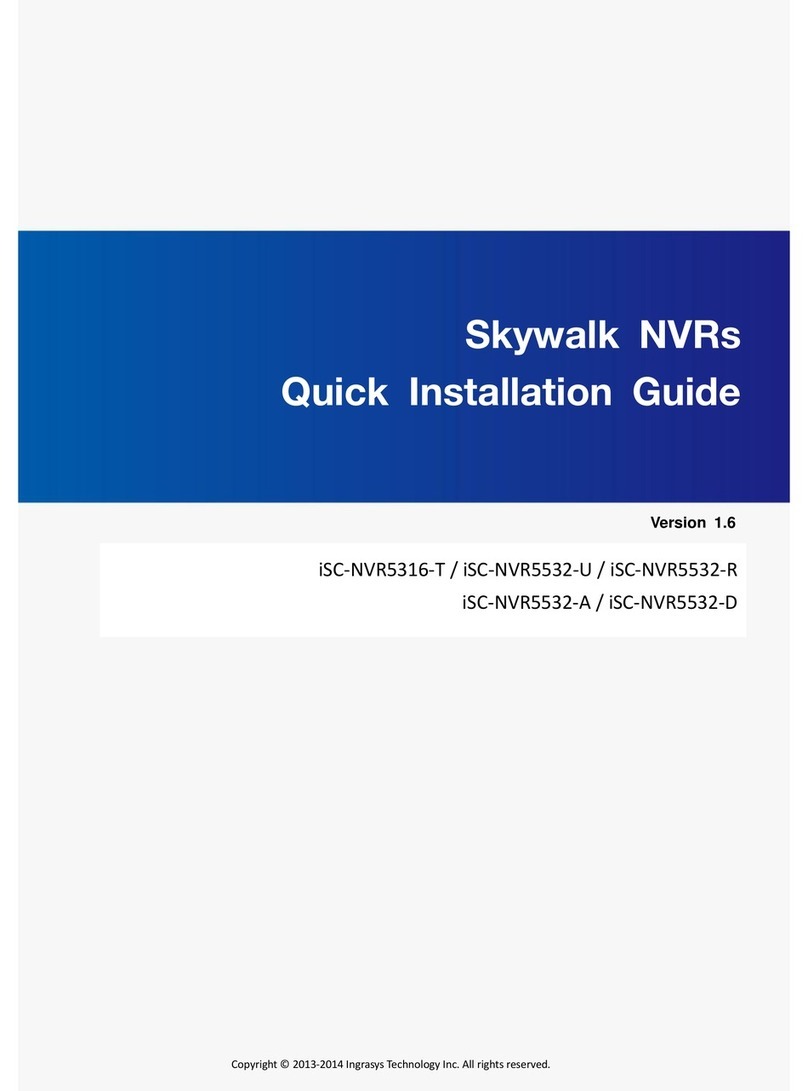
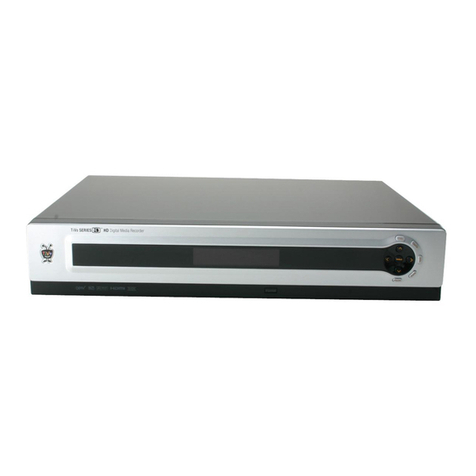
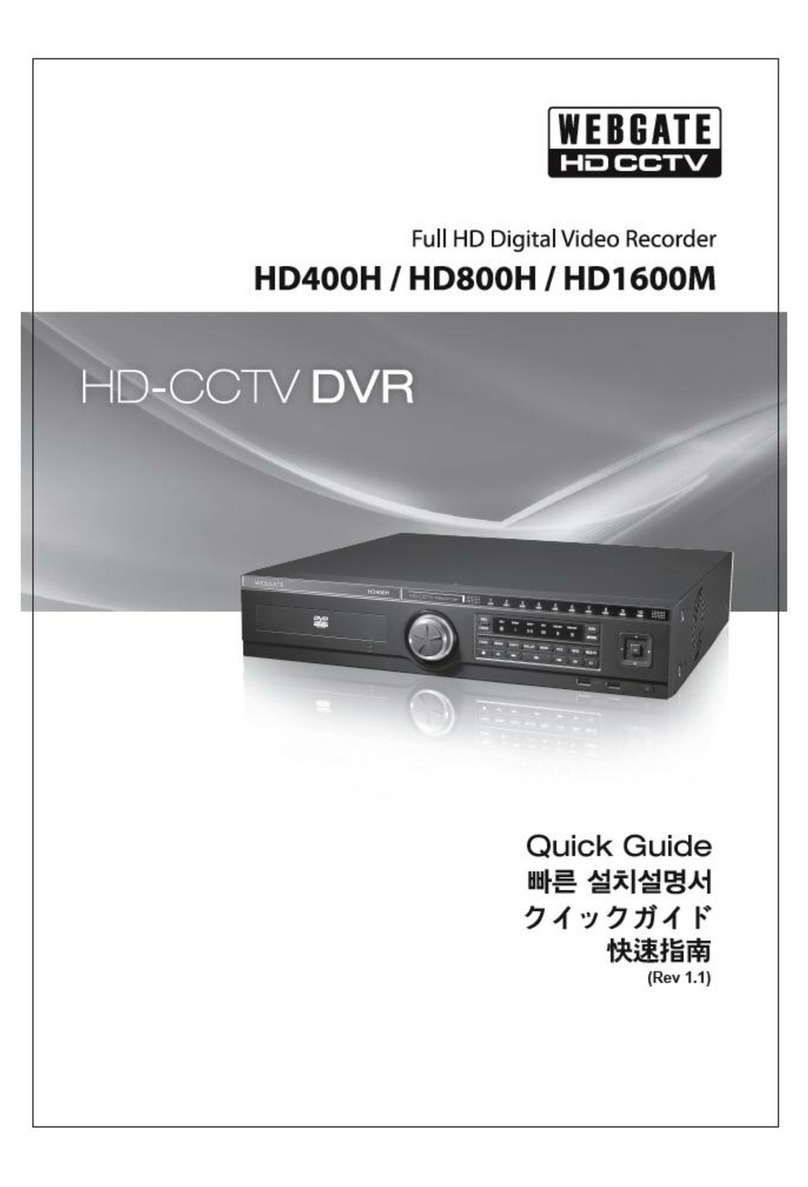
Ingrasys Skywalk iSC-NVR5316-T User manual

1
Skywalk NVRs
Quick Installation Guide
iSC-NVR5316-T / iSC-NVR5532-U / iSC-NVR5532-R
iSC-NVR5532-A / iSC-NVR5532-D
Copyright © Ingrasys Technology Inc. All rights reserved.
Version 1.5

2
1. Package contents
Following items should be included in your Skywalk NVR’s accessory content. If any
component is missing in your Skywalk NVR package, please contact Ingrasys Technology Inc.
Model No.
iSC-NVR5316-T
iSC-NVR5532-U
iSC-NVR5532-R
iSC-NVR5532-A
iSC-NVR5532-D
DVD
Power Cord
Srews for HDD
HDD tray keys
RJ45 to RS232(option)
Rackmount screw set
Slide Rail
Slide Installation Guide
RAID card driver CD
RAID card Quick Intallation Guide

3
2. Pre-install notice
Before installing Skywalk NVR, please make sure the items below are ready.
A Windows base PC
Network connection
One or more IP Cameras
1~4 hard disks
A computer monitor and a USB mouse
A screwdriver

4
3. Client PC requirement
For better system performance, your computer should meet the following requirements.
Client PC is used for Skywalk NVR Windows AP or web client.
Hardware platform
Intel Core2™ Duo, minimum 2.0 GHz (Quad Core recommended for larger views)
RAM: Minimum 512 MB (1 GB recommended for larger views)
HDD: Minimum 100 MB free
Graphics Card
AGP or PCI-Express, minimum 1280×1024, 16 bit colors
Operating system
Microsoft ® Windows ® XP Professional (32 bit or 64 bit),
Microsoft Windows 7 Ultimate (32 bit or 64 bit),
Microsoft Windows 7 Enterprise (32 bit or 64 bit),
Microsoft Windows 7 Professional (32 bit or 64 bit),
Microsoft Windows Server 2008 R2 (64 bit),
Microsoft Vista Business (32 or 64 bit),
Microsoft Windows Vista Enterprise (32 or 64 bit),
Microsoft Windows Vista Ultimate (32 or 64 bit)
Microsoft Windows Server 2003 (32 or 64 bit)
Software requirement
DirectX 9.0, or newer
Microsoft Internet Explorer 8.0 above for web client

5
4. Front and rear view of Skywalk NVR
This chapter introduces the surface features of Skywalk NVR.
4.1 Front view of iSC-NVR5316-T
Front cover, it protects hard disks from being removed by invaders easily.
Front cover lock
Power button
Note: This power button is enabled only when the front cover of Skywalk
NVR is opened. It is a secure design to defend invader to power off
Skywalk NVR when recording is still running.
Power LED
System Read/Write LED
System status and Event LED
LCM for event, system status and settings of IP address display
LCM control buttons (Left/Enter/Right)
Note: Detailed operation will be described in following section.
USB port (For Mouse or Keyboard)
USB port (For Backup)

6
4.2 Rear view of iSC-NVR5316-T
Power cord socket
2 x RJ45 Network Port:
In “Standalone”mode, “LAN 1”is used for WAN and “LAN 2”is used for LAN.
In “Failover”mode, “LAN 1”is the primary port and “LAN 2”is the secondly port.
VGA output for Local display
4 x USB port
E-SATA Port
COM port

7
4.3 iSC-NVR5532-U
A
Power switch
B
Alarm mute button
C
Fan failed LED
D
Power LED
E
4 x 3.5”HDD tray
F
Power socket
G
Audio: Mic-in, Line-in, Line-out
H
COM1
I
COM2
J
VGA
K
DVI-D
L
HDMI
M
LAN
N
LAN
O
4 x USB 2.0

8
4.4 iSC-NVR5532-R / iSC-NVR5532-A (Redundant PSU)
A
Power switch
B
System reset button
C
Alarm mute button
D
System read/write LED
E
Power LED
F
System alarm LED
G
LAN1 LED
H
LAN2 LED
I
2 x USB 2.0
J
16 x 3.5”HDD tray
K
Power socket
L
Audio: Mic-in, Line-in, Line-out
M
COM1
N
COM2
O
VGA
P
DVI-D
Q
HDMI
R
LAN
S
LAN
T
4 x USB 2.0
NVR2532-R
NVR2532-A (Redundant PSU)

9
4.5 iSC-NVR5532-D
A
Power button
B
System reset button
C
Alarm mute button
D
Power LED
E
System alarm LED
F
LAN1 LED
G
LAN2 LED
H
2 x USB 2.0
I
24 x 3.5”HDD tray
J
Power socket
K
Audio: Mic-in, Line-in, Line-out
L
COM1
M
COM2
N
VGA
O
DVI-D
P
HDMI
Q
LAN
R
LAN
S
4 x USB 2.0

10
5. Installation of hardware
(iSC-NVR5316-T)
Please follow the steps to install the hardware.
(1) Open the front cover and pull out the HDD trays from the chassis.
(2) Assemble a hard disk on each tray.
Note: Screw the screws at the bottom of the hard disk for NVR-5316-T; on the side for
NVR5532-U/ NVR5532-R/ NVR5532-A/ NVR5532-D
(3) Insert the HDD trays back to the chassis of Skywalk NVR and push the disk trays to the
end.

11
(4) Connect the USB mouse and computer monitor to Skywalk NVR.
(USB mouse and PC screen are only used when local display.)
(5) Connect network cable to “LAN 1”.
(If it is “standalone mode”, please connect LAN1 to “WAN”port.)
(6) Connect network cable to “LAN 2”.
(If it is “standalone mode”, please connect LAN2 to “LAN”port.)

12
(7) Connect the power connector to power socket by power cord.
(8) Open the front cover and power on Skywalk NVR then close the front cover.
Note: Skywalk NVR could be turned on only when its front cover is opened.

13
6. Installation of hard drives
(iSC-NVR5532-R/A/D Only)
Please follow the steps to install the hard drives.
(1) You have to insert the hard drives in sequence and one by one. The hard drives
would be recognized in sequence and show on the Hard Drives list (continuous number)
of Setup Wizard on system. That would be more convenient and easy to maintain the
locations of hard drives in the future.
iSC-NVR5532-R/ A
(2) As same as 3U models, the hard drives of 4U model also have to be inserted in
sequence and one by one. The hard drives would be recognized one by one and
show on the Hard Drives list (continuous number) of Setup Wizard on system.
iSC-NVR5532-D
Note: The Hard Drives list probably cannot display the correct sequence of hard drive’s
location if you insert the hard drives in disorder.
6
1
2
3
7
4
9
5
10
8
15
16
12
11
0
14
13
6
1
2
3
7
4
9
5
10
8
15
16
12
11
0
14
13
21
20
19
18
17
23
22
24

14
7. Setup wizard of local GUI
The following steps will instruct you to set the basic settings of Skywalk NVR through the
local GUI including Server Name, Date/Time, Password, Network, iSC Cloud Service and RAID
creating.
(1) You will see the login page from local display (VGA) as below snapshot.
(2) Input username and password then click to start the basic settings
Note: Default username is Admin and password is admin1234

15
(3) Setup Wizard will instruct you to set necessary settings step by step.
(4) This page shows you the server information of Skywalk NVR. You can input NVR name
and description for further recognition purpose that will apply to the remote client
application (SClient). Then click Save button to save the information for moving to
next step.

16
(5) Set time zone and date/time. Setting same time zone is very important to synchronize
recording data when playing back video by remote clients. Click Save button then click
icon to move to next step.
(6) You can modify the administrator’s password to new one.
Note: We strongly suggest you modifying the answer of “Security Question”once you
miss password.

17
(7) We strongly suggest you inputting static IP address manually for Skywalk NVR as a
server.
(8) Skywalk NVR supports Ingrasys iSC Cloud Service. You can enable it (connecting
router has to support UPnP NAT-T) to register Skywalk NVR to iSC Cloud server for
seeing Skywalk NVRand IP Cameras from anywhere via internet.

18
(9) Mini-tower and 1U models (iSC-NVR5316-T/ iSC-NVR5532-U) support RAID 0, 1, 5 and
10 based on how many hard disks you connected. Please select a suitable RAID type
and create it.
Note: The system will mount hard drives automatically if you install them in this step.
Please click Reload to update the list.
(10) For 3U and 4U models (iSC-NVR5532-R/ iSC-NVR5532-A/ iSC-NVR5532-D), system uses
LSI RAID card that supports alarm buzzer. You may check “Alarm Enable”to activate
the buzzer for triggering alarm of RAID status. Once the buzzer is triggered, you can
click the Alarm Silence to mute it.

19
(11) After the RAID creating completes, click icon to move to next step. Setup Wizard
will show you the summary to confirm all settings are correct. Click Reboot then click
OK to reboot system. After system is ready, please install SClient application in client
PC for adding IP cameras and further configuration.

20
8. Installation of Windows Remote Client
The section describes the installation of the powerful SClient Windows AP that managed
Skywalk NVR easily. It provides configurations of video channels for live view, instant
video/audio playback, monitoring through E-Map, historical data playback, event notification
and etc…
SClient also supports multi-screen display for more flexible management.
Just follow the simple steps and you will enjoy the powerful Windows AP “SClient”.
(1) Insert Utilities Disc of Skywalk NVR and enter the disc path: \Windows SClient\ to find
the program named SClient.msi.
(2) Double click on the program to start the installation.
(3) Click Next button to continue.
Other manuals for Skywalk iSC-NVR5316-T
2
This manual suits for next models
4
Table of contents
Other Ingrasys DVR manuals
Popular DVR manuals by other brands

Zetronix
Zetronix zKChain-HDL user manual
Mitsubishi Electric
Mitsubishi Electric DX-TL2500E How to use
Arm Electronics
Arm Electronics RDVR16A1000G Specifications

Novus
Novus NVR-3304 user manual
Sheng Jay Automation Technologies
Sheng Jay Automation Technologies SJ-KV204 quick guide
Interlogix
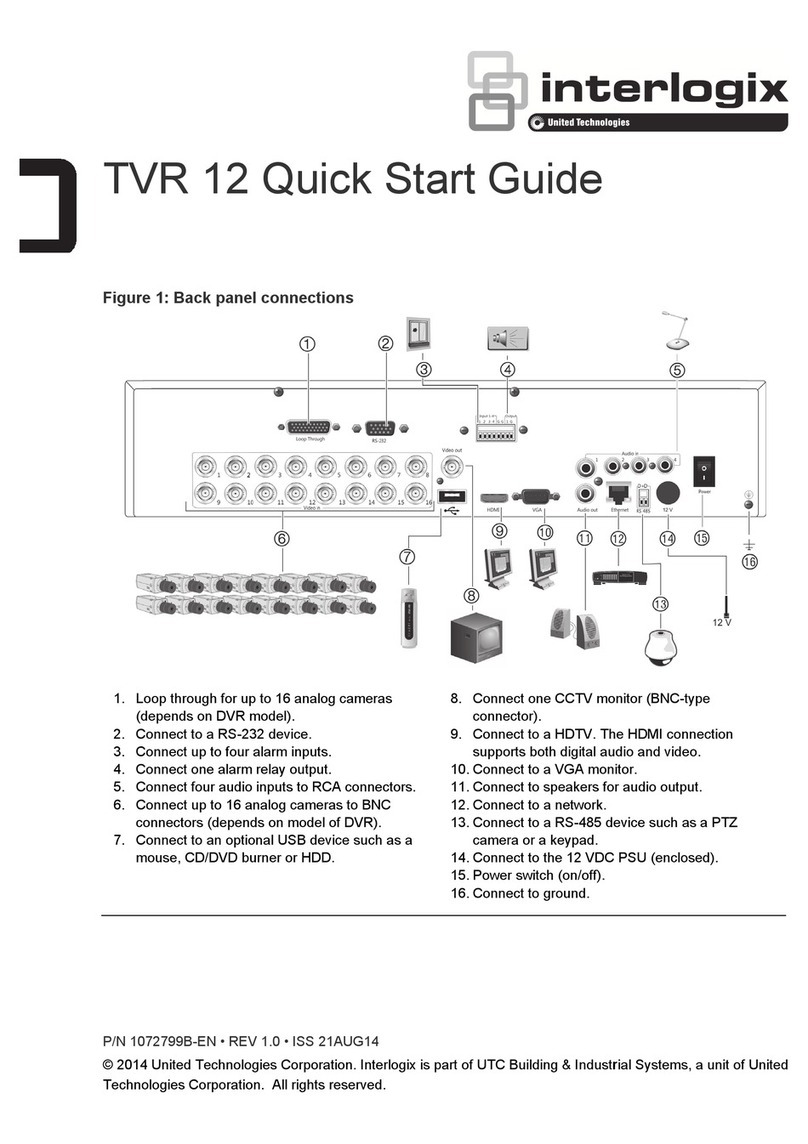
Interlogix TVR 12 quick start guide
