17
Additional technical information
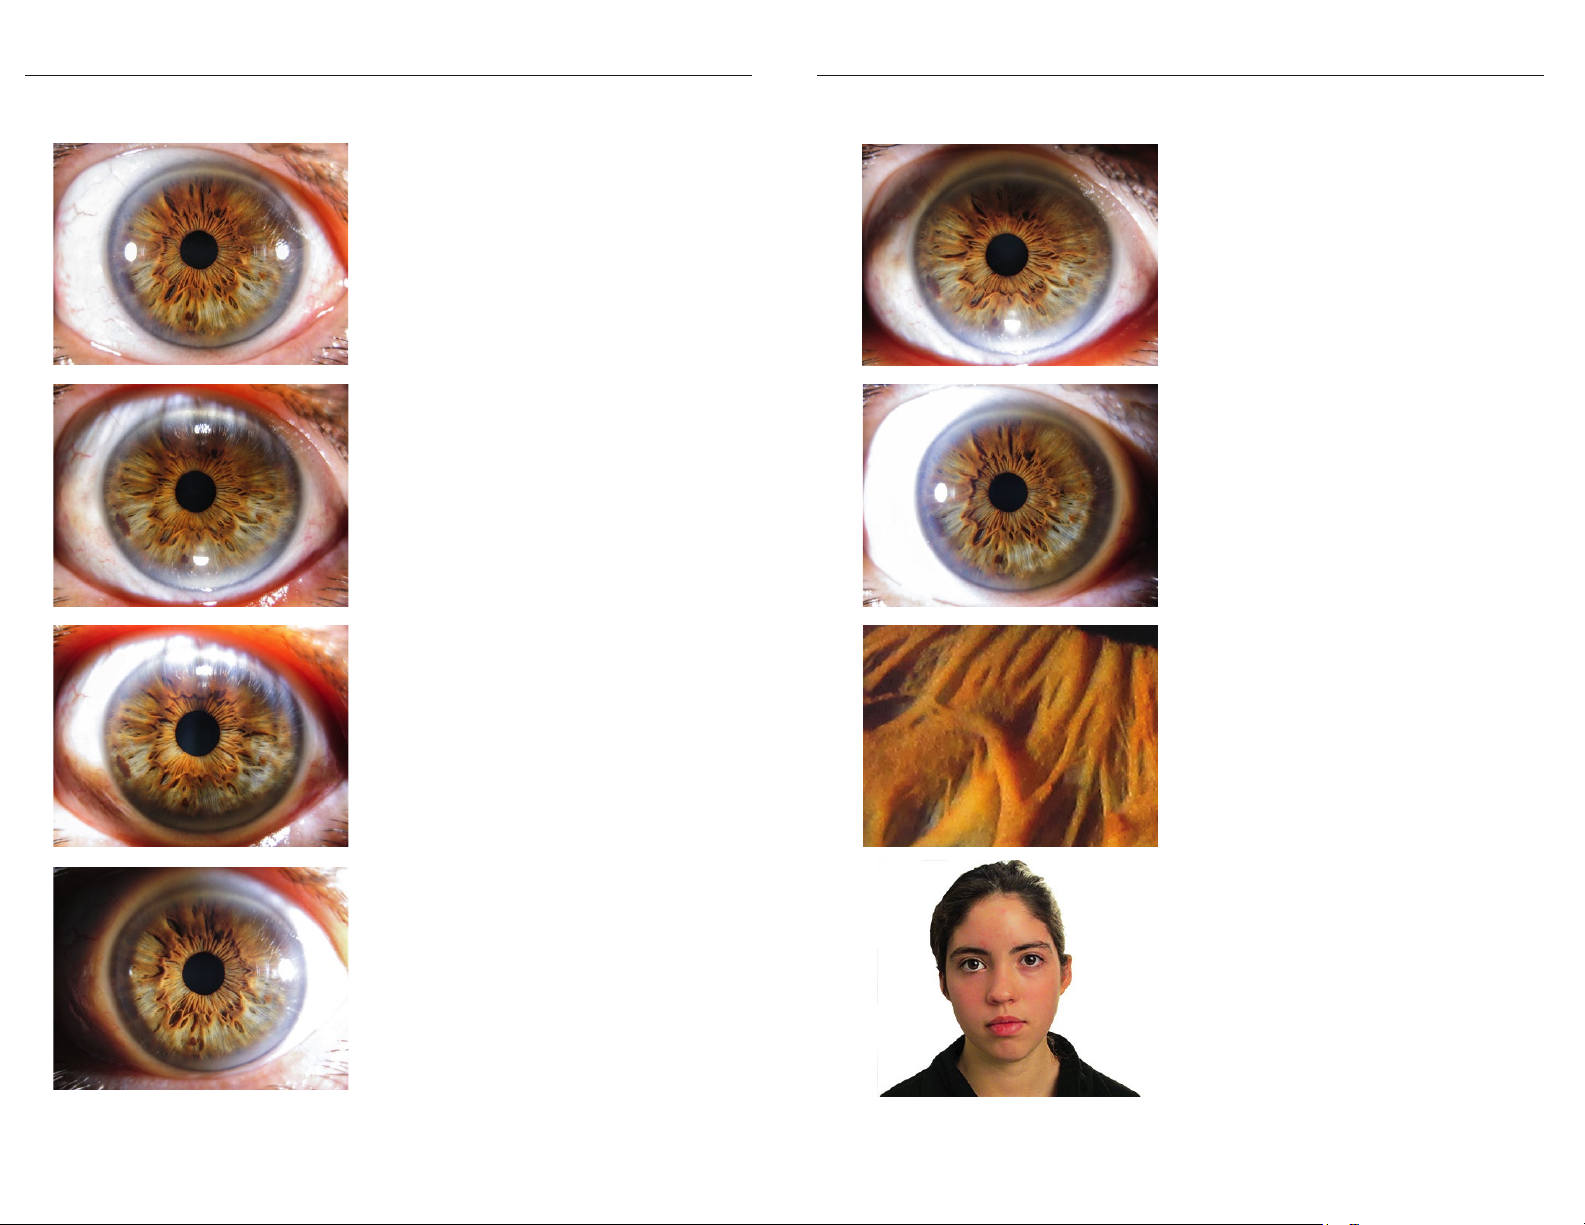
Reviewing pictures
The photographs can be displayed on screen and
zoomed (1) in order to see tissues with more detail.
Options to show the images on a larger screen are to
download the files to a computer with a USB cable
(not supplied), to connect the camera to a TV set
using Canon cable AVC-DC400ST, or to use an
Eye-Fi brand wireless SD memory card to transmit
pictures to a computer or tablet as they are taken.
Check the camera manual for more information.
Downloadable software from Canon detects the
connection to a USB port and automatically down-
loads the pictures to the computer
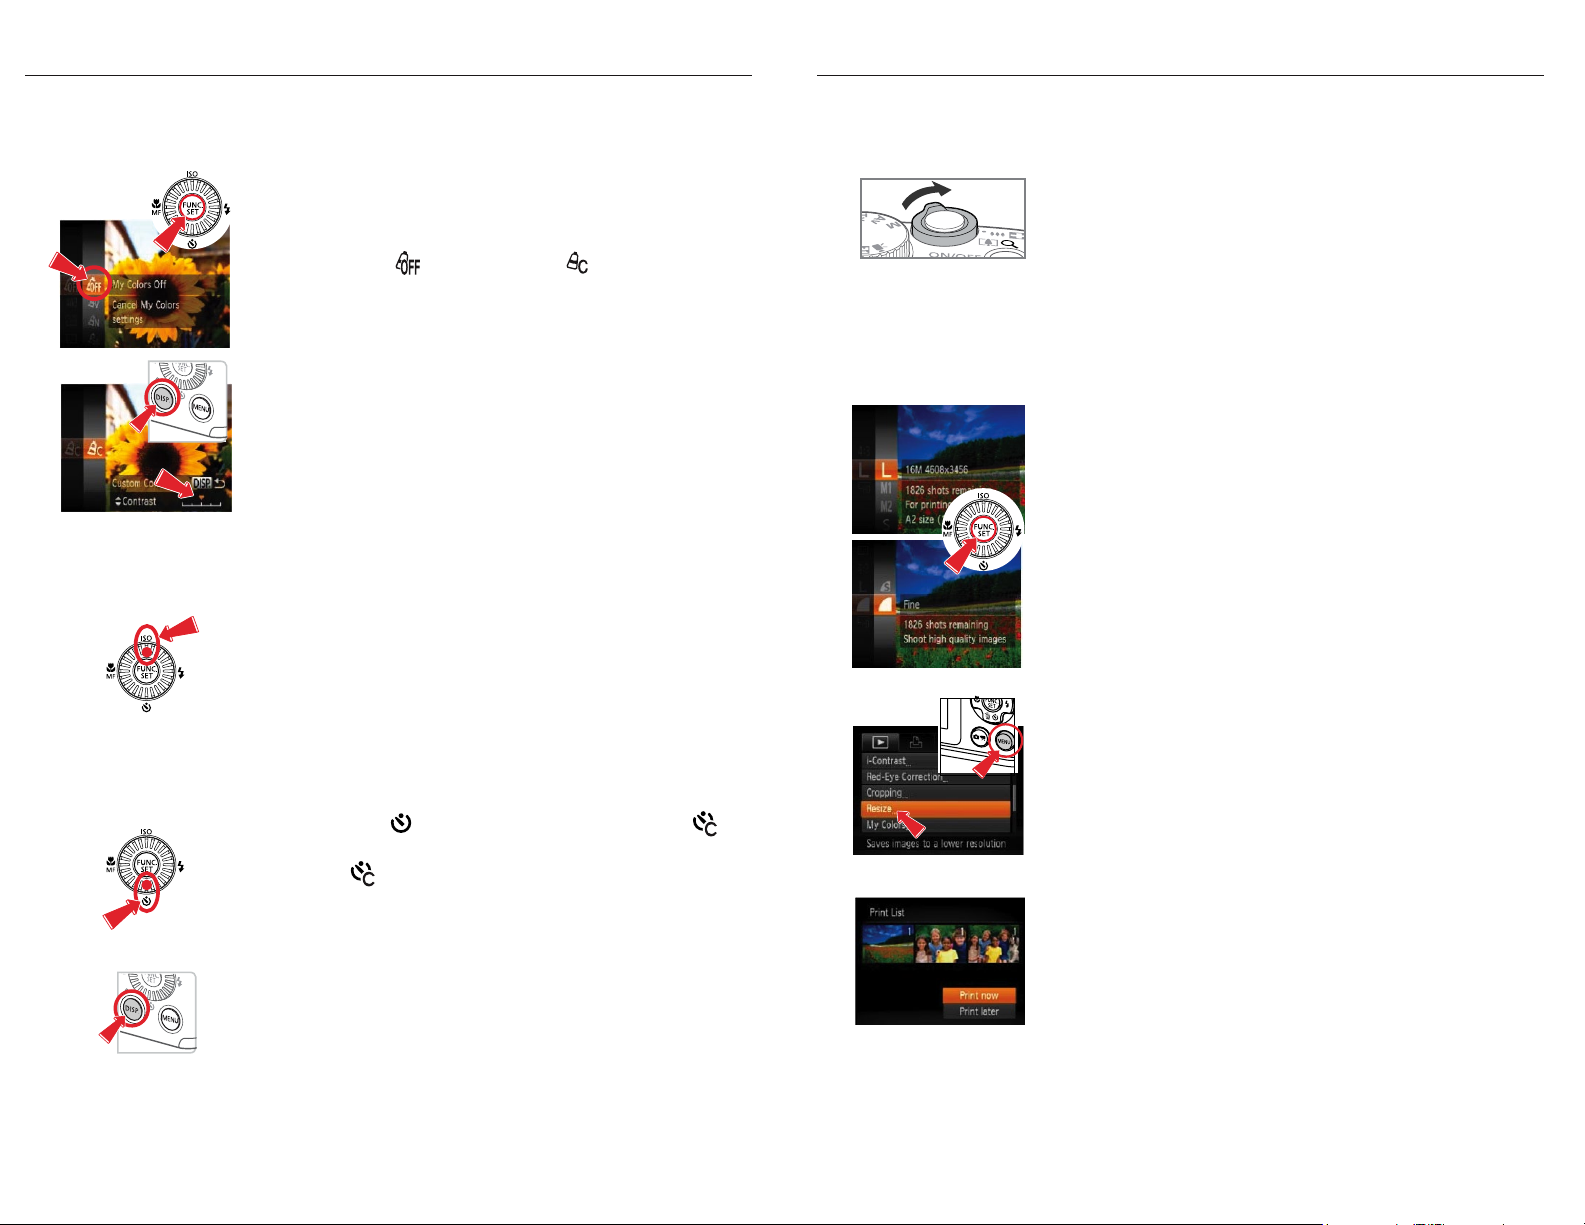
Resolution and compression (2)
We recommend selecting the larger image sizes, L or
M1, combined with Fine quality compression.
An 8GB card will hold more than 3,000 such images.
Resizing picture for iridology software (3)
The IRISO images produce excellent results in iridol-
ogy programs, although the higher camera resolu-
tions have to be previously downsized. To do so, open
the picture, press "Menu", select "Resize " and
choose M2 (best quality) or S (smallest). This gener-
ates new smaller file appropriate for most software.
Direct printing (4)
The pictures can print directly via USB cable from the
camera to some Canon printers, or other compatible
with PictBridge. Check the camera and your printer
manual.
16
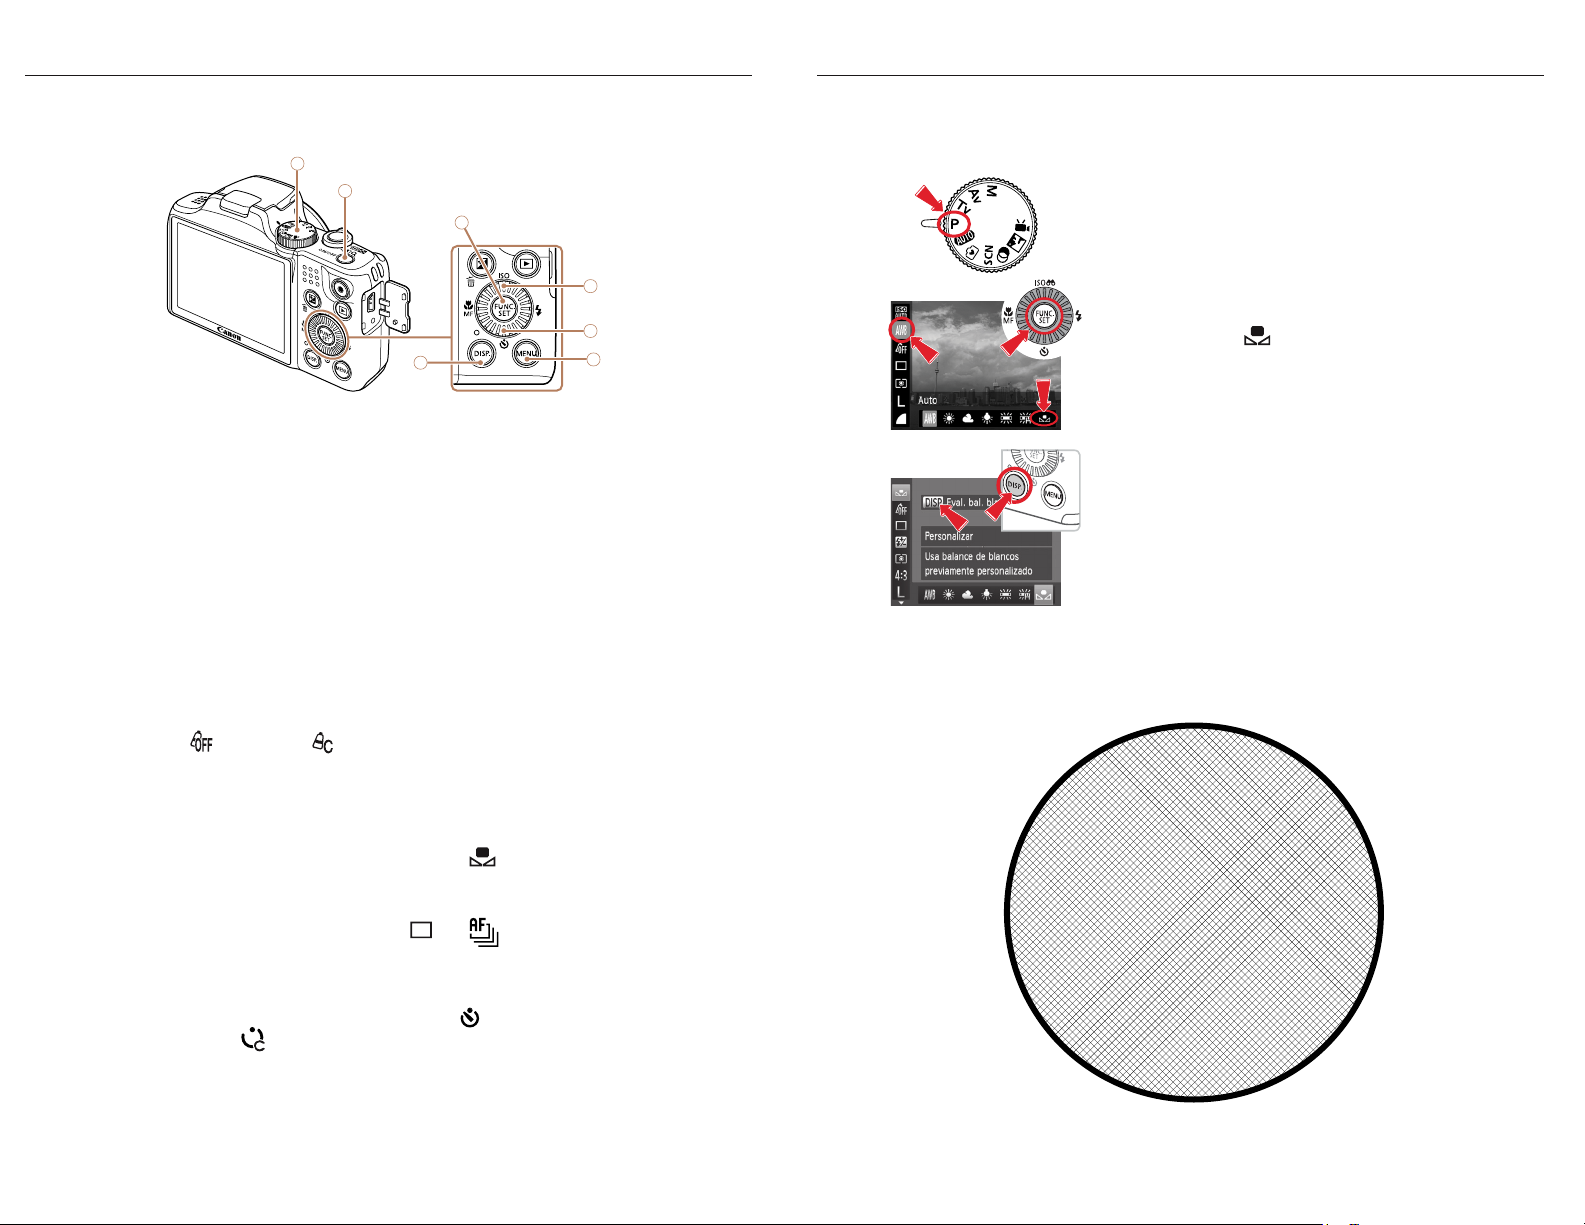
Advanced techniques
• The following techniques are intended to record
significantly sharper pictures.
- Increase the file parameters
Press the " FUNC.SET " button (1), find the "My
Colors " symbol and change to
Press then the "DISP" Button (2) and increase param-
eters: Contrast +1, Sharpness +2 and Saturation +1
- Small zoom increase
Zooming the lens displays a distance scale on
screen, apply a small zoom up to "2cm - 50cm"
(should focusing get difficult, reduce to "1cm - 50cm")
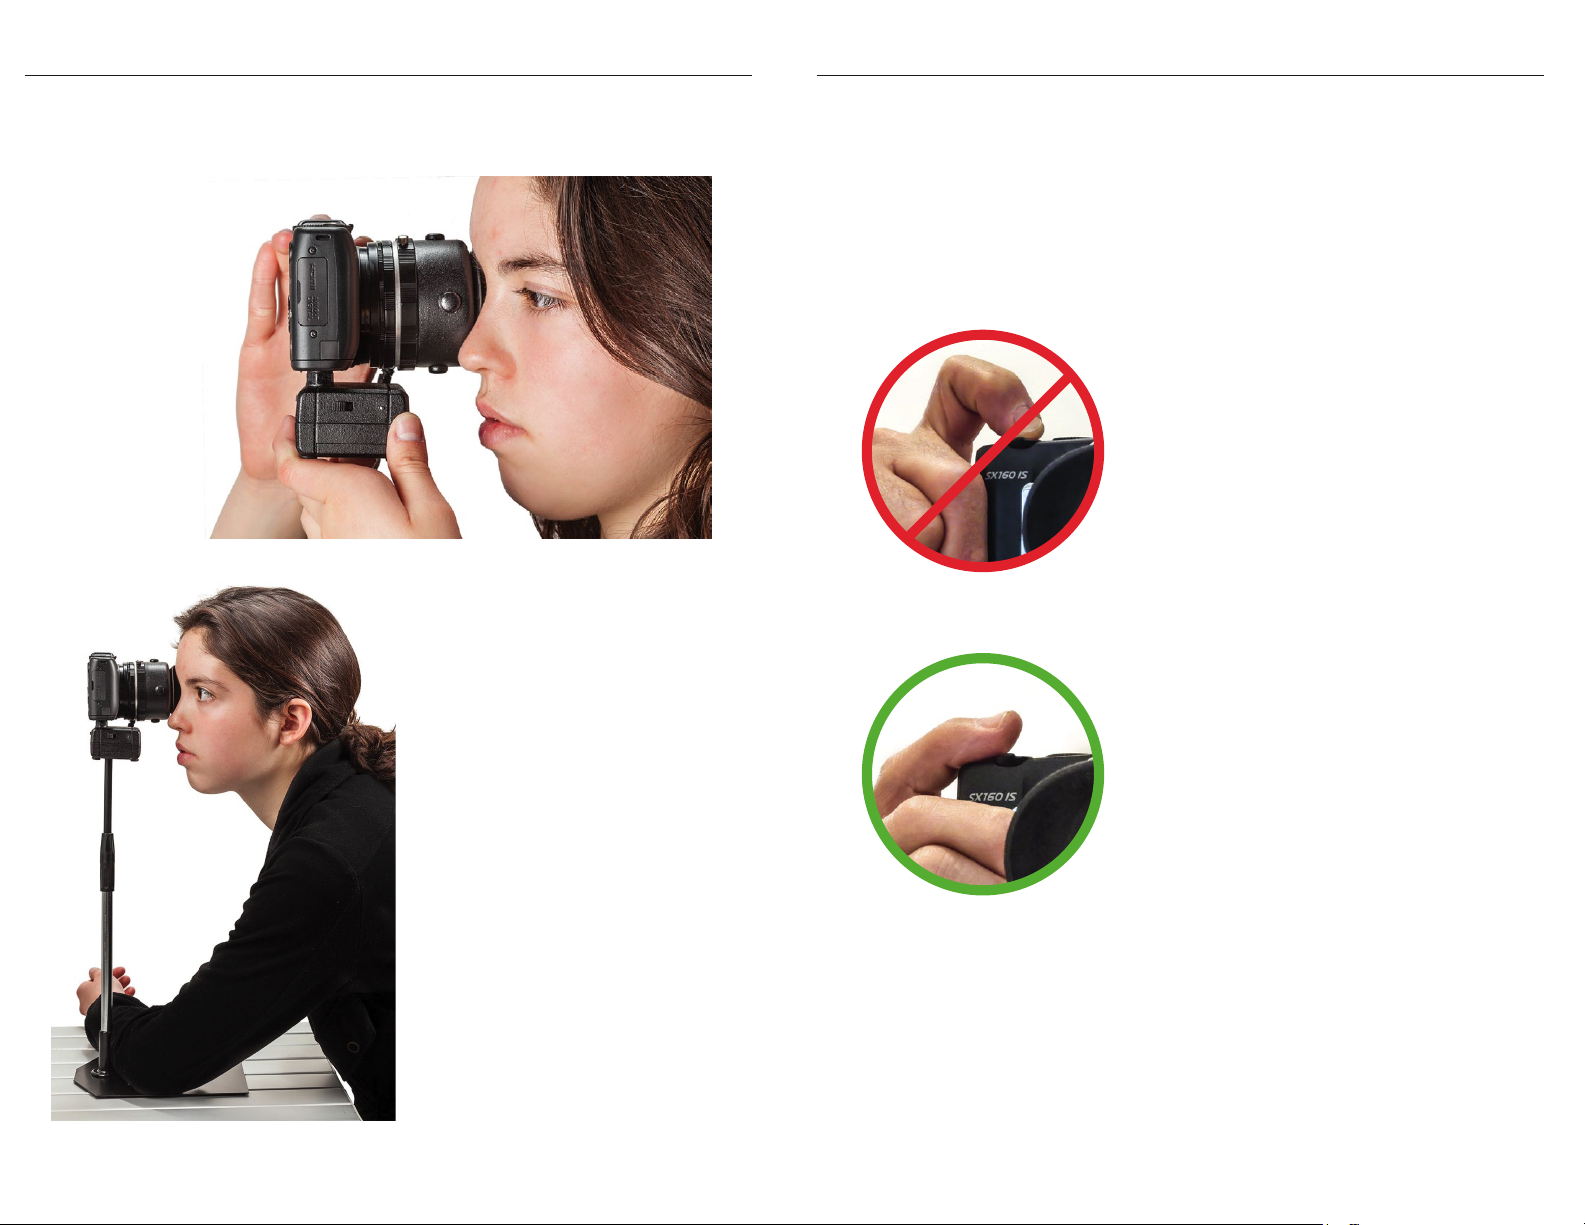
- Align the camera
A precise parallelism of the camera’s with the eyes’
axis ensures sharpness on the iris from side to side.
- Keep light on high, lower only with sensitive eyes
- Manual instead of Automatic ISO (3), at 100 for
light to medium color, ISO 200 for dark eyes.Caution:
camera may be more sensitive to hand shake.
- Avoid movements
The IRISO Table Stand will eliminates camera shake,
and have the patient look at a specific spot to minimize
eye movements.
- Multiple shots
This technique significantly improves picture sharp-
ness. (4) Press below “FUNC.SET” and select ,
Press “Menu” to program the values "0 sec./ 3 shots".
The option is automatically reset to off and should
be selected at the start of each photo session.
After taking the identical 3 shots in a row, display
them on the camera screen and press the "DISP"
button (5) to show technical file information. A number
of MB will appear. Within identical series, the picture
showing the highest MB count is the sharpest one.
Keep it and delete the other two identical ones with
lower MB.
(1)
(2)
(4)
(3)
(5)
(1)
(2)
(3)
(4)
irisocamera.com professional iroscopes irisocamera.com professional iroscopes