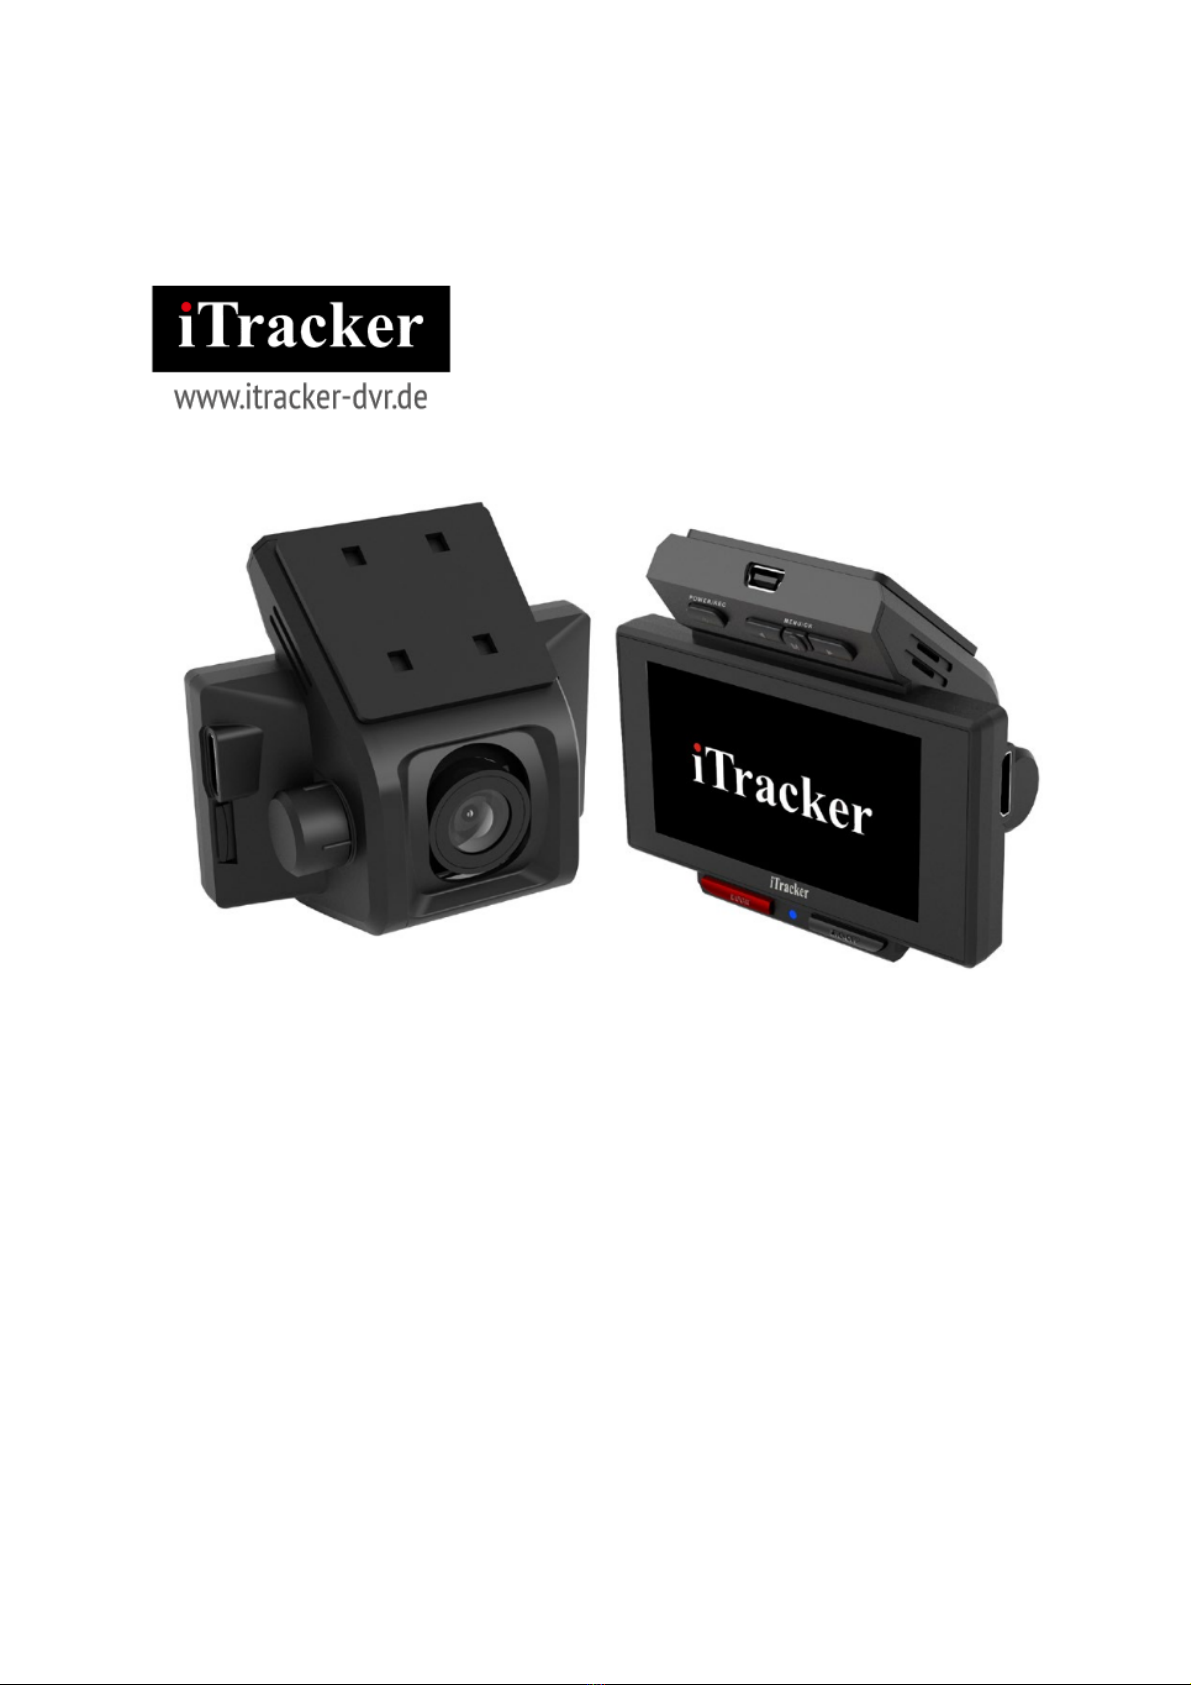
iTracker STEALTHcam User manual

Page|1
STEALTHcam
Operating Instructions

Page|2
Welcome
Dear Customer,
Thank you for purchasing this car camera. The iTracker STEALTHcam has been specifically developed
to record real-time video while driving your vehicle. Please read this manual carefully and follow the
instructions.
Safety
This manual is intended to familiarize you with the operation of this product.
Keep these instructions handy so that you can access them anytime.
Any modification of the camera affects the product safety and voids the warranty.
Never open the camera as there are no user serviceable parts.
Handle the camera carefully. It can be damaged if dropped.
Keep the camera away from moisture and extreme heat.
Do not immerse the iTracker in water or other liquids.
Technical changes are at the manufactures digression.
1. Important instructions
This camera has been fully configured by us prior to shipment and is up to date. A memory card is not
included with the camera; therefore one must be purchased separately. We recommend 32MB
(maximum), Class 6 or higher.
A protective film has been placed on the display screen. Please leave the film on the display screen
while you setting up the iTracker as this will protect it from possible damage. The camera lens also
has protective film. To avoid fingerprints on the lens, we recommend the removing it only after the
camera has been positioned on the windshield and the viewing angle has been verified.
Place the memory card in the micro SD slot located on the right side of the iTracker with the gold
contacts inserted first into the iTracker. The gold contacts should face towards the display screen.
Press the memory card carefully until you feel slight resistance and then you will hear a click.
Remove memory card
Press gently on the edge of the card, the memory card will eject.
Do not install or remove the memory card while the device is switched on as this can damage
the card.
Use only memory cards up to 32GB maximum, Class 6 or higher.
Reformat your Micro SD card in the iTracker every 6 months.
Micro-SD cards are consumables and must be replaced after prolonged use.
The camera must be connected to the car charger cable in order to automatically turn on and off. The
cigarette lighter socket should only receive power when the ignition is turned on. If the cigarette
lighter is powered independently (always on) the camera should be turned on and off manually to
avoid draining the vehicle’s battery.

Page|3
If the iTracker is operated without the original car charger cable, it can lead to a complete discharge
of the internal camera battery, which may result in a service replacement. The operation of the
camera with a non-iTracker car charger can result in defective voltage which may lead to damage
and/or malfunction. Uploading non-iTracker firmware can cause damage to the unit. The latest
firmware updates can be obtained from us upon request or from our website.
Operate the unit carefully while driving as to ensure your safety and that of other drivers.
2. Keys and Functions
(1) POWER/REC/PLAY button
(2) Arrow key left / down
(3) USB connection
(4) Menu/OK button
(5) Arrow key right / up
(6) Window mount
(7) Reset button
(8) Lock key
(9) LED status indicator
(10) Microphone on / off button
(11) Display
(13) Camera lens
(14) Speaker
(15) HDMI connection
(16) SD card slot
(17) Locking knob to secure the lens
(18) Microphone

Page|4
Button Functions
(1) POWER/REC/PLAY button
Use this button to turn the device manually ON/OFF and to manually start the recording. In playback
mode, this button has the PLAY function.
(2) & (5) Arrow key Up/Down – Right/Left button
Use the arrow keys to scroll the menu through the various points. While watching a video, they also
control the volume and the ability to zoom in or out.
(4) [Menu/OK] button
This button leads to the main menu, and when pressed and held again, will take you to sub-menu.
This button is also used to confirm menu selections. In video mode, it works to select between
Video/Photo mode as well as selecting a specific recordings or photos.
(8) [Lock key] button
Pressing this button during recording protects the current video from being overwritten.
(9) LED status indicator
Status display of the camera: blue light means the camera is on. Flashing red means that the camera
is recording. Steady red means the camera is in stand-by mode (switched on but not recording).
3. Assembly Instructions
In order to obtain an optimum view, it is recommended that the camera be positioned in the center of
the windshield and behind rear-view mirror. If the iTracker can’t be mounted behind the rear-view
mirror due to a lack of space, it can be mounted directly to either side (left or right) of the rear-view
mirror.
The camera should be positioned in such a way that the driver's visibility is not impaired. The iTracker
is attached to the mount and the camera may be removed from the mount by sliding the camera
upwards. Be sure you have sufficient room between the top of the camera and top of the windshield
so it can be removed before you secure it in place with the adhesive mounting plate.
The lens can be tiled up or down 45° and locked into position to ensure a uniform view. Once the
camera is turned on, look at the view screen and adjust the lens angle as necessary to obtain the
optimal view and tighten the locking knob.
When position the camera onto the windshield, be sure the camera is within the area cleared by the
windshield wipers to ensure the view is not obstructed during rain or snow conditions.
The car charger cable should not hang down in front of the driver. For your own safety, the cable can
be positioned under the inner roof lining of the vehicle and down along the A-pillars. It can also be
secured with cable clips attached along the windscreen. Cable clips are not included but can be
purchased separately.

Page|5
4. First steps
Turning on the camera
To turn the camera on, press the [POWER/REC/PLAY] button or connect the camera to the
supplied car charger. The camera will start automatically as soon as it is supplied with power.
Start Recording
To start recording press and release the [POWER/REC/PLAY] button once. Top left of the image
screen confirms the recording by red blinking dot. To stop recording, press the
[POWER/REC/PLAY] button.
Create a Photo
During recording press the [M/OK] button briefly to create a photo. While in standby mode, switch to
the photo mode and then press the [POWER/ REC/PLAY] button briefly to take a photo.
Getting started
Turn the camera on. Stop recording and press the [Menu/OK] button to reach the camera's menu.
Here you can select the functions for recording.
Menu Selection
Hold down the [Menu/OK] button in the first menu for about 2-seconds. Navigate with the arrow
keys to [Date/Time] and then press the [Menu/OK] button.
To switch between each menu item, press the [Menu/OK] button. To exit the menu, press and hold
the [Menu/OK] button for about 2 seconds. For details on selections refer to the menu description.
Setting the language
The language is set in the sub-menu under the menu item "Language”. The default language is set to
German.
5. Menu description in the video mode
To enter the settings, press the [Menu/OK] button between the arrow buttons. If you press the
[Menu/OK] button only once, you can make the following settings:
Resolution Video resolution
1920x1080, 1280x720, 848x480, 640x480
Endless loop
Set the length of individual video clips. The maximum video length is 10 minutes. This ensures that
the size of each video sequences is minimized. The smaller the video sequences, the faster old videos
can be overwritten and there are no gaps between the shots. When set to "OFF" you turn off the
"Endless loop" function. In this case, the iTracker will record until the memory card is full is and turns
off.
HDR
If this option is set to "ON", then the camera automatically adjusts to the environmental lighting
conditions.

Page|6
Exposure
Here you can change the brightness of the recordings. This setting is centrally confirmed by the icon
on the left, so you must set this with a value in mind.
Motion sensor (Surveillance or parking mode)
When "ON", the device immediately starts recording when an object moves in front of the lens. The
display appears on the left icon. The camera must have constant power (with the ignition off) and the
setting "Auto Off" must also be set to "OFF".
Please make the menu item "Display shutdown" to 30 seconds or more, so that the display goes off so
no electricity consumed. This will protect your car battery from being discharged.
6. Menu description in the video mode
Microphone
When set to "ON", the microphone can record all noises in the vehicle. When "OFF", the video records
without audio. These setting save space on the memory card. With "OFF" the motion sensor is also
turned off.
Date Stamp
Set whether or not the date will be displayed in the video.
G-Sensor
On impact, the acceleration sensor responds and sets the current video on "Zone write protects". You
will see a key in the top left corner of the display screen indicating this video is protected against
being overwritten.
We recommend the default setting of G-sensor “NOT” otherwise the card will fill every time you drive
over a pothole. These files cannot be deleted unless the card is re-formatted. Eventually, the memory
card will become full and will not be able store more data.
Mark
This allows you to enter your vehicle registration number or personal information. Press and hold the
[Menu/OK] button and in the selection menu where you can switch between letters and numbers.
Hold down the [Menu/OK] button for about 2 seconds to exit.
Settings
Date/time
The date and time can be set here.
Automatic shutdown
The unit automatically switches off after 3.5 or 10 minutes if not recording. With "Off" the unit always
remains switched on until the battery is empty. Set this to "OFF" and ensure an uninterrupted power
supply if you want to use it as a surveillance camera.
Menu description in the video mode
Key tones
Switching the key tone on or off when pressing the keys.

Page|7
Language
In this section you can change the language.
TV mode
Here you can select the TV mode. Choose between "PAL" (25 FPS *) and "NTSC" (30 FPS *). The
factory setting is NTSC. (* FPS: Engl.: frames per second, dt .: fps)
Frequency
LCD refresh rate, also known as display flickering.
Format
Formatting will deleted all records from the SD card. The SD card must be formatted before the
iTracker can record any data files. Always format the SD card in the iTracker.
Display shutdown
Here you can set whether and after how many seconds/minutes the screen goes blank.
Switch-off delay
Here you can specify after how many seconds the iTracker will shut down once power is lost.
Factory settings
When selecting and confirming this setting, the camera is reset to the original factory settings.
Firmware Version
Information about the firmware version is provided.
Menu description in photo mode
If you wish to create photos with the iTracker, so you can use the Photo mode. Press the [M/OK]
button between the arrow keys to navigate to Recording Mode. In Recording mode, the timer can be
set. In "single" a single photo is taken directly, otherwise a picture will be taken every 2, 5 or 10
seconds.
Resolution
Resolution of the photos is provided.
Resume
When "On" the iTracker will take five photos in sequence.
Quality
Sharp, normal or economical photo quality can be selected.
Sharpness
You can adjust the picture sharpness.
White Balance
Depending on the lighting you can set a lighting mode. We highly recommend leaving this set to
"Auto" to ensure the system will adjust automatically.

Page|8
Color
You can add an effect to the image (for example, "sepia").
ISO
Allows adjusting the brightness of the image.
Exposure
Here you have the possibility to change the brightness of the recordings. This setting is centrally
confirmed by the icon on the left, so you always have a value in mind.
Stabilization
This setting allows for image stabilization.
Fast forward
It is set whether and how long the photo after the snapshot displayed on the screen becomes.
Date Stamp
Here you can set whether the photos should be created with or without a date stamp. To exit the
menu press and hold the [Menu/OK] button twice in succession 2 seconds each.
Menu description in photo mode
First, connect the camera to the cigarette lighter of the vehicle using the supplied car charger cable.
After switching on the ignition of the vehicle, the camera automatically turns on and starts recording.
The recording is confirmed by a red flashing dot on the display.
If the device is already switched on, recording will be paused when you press the [REC/PLAY] key.
Press the [REC/PLAY] button to start recording again.
To protect a specific recording from being overwritten, press the red [LOCK] button below the display.
A key appears in the left edge of the display and this recording is blocked and the file cannot be
overwritten. The locked videos can only be removed by formatting the memory card. By pressing the
[Menu/OK] button for 2 seconds, you can switch between Video mode, Photo mode and change
preview mode.
In preview mode, you can record videos or photos or play and view them. Use the arrow keys [< >]
to switch between the recorded videos/photos or various menu items in the settings.
By pressing the [REC/PLAY] button the video you want will play on the display screen after a short
delay. From the submenu, you can use the [Menu/OK] button [Open] button to open and play the
selected file. Use the arrow keys [< >] to change the volume.
First, connect the camera to the cigarette lighter of the vehicle using the supplied car charger cable.
After switching on the ignition of the vehicle, the camera automatically starts and begins recording. A
red flashing dot on the display confirms the iTracker is recording.
Videos/photos or other menu items in the settings.
By pressing the [REC/PLAY] button the video you select will play on the display after a short delay.
In the submenu use the [Menu/OK] button. You can also use the arrow keys [< >] to regulate the
volume of the video.

Page|9
7. Recording
To access the data, the memory card of the camera must be connected to a computer using the
included USB card reader. We recommend using the card reader to avoid having to remove the
iTracker from the vehicle.
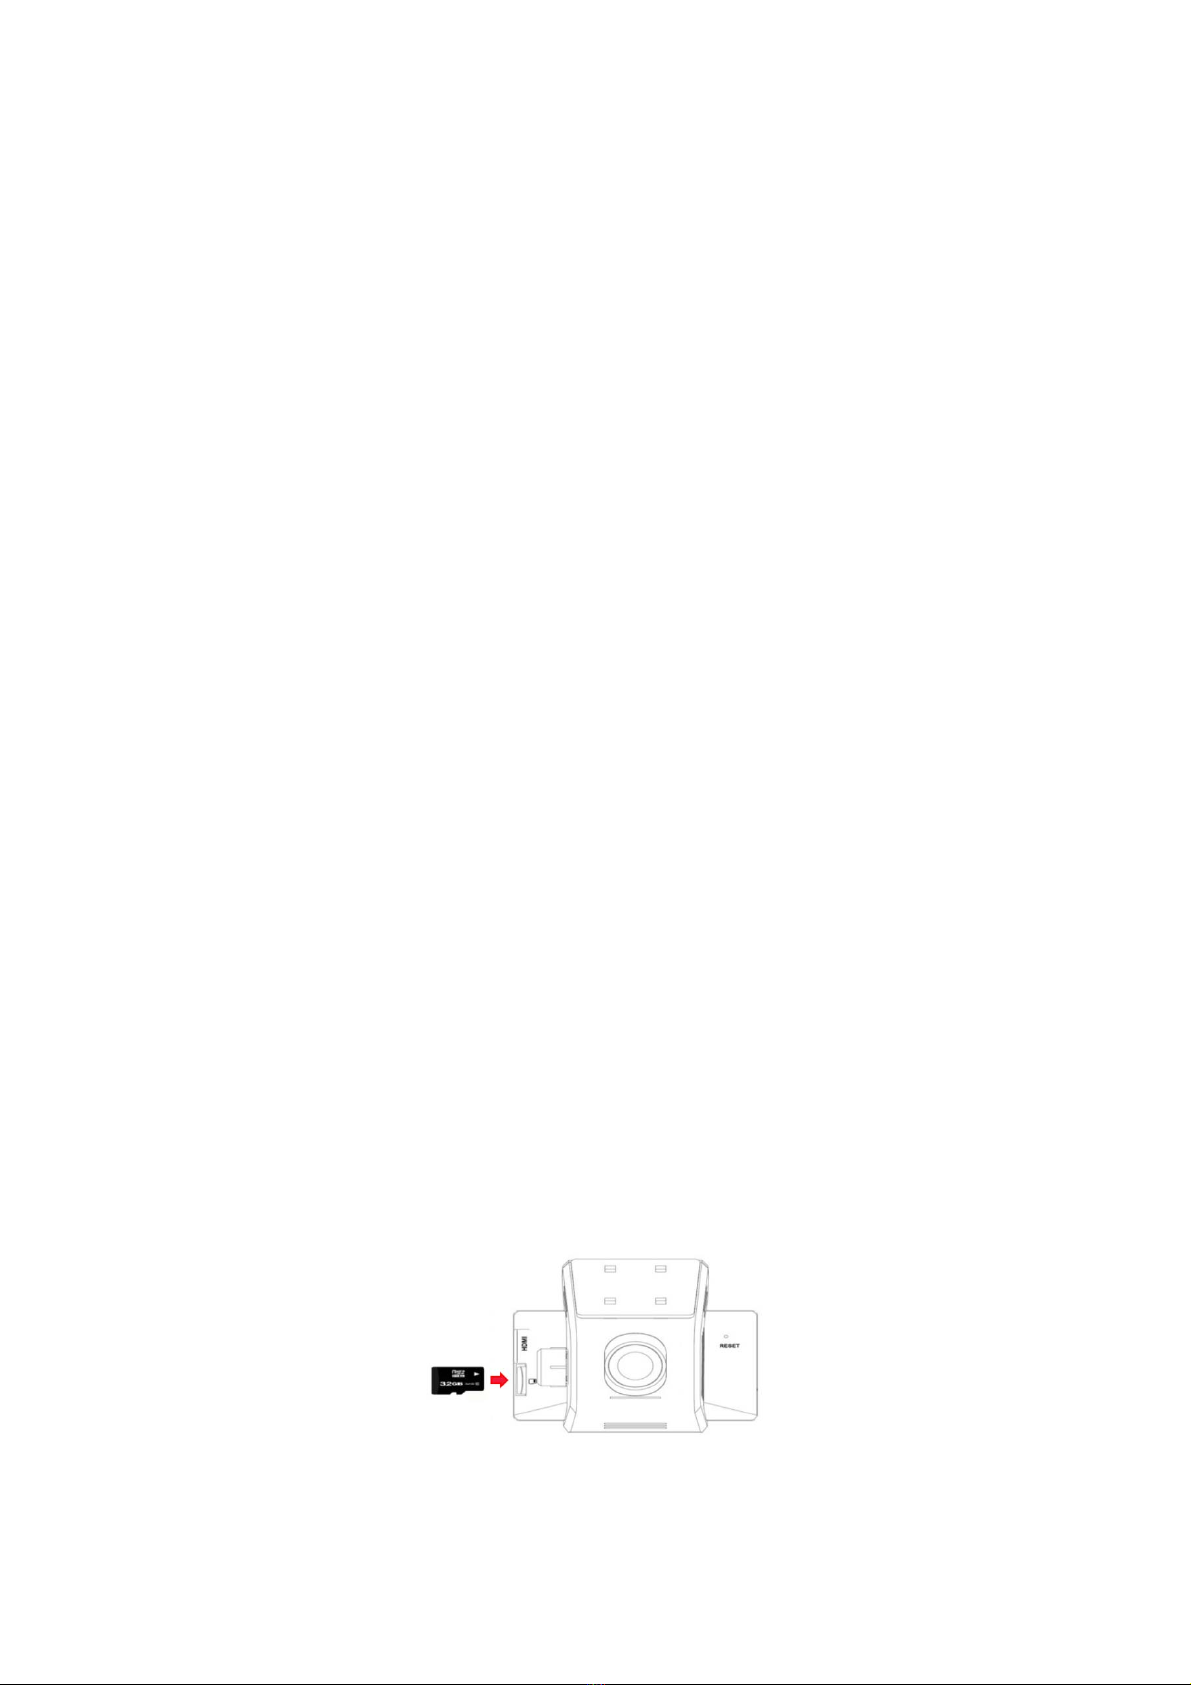
Please use Class 6 cards and with no higher than 32GB maximum. All videos or photos are in the
folder: "\ DCIM \ ...."
The videos can usually be seen with an ordinary media player such as Windows Media Player. If the
file does not play, the problem may be with a missing codec on your PC. You can eliminate the
problem by installing "K-Lite Codec Pack" from Softronic.
Play the videos / photos on the device:
1. To stop recording press the [Menu/OK] button for 2 seconds while in recording mode or picture
mode and then to switch to playback mode. In the playback mode you can view all recorded videos
and photos. Use the arrow keys to navigate to the desired object and then press the
[Power/REC/PLAY] button to play the video you want. With the [Menu/OK] button you can
download the current file.
2. Press in the playback mode [Menu/OK] button to manage the videos / photos. Here you can
choose between: Delete / protection / slideshow.
3. Press the [Menu/OK] button to confirm each selection.
4. Hold down the [Menu/OK] button for 2 seconds to return to in the recording mode.
8. Questions & Answers
Why is there a maximum length of a video clips?
The shorter the video, the smaller the file size. This allows older videos to be overwritten more quickly
and prevent gaps between shots. This also reduces the risk that in a write or read error resulting in an
unusable video sequence.
Why doesn’t the camera turn on?
If the camera does not turn on press [RESET]. Please note that the reset will not work if the battery
is not charged.
This problem is usually caused by the use of an incompatible memory card or an incompatible
car charger cable which does not provide the proper voltage. Please use only the original car
charger to valid malfunction and damage to the unit.
Check to be sure the memory card is Class 6 or higher, and no more than 32 GB.
It is recommended to format the memory card on a regular basis in the iTracker.
Micro SD cards are consumables and must be replaced after prolonged use.
If the captured video has interruptions, reformat the micro SD card. Before formatting, be sure to
save all the important recordings on your PC, as these will be deleted from the memory card.
How long does the internal battery last during operation?
The battery lasts depending on the setting for a recording time of approximately 15 minutes. Please
note that the battery is only intended to ensure the correct switch-off delay time.

Page|10
Please note that the technical support is exclusively by e-mail or can be accessed via the
corresponding sales platform on the iTracker website. We cannot answer technical questions over the
phone.
www.itracker-dvr.de
9. Disposal
In accordance with the European legislation, it is prohibited from disposing of electrical and electronic
equipment in household waste. The charger and the batteries do not belong in household waste.
Please dispose of the device at a collection point for electronic waste in your community or with us.
Only use an environmentally sound disposal site.
Declaration of Conformity
Hereby Adam GmbH & Co. KG hereby declares that the product iTracker StealthCam is in Compliance
with the essential requirements of the EMC Directive 2004/108 /EC and the RoHS Directive 2011/65/
EU.
Adam GmbH & Co. KG
Maria von Jever-Str. 3
26125 Oldenburg, Germany
Managing Director: Yuri Adam
01.09.2014 WEEE Reg .-- Nr .: DE 38123756
Table of contents