Jaap Nerdy Gurdy User manual

Nerdy Gurdy
Assembly instructions
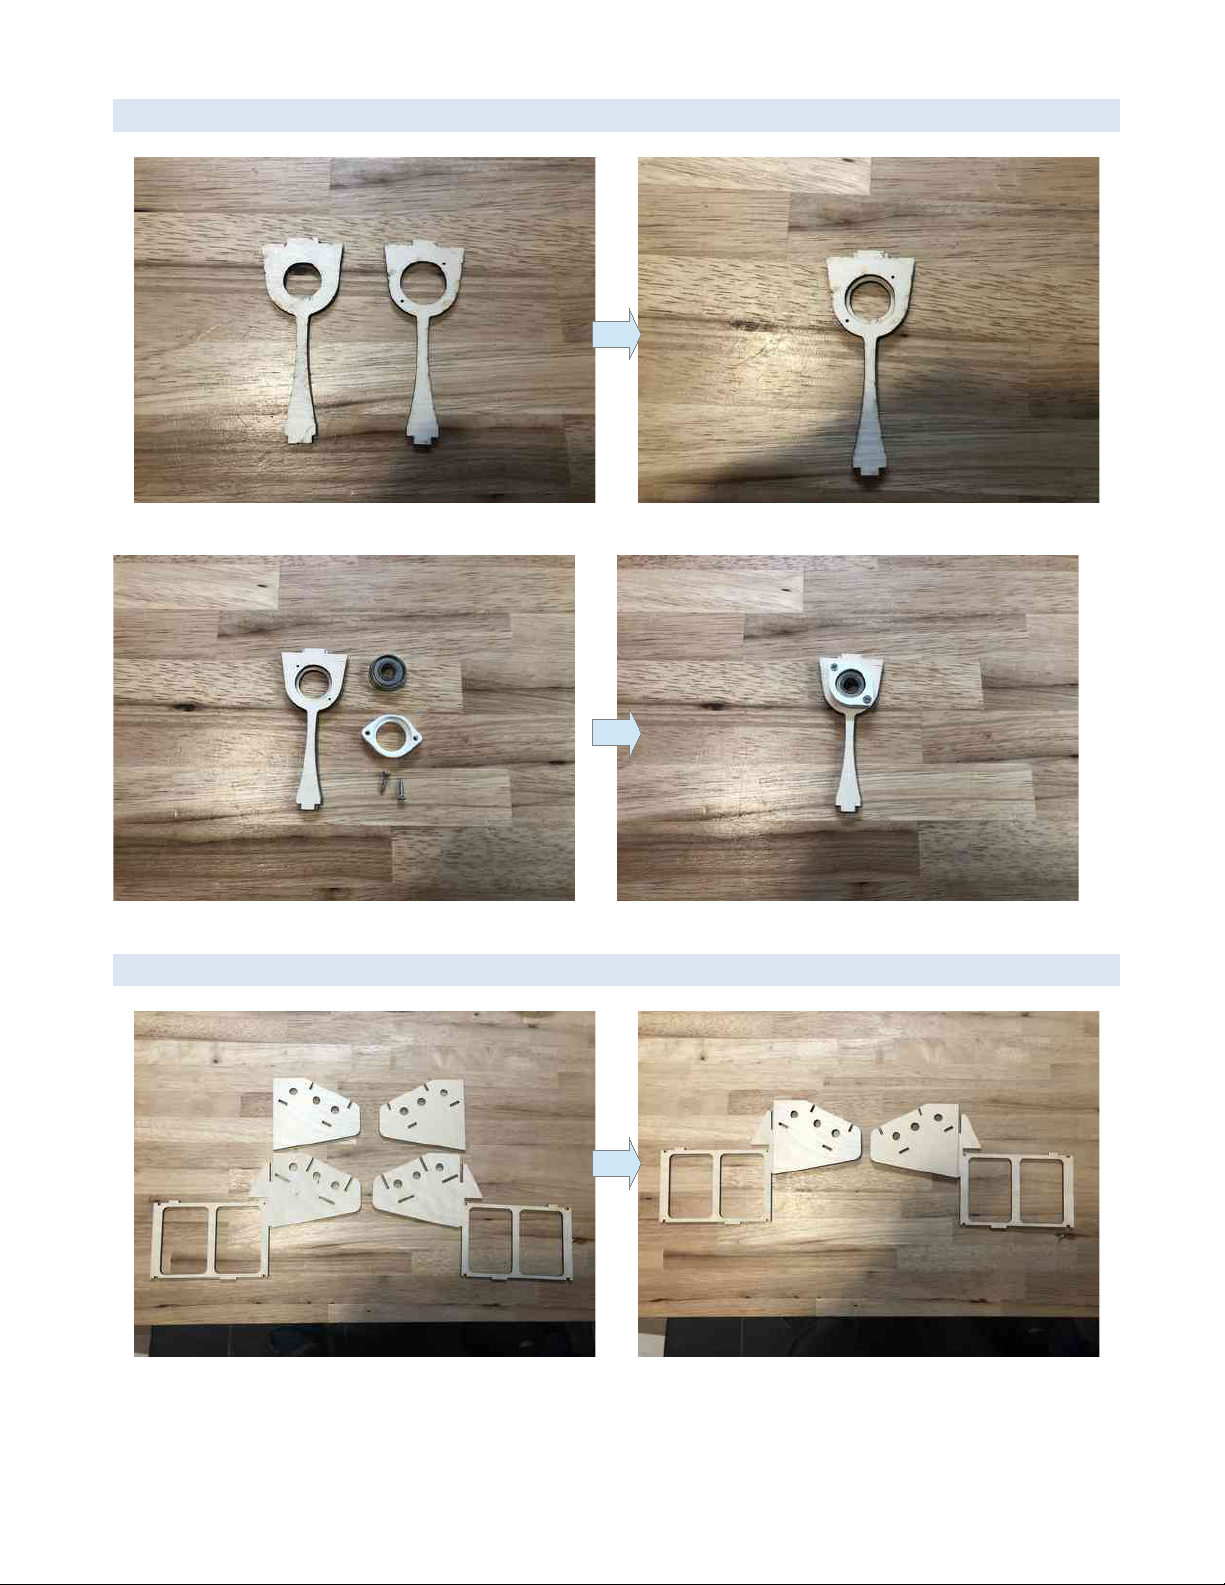
This manual describes how to assemble a version 6. 2 Nerdy Gurdy kit. Go to
http s ://www.nerdygurdy.nl for more info about these instruments.
Changes in v6.
•Dual strap pins added
•Bridge updated to increase volume
•Old version of drone bridge removed
•Redundant plate removed from lid assembly
•Tangents changed to increase tuning range
•Front bearing support improved, to increase volume
•Added adjustment screws to buzzing bridge supports
•Buzzing bridges and drone supports moved backwards (mainly to make adjustment of buzzing
bridges accessible)
•Holes in top plate removed
•Full overhaul of the manual
•Various small aesthetic and functional changes
Changes in v6.2
•Removed support plates for strap pins on the outside (not needed and hard to make them look
nice)
•Changed buzzing bridge supports to include a nut, instead of screwing directly into the plastic
Jaap Brand
The Netherlands
manual v6.2. : fixed definition of string tuning, page 27
Nerdy Gurdy assembly instructions CC BY-NC 3.0 Jaap Brand, 2021-01-08

General directions
•
•The parts are glued together with regular wood glue (not included in the kit).
•Don’t glue the bridge or any part that’s adjustable.
•Make sure that all surfaces that touch are fully glued together. This prevents undesirable
vibration when you’re playing.
•When removing parts from the plate that are still attached, it’s best to cut the attached points
with a sharp knife, to avoid splintering.
•Before glueing, it is wise to assemble the parts without glue, so that you’re sure how they fit
together. You can assemble most of the instrument without glue, to get an idea of how the parts
go together.
•It’s best to read through the whole sequence, before starting.
•If you do something wrong, it is possible to release wood glue by heating it (e.g. with a hot air
gun)
•
lease note: If you live in a very hot and/or humid climate you may need to take extra care with the
type of wood glue that you use. Some glues may not be able to keep the required strength
Nerdy Gurdy assembly instructions CC BY-NC 3.0 Jaap Brand, 2021-01-08
age 2

Parts Included in the kit
Nerdy Gurdy assembly instructions CC BY-NC 3.0 Jaap Brand, 2021-01-08
age 3
wood sheet 3mm 4x
sheet 6 mm 1x
Loose parts Locking nut M8 1x NG-17
nut M3 4x NG-18
bolt M3 x 10 4x NG-19
bolt M3 x 12 2x NG-20
Bolt m3 x 20 2x NG-21
crew 2,5 x 13 4x NG-22
crew 3,5 x 17 7x NG-23
crew 3,5 x 25 2x NG-24
spacer ring 6x NG-25
trip of felt 1x NG-26
string holder yellow 4x NG-27
bearing 4x NG-28
bolt M2,5 (for tangents) 48x NG-29
nut 8mm 10x NG-30
Metal tuners 6x NG-31
wooden violin pegs 2x NG-32
threaded rod M8 6,5cm 1x NG-33
threaded rod M8 22cm 1x NG-34
strings 1x
1x
trumpet C 1x
trumpet G 1x
bourdon high C (cello G) 1x
bourdon low G (cello C) 1x
printed parts 1x NG-1
backplate glueing help 1x NG-2
Upper trumpet edge support 1x NG-3
buzzing bridge support lower 1x NG-4
buzzing bridge support upper 1x NG-5
buzzing bridge 2x NG-6
Bearing holder ring 2x NG-7
shaft nut 1x NG-8
Drone support bushes 2x NG-9
strap pin 3x NG-10
knob 1x NG-11
trap pin support plate (inner) 2x NG-13
tangent high 28x NG-15
tangent low 20x NG-16
Semi Finished parts wheel 1x
chantarelle low G (viola G)
chantarelle high G (viola A)
trap pin alignment tool

The complete kit
tuners NG-3
Nerdy Gurdy assembly instructions CC BY-NC 3.0 Jaap Brand, 2021-01-08
age 4

note: the colours of the printed parts may be different in your kit
Nerdy Gurdy assembly instructions CC BY-NC 3.0 Jaap Brand, 2021-01-08
age 5
Short shaft NG 33
Strap pin alignment
Tool NG 1
Backplate glue tool
NG 2
Trumpet edge support
NG 3
Lower dog
Support NG 4
Upper dog
Support NG 5
Buzzing bridges
(dogs) NG 6
Bearing rings
NG 7
Shaft nut NG 8
Drone support
Bush NG 9
Strap pins
NG 10
Shaft NG 34
Knob NG 11
Violin tuning pegs NG 31
Strap pin (inner) support
plate NG 13
High tangents
(28x) NG 15
Low tangents (20x)NG 16

Not included in kit
You will need the following materials to build your Nerdy Gurdy (not included in the kit):
•Wood glue
•(retractable) knife
•A number of gluing clamps
•Varnish (optional, but recommended)
•Sand paper
Nerdy Gurdy assembly instructions CC BY-NC 3.0 Jaap Brand, 2021-01-08
age 6
Screws 3,5 x 17 (7x) NG 23
Bolts M3 x 10 (4x) NG 19
Bolts M3 x 12 (2x) NG 20
Screws 2,5 x 13 (4x) NG 22
M3 nut (4x) NG 18
Bolts M3 x 20 (2x) NG 21
bolts M2,5 x 10 (48x)
NG 29
Screws 3,5 x 20 NG 24
Bearings (4x)
NG 28
M8 nuts (8x) NG 30
M8 locking nut NG 17
Ground ringterminals (4x)
(string holders) NG 27
8.8 mm washers(6x)
NG 25
A strip of felt NG 26

•Some tools (screw drivers, 3 mm spanner, small drill etc.)
•Some basic woodworking skills and patience :)
Nerdy Gurdy assembly instructions CC BY-NC 3.0 Jaap Brand, 2021-01-08
age 7

Glue the ridges to the top and bottom plates
Notes:
•These parts are all symmetrical, so pick the nicest looking surfaces as outsides of your
instrument
•Make sure that the parts are nicely centered. You can use mating parts to check alignment
(picture below)
•You can use some books to press the parts together
•There should be a plate thickness all around the glued-on ridge
Bottom plate:
`
(only use them to align, don’t glue these yet)
Nerdy Gurdy assembly instructions CC BY-NC 3.0 Jaap Brand, 2021-01-08
age 8
Use these parts to
check alignment

Top plate:
(only use them to align, don’t glue these yet)
Nerdy Gurdy assembly instructions CC BY-NC 3.0 Jaap Brand, 2021-01-08
age 9
Use these parts to
check alignment

Bearing support
Combine the two plates that will support the front bearing
Use parts: NG-28 and NG-7 Assemble the bearing
Assemble the head
Nerdy Gurdy assembly instructions CC BY-NC 3.0 Jaap Brand, 2021-01-08
age 10

Nerdy Gurdy assembly instructions CC BY-NC 3.0 Jaap Brand, 2021-01-08
age 11
Make sure these edges are touching

Use these parts to
check alignment
Mount the head, bearing support and rear between the top plate and
bottom plate.
Nerdy Gurdy assembly instructions CC BY-NC 3.0 Jaap Brand, 2021-01-08
age 12

Nerdy Gurdy assembly instructions CC BY-NC 3.0 Jaap Brand, 2021-01-08
age 13

Mount the sides, starting from the head
•Notes:
•You can glue the parts in steps, if you don’t have enough clamps (like me).
•Make sure that tabs are fully inserted into the slots.
•Make sure that all surfaces are glued together well, especially at the rear of the instrument. This
is necessary to resist the force of the strings.
Nerdy Gurdy assembly instructions CC BY-NC 3.0 Jaap Brand, 2021-01-08
age 14
Make sure the parts are glued together
along these lines

Put the wedges at the head
Install the bridge
•You don’t need to glue the bridge: it may be nice to be able to replace it.
It’s recommended to file a bit of a V shape in the bridge pieces, so that each string touches the bridge
just at the end. This ensures that the two strings of different thickness have the same effective scale
length.
Nerdy Gurdy assembly instructions CC BY-NC 3.0 Jaap Brand, 2021-01-08
age 15

Assemble the tailpiece
use parts NG 18 and NG 19
Nerdy Gurdy assembly instructions CC BY-NC 3.0 Jaap Brand, 2021-01-08
age 16

Notes:
•Make sure that you insert the nuts, before you glue everything together.
•Use two of the M3 bolts to make sure that there is no glue in the nuts.
Place the bolts, wedge parts and bridge segments
Don’t glue these, they need to be adjustable with the bolts!
Nerdy Gurdy assembly instructions CC BY-NC 3.0 Jaap Brand, 2021-01-08
age 17

Grooves should be filed into the bridge segments, so that you’re sure that the string is touching it at the
front.
use parts NG-32
Nerdy Gurdy assembly instructions CC BY-NC 3.0 Jaap Brand, 2021-01-08
age 18

Glue the rear cover pieces together
use the glue tool (NG-2) to align the two parts, and then discard the printed part
Assemble the keybox
Nerdy Gurdy assembly instructions CC BY-NC 3.0 Jaap Brand, 2021-01-08
age 19

Glue the lid pieces together
Assemble the drone bridge support
use parts NG-2 and NG-9
Nerdy Gurdy assembly instructions CC BY-NC 3.0 Jaap Brand, 2021-01-08
age 20
Table of contents