4
PC-Anschluss / Ladevorgang
Gehen Sie wie folgt vor:
► Stecken Sie den USB-Stecker des Ladekabels (18) in die USB-Buchse ihres PC`s. Verbinden
Sie die Kamera mit dem USB Stecker.
►Die Kamera schaltet sich ein, und auf dem Display erscheinen folgende drei Auswahl-
möglichkeiten:
• U-Disk Modus
Sie können Ihre Fotos und Videos von der Kamera am PC anschauen.
•DV Modus
Um die Kamera als Webcam zu nutzen, drücken Sie die Bestätigungstaste.
•Lademodus
Während des Ladevorgangs blinkt die rote Ladeanzeige an der Kamera. Wenn der Lade-
vorgang beendet ist, leuchtet die Ladeanzeige dauerhaft. Ladezeit ~ 3Std.
► Beim Laden mit einem Ladeadapter (optional erhältlich) geht die Kamera an und der Ladevor-
gang beginnt.
PC connection / charging
To charge the battery:
► Insert the USB plug from the USB cable (18) into the USB socket of your PC (optional charging
adapter). Connect the battery with USB charger.
► The camera turns on, and the following three options appear on the display:
• U disk mode
You can view your photos and videos from the camera on the PC.
• DV mode
To use the camera as a webcam, press the confirmation key.
• Lademodus
During charging, the red charge indicator on the camera flashes. When the charging process
is finished, the charging indicator lights up permanently. Charging time ~ 3 hrs
► When charging with a charging adapter (optional), The camera starts and the charging process
begins.
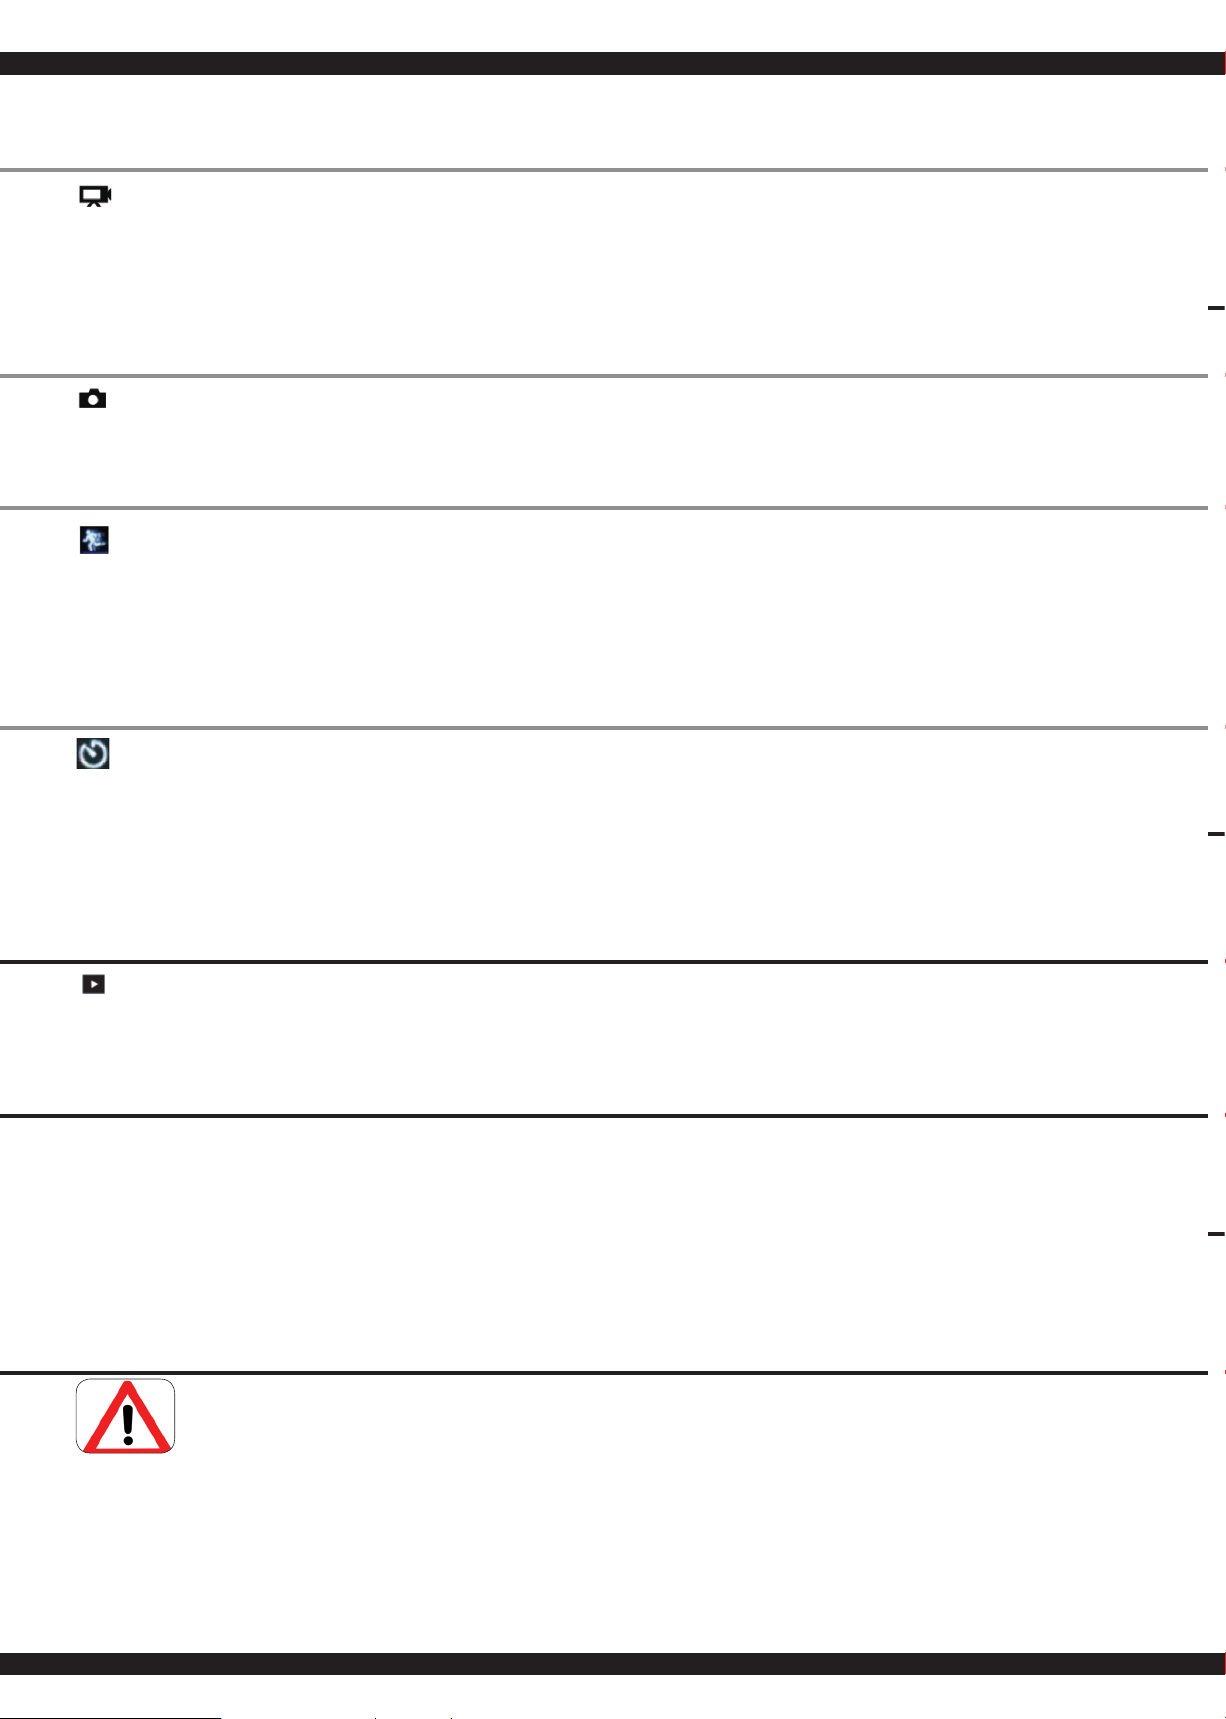
Video und Fotowiedergabe
Um ins Wiedergabemenü zu kommen gehen Sie wie folgt vor.
1. Schalten Sie die Kamera ein.
2. Um ins Wiedergabemenue zu kommen, drücken Sie die Ein/Aus / Modustaste solange, bis Sie
im Wiedergabemenü sind.
3. Durch Drücken der Schalterwippen können Sie zwischen den einzelnen Aufnahmen wechseln.
4. Um in die anderen Modi zurückzukehren, drücken Sie ermeut die Ein/Aus / Modus-Taste.
Playing back videos and photos.
To enter the Playback menu:
1. Turn on the camera.
2. Press the Power/Mode Button to enter the Playback menu.
3. Use Up / Playback Button or Down / Wi-Fi Button to cycle through the individual recordings.
4. To return to the other modes, press the Power/Mode Button.
DE - Achtung.
Trennen Sie immer unmittelbar nach Beenden des Ladevor-
gangs den Akku vom Ladegerät. Trennen Sie das Ladege-
rät immer unmittelbar nach Abstecken des Akkus von der
Spannungsversorgung. Ein eingesteckt lassen des Akkus
bzw. des Ladegeräts nach Beenden des Ladevorgangs kann
zu Beschädigungen an Akku, Ladegerät oder der Span-
nungsversorgung führen (Brandgefahr).
GB - Danger.
Always disconnect the battery from the charger immediate-
ly after charging. Always disconnect the charger from the
power supply immediately after disconnecting the battery.
Inserting the rechargeable battery or charger after charging
will result in damage to the battery, charger or the power
supply (fi re hazard).
FR - Attention!
Débranchez toujours après chaque arrêt la batterie du char-
geur. Débranchez aussi toujours le chargeur immédiatem-
ment après avoir débranché la batterie de l´alimentation.
Laissez brancher la chargeur ou la batterie peuvent causer
des dommages à la batterie, à votzre chargeur ou câble
d´alimentation ( risque d´incendie).
IT - Attenzione!
Dopo ogni carica e importante di: Scollegare sempre subito
la batteria dal caricatore ed il caricatore dalla rete elettrica.
Se dopo la carica si lascia collegato l’uno o l’altro può cau-
sare danni alla batteria, al caricatore o addirittura alla rete
elettrica (pericolo di incendio).
ES - ¡Atención!
Después de cada carga es importante de: Desconectar
siempre la batería del cargador y el cargador de la fuente
de alimentación. Si después de la carga se deja conectado a
uno o otra puede causar daños a la batería, cargador o a la
fuente de alimentación (peligro de incendio).
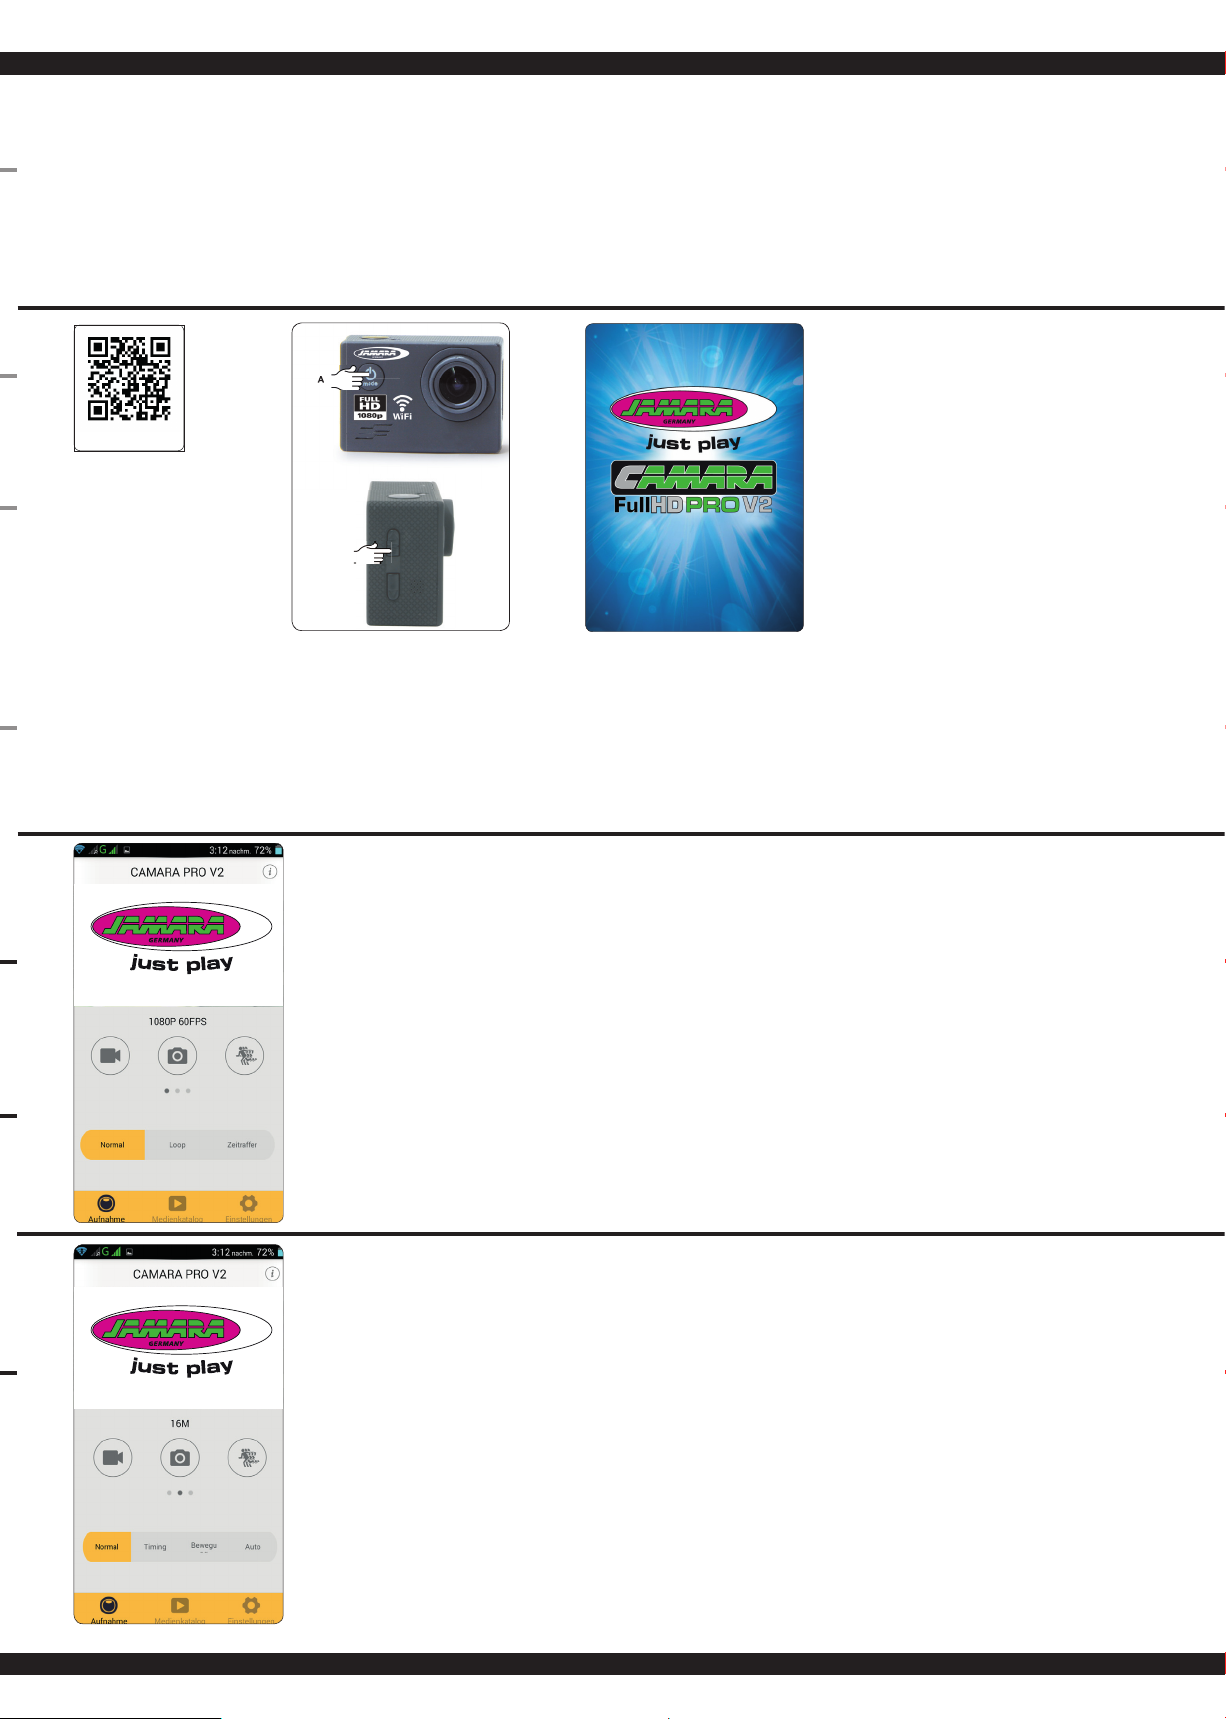
Foto-Modus
Um ein Foto aufzunehmen, überprüfen Sie ob die Kamera sich im Fotomodus be ndet. Sollte das
Foto-Symbol auf dem LCD-Display der Kamera nicht angezeigt werden, drücken Sie die Ein/Aus /
Modustaste so oft, bis es erscheint.
Bild machen:
Drücken Sie die Bestätigungstaste. Die Kamera gibt einen Auslöseton von sich.
Photo Mode
To capture a photo, verify the camera is in photo mode. If the Photo icon on your camera‘s LCD
screen is not showing, press the Power/Mode Button repeatedly until it appears.
To take a photo:
Press the OK Button. The camera will emit the camera shutter sound.
Zeitlupe
Um eine Zeitlupen-Aufnahme aufzunehmen, überprüfen Sie ob die Kamera sich im Zeitlupenmodus
be ndet. Sollte das Zeitlupen-Symbol auf dem LCD-Display der Kamera nicht angezeigt werden,
drücken Sie die Ein/Aus / Modustaste so oft, bis es erscheint.
Zeitlupenaufnahme starten:
Drücken Sie die Bestätigungstaste. Während der Aufnahme blinkt in der unteren Display-Leiste
ein rotes Symbol.
Zeitlupenaufnahme beenden:
Drücken Sie die Bestätigungstaste. Das rote Symbol hört auf zu blinken. Die Kamera stoppt die
Aufnahme automatisch, wenn der Akku zu schwach ist. Um den Akku zu schonen, schalten Sie die
Kamera nach Gebrauch aus.
Slow motion
To capture a slow motion video, verify the camera is in slow motion mode. If the slow motion icon on
To take a slow motion:
Press the OK Button to start slow motion video, at the same time also has a red icon fl ashing.
Turning off time lapse:
Press the OK button. The red symbol will stop fl ashing. The camera stops the recording automati-
cally when the battery is low. To save battery, turn camera off after using.
Zeitraffer
Um eine Fotoserie im Zeitraffer aufzunehmen, überprüfen Sie ob die Kamera sich im Videomodus
be ndet Und das Zeitraffer-Symbol unten an der Leiste des LCD-Display nicht angezeigt wird.
Sollte das Zeitraffer-Symbol nicht angezeigt werden, aktivieren Sie dies in den Einstellungen des
Video-Menüs. Im Zeitraffermodus nimmt die Kamera ein Serie von Bildern in 0,5 / 1 / 2 / 5 / 10 / 30
oder 60 Sekunden Intervallen auf.
Zeitraffer starten:
Drücken Sie die Bestätigungstaste. Die Kamera startet die Funktion und macht im eingestellten
Zeitabstand (0,5 / 1 / 2 / 5 / 10 / 30 oder 60 Sek.) ein Bild, das als Video abgespeichert wird.
Zeitraffer beenden:
Drücken Sie die Bestätigungstaste. Das rote Symbol hört auf zu blinken. Die Kamera stoppt die
Aufnahme automatisch, wenn der Akku zu schwach ist. Um den Akku zu schonen, schalten Sie die
Kamera nach Gebrauch aus.
Fast Motion – Time Lapse
To record a series of photos in a time lapse, check whether the camera is in video mode and the
timelapse symbol is not displayed at the bottom of the bar of the LCD display. If the time-lapse icon
does not appear, turn it on in the video menu. In the time-lapse mode, the camera takes a series of
images in 0.5 / 1/2/5/10/30 or 60 seconds intervals.
Start Time Lapse:
Press the con rmation button. The camera starts the function and takes in the set time interval (0.5
/ 1/2/5/10/30 or 60 sec) a picture which is stored as a video.
Time Lapse:
Press the con rmation button. The red symbol stops blinking. The camera automatically stops
recording when the battery is too weak. To conserve the battery turn off the camera after use.
Video-Modus
Um ein Video aufzeichnen, überprüfen Sie ob die Kamera sich im Videomodus be ndet. Sollte das
Video-Symbol auf dem LCD-Display der Kamera nicht angezeigt werden, drücken Sie die Ein/Aus /
Modustaste so oft, bis es erscheint.
Aufnahme starten:
Drücken Sie die Bestätigungstaste. Während der Aufnahme blinkt in der unteren Display-Leiste ein
rotes Symbol.
Aufnahme beenden:
Drücken Sie die Bestätigungstaste. Das rote Symbol hört auf zu blinken. Die Kamera stoppt die
Aufnahme automatisch, wenn der Akku zu schwach ist. Um den Akku zu schonen, schalten Sie die
Kamera nach Gebrauch aus.
Video Mode
To record Video, verify the camera is in Video mode. If the Video icon on your camera‘s LCD screen
is not showing, press the Power/Mode Button repeatedly until it appears.
To start recording:
Press the OK Button to start video, at the same time also has a red icon fl ashing.
To stop recording:
Press the OK Button. the red icon stop fl ashing, the recording has stopped. This camera automati-
cally stops recording when the battery is out of power. Your Video will be saved before the camera
powers OFF.
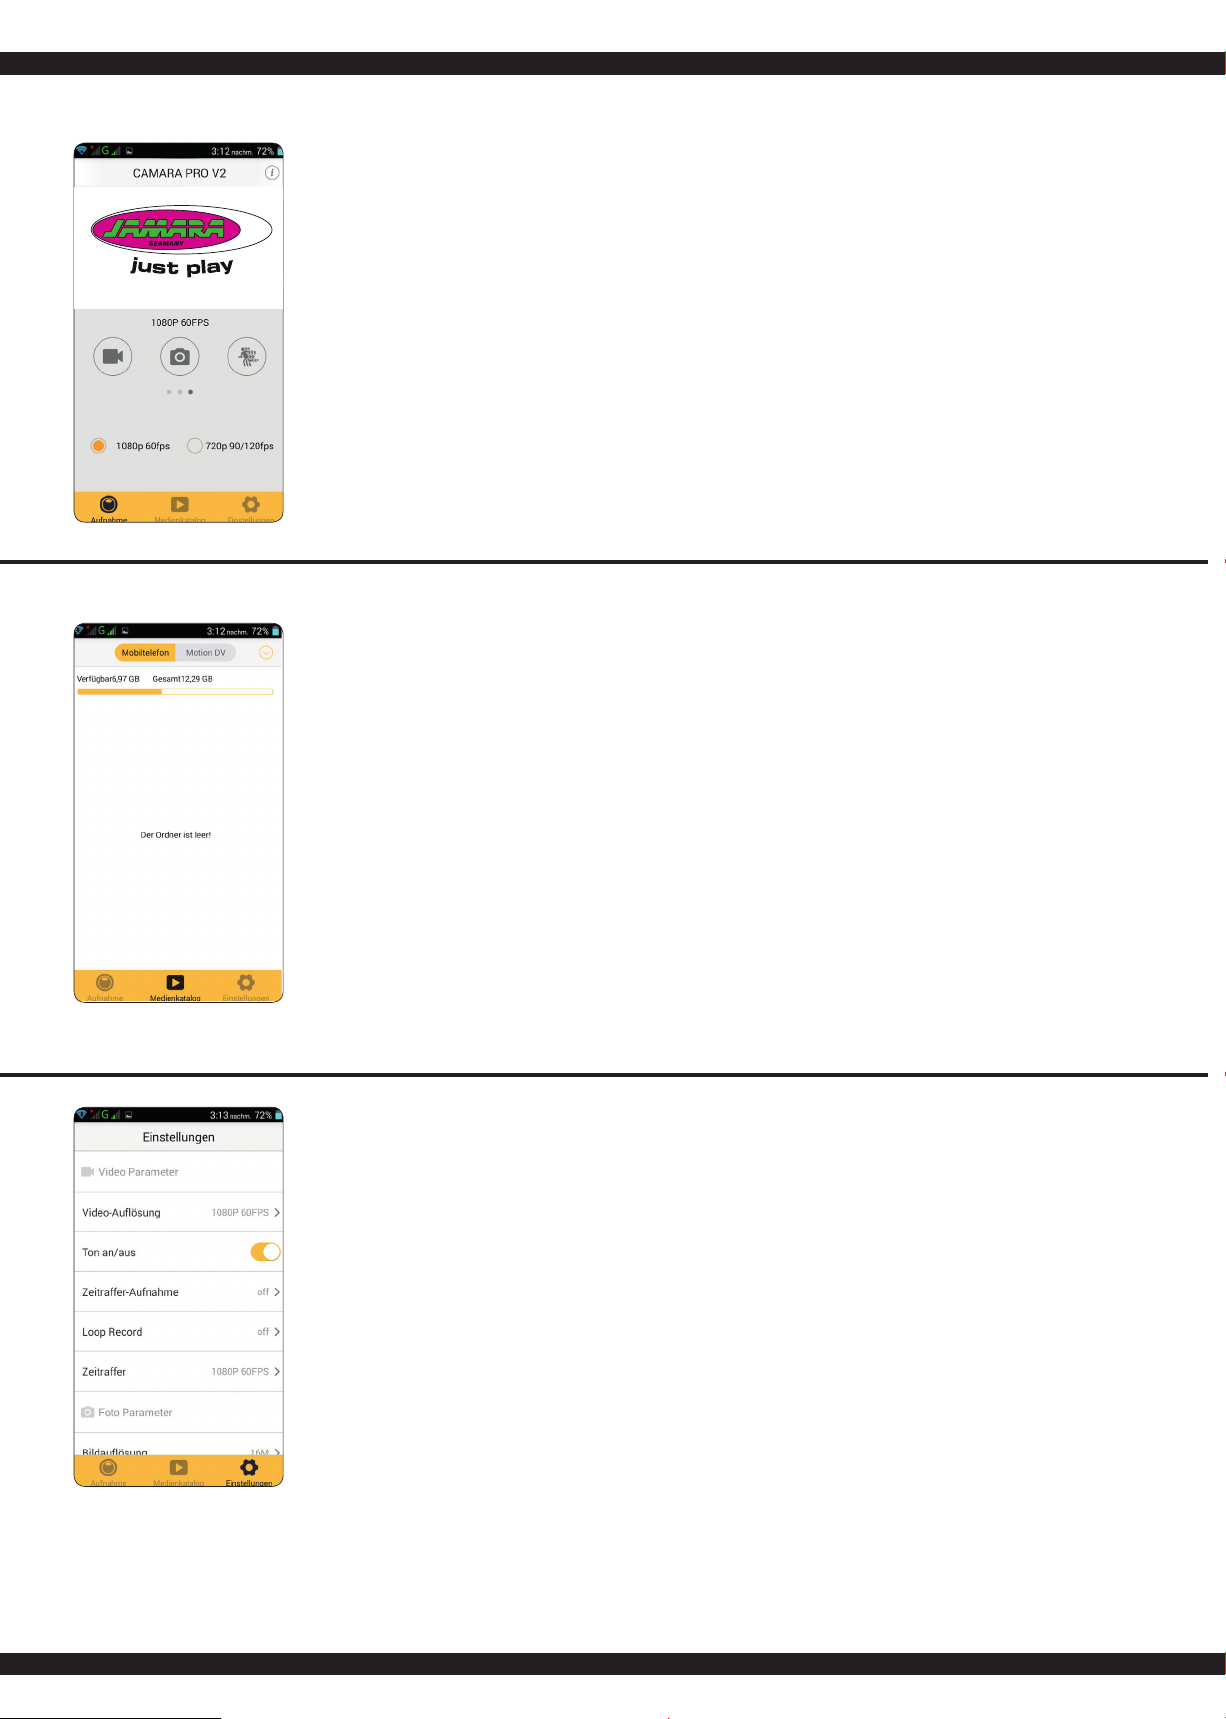
Speicherkarte/MicroSD Karten
Diese Kamera ist kompatibel mit 16 GB und 32 GB Kapazität von MicroSD, MicroSDHC und
MicroSDXC-Speicherkarten. Sie müssen mindestens eine Micro-SD-Karte mit einem Class 10
Geschwindigkeitsindex verwenden.
Storage/MicroSD cards
This camera is comatible with 16GB and 32 GB capacity MicroSD, MicroSDHC and MicroSDXC
memory cards. You must use a Micro SD card with a Class 10 speed rating.