Jensen JiPS-250i User manual

DOCKING SPEAKER STATION
for
iPad, iPod and iPhone
JiPS-250i
USER MANUAL
(iPod/iPhone/iPad not Included)
PLEASE READ THIS USER MANUAL COMPLETELY BEFORE OPERATING
THIS UNIT AND RETAIN THIS BOOKLET FOR FUTURE REFERENCE.

DEAR JENSEN® CUSTOMER
Selecting fine audio equipment such as the unit you've just purchased is only the start of your musical
enjoyment. Now it's time to consider how you can maximize the fun and excitement your equipment offers.
This manufacturer and the Electronic Industries Association's Consumer Electronics Group want you to get
the most out of your equipment by playing it at a safe level. One that lets the sound come through loud and
clear without annoying blaring or distortion and, most importantly, without affecting your sensitive hearing.
Sound can be deceiving. Over time your hearing "comfort level" adapts to higher volumes of sound. So what
sounds "normal" can actually be loud and harmful to your hearing. Guard against this by setting your
equipment at a safe level BEFORE your hearing adapts.
To establish a safe level:
Start your volume control at a low setting.
Slowly increase the sound until you can hear it comfortably and clearly, and without distortion.
We Want You Listening For a Lifetime
Used wisely, your new sound equipment will provide a lifetime of
fun and enjoyment. Since hearing damage from loud noise is often
undetectable until it is too late, this manufacturer and the
Electronic Industries Association's Consumer Electronics Group
recommend you avoid prolonged exposure to excessive noise.
Customer's Record:
The serial number of this product is found on its bottom. You should note the serial number of this unit in the
space provided as a permanent record of your purchase to aid in identification in the event of theft of loss.
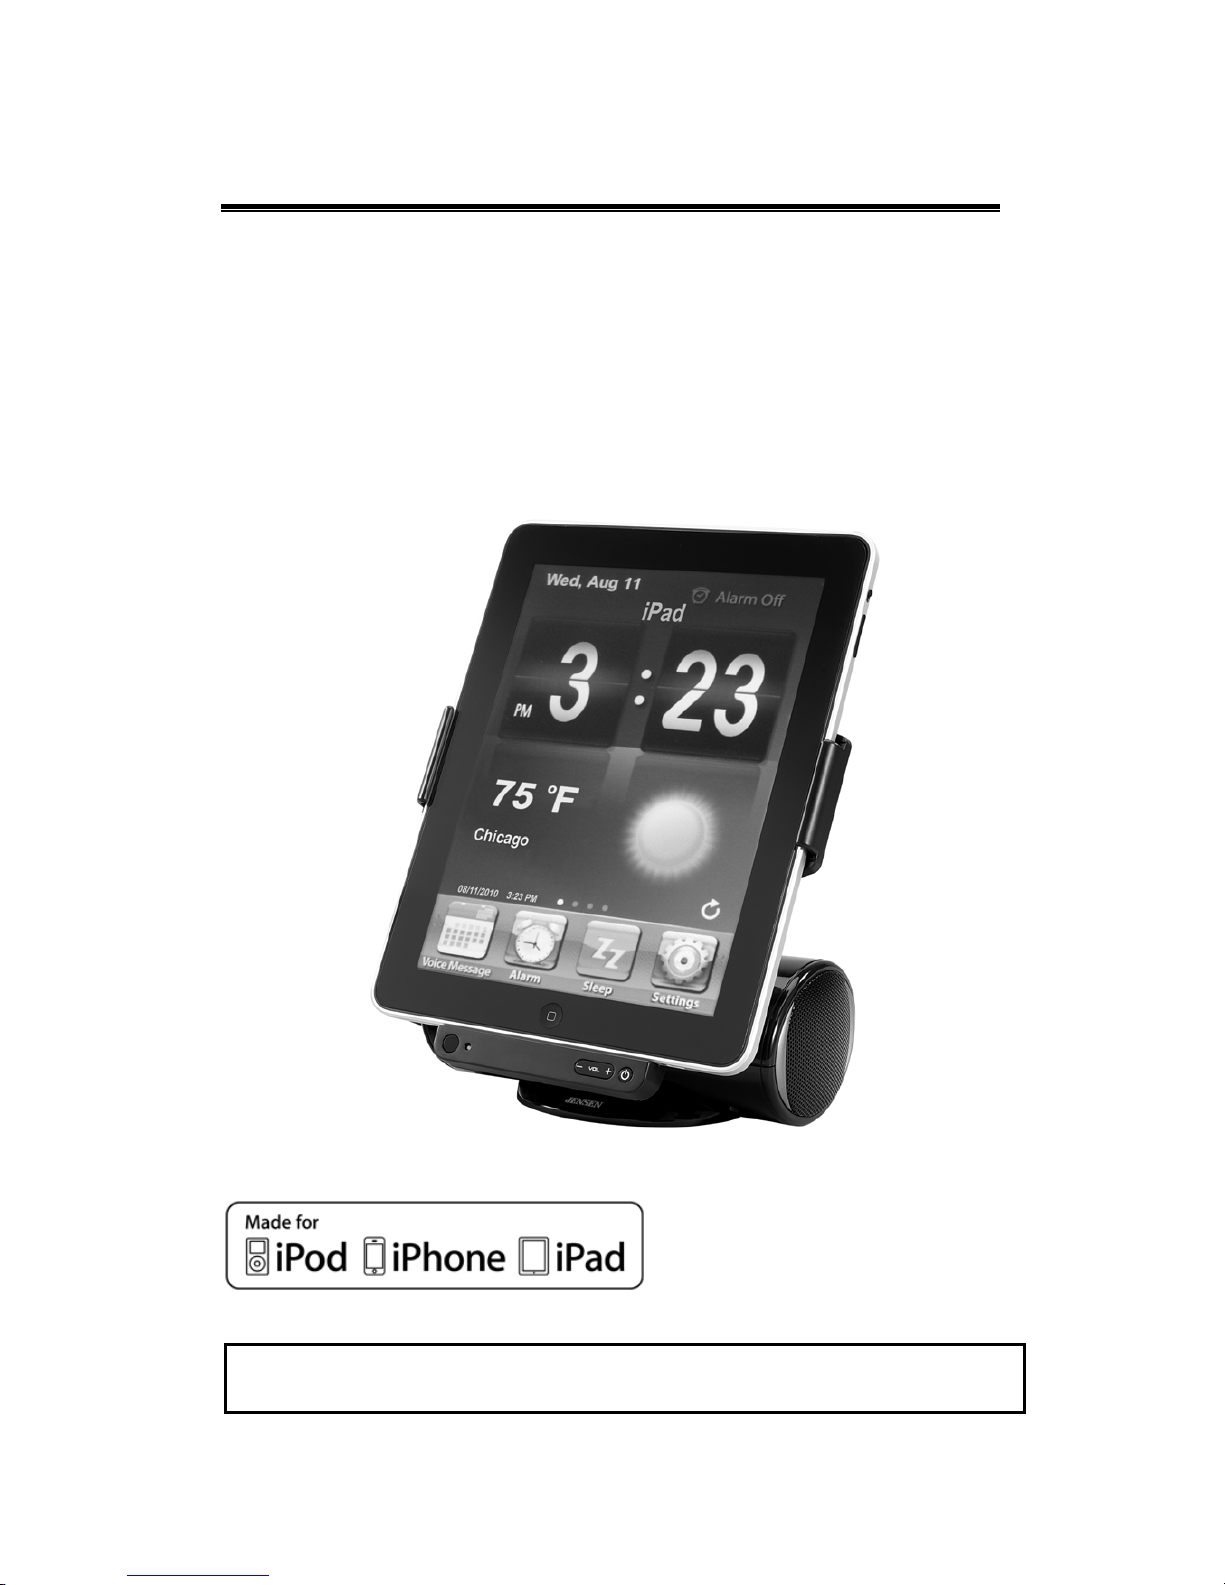
Model Number: JiPS-250i Serial Number: ____________________
IMPORTANT SAFETY INSTRUCTIONS
When used in the directed manner, this unit has been designed and manufactured to ensure your personal
safety. However, improper use can result in potential electrical shock or fire hazards. Please read all
safety and operating instructions carefully before installation and use, and keep these instructions handy for
future reference. Take special note of all warnings listed in these instructions and on the unit.
1. Read these instructions – All the safety and operating instructions should be read before the appliance
is operated.
2. Keep these instructions – The safety and operating instructions should be kept for future reference.
3. Heed all warnings – All warnings on the appliance and in the operating instructions should be adhered
to.
4. Follow all instructions – All operation and use instructions should be followed.
5. Do not use this apparatus near water – The appliance should not be used near water; for example, near
a bath tub, washbowl, kitchen sink, laundry tub, in a wet basement, or near a swimming pool.
6. Clean only with dry cloth – The appliance should be cleaned only as recommended by the
manufacturer.
7. Do not block any ventilation openings. Install in accordance with the manufacturer’s instructions. The
appliance should be situated so that its location or position does not interfere with its proper ventilation.
For example, the appliance should not be situated on a bed, sofa, rug, or similar surface that may block
the ventilation openings; or placed in a built-in installation, such as a bookcase or cabinet that may
impede the flow of air through the ventilation openings.
8. Do not install near any heat sources such as radiators, heat registers, stoves, or other apparatus
(including amplifiers) that produce heat.
9. Protect the power cord from being walked on or pinched particularly at plugs, convenience receptacles,
and the point where they exit from the apparatus.
10. Only use attachments / accessories specified by the manufacturer.
11. Unplug this apparatus during lightning storms or when unused for long periods of time.
12. Refer all servicing to qualified service personnel. Servicing is required when the apparatus has been
damaged in any way, such as power-supply cord or plug is damaged, liquid has been spilled or objects
have fallen into the apparatus, the apparatus has been exposed to rain or moisture, does not operate
normally, or has been dropped.
1

13. This appliance shall not be exposed to dripping or splashing water and that no object filled with liquids
such as vases shall be placed on the apparatus.
14. Power Sources – The appliance should be connected to a power supply only of the type described in
the operating instructions or as marked on the appliance. Do not overload wall outlet.
15. Danger of explosion if battery is incorrectly replaced. Replace only with the same or equivalent type.
16. Do not attempt to dismantle, open or repair this product yourself. If a fault occurs, seek advice from your
local qualified service technician or contact the distributor via the telephone number at the back of this
instruction manual.
17. Caution marking and nameplate are located on bottom of product.
COMPLIANCE WITH FCC REGULATIONS
This device complies with Part 15 of the FCC Rules. Operation is subject to the following two conditions:
(1) this device may not cause harmful interference, and
(2) this device must accept any interference received, including interference that may cause undesired
operation.
NOTE : This equipment has been tested and found to comply with the limits for a Class B digital device,
pursuant to Part 15 of the FCC Rules. These limits are designed to provide reasonable protection against
harmful interference in a residential installation. This equipment generates, uses and can radiate radio
frequency energy and, if not installed and used in accordance with the instructions, may cause harmful
interference to radio communications. However, there is no guarantee that interference will not occur in a
particular installation. If this equipment does cause harmful interference to radio or television reception, which
can be determined by turning the equipment off and on, the user is encouraged to try to correct the
interference by one or more of the following measures:
- Reorient or relocate the receiving antenna.
- Increase the separation between the equipment and receiver.
- Connect the equipment into an outlet on a circuit different from that to which the receiver is connected.
- Consult the dealer or an experienced radio/TV technician for help.
CAUTION: Changes or modifications not expressly approved by the party responsible for
compliance could void the user’s authority to operate the equipment.
PROTECT YOUR FURNITURE
This model is equipped with non-skid rubber 'feet' to prevent the product from moving when you operate the
controls. These 'feet' are made from non-migrating rubber material specially formulated to avoid leaving any
marks or stains on your furniture. However certain types of oil based furniture polishes, wood preservatives,
or cleaning sprays may cause the rubber 'feet' to soften, and leave marks or a rubber residue on the furniture.
To prevent any damage to your furniture we strongly recommend that you purchase small self-adhesive felt
pads, available at hardware stores and home improvement centers everywhere, and apply these pads to the
bottom of the rubber 'feet' before you place the product on fine wooden furniture.
PRECAUTIONS AND IMPORTANT NOTES
PRECAUTIONS
Do not connect the AC Adaptor to the unit and mains before checking the mains voltage.
Do not cover any vents and make sure that there is a space of several inches around the unit for
ventilation.
This unit is not magnetically shielded and may cause color distortion on the screen of some TVs or
video monitors. To avoid this, you may need to move the unit further away from the TV or monitor if
abnormal color shifts or image distortion occurs.
IMPORTANT NOTES
For best iPad display clarity, avoid operating the unit in direct sunlight or under bright lights.
Avoid installing the unit in locations described below:
Places exposed to direct sunlight or close to heat radiating appliances such as electric heaters.
Places subject to constant vibration.
Dusty, humid or moist places.
Sources of electrical noise such as fluorescent lamps or motors.
2

LOCATION OF CONTROLS
MAIN UNIT FUNCTIONS
On the front: Descriptions
1 IR sensor Receives infrared control signals from the remote, it must not be blocked.
2 Power/Function
Indicator - Power on and in AUX-IN mode, LED will flash.
- Power on and in iPad mode, LED will light steadily.
- In standby mode, LED will be off.
3 Docking Connector Connect your iPad, iPhone, iPod touch, iPod nano, iPod classic (except
160GB) and iPod video here
4 Volume Up/Down (+/-) Adjust the output volume level.
5 Power On/Standby
Button - Press to turn unit on.
- Press and hold to return unit to standby mode.
- While unit is on, press to toggle between iPad and AUX-IN mode.
6 Left Speaker Left channel of your music is heard.
7 Right Speaker Right channel of your music is heard.
8 iPad Dock Securely holds your docked iPad in place when in use.
On the back: Descriptions
9 Reset Button Press this to return the unit to normal status in case it exhibits abnormality
during operation.
10 Video Out Jack Connect the composite input jack of your TV set to this terminal for
viewing movies/videos or Youtube video browsing on your TV screen.
11 DC Jack (8V
2900mA ) Only connect the supplied AC Adaptor to this jack to power the unit.
12 AUX-IN Jack Connect any compatible portable audio device to this jack for amplified
audio output.
13 Bass Reflex Opening This opening should never be blocked otherwise the bass effect will be
reduced.
14 Base Hinge This is the hinge where the iPad Holder Arm is attached to the main unit.
15 Support Arm This connects the iPad Dock to the main unit. Note that the support arm
must be set to the uppermost or lowermost positions prior to docking your
Apple device and before adjusting the angle of Dock Hinge.
16 Dock Hinge Allows you to adjust the viewing angle of iPad Dock forward or back.
17 Rotating Head This allows the iPad Dock to be rotated 90 degrees counterclockwise for
landscape operation/viewing on your Apple device.
3

REMOTE FUNCTIONS Descriptions
1 Power
On/Standby
Button
Press to turn unit on or return the unit to standby
mode.
2 Play/Pause Button
Press to play or pause the audio output when
using the iPod/Video/Youtube modes of your
Apple device. Note: This feature is not available
when using the “Rocker” App.
3 Skip Backward
Press to return to the previous track when using
the iPod/Video modes of your Apple device.
Note: This feature is not available when using
the “Rocker” App.
4 Video On/Off Toggles the video output on and off. The video
out default is set to TV. Press the Video button
to watch movies/Youtube videos on the screen
of your Apple device.
5 Volume Up (+) Press to increase volume output.
6 Volume Down (-) Press to decrease volume output.
7 Battery Door This is the battery compartment door.
8 Function Button Press to toggle between iPad and AUX-IN
mode.
9 Mute Button Press to cut off the audio output from the
speakers. Press again to resume listening.
10 Skip Forward
Press to advance to next track in iPod/Video
modes of your Apple device. Note: This feature
is not available when using the “Rocker” App.
NOTE: Only the Power On/Standby Button & Volume (+/-) Buttons on the base unit and the remote will
continue to work when using the optional “Rocker” Application.
GETTING STARTED
POWER SUPPLY SOURCES
This Docking Speaker System operates using the included AC Adaptor with 8V 2900mA (center-positive)
output and is compatible with standard 120V~ 60Hz AC household power.
Note: Do not use a different AC adaptor other than the one included. Your iPad or iPhone may fail to charge
and you could damage the dock and/or the Apple device that is docked. A fire hazard can also occur due to
system overloading.
The remote control works on one 3V type CR2032 lithium battery (Included).
CONNECTING THE UNIT TO THE AC ADAPTOR POWER
Plug the AC Adaptor into the DC Jack on the back of unit. Plug the adaptor into a standard 120V~ 60Hz
AC outlet.
REMOTE CONTROL
Remove the insulation tab from the battery compartment to activate the remote before first use.
When the operation of the remote control becomes intermittent or the effective distance is significantly
decreased, replace the original battery with a new type CR2032 3V lithium battery as follows:
1. Unlock and slide out the battery holder from the remote control case.
2. Replace the weak/dead battery with a new one. Be sure the battery is installed correctly. The
remote will not work if the battery is installed with wrong polarity.
3. Insert the battery holder back into the battery slot.
4

BATTERY NOTE AND CARE
Danger of explosion if the battery is replaced incorrectly. Replace only with the same type battery.
Only use a good quality known brand battery to ensure the longest life and best performance.
If the unit is not used for an extended period of time, remove the battery. An old or leaking battery
can cause damage to the remote and may void the warranty.
Do not dispose of batteries in fire. Batteries may leak or explode.
Do not try to recharge batteries that are not intended to be recharged; they can overheat, rupture and
leak (Follow battery manufacturer’s directions).
Only an adult should replace the battery.
permost position.
S RD
. te the Dock 90 degre
. st pos
. ned at an ang
y
onscreen
SETTING UP THE DOCK FOR COMFORTABLE VIEWING AND TYPING
VIDEO BROWSING MODE
1. Dock your iPad, iPhone or iPod touch while the dock is in in portrait mode. Rotate the Dock 90
degrees counterclockwise for landscape mode if needed.
2. Adjust the Base Hinge until the iPad Support Arm locks in the up
3. Adjust the viewing angle by tilting the iPad Dock forward or back.
Portrait Mode
ING THE iPad ONSCREEN KEYBOA
Dock your iPad and rota
counterclockwise to landscape mode.
Lock the Support Arm into its lowe
angle the dock as shown to the right.
The iPad screen will be incli
about 41 degrees allowing you to t
Landscape Mode
es
ition and
le of
pe using the
U
1
2
3
keyboard.
Onscreen Typing Mode
WORKING WITH AN APPLE iP
RECHARGING YOUR APPLE DEVICE
ven if the Dock is in standby
ad / iPhone / iPod
ne or iPod is docked onto the Docking ConE
th mode, once your iPad, iPho nector,
e charging will start automatically.
LISTENING TO MUSIC ON YOUR APPLE DEVICE
This unit works with all models of iPad, iPhone, iPod touch, iPod classic up to
120GB.
1. Dock your Apple device carefu
2. Press the Power Butto green Power Indicator will
nano, iPod Video and iPod
lly and securely onto the Docking Connector.
n on the main unit or remote to turn on the unit. The
light solid.
3. Select the “iPod” function from the main screen on the iPad, iPhone or iPod touch or “Music” on iPod to
access your music library.
5

4. After selecting your favorite song, press the Play/Pause Button on remote to play or pause.
5. Press the Button to advance to next song. Press and hold it during playback for fast forward
ss the
search within the song.
6. Pre Button to go to the starting point of current song or previous song. Press and hold it
ute Button to cut off the audio output from the speakers. Press again to resume listening.
of your Apple device to fine tuning the sound quality to suit your needs.
recharged as long as it remains docked.
during playback for fast backward search within the song.
7. Press the Volume Up (+) and Volume Down (-) to adjust the volume output level.
8. Press the M
Note:
Adjust the built-in preset EQ
The volume control slider of iPad, iPhone and iPod touch are disabled when docked.
Press the HOME button of your iPad, iPhone or iPod touch to exit the music/video mode.
Your Apple device will be
Press the Power Button to switch to AUX-IN mode. The green indicator will flash.
HOW TO WATCH VIDEOS ON A TV
1. Connect the Video Out Jack of the JiPS-250i to the composite video input of your external TV with a
suitable video cable (not included).
V Out option
eos” or “Podcasts”
. For the iPad, iPhone and iPod touch, you can additionally watch your favorite Youtube videos when you
are connected to the internet via W
5. High quality audio output from e built-in stereo speakers.
2. If you are using the iPod nano, iPod classic or iPod video, you need to turn on the T
manually from the video setting menu of your iPod.
3. For the iPod nano (3rd generation and up), iPod video and iPod classic, select the “Vid
menu to locate your favorite video clips on the device’s LCD screen.
4i-Fi, 2G or 3G cell phone networks.
your videos will be playback through th
6. After selecting the video you wish to view and it starts to play, press the Play/Pause Button on
remote to play or pause.
7. Press the Button to advance to end of the current clip. Press and hold it during playback for fast
forward search within the clip.
8. Press the Button to go to the start of current clip. Press and hold it during playback for fast
backward search within the clip.
9. Press the Volume Up (+) and Volume Down (-) buttons on the unit or remote to adjust the volume output
level.
10. Press the Mute Button of the remote to cut off the audio output from the speakers. Press again to
resume listening.
: The fast forward /reverse functions maNote y not work for Youtube videos.
HOW TO WATCH VIDEOS ON YOUR iPad
WITHOUT THE REMOTE
Make1. sure the JiPS-250i is OFF before docking. If the Green Power LED is lit, press and hold the
Power Button unti
Figure 1
l the LED goes off and release the Power Button.
. Slide the iPad onto the dock as shown in
Figure 1.
3. Once the iPad is docked, the iPad screen
will automatically turn on for a few
seconds as shown in Figure 2.
Figure 2
2
6

4. e + or Volume – Button.
. Now press the Power Button as shown in Figure 3.
Once you release the buttons, the JiPS-250i will power up and
the Green Power LED will light as shown in Figure 4.
. Select the movie you want to watch and press the Play Button
as shown in Figure 5.
. The video will begin playing on the screen
of the iPad as shown in Figure 6.
0. The dock can also be rotated to view the
/Of
Video On/Off Button, when th ds the IR
Sensor on the base, will change how the video is d
. The video can be switched between the Video-out (default) and the screen of
ushing this button.
Figure 3
Press and hold either the Volum
5
6.
Figure 4
7
Figure 5
9
1
video in landscape mode as shown in
Figure 7.
Figure 7
f" Button as shown in Figure 8.
e remote is pointing towar
Figure 6
WITH THE REMOTE
1. The remote control features a “Video On
Figure 8
2. Pressing the
isplayed.
3
your iPad when p
7

Wa hing Videos on Your iPhone and iPod touchtc
The operation for watching videos o
n your iPhone and iPod touch is similar to the iPad instructions
creen to resume playing instead of using the remote.
atching Videos on Your iPod nano and iPod classic
above.
If you decide to change back to TV out mode afterwards, please touch the Play Button on the iPhone or
iPod touch s
W
ano and iPod classic is similar to the iPad instructions
to exit to the video selection screen first. Then choose your desired video manually with the
otes: as Podcast and Youtube on your
If you change the video output to the iPad, iPhone or iPod touch screen and then undock it, the
The operation for watching videos on your iPod n
above.
If you decide to change back to TV out mode afterwards, please press Menu Button on the click wheel of
your iPod
click wheel and press Enter Button to resume playing instead of using the remote.
N
The above steps also allow you to view videos from other sources, such
iPad, iPhone and iPod touch.
The video output default is set to TV when you turn the dock power on, or when you dock the Apple
device.
dock will revert back to the default TV output.
USING THE AUXILIARY INPUT (AUX-IN)
nal audio device.
. Turn on the external audio device.
. Press the Function Button on the remote or tap the Power Button on the main unit to select AUX-IN
mode if necessary. The Po
o adjust the volume
lume control of this unit to obtain the
e
This unit provides an Aux-in Jack (auxiliary input) for connecting an external audio device like an MP3 player,
CD player and older, non-dockable iPods (except 3rd generation iPod shuffle) and listening to the audio from
that device through the docking speakers.
1. Use an audio cable (not included) with one 3.5 mm stereo plug on both ends.
2. Plug one end of the cable into the AUX-IN Jack on the back of the main unit and the other end into the
Line-out Jack or Headphone Jack of your exter
3
4wer Indicator on the main unit will flash.
5. The output volume can now be controlled using the Volume Up (+) or Volume Down (-) Buttons on the
remote and main unit. Operate all other functions on the auxiliary device as usual.
Note:
If the Line Out Jack of your external device is connected, then you only need t
control of this unit. If the Headphone Jack of your external device is connected, then you may need to
adjust both the volume control of your external device and the vo
most comfortable volume level.
Press the Power Button to turn off the system when you finish listening. Don't forget to switch off th
power of your external device as well.
USING THE ENHANCED FUNCTIONS OF JENSEN ROCKER APP e &
ownload from Apple App Store. After installation, please check the
When the App is running, all controls will be passe the App. All buttons on the main unit and remote
except Power and Volume + / - Buttons are disabled.
The App is cur utton in the lower
A special APP called “JENSEN ROCKER” is available to provide handy enhanced features such as; tim
calendar, alarm clock, wake and sleep to nature sounds, voice messages, music player with EQ setting,
photo frame with music slide show, Internet Radio and My Music ready (powered by Play Anywhere).
The JENSEN ROCKER App is a free d
App Store regularly for new updates.
Limitations: d to
rently designed for the iPhone. When it runs on the iPad, tap the 2X B
right corner to enlarge it to full screen if necessary.
Only the Clock/Calendar/Weather and My Music screens work in both portrait and landscape modes.
For details of JENSEN ROCKER App, please refer to the separate instruction sheet.
RESETTING THE UNIT
8

If the unit is subject to a power surge or electric shock, it is possible that the internal micro-controller may lock
up and the unit will not respond to any commands from the front panel controls or remote control. In this
. Detach the DC plug of the AC Adaptor from the unit and then reconnect after about 10 seconds.
tton which is located at
the bottom of the back side of the iPad Dock.
event, you can do one of the following:
1
2. Use a straightened paper clip, toothpick or similar objects to press the Reset Bu
Warning:
Do not use sharp, pointed object to press damage the switch inside the unit.the Reset Button. It can
CARE AND MAINTENANCE
n the unit may be cleaned with a dust cloth and cared for as other furniture. Use caution
If the cabinet becomes dusty wipe it with a soft dry dust cloth. Do not use any wax or polish sprays on
the cabinet.
If the unit becomes dirty or smu ned with a soft cloth slightly
oap and asive cloths or polishes as these will
CLEANING THE UNIT
To prevent fire or shock hazard, disconnect your unit from the AC adaptor and Apple device when
cleaning.
The finish o
when cleaning and wiping the plastic parts.
dged with fingerprints it may be clea
water solution. Never use abrdampened with a mild s
damage the finish of your unit. Never allow any water or other liquids to get inside the unit while
cleaning !
While adjustin
g the iPad Support Arm or the angle of the iPad Dock, do it gently to avoid damaging the
internal mechanical parts and hinges.
TROUBLESHOOTING GUIDE
Symptom Possible Problem Solution
AC Adaptor is not plugged
into a wall outlet or the
connector is not plugged into
the DC Jack on
the unit properl
Plug the AC adaptor into a wall outlet and plug the
connector into the DC Jack on the unit again with
n.the back of
y. special attentio
The unit does not
respond (no
power).
Wall outlet is not functioning. Plug another appliance to the same outlet to
working.confirm it is
Apple device is not installed
properly. our Apple device from the dock and
check for obstruction on the connectors in the dock
Remove y
and on your Apple device. Then reseat it on the
dock.
Apple device does
not respond to the
speaker system. Apple device is locked up.
that your Apple device is
working properly before docking into the unit. nfo
Please make sure
Please refer to your Apple device manual for i
on resetting the device.
Apple device does
not recharge. Apple device is not installed
properly.
Remove your Apple device from the dock and
check for obstruction on the connectors in the dock
and on your Apple device. Then reseat it in the
dock.
Volume level is set too high. Decrease the volume.
If the Apple device original sound source is po
quality, distortion and noise is easily noticed with
high-power speakers. Tr
or
y a different audio source
such as a music CD.
Sound is distorted.
e
device itself. Also try changing the EQ
vice.
Sound source is distorted. If you are using an external sound source like older
generation of iPod, try reducing the output volum
on the
setting of your Apple de
9

Unit gets warm
after extended
play at high
volume.
This is normal. Turn the unit off for a period of time or lower
volume.
SPECIFIC
POWER REQUIREMENT
M
ATIONS
ain Unit AC-DC adaptor Input: 120V~ 60Hz
Output: 8V 2900mA
Remote Control 1 x 3V type CR2032 Lith
OUTPUT POWER 2 x 3W
ium Battery
LICENSE AN N NOTICES
r iPhone” and “Made for iPad” mean that an electronic accessory has been
ic d has been certified by the developer
to meet Apple performance standards. Apple this device or its
afety and t at th accessory with iPad,
affect w erformance.
hone, iPod, iPod classic, iPod nano, iPod shuffle and iPod touch are trademarks of Apple Inc., registered in
the U.S. and other countries.
ble initiatives with an aim to
http://www.spectraintl.com/green.htm
D SPECTRA GREE
“Made for iPod”, “Made fo
connect specifdesigned to ally to iPod, iPhone or iPad respectively an
is not responsible for the operation of
e use of thiscompliance with s regula ory standards. Please note th
iPhone or iPod may ireless p
iP iPad is a trademark of Apple Inc.
My Music is powered by Play Anywhere®, more information on Play Anywhere® is available at
www.catchmedia.com.
JENSEN Rocker App is powered by Docking Partner, copyrights ®2010.
At Spectra, environmental and social responsibility is a core
value of our business. We are dedicated to continuous
implementation of responsi
conserve and maintain the environment through responsible
recycling. Please visit us at for more information on
or to find a recycler in your area.Spectra’s green initiatives
90 DAY LIMITED WARRANTY AND SERVICE
VALID
SPECTRA MERCHANDISING INTERNATIONA e free from defective materials
or factory workmanship for a period of 90 days
product is utilized within the U.S.A. This warrant s
arranty is the repair or replacement of the defective unit or any part thereof, except batteries, when it is
returned to the SPECTRA Service Department, accompanied by proof of the date of original consumer
purchase, such as a duplicate
You must pay all shipping charges req SPECTRA for warranty service. If the
rchaser and proof of purchase is demonstrated.
b. It has not been subjected to accident, misuse, abuse, improper service, usage outside the
c. Claims are made within the warranty period.
IN THE U.S.A ONLY
L, INC. warrants this unit to b
from the date of original customer purchase and provided the
y is not assignable or transferable. Our obligation under thi
w
copy of a sales receipt.
uired to ship the product to
product is repaired or replaced under warranty, the return charges will be at SPECTRA’s expense. There are
no other express warranties other than those stated herein.
This warranty is valid only in accordance with the conditions set forth below:
1. The warranty applies to the SPECTRA product only while:
a. It remains in the possession of the original pu
descriptions and warnings covered within the user manual or non-SPECTRA approved
modifications.
10

11
d by electrical wiring not in compliance
with electrical codes or SPECTRA user manual specifications, or failure to provide reasonable care and
e only and is void when products are used in
This warra
state. TO O E please remove all batteries (if any) and pack the unit carefully and send it freight
prepa to HE UNIT IS RETURNED WITHIN THE WARRANTY
estab
desc ervice representative may need to contact you
ar
to ex
2 This warranty does not cover damage or equipment failure cause
necessary maintenance as outlined in the user manual.
3. Warranty of all SPECTRA products applies to residential us
a nonresidential environment or installed outside the United States.
nty gives you specific legal rights, and you may also have other rights which vary from state to
BTAIN SERVIC
id SPECTRA at the address shown below. IF T
PERIOD shown above, please include a proof of purchase (dated cash register receipt) so that we may
lish your eligibility for warranty service and repair of the unit without cost. Also include a note with a
ription explaining how the unit is defective. A customer s
reg ding the status of your repair, so please include your name, address, phone number and email address
pedite the process.
IF THE UNIT IS OUTSIDE THE WARRANTY PERIOD, please include a check for $40.00 to cover the cost of
repair, handling and return postage. All out of warranty returns must be sent prepaid.
It is recommended that you contact SPECTRA first at 1-800-777-5331 or by email at
you have may be discontinued, and SPECTRA reserves the right to offer alternative options for repair or
replacement.
SPECTRA MERCHANDISING INTERNATIONAL, INC.
-800-777-5331
4230 North Normandy Avenue,
Chicago, IL60634, USA.
1
To register your product, visit the link on the website below to enter your information.
http://www.spectraintl.com/wform.htm.
Printed in China
Table of contents
Other Jensen Docking Speakers manuals