How to Use
This product is for household use only.
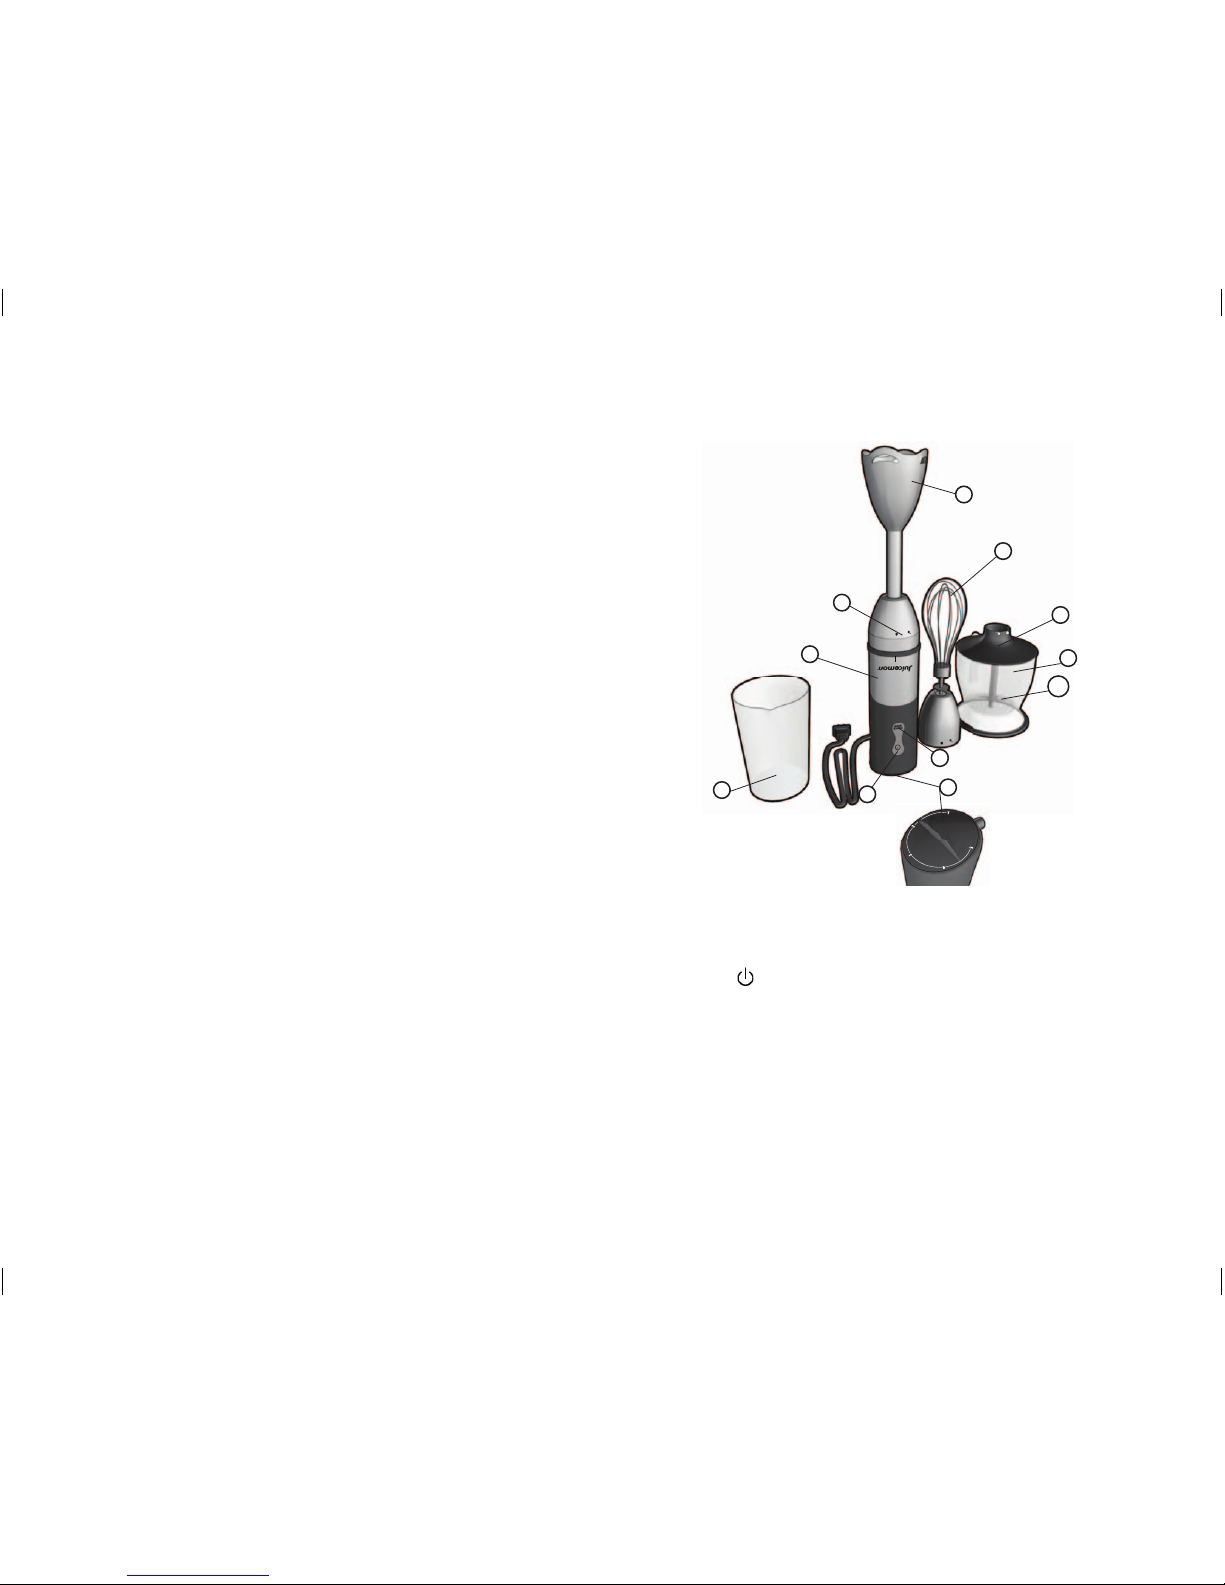
GETTING STARTED
•Removeallpackingmaterialand,ifapplicable,anystickersfromtheproduct;
remove and save literature.
•Pleasegotowww.prodprotect.com/applicatoregisteryourwarranty;for
additional information go to www.juiceman.com.
•WashallremovablepartsasinstructedinCAREANDCLEANING.Thiswill
remove any traces of dust or residue left from manufacturing and shipping.
Important: The blades on the attachments are extremely sharp. Use caution
when handling.
•Wipemotorbodywithadampclothorspongetoremoveanydust.Milddish
soap may be used, but avoid abrasive cleaners. Wipe dry with a soft cloth or
paper towels.
Important: Do not rinse or immerse motor body in water or any other liquid.
CONNECTING THE ATTACHMENTS
Always be sure the appliance is unplugged before connecting or removing any
attachments.
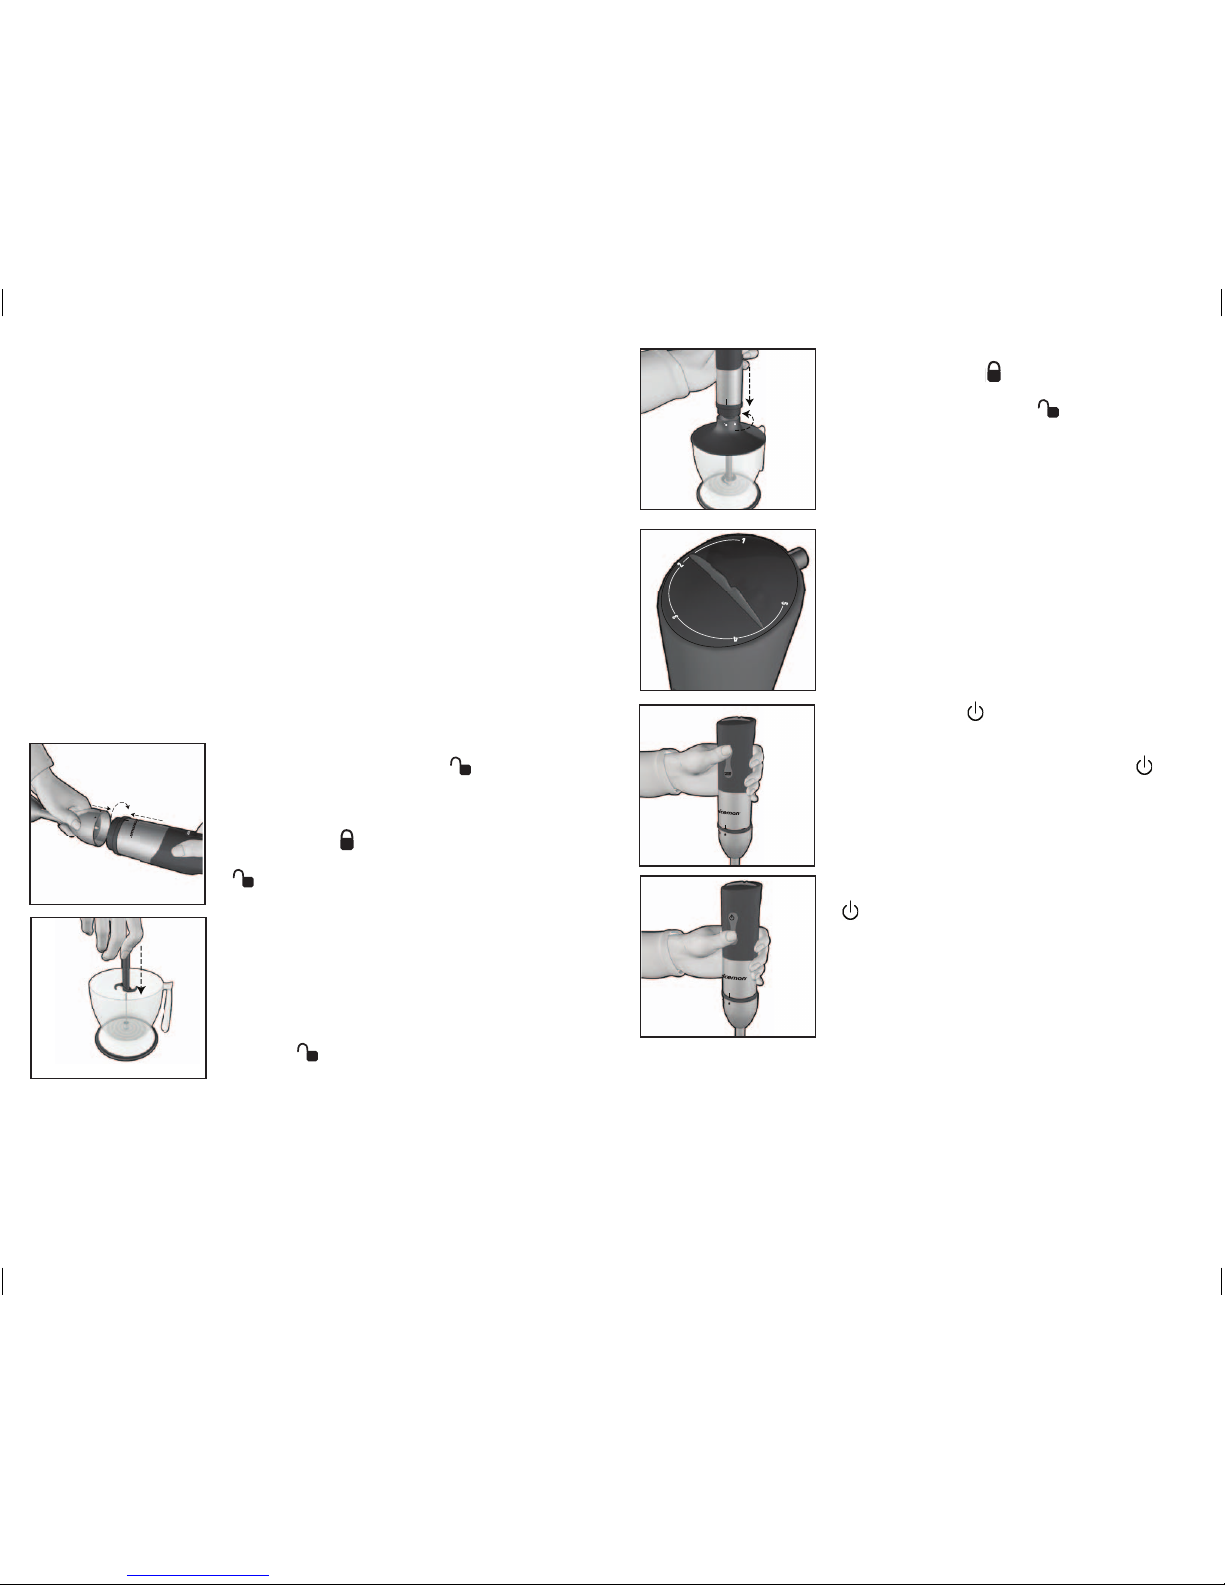
Blending & Whisk Attachments
• Toattachtheblendingorwhiskattachment,insert
the attachment so the UNLOCK symbol on the
attachment is lined up to the dash on the motor
body.
• Turntheattachmentuntilthetwopiecesarelined
up in the LOCK position (B).
• Toremovetheattachment,twistuntiltheUNLOCK
symbol on the attachment is lined up with the
dash on the motor body. Pull the pieces apart.
Chopping Workbowl
• Holdingthechopping/grindingbladebythecenter
post;insertit,bladedown,intotheworkbowl(C).
Important: The chopping blade is extremely sharp.
Use caution when handling.
• Placethelidontopoftheworkbowl.
• Placethemotorbodyoverthelidsothatthe
UNLOCK symbol on the workbowl is lined up
with the dash on the motor body.
• Turncounterclockwiseuntilthetwopiecesare
lined up in the LOCK position (D).
• Toremovethemotorbody,twistthehandle
clockwise until the UNLOCK symbol on the
workbowl is lined up with the dash on the motor
body. Lift off the motor body and remove the lid of
the workbowl.
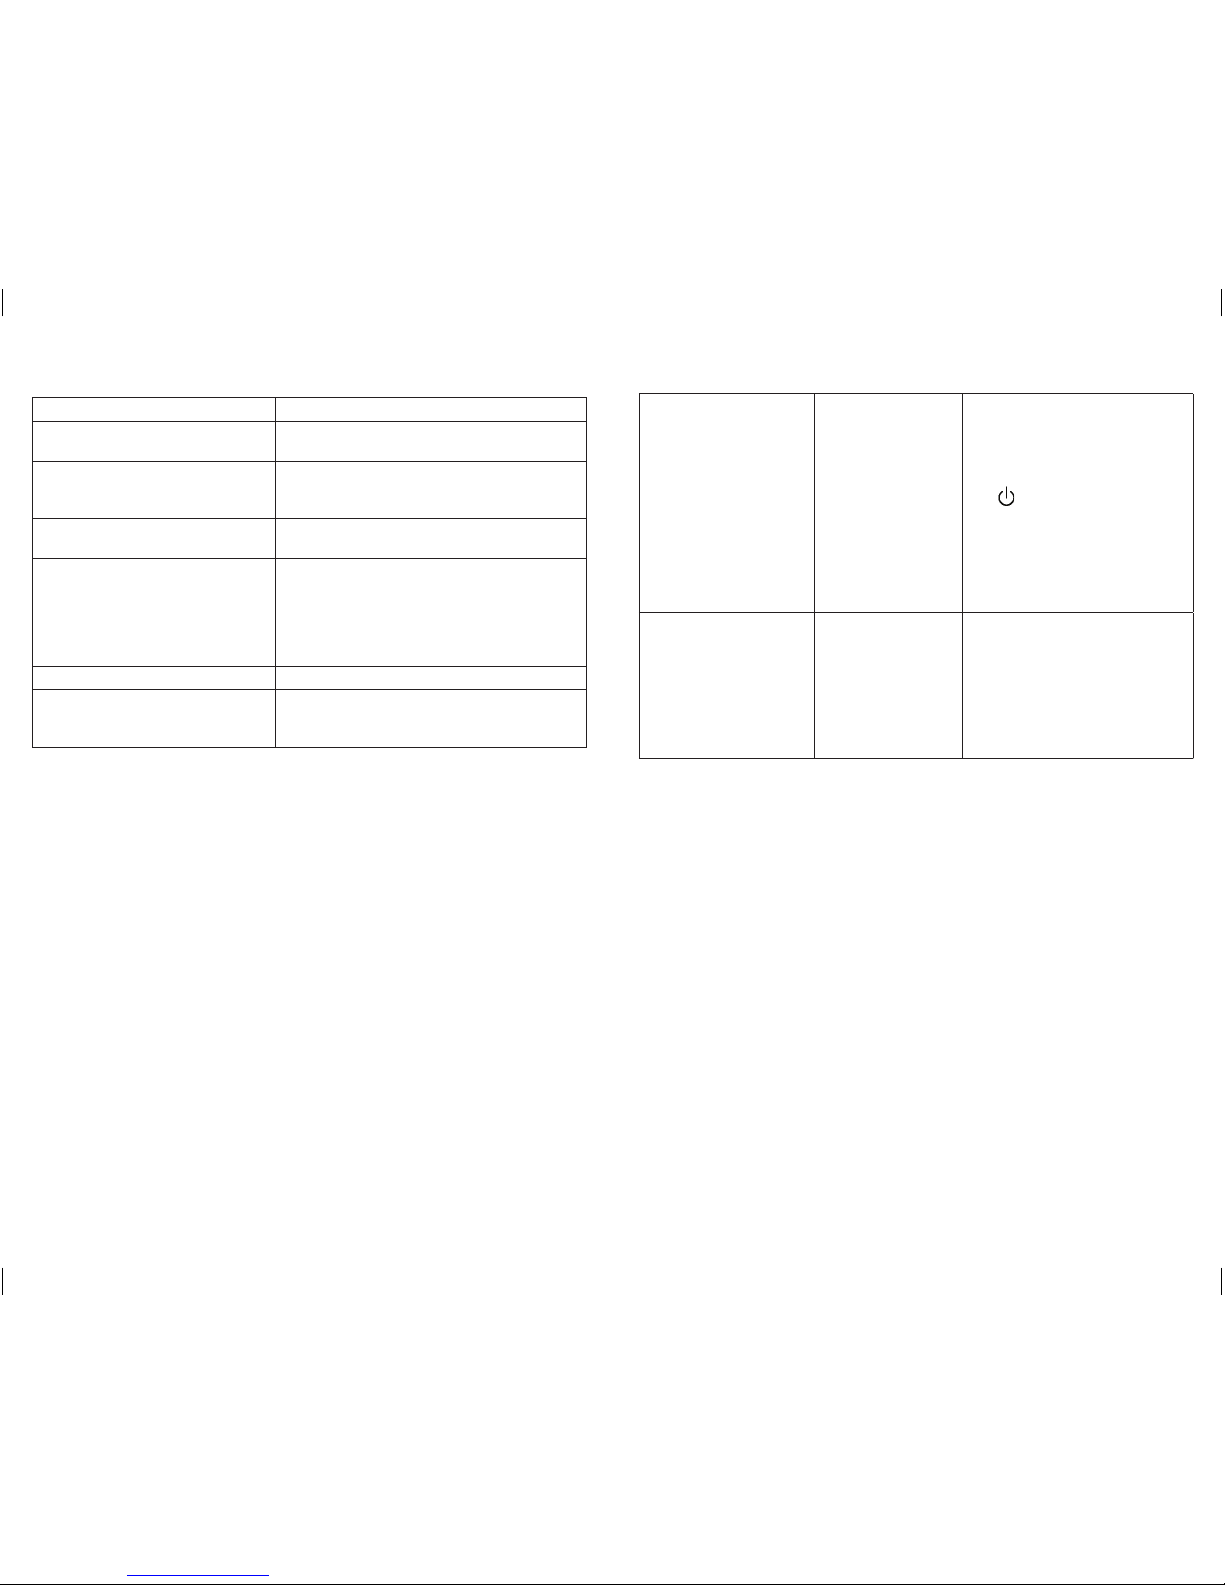
SELECTING A SPEED
1. Select a speed – from 1 to 5 – using the speed
control dial on the top of the motor body (E).
Note: The speed can be changed at any time whether
the appliance is turned on or off.
2. Press the POWER button to turn the blender ON
at the selected speed. The blender turns OFF when
the button is released (F).
Note: To pulse, press and release the POWER
button at 5-second intervals.
3. For an extra burst of power while blending, there
is a POWER BOOST button just below the Power
button. This feature allows the appliance to
increase speed and maneuver through thicker
mixtures. The appliance will turn OFF when this
button is released (G).
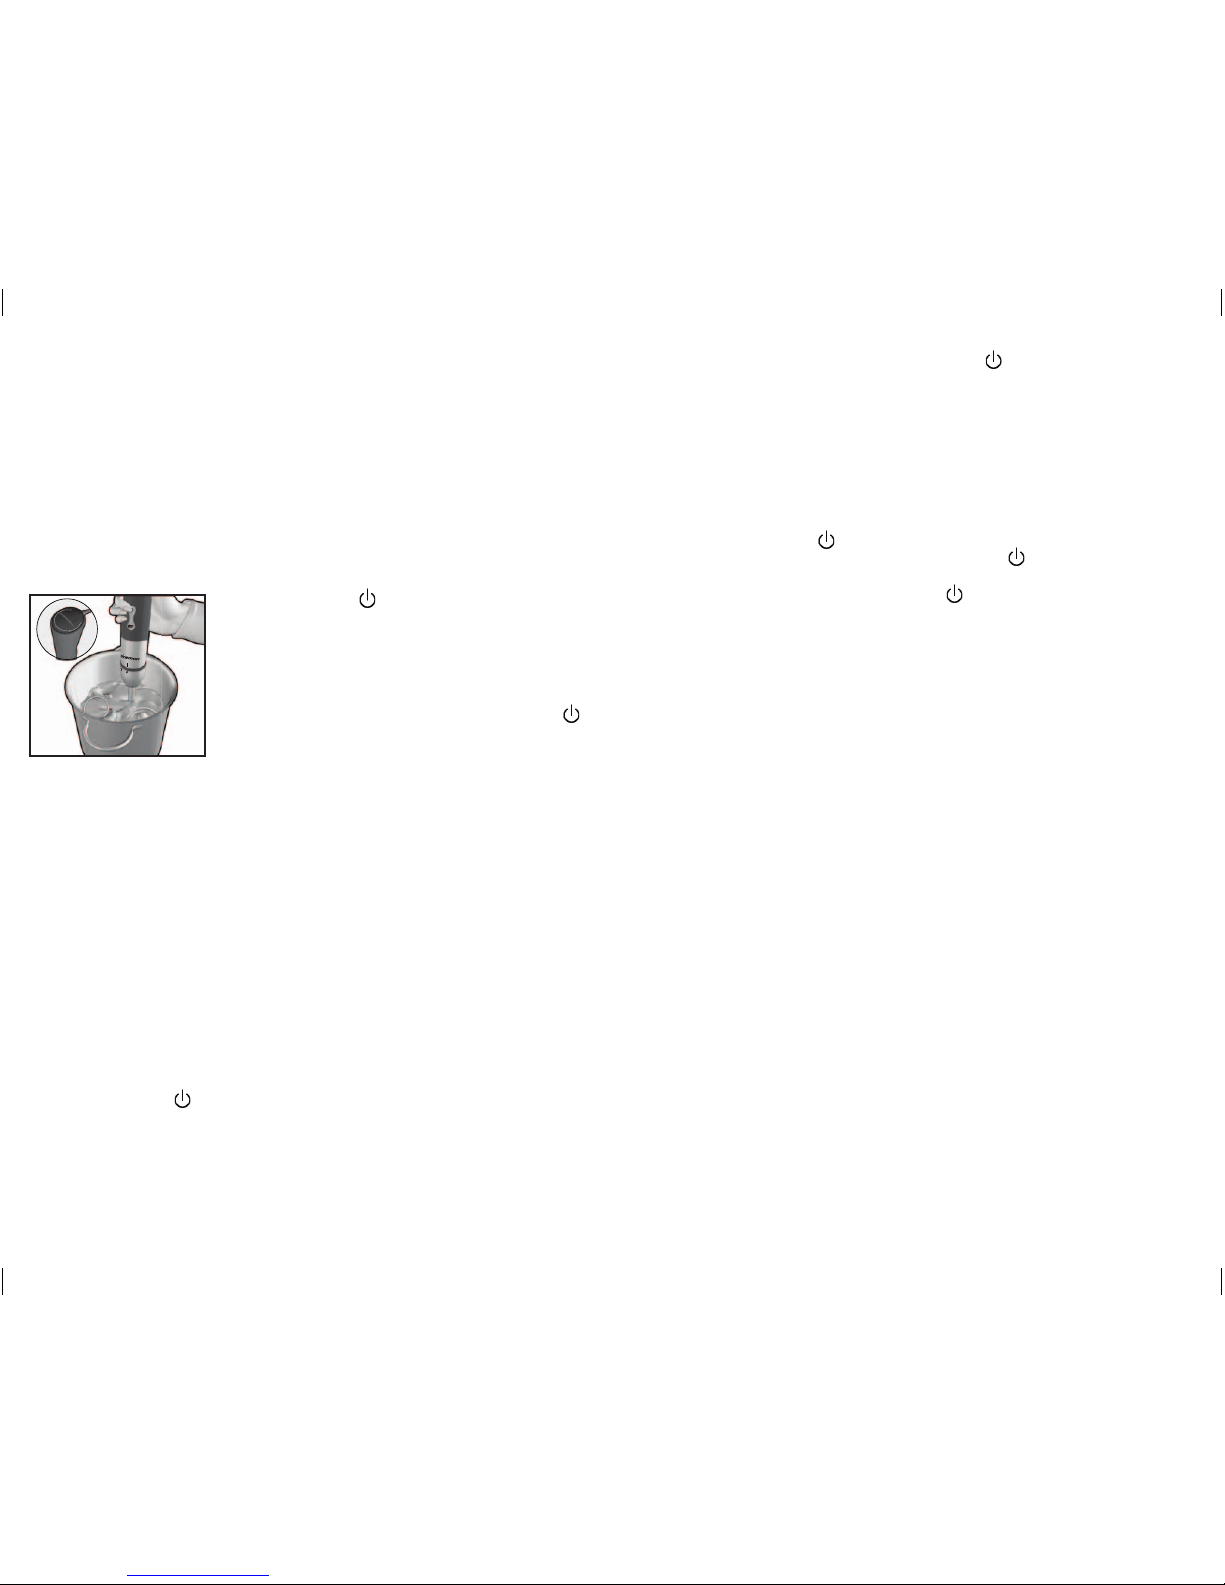
USING THE ATTACHMENTS
Using the Blending Attachment
This attachment is used for blending a variety of foods, including soups, sauces,
salad dressings and powdered drinks into a smooth mixture without lumps
directly in the sauce pan, measuring cup, beaker or bowl. This appliance mixes,
blends, purees and stirs while adding very little air to the mixture.
B
C
D
E
F
G