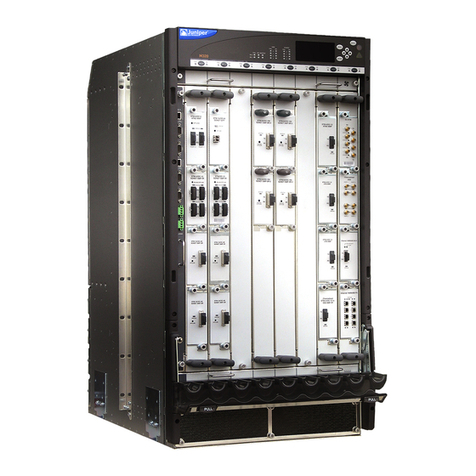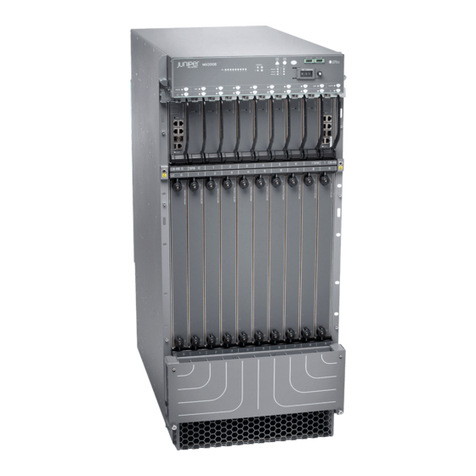
T1600 Core Router Quick Start
January 2015
Part Number: 530-062016
Revision 01
This document describes how to install the Juniper Networks®T1600 Core Router.
Contents QuickStartDescription...............................................3
Step1:PreparingtheSite..............................................4
Rack-MountingRequirements......................................4
Tools Required to Unpack and Prepare the T1600 Router for Installation . . . . 5
Step 2: Installing the Mounting Hardware . . . . . . . . . . . . . . . . . . . . . . . . . . . . . . . . . 7
Installing the Mounting Hardware for a Four-Post Rack or Cabinet . . . . . . . . . 7
InstallingCageNuts,IfNeeded..................................8
Installing the Large Mounting Shelf and Spacer Bars . . . . . . . . . . . . . . . . 8
Installing the Small Mounting Shelf . . . . . . . . . . . . . . . . . . . . . . . . . . . . . . 9
Removing the Center-Mounting Brackets . . . . . . . . . . . . . . . . . . . . . . . . . . 9
Installing the Mounting Hardware in an Open-Frame Rack . . . . . . . . . . . . . . . 9
InstallingCageNuts,IfNeeded..................................11
Installing the Large Mounting Shelf . . . . . . . . . . . . . . . . . . . . . . . . . . . . . . 11
Removing the Spacer Bars and Center-Mounting Brackets . . . . . . . . . . . 11
Step3:InstallingtheT1600Router.....................................12
InstallingtheRouterUsingaLift....................................12
Installing the Router Without a Mechanical Lift . . . . . . . . . . . . . . . . . . . . . . . . 13
RemovingComponents.......................................14
LiftingtheRouterintotheRack.................................16
ReinstallingComponents......................................18
Step 4: Connecting the Grounding Cable . . . . . . . . . . . . . . . . . . . . . . . . . . . . . . . . . 19
Step 5: Connecting External Devices and PIC Cables . . . . . . . . . . . . . . . . . . . . . . . 20
Connecting to a Console or Auxiliary Device . . . . . . . . . . . . . . . . . . . . . . . . . . . 21
Connecting to a Network for Out-of-Band Management . . . . . . . . . . . . . . . . 22
ConnectingthePICCables........................................23
Step6:ConnectingPower............................................25
Connecting Power to a T1600 Router with Three-Input 240-A DC Power
Supplies ...................................................25
Installing Cable Restraints on a Three-Input 240-A DC Power Supply
(Optional)..............................................25
Setting the Input Mode Switch on a Three-Input 240-A DC Power
Supply .................................................27
1Copyright © 2015, Juniper Networks, Inc.
