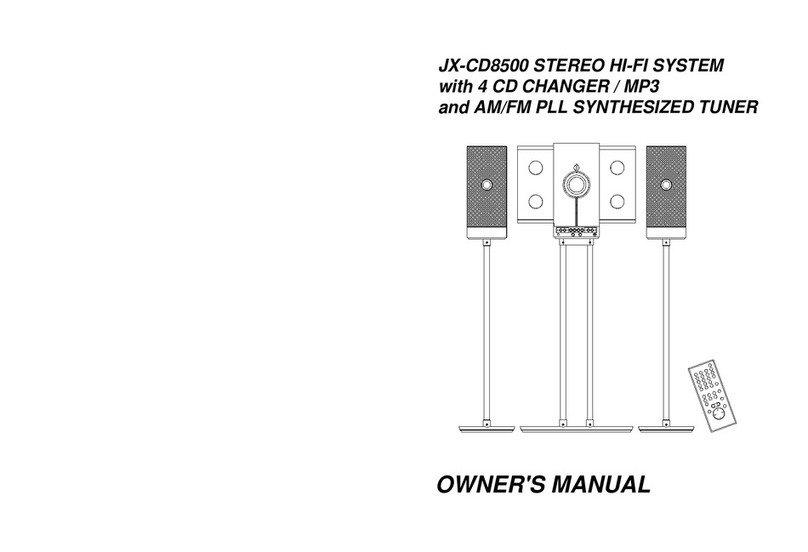
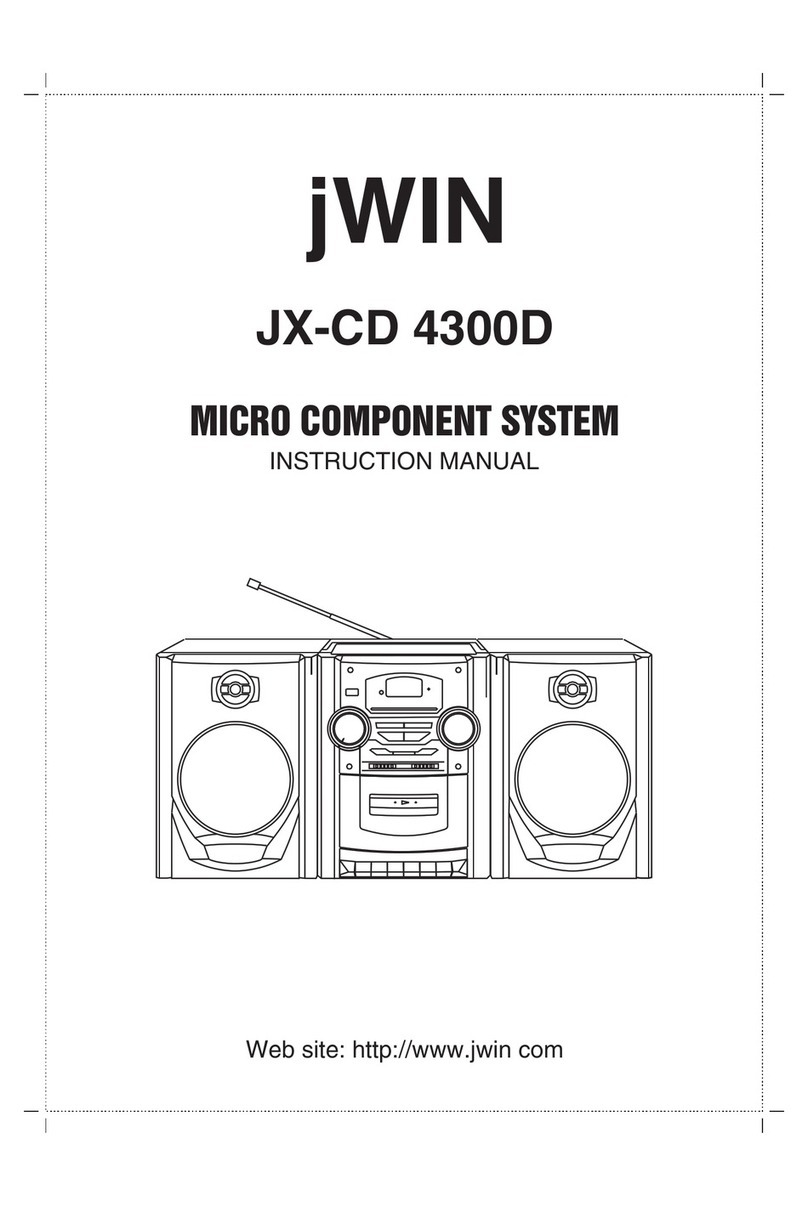
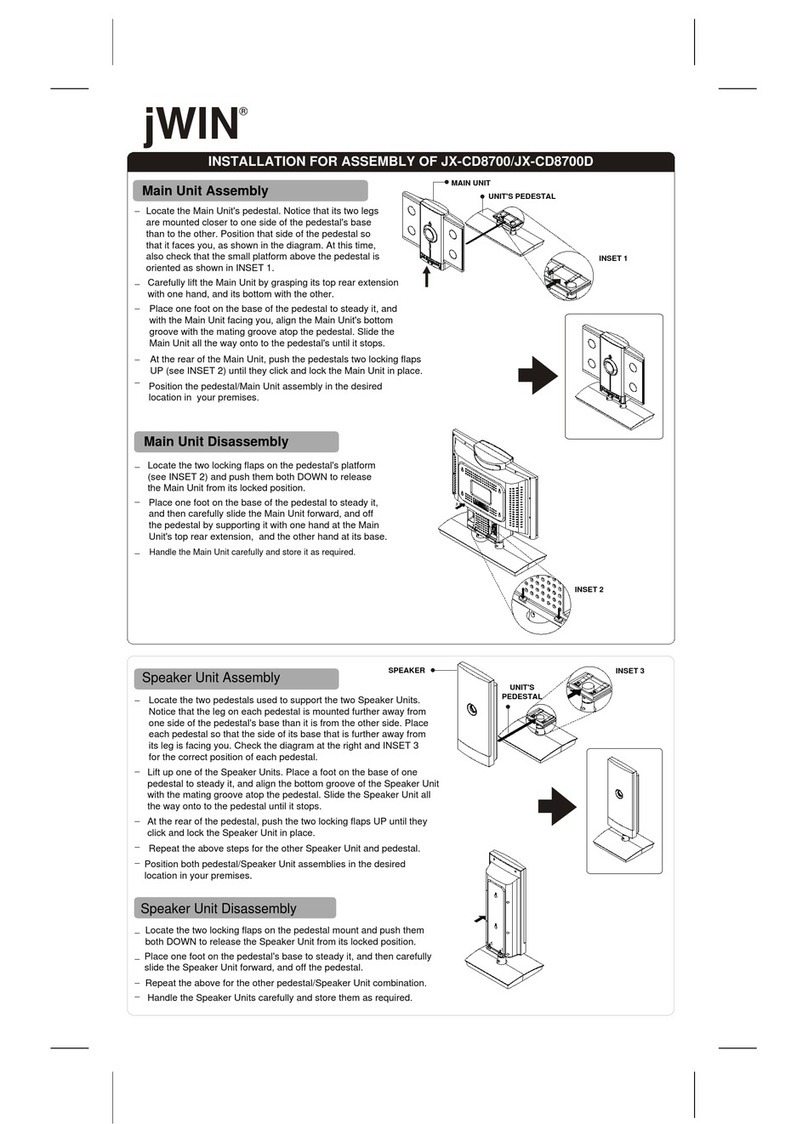
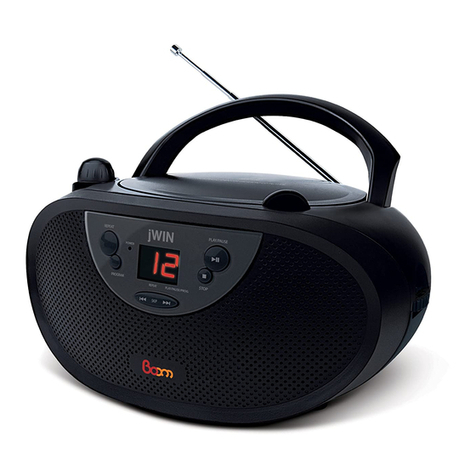
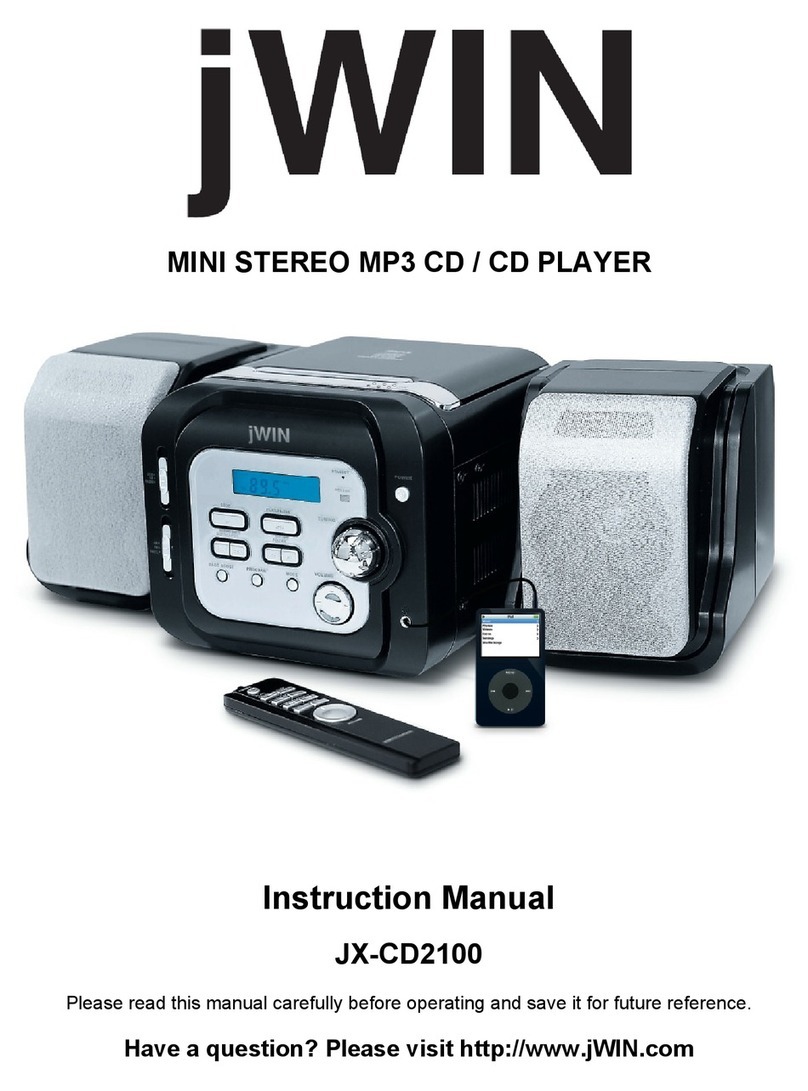
jWIN JX-CD3150D User manual

JX-CD3150D
MICRO HI-FI CD PLAYER
AND AM/FM STEREO RADIO
aaaaaaaaaaaaaaaaaaaaaaaaaaaaaaaaaaaaaaaaaaaaaaaaaaaaaaaaaaa
visit our web site at http://www.jwin.com

1
TO PREVENT FIRE OR SHOCK HAZARD, DO NOT USE THIS PLUG WITH AN
EXTENSION CORD, RECEPTACLE OR OTHER OUTLET UNLESS THE BLADES
CAN BE FULLY INSERTED TO PREVENT BLADE EXPOSURE. TO PREVENT FIRE
ORSHOCKHAZARD,DONOTEXPOSETHISAPPLIANCETORAINORMOISTURE.
!
CAUTION
RISK OFELECTRICSHOCK
DONOTOPEN
The lightning flashwitharrow-
head symbol,withinan equi-
lateraltriangleisintended to
alertthe usertothe presence
ofuninsulated‘dangerousvoltage’
withinthe product’s enclosure
thatmaybe ofsufficient
magnitude toconstitutearisk
ofelectricshock topersons.
The exclamation pointwithin
an equilateraltriangleisin-
tended toalertthe userto
the presenceofimportant
operating and maintenance
(servicing)instructionsin
the literatureaccompany-
ing the appliance.
WARNING:TOREDUCETHE
RISK OFELECTRICSHOCK
DONOTREMOVE COVER
(ORBACK),NOUSER
SERVICEABLEPARTSINSIDE
REFERSERVICINGTO
QUALIFIEDSERVICE
PERSONNEL.
CAUTION
MS7616_061404.p65 14/6/2004, 10:591
•Operatecontrolsand switchesas
described inthe manual.
•Beforeturning ‘On’the power,make
certainthatpowercordisproperly
installed.
•StoreyourCDsinacoolarea toavoid
damage fromheat.
•When moving the set, be suretofirst
disconnectthe powercord.
•Avoidinstalling thisunitinplaces
exposed todirectsunlightorcloseto
heatradiating appliancessuchas
electricheaters,on top ofotherstereo
equipmentthatradiatestoo muchheat,
placeslackingventilationordustyareas,
placessubjecttoconstantvibration and/
orhumidormoistareas.
•Donotattempttoclean thisunitwith
chemicalsolventsasthismightdamage
the finish.Useaclean drycloth.
CLASS 1LASERPRODUCT
CLASS 1LASERPRODUCT
APPAREILÁLASERDECLASSE 1
PRODUCTOLASERDECLASE 1
CAUTION
INVISIBLELASERRADIATION
WHENOPENAND INTERLOCKS
DEFEATED.
AVOIDEXPOSURETOBEAM
ThisproductcontainsalowpowerLaserDevice.
IMPORTANTNOTES

2
PREPARATIONFORUSE
PROTECTYOUR FURNITURE
Thismodelisequipped withnon-skidrubber'feet'topreventthe productfrom
moving when you operatethe controls.These'feet'aremade fromnon-migrating
rubbermaterialspeciallyformulated toavoidleaving anymarks orstainson your
furniture.Howevercertaintypesofoil based furniturepolishes,wood preservatives,
orcleaning sprays maycausethe rubber'feet'tosoften,and leavemarks ora
rubberresidue on the furniture.Topreventanydamage toyourfurniturewestrongly
recommend thatyou purchasesmall self-adhesivefeltpads,availableathardware
storesand homeimprovementcenterseverywhere,and applythesepadstothe
bottomofthe rubber'feet'beforeyou placethe producton fine wooden furniture.
UNPACKINGAND SETUP
•Carefullyremovethe unitfromthe carton and removeall packing materials
fromthe unit.
•Carefullyremoveanysmall stripsoftape whichmayhavebeen used tokeep
the CDdoorclosed during shipment.
•Open the CD compartmentbylifting the“OPEN”tab on rightsideof
CDdoor.Insidethe CDcompartmentyou willsee acardwhichis used to pr-
eventthelaserpick-upfrommovingduringshipment.Carefully remove
thiscardand closethe CD compartmentdoor.
•Pleasesavethe carton and packing materialsinthe eventthatyourunitever
needstobe returned forservice.The originalcarton and packing materialsare
the onlywaytoprotectthe unitfromdamage during shipment.
•Unwind the FMlead wireantenna and extend ittoitsfull length.
•Removethe twist-tiefromtheACpowercordand extend ittoitsfull length.
MS7616_061404.p65 14/6/2004, 10:594

3
+
R
L
+
Red Wire
Black Wire
SPEAKERCONNECTION
Connecteachspeakertothe corresponding speakerterminalson the back panel
ofthe mainunit. Makesurethat:
•The left speakerisconnected tothe (L)left pairofspeakerterminals,and the
rightspeakertothe (R)rightpairofspeakerterminals.
Alsomakesurethatthe speakerwiresarecorrectlyconnected:
•Thatthe red wiresareconnected tothe red (+)terminals,and the black wiresto
the black (–)terminals.
Depress the plasticlevertoopen the terminal,insertthe bareend ofthe speaker
wireintothe opening and release.
MS7616_061404.p65 14/6/2004, 10:595

4
POWER SOURCE
This system is designed to operate on normal 110/220V 60/50Hz AC house
current only. Attempting to operate this system from any other power source may
cause damage to the system, and such damage is not covered by your warr-
anty. Unwind theAC power cord and connect the AC plug to yourAC outlet.
MS7616_061404.p65 14/6/2004, 10:596
FM ANT

5
LOCATION OFCONTROLS AND INDICATORS
MS7616_061404.p65 14/6/2004, 10:597
1
2
4
8
7
6
3
5
9
10
11 12 13 14
15
16
17
19
18
20
21
22
232425

6
1.)POWERON/OFF Button.
2.)POWER‘On’Indicator.
3.)VOLUMEControl.
4.)STOPButton.
5.)PROGRAMButton.
6.)MONO/STEREOSelectorButton.
7.)Band AM/FMSelectorButton.
8.)Function CD /TUNERSelectorButton.
9.)Tuning Dial.
10.)PLAY/PAUSE Indicator.
11.)FMSTEREOIndicator.
12.)CDTrack NumberDisplay.
13.)PROGRAMIndicator.
14.)CDDoor.
15.)OPENButton.
16.)REPEATIndicator.
17.)TUNINGControl.
18.)REPEATButton.
19.)RANDOMButton.
20.)PLAY/PAUSE Button.
21.)ExternalFMWireAntenna.
22.)ACPowerCord.
23.)PHONES Jack.
24.)FWDSKIP/SEARCH Button.
25.)REV SKIP/SEARCH Button.
MS7616_061404.p65 14/6/2004, 10:598

7
LISTENING TO THE RADIO
• Make sure that the FM Lead Wire antenna is extended to its full length.
1.) Press the POWER button to turn the unit “ON ”. The POWER indicator
comes ‘On’.
2.) Press the CD /TUNER button to TUNER position.
3.) Press the AM / FM button to select the radio band as desired.
4.) Turn the TUNING control to tune to the desired radio station.
Note:
If you tune to a FM Stereo station and the MONO / STEREO button is set
to STEREO position, the FM STEREO indicator
will light.
If the FM reception is noisy or weak you may be able to improve it by
pressing the button to the MONO position, however the sound will no
longer be in stereo.
5.) Adjust the VOLUME control as desired.
6.) When you are finished listening press the POWER button to the “OFF ”
position. All indicators go ‘off’.
OPERATING INSTRUCTIONS
FM STEREO
PLAY/PAUSE
PROGRAM
REPEAT
MS7616_061404.p65 14/6/2004, 10:599

8
HINTS FOR BETTER RECEPTION
FM:The FM lead wire antenna on the back panel should be extended to its full
length. You may also have to vary the direction of this antenna until you find
the position that provides the best reception.
AM:The AM bar antenna is inside the cabinet of the main unit. You may need to
change the position of the main unit until you find the position that provides
the best reception for your favorite AM stations.
FM 88 92 98 102 106107 108 MHz
AM530 600 800 1000 1200 1400 KHz1700
CD TUNER AM FM MONO STEREO
TUNING
FM STEREO
PLAY/PAUSE
PROGRAM
REPEAT
V
O
L
U
M
E
R
E
PE
A
T
R
A
N
D
O
M
M
I
N
M
A
X
POWER
SKIP/SEARCH
PHONES
STOP PLAY/
PAUSE
PROGRAM
REV. FWD.
ON OFF
MS7616_061404.p65 14/6/2004, 10:5910

9
PLAYINGCOMPACTDISCS
NOTE:Although thisCD playercan read CD-Rand CD-RWdiscs,inaddition to
normalCDs,the playabilityofCD-R/RWdiscs maybe effected bythe type of
softwarethatwasused tocreatethe discs,aswell asthe qualityand condition of
the blankmediayou areusing.100%playabilitycannotbe guaranteed.
Thisisnotan indication ofaproblemwiththe player.
NORMALPlayback
1.) Press the POWER button to turn the unit “ON ”. The POWER indicator
comes ‘On’.
2.) Press the CD /TUNER button to CD position.
The two dashes “ – – ” light up on LED display.
3.)Open the CD doorbylifting the OPENtabon rightside ofCDdoor.If
you havenotalreadyremovedthe cardfromtheCDplayer,please remove it
now.
4.)PlaceyourCD on the centerspindlewith
the printed labelside facing up.Makesure
the CD isseated properly.
Closethe CD door.
The playerwill read the TableofContentsand the
displaywill showthe totalnumberoftracks on the
disc.
If the disc isdamaged orup side down,displaywill show“ – – ”.
FM STEREO
PLAY/PAUSE
PROGRAM
REPEAT
FM STEREO
PLAY/PAUSE
PROGRAM
REPEAT
MS7616_061404.p65 14/6/2004, 10:5911

10
5.)Press the PLAY/PAUSE button tobeginplayback on Track 1.
The PLAY/PAUSE indicatorlightsup.
6.) Adjust the VOLUME control as desired.
7.) Playback will continue until the end of the disc. When the disc ends the display
again shows the total number of tracks on the disc.
You may also stop playback at any time by pressing the STOP button.
PAUSE Control
To pause momentarily during playback press the PLAY/PAUSE button again.
Playback stops but the disc continues to spin and the
PLAY/PAUSE indicator flashes.
Press the PLAY/PAUSE button once more to cancel Pause and resume
playback. The PLAY/PAUSE indicator stops flashing.
Skipping Tracks and High Speed Music Search
During CD Playback, repeatedly press theSKIP FWD orSKIP REV button
to skip to higher or lower number tracks. When the desired track number appears
on the display release the button and playback will begin on the desired track.
To rapidly search forward or back within a track to locate a specific musical passage,
depress and hold either the / buttons.
The player will move forward or backward at high speed as long as the buttons are
depressed. When you hear the desired passage release the buttons. Normal
playback will resume at that point.
FM STEREO
PLAY/PAUSE
PROGRAM
REPEAT
FM STEREO
PLAY/PAUSE
PROGRAM
REPEAT
MS7616_061404.p65 14/6/2004, 11:1012

11
REPEAT Playback
This feature allows you to continuously repeat a single track or the entire disc.
To Repeat A Single Track
Press the REPEAT button once. The REPEAT indicator
flashes.
Press the or buttons to select the desired track. Press the PLAY/PAUSE
button to begin Repeat Playback of the selected track.
To Repeat The Entire Disc
Press the REPEAT button twice. The REPEAT indicator
remains ‘on’.
Press the PLAY/PAUSE button to begin Repeat Playback of the entire disc.
To cancel Repeat Playback press the REPEAT button until the REPEAT Indicator
goes ‘off’.
Repeat Playback is also canceled by pressing the STOP button, or setting to
the TUNER position.
FM STEREO
PLAY/PAUSE
PROGRAM
REPEAT
FM STEREO
PLAY/PAUSE
PROGRAM
REPEAT
MS7616_061404.p65 14/6/2004, 10:5913

12
PROGRAMMED Playback
This feature allows you to program up to 20 tracks on a disc for playback in any
desired order.
Note: You cannot program tracks while a disc is playing. If the disc is playing
press the STOP button first before beginning the programming steps below:
1.) Press the PROGRAM button to enter the Program
Mode. The PROGRAM indicator and Program
Number ‘0’ flash.
2.) Press the SKIP or button to select the first
track number you wish to enter in the program
memory.
Example: Track Number 8.
3.) When the desired track number appears on the
display, press the PROGRAM button again to enter
that track in memory.
The Program Number display returns to flashing “0”.
4.) Repeat Steps 2-3, selecting a different track number each time until you have
entered up to 20 tracks in the program memory.
Note: You may program the same track number to
play multiple times in the program sequence if
desired. When programmed track is full, “ – – ”
flashes in the display.
5.) Press the PLAY/PAUSE button to begin
Programmed Playback. The PROGRAM indicator
flashes. Playback will begin with the first track you
programmed and will continue until the last
programmed track has played.
FM STEREO
PLAY/PAUSE
PROGRAM
REPEAT
FM STEREO
PLAY/PAUSE
PROGRAM
REPEAT
FM STEREO
PLAY/PAUSE
PROGRAM
REPEAT
FM STEREO
PLAY/PAUSE
PROGRAM
REPEAT
FM STEREO
PLAY/PAUSE
PROGRAM
REPEAT
MS7616_061404.p65 14/6/2004, 10:5914

13
6.) After the last track has played the player stops and the display shows the total
number of tracks on the disc. However the program sequence remains in the
memory.
Press the PROGRAM button, then the PLAY/PAUSE button to play the
programmed sequence again.
7.) To cancel the programmed sequence from the memory press the STOP
button while in programming mode.
The programmed sequence may also be canceled by removing the disc,
changing function to TUNER , or shutting the system ‘off’.
ProgramRepeatPlayback
You can usethe Programand Repeatfeaturestogethertocontinuouslyrepeata
programmed sequenceoftracks.
First, programthe desired tracks according toSteps1through 5onpage 14.
When Programmed Playback beginspress the REPEATbutton twicetoactivate
theAll Tracks Repeatfeature.
The REPEATIndicatorlightsand all the tracks inyour
programmed sequencewill be repeated continuously.
TocancelProgrammed RepeatPlayback press the STOPbutton until boththe
PROGRAMand REPEATIndicatorsgo ‘Off’.
RANDOM Playback
This feature allows you to play all the tracks on a disc in random order.
Load the disc as usual and wait until the display shows the total playing time and
number of tracks.
Press the RANDOM button on front panel. The tracks will be played in random
order. After all tracks have played the player stops and the display again shows
the total playing time and number of tracks.
To cancel Random playback, press the STOP button.
FM STEREO
PLAY/PAUSE
PROGRAM
REPEAT
MS7616_061404.p65 14/6/2004, 11:0015

14
PHONES Jack
Connectasetofstereo headphones(notincluded)witha3.5mm miniplug tothe
PHONES jack on frontpanel,forprivatelistening withoutdisturbing others.
Beforeputting on the headphonesreducethe VOLUMEcontroltoalowlevel,then
puttheheadphonesonandgraduallyincreasetheVOLUMEcontroltoacomfortable
listening level.
The speakersareautomaticallydisconnected when headphonesareconnected to
the PHONES jack.
MS7616_061404.p65 14/6/2004, 11:0016

15
COMPACTDISCCARE
•Toremoveadisc fromitsstorage case,press downon the centerofthe case
and lift the disc out, holding itcarefullybythe edges.
•Fingerprintsand dustshouldbe carefullywiped off the disc’s recorded surface
withasoft cloth.Unlikeconventionalrecords,compactdiscs haveno grooves
tocollectdustand microscopicdebris,sogentlywiping withasoft clothshould
removemostparticles.Wipe inastraightline fromthe inside tothe outside of
the disc.Small dustparticlesand lightstainswill haveabsolutelyno effecton
reproduction quality.
•Clean the disc periodicallywithasoft, lint-free,drycloth.Neverusedetergents
orabrasivecleanerstoclean the disc.If necessary,useaCD cleaning kit.
•Neverwriteon oraffixlabelstothe surfaceofcompactdiscs.
CAREOFTHECABINET
If the cabinetbecomesdustywipe itwithasoft drydustcloth.Donotuseanywax,
polishsprays,orabrasivecleanerson the cabinet.
CAUTION
Neverallowanywaterorotherliquidstogetinside the unitwhilecleaning.
CAREAND MAINTENANCE
MS7616_061404.p65 14/6/2004, 11:0017
820-M31600050-J25
Table of contents
Other jWIN Stereo System manuals