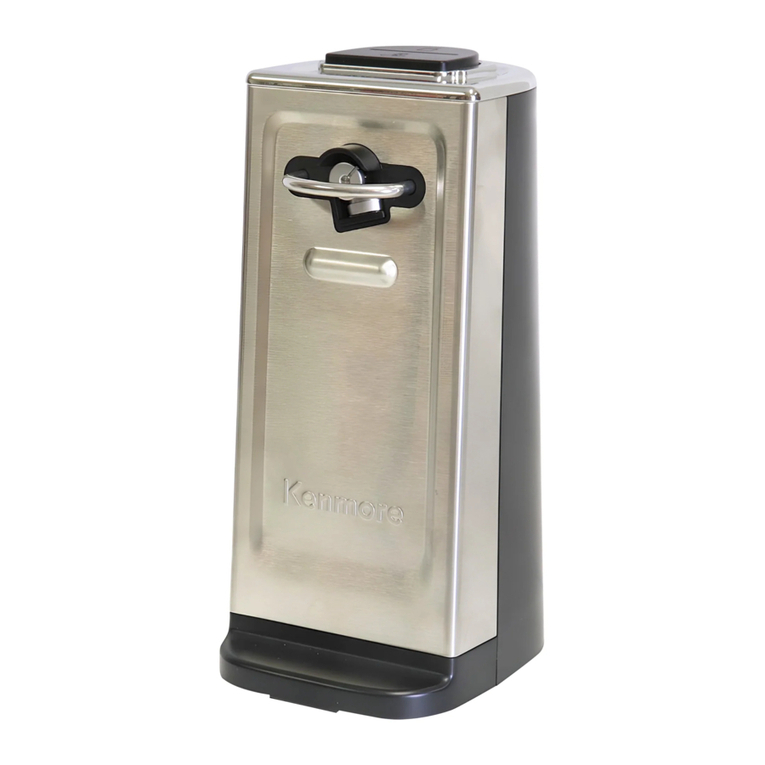
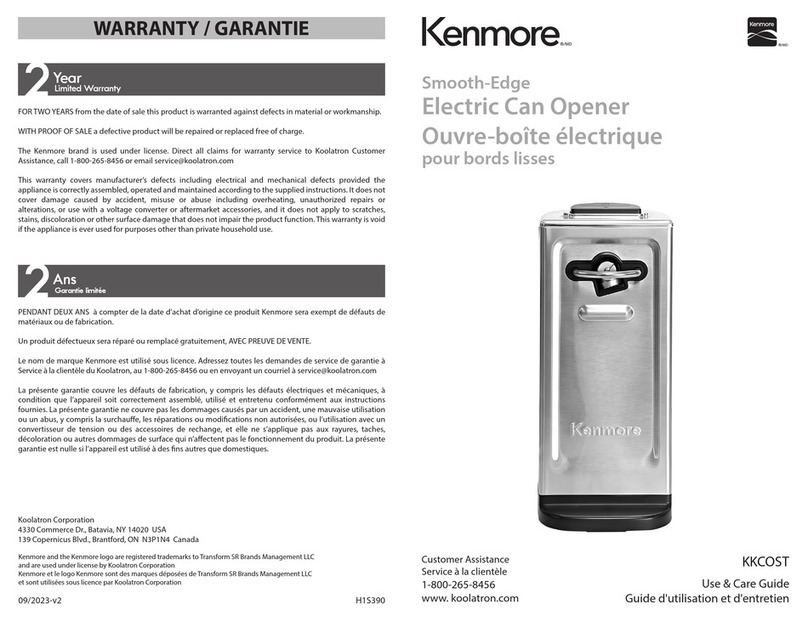
Kenmore KKCO User manual

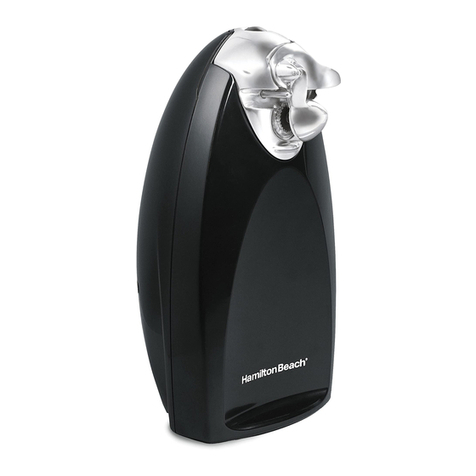
Electric Can Opener
Ouvre-boîte électrique
06/2023-v4 H1S379
KKCO
Use & Care Guide
Guide d'utilisation et d'entretien
Kenmore and the Kenmore logo are registered trademarks to Transform SR Brands Management LLC
and are used under license by Koolatron Corporation
Kenmore et le logo Kenmore sont des marques déposées de Transform SR Brands Management LLC
et sont utilisées sous licence par Koolatron Corporation
Customer Assistance
Service à la clientèle
1-800-265-8456
www. koolatron.com
Koolatron Corporation
4330 Commerce Dr., Batavia, NY 14020 USA
139 Copernicus Blvd., Brantford, ON N3P1N4 Canada
WARRANTY / GARANTIE
2Limited Warranty
Year
2
Garantie limitée
Ans
FOR TWO YEARS from the date of sale this product is warranted against defects in material or workmanship.
WITH PROOF OF SALE a defective product will be repaired or replaced free of charge.
The Kenmore brand is used under license. Direct all claims for warranty service to Koolatron Customer
Assistance, call 1-800-265-8456 or email service@koolatron.com
This warranty covers manufacturer’s defects including electrical and mechanical defects provided the
appliance is correctly assembled, operated and maintained according to the supplied instructions. It does not
cover damage caused by accident, misuse or abuse including overheating, unauthorized repairs or
alterations, or use with a voltage converter or aftermarket accessories, and it does not apply to scratches,
stains, discoloration or other surface damage that does not impair the product function. This warranty is void
if the appliance is ever used for purposes other than private household food preparation.
PENDANT DEUX ANS à compter de la date d’achat d’origine ce produit Kenmore sera exempt de défauts de
matériaux ou de fabrication.
Un produit défectueux sera réparé ou remplacé gratuitement, AVEC PREUVE DE VENTE.
Le nom de marque Kenmore est utilisé sous licence. Adressez toutes les demandes de service de garantie à
Service à la clientèle du Koolatron, au 1-800-265-8456 ou en envoyant un courriel à service@koolatron.com
La présente garantie couvre les défauts de fabrication, y compris les défauts électriques et mécaniques, à
condition que l’appareil soit correctement assemblé, utilisé et entretenu conformément aux instructions
fournies. La présente garantie ne couvre pas les dommages causés par un accident, une mauvaise utilisation
ou un abus, y compris la surchaue, les réparations ou modications non autorisées, ou l’utilisation avec un
convertisseur de tension ou des accessoires de rechange, et elle ne s’applique pas aux rayures, taches,
décoloration ou autres dommages de surface qui n’aectent pas le fonctionnement du produit. La présente
garantie est nulle si l’appareil est utilisé à des ns autres que domestiques pour la préparation des aliments.

2 3
IMPORTANT SAFEGUARDS
When using your Kenmore Electric Can Opener, basic safety precautions should always
be followed, including the following:
1. READ ALL INSTRUCTIONS BEFORE USE
2. Before using, check that the voltage of the wall outlet corresponds to the one shown
on the rating plate. Do not attempt to use the appliance with a voltage converter.
3. This appliance has a polarized plug (one blade is wider than the other). To reduce the
risk of electric shock, this plug will t in a polarized outlet only one way. If the plug does
not t fully in the outlet, reverse the plug. If it still does not t, contact a qualied electri-
cian. Do not modify the plug in any way.
4. Do not attempt to operate the appliance if there is damage to the cord or plug,
after it has malfunctioned or been dropped or damaged in any way, or if it is not operat-
ing properly. Contact Koolatron Customer Assistance for information on examination,
repair, or adjustment.
5. Do not attempt to use the can opener if the blade is bent or damaged in any way.
6. Turn the appliance OFF and unplug from the outlet when not in use, before assem-
bling or disassembling parts and before cleaning. To unplug, grasp plug and pull it from
the electrical outlet; never unplug it by pulling on the power cord.
7. This appliance is recommended for indoor household use only. Do not operate in
moving vehicles or boats and do not operate outdoors. Using this appliance for
anything other than its intended use (non-commercial household food preparation) will
void your warranty.
8. This appliance is not intended for use by persons, including children, with reduced
physical, sensory or mental capabilities, or lack of experience and knowledge, without
supervision and instruction by a person responsible for their safety. Children should be
supervised to ensure they do not play with the appliance.
9. Do not let the power cord hang over the edge of the table or counter or contact hot
surfaces, such as the stovetop or cooking pot. Make sure the power supply cord is out of
the way to avoid damage from the knife blades while sharpening.
10. Ensure the appliance is properly assembled before connecting to a power outlet and
operating.
11. Do not leave the appliance unattended while in use.
12. To protect against electrical shock, do not immerse any part of the can opener,
power cord, or electrical plug in any liquid.
IMPORTANT SAFEGUARDS
13. To protect against personal injury, use extreme caution around sharp edges includ-
ing the cutting blade, the cut edges of cans or lids, and knife blades before, during, or
after sharpening.
14. Avoid contact with moving parts.
15. Do not use the can opener or bottle opener to open pressurized cans.
16. Do not use the can opener or bottle opener to open cans of ammable liquids such
as lighter uid.
17. Do not use this can opener to open cans designed to be opened by another method,
such as pull tab, peel-o foil, or rolling key.
18. Do not use the bottle opener to remove bottlecaps designed to be removed by
another method, such as screw-top or pull-ring.
19. Aluminum lids can be removed with the can opener but will not stick to the magnet.
20. Do not use the can opener to open rimless cans, cans with angled corners or cans
with a diameter less than 2 in (5 cm) or height greater than 7 in (17.8 cm).
21. Do not use the can opener to open cans weighing more than 50 oz. (1.42 kg). When
opening a can weighing 30 - 50 oz. (850 g - 1.42 kg), it is necessary to hold down the can
opener to prevent it from overturning.
22. Do not operate the can opener continuously for more than 30 seconds when open-
ing a can. After opening 10 cans in a row, let the can opener rest for at least 30 minutes
before using it again.
23. Do not attempt to operate the appliance by any method other than those described
in this manual. Aftermarket attachments or accessories not recommended by Kenmore
will void your warranty and may cause re, electrical shock, or injury.
24. Before using the appliance for the rst time, remove any packaging material,
promotional labels, and stickers. Safely dispose of plastic bags or small pieces that
could present a suocation or choking hazard to young children.
25. For any maintenance other than cleaning, call Koolatron Customer Assistance.
SAVE THESE INSTRUCTIONS!
4 5
PARTS AND FEATURES
SET UP AND ASSEMBLY
USING YOUR CAN OPENER
A. Blade assembly
B. Locating pin
C. Magnetic lid holder
D. Can rest
A
B
C
D
E
F
G
H
I
J
E. Piercing lever
F. Cutting blade
G. Drive wheel
H. Bottle opener
I. Knife sharpener
J. Cord storage compartment
Read these instructions thoroughly and save for future reference. Carefully unpack the appliance
from its packaging and check that all parts are present. Remove any promotional labels or stickers
and safely dispose of plastic bags or small pieces that could present a suocation or choking
hazard.
1. Wipe the electric can opener base and blade assembly with a clean, damp cloth to remove any
dirt or dust. Do not immerse any part of the can opener, power cord, or electrical plug in any
liquid. Do not use abrasive cleansers or scouring pads.
2. Assemble the can opener: Align the tabs on the blade assembly with the slots in the opening
near the top of the can opener front. (Image) Push the blade assembly into the can opener body
and then gently guide the lever downwards until you meet resistance. If positioned correctly, the
blade assembly will settle easily into place.
3. Place the can opener on a at, dry surface and plug the power cord into the electrical outlet.
Tuck any excess cord length into the cord storage compartment.
. Check that the magnetic lid holder is extended. Lift the piercing lever and position the can
against the can rest with the top of the rim touching the locating pin and the bottom of the rim
resting on the drive wheel. (Image)
2. Continuing to hold the can with one hand, lower the piercing lever to allow the magnet to stick
to the can lid, making sure that the cutting blade is positioned inside the can's rim.
3. Press rmly on the piercing lever until the cutting blade punctures the lid and the drive wheel
starts rotating. At this point you can let go of the can and piercing lever. If the can being opened
weighs more than 30 oz(850 g), you must hold the can opener rmly to prevent it from overturn-
ing. The drive wheel will rotate the can until the lid is completely cut through and then stop
automatically.
4. When the can is opened, the can opener will stop automatically. To remove the can, hold it with
one hand and lift the piercing lever with the other. Carefully detach the lid from the magnet and
discard. Be careful not to touch the cut edges of the can or lids as they are sharp.
CAN OPENING TIPS
- Do not try to open cans meant to be opened by another method, such as pull tab, peel-o foil
seal, rolling key, rimless cans, or cans with angled corners.
- This can opener is designed for circular cans with diameter larger than 2 in (5 cm) and height less
than 7 in (17.8 cm) that weigh less than 50 oz. (1.42 kg).
- If there is a dent in the rim of a can, open the other end or start the cutting action just beyond
the dent.
- Cans with heavy seams, uneven rims or odd shapes may cause the can opener to stall. If this
occurs, turn the can slightly by hand to aid the cutting action.
- Frozen juices or foods in cardboard cans should be opened as soon as they are removed from the
freezer. Aluminum lids will not stick to the magnet.
USING YOUR BOTTLE OPENER
1. Unplug the appliance from the power supply before using the bottle opener. Position the
bottle with the cap against the inside of the metal hook on the top surface of the bottle opener.
(image)
2. Holding the can opener rmly in place with your other hand, pull the bottle down to pop the
cap o.

6 7
Lors de l’utilisation de l’ouvre-boîte électrique Kenmore, il faut toujours observer
certaines précautions élémentaires de sécurité, y compris les suivantes :
1. LISEZ TOUTES LES INSTRUCTIONS AVANT L’UTILISATION.
2. Avant utilisation, vériez que la tension de la prise murale correspond à celle indiquée
sur la plaque signalétique. N'essayez pas d'utiliser l'appareil avec un convertisseur de
tension.
3. Cet appareil a une che polarisée (une lame est plus large que l'autre). Pour réduire le
risque d'électrocution, cette che s'adapte dans une prise polarisée d'une seule façon.
Si la che ne rentre pas complètement dans la prise, inversez la che. Si cela ne rentre
toujours pas, contactez un électricien qualié. Ne modiez en aucun cas la che.
4. N'essayez pas de faire fonctionner l'appareil si le cordon ou la che est endommagé,
après qu'il a mal fonctionné ou qu'il a été tombé ou endommagé de quelque manière
que ce soit, ou s'il ne fonctionne pas correctement. Appelez le service à la clientèle de
Koolatron pour obtenir des informations sur l'examen, la réparation ou le réglage.
5. N'essayez pas d'utiliser l'ouvre-boîte si la lame est pliée ou endommagée de quelque
manière que ce soit.
6. Éteignez l'appareil et débranchez-le de la source d'alimentation lorsqu'il n'est pas
utilisé, avant de monter ou de démonter des pièces et avant de le nettoyer. Pour
débrancher l’appareil, saisissez la che et retirez-la de la prise électrique; ne débran-
chez-la jamais en tirant sur le cordon d'alimentation.
7. Cet appareil est recommandé pour une utilisation domestique à l'intérieur seulement.
Ne l’utilisez pas dans des véhicules ou des bateaux en mouvement et ne l’utilisez pas à
l'extérieur. L'utilisation de cet appareil pour autre chose que son usage prévu (prépara-
tion d'aliments domestiques non commerciaux) entraînera la nullité de votre garantie.
8. Cet appareil n’est pas destiné à être utilisé par des personnes (y compris des enfants)
ayant des capacités physiques, sensorielles ou mentales réduites, ou un manque
d’expérience et de connaissances, sauf si elles sont supervisées ou ont reçu des instruc-
tions concernant l’utilisation de l’appareil par une personne responsable de leur
sécurité. Les enfants doivent être surveillés pour s'assurer qu’ils ne jouent pas avec
l'appareil.
9. Ne laissez pas le cordon d'alimentation pendre du bord de la table ou du comptoir ou
entrer en contact avec des surfaces chaudes, telles que la cuisinière ou la marmite.
Assurez-vous que le cordon d'alimentation est à l'écart pour éviter tout dommage lors
de l'aûtage des lames de couteau.
10. Assurez-vous que l'appareil est correctement assemblé avant de le brancher à une
prise de courant et de l'utiliser.
11. Ne laissez pas l’appareil sans surveillance pendant l’utilisation.
CONSIGNES DE SÉCURITÉ IMPORTANTES
BOTTLE OPENING TIPS
- Make sure the glass neck of the bottle is not in contact with the metal hook or it may break and
cause injury.
- The bottle opener will only remove metal bottle caps. Do not attempt to use it to open screw-top
or pull ring bottle caps.
USING YOUR KNIFE SHARPENER
1. Unplug the appliance from the power supply before using the knife sharpener. Place the sharp
edge in the slot of the knife sharpener. (image)
2. Carefully pull the entire length of the knife back and forth against the sharpening surface until
you reach your desired sharpness.
3. Using extreme caution, carefully wash and dry the sharpened knife.
KNIFE SHARPENING TIPS
- Wash and thoroughly dry knives before sharpening.
- Do not attempt to sharpen serrated blades such as bread knives or kitchen scissors as it will
smooth their edges and damage them.
- The sharpener can be used to sharpen straight-edged stationery scissors.
CARE AND CLEANING
1. Always unplug the appliance from the power source before cleaning. Remove the blade assem-
bly by lifting the piercing lever all the way up and pulling the blade assembly outwards.
2. Wipe the blade assembly carefully with a clean, damp cloth and dry thoroughly. Do not
immerse the blade assembly in water or attempt to wash it in the dishwasher.
3. Wipe the can opener base thoroughly, including the area around the drive wheel and blade
assembly opening, with a clean, damp cloth and dry thoroughly. For stubborn residue, you can
scrub with a nylon or mesh pad or sponge and soapy water. Do not use abrasive cleansers or
scouring pads.
4. Reassemble the can opener following the instructions above.
Table of contents
Other Kenmore Can Opener manuals