KIBO TWM080K User manual

User Manual!
English - Nederlands - Deutsch - Français - Español - Svenska

"
#"
2
KEEP DRY
DO NOT DROP
User Manual"
!
Kibo is the summit of the Kilimanjaro in Tanzania, Africa. As a child I lived on the
slopes of this majestic mountain. It is a sleeping volcano, and the place where "
I learnt to build my first fire.!
I hope you will enjoy many great adventures in outdoor cooking with KIBO Grill. "
Treat it well and it will last you a lifetime."
"
Hugo Timmermans - designer © 2021"
"
This user manual is subject to change without notice. For the latest version of your user manual, "
please visit: www.kibogrill.com/usermanual%
3
English

Contents"
General Information##### 5"
Parts List###### 6"
Assembly instructions##### 8"
Operation ######15"
Seasoning the Top Grill#####17#"
#"
Cleaning and care #####19"
Disclaimer and safety#####20"
Environment and sustainability####21"
Warranty######22%
4

General information"
Name:####KIBO Grill"
Model:####3.0"
EAN code:###8 720299 406506"
Article number:###TWM080K"
Design: ####Hugo Timmermans © 2021"
Online:####www.kibogrill.com"
Material:####Cast Iron / Stainless steel"
Dimensions:###H 265 x W 372 x D 322 mm"
Weight: ####10 Kg"
Made in:####P.R.C."
Distribution: ###The Windmill Cast Iron"
####[email protected]"
####www.thewindmillcastiron.nl%
5
English

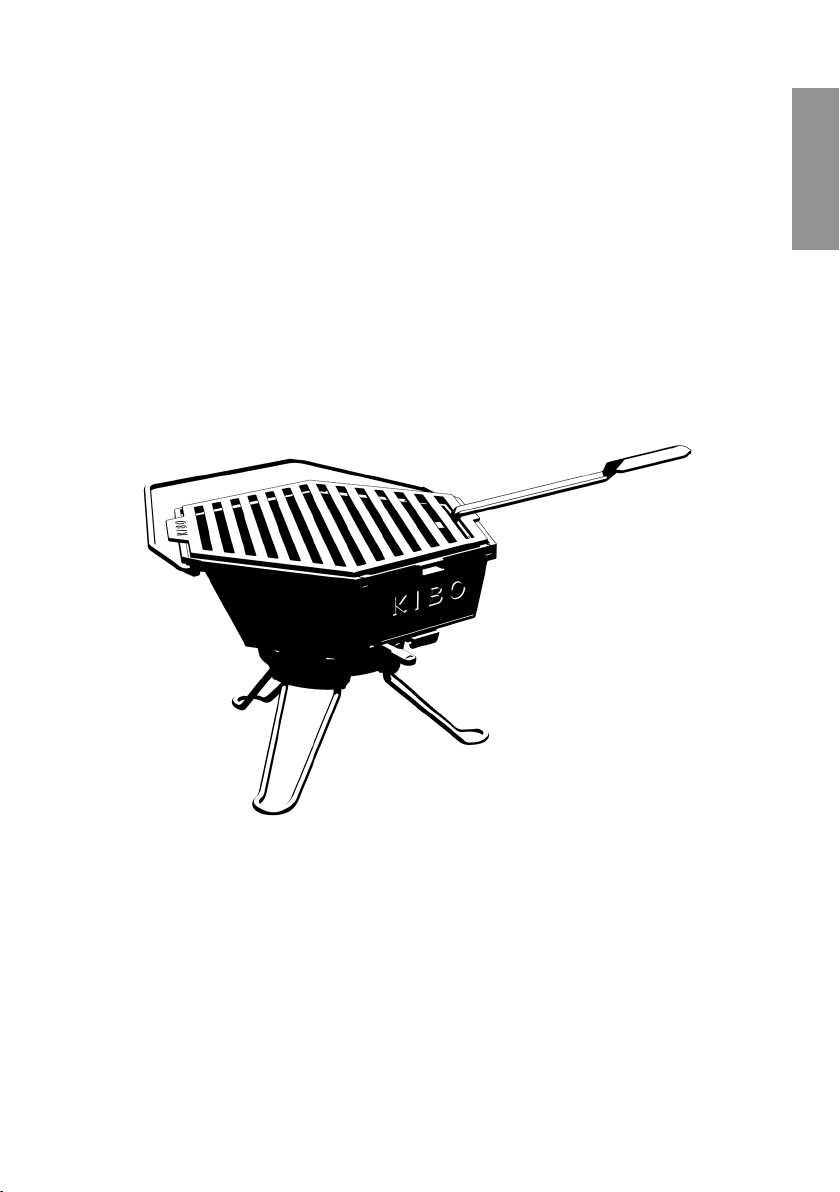
Parts list"
"
"
"
"
!
6
Fire Bowl"
3.0 FB
Legs (3 pieces)"
3.0 LE
Top Grill "
3.0 TG
Fire Door"
3.0 FD
Poker - Handle
3.0 PH
Carrier Handle
3.0 CH
Bottom Grill
3.0 BG
Ash Tray "
3.0 PH

Number## Name###Material###Quantity"
3,0 TG## Top Grill###Cast iron (Ductile)## 1"
3.0 BG## Bottom Grill## Cast iron (lDuctile)#1"
3.0 AT## Ash Tray###Cast iron (Lamellar)#1"
3.0 FB## Fire Bowl## Cast iron (Lamellar)#1"
3.0 PH## Poke - Handle## Cast iron (Lamellar)#1"
3.0 FD## Fire Door## Cast iron (Lamellar)#1"
3.0 CH## Carrier Handle## Stainless Steel## 1!
3.0 LE## Legs###Stainless Steel## 3"
7
English

Assembly instructions"
Before you start please note:
- An adult should always be in charge of the assembly of the grill."
- Make sure you have a plenty of space and a clean, dry area for assembly."
- Unpack the unit and remove all packaging materials."
- Make sure you have all parts listed. See the Parts List on page 6."
- No tools required."
1. Assemble the legs to the Fire Bowl:
"
Place the Fire Bowl upside down. "
Hold the stainless Legs like a
handle and squeeze (1).
Then fit the two outer ends into
the holes in the bottom of the
Fire Bowl and release the
pressure to secure the leg (2)."
Double-check wether all the legs
are secure (a little movement is
fine). Turn the Fire Bowl over on
to its feet. "
Test the stability.%
8

2. Insert the Ash Tray into the Fire Bowl:
Slide the Ash Tray handle into the
slot below the opening for the Fire
Door. "
Drop the Ash Tray into place."
3. Place the Bottom Grill into the Fire Bowl:
Drop the Bottom Grill into
position above the Ash Tray."
9
English

4. Place the Fire Door in to the slot on the Fire Bowl:
"
Slide the curved lip at the
bottom of the Fire Door in
to the slot on the Fire
Bowl. "
Once in place, the door
can be pushed upwards,
then lifted and released
into the closed position."
5. Place the Carrier Handle:
Connect the Carrier Handle
placing one end into the hole
in the Fire Bowl, then
spread out the handle
slightly to make space to
slot it at the other end."
10
This manual suits for next models
1
Table of contents
Popular Grill manuals by other brands


Kenmore
Kenmore 415.16123800 Use and care guide

Camp Chef
Camp Chef PG24CLAU Warning & instruction booklet

Tucker Barbecues
Tucker Barbecues GTR Series Assembly, installation and operating instructions

Monogram
Monogram ZGG540NCP1SS owner's manual

Equipex
Equipex Sodir Savoy Operation manual

Gaggenau
Gaggenau VR 414 610 use and care manual


