manuals.online logo
Brands
  1. Home
  2. •
  3. Brands
  4. •
  5. kim lighting
  6. •
  7. Outdoor Light
  8. •
  9. kim lighting EL150 User manual

kim lighting EL150 User manual

The Compact Bollard - EL150 Installation Instructions
P.O. Box 60080 • 16555 East Gale Ave.
City of Industry, California 91716-0080
626/968-5666 •FAX 626/330-3861
INSTRUCTIONS PERTAINING TO A RISK OF FIRE, OR INJURY TO PERSONS
IMPORTANT SAFETY INSTRUCTIONS
WARNING: Instructions pertaining to risk of fire or injury to persons. Lighted lamps are hot.
WARNING: Fixtures must be grounded in accordance with local codes or the National Electrical Code.
Failure to take these steps may result in serious personal injury. DO NOT operate luminaire with missing or
damaged lens.
SAFETY WARNING: Fixtures can become very hot depending on the lamp wattage used. Glass lenses and
metal areas above and around the lamp can become hot enough to blister hands. Particular care should be
taken not to locate fixtures where children can reach them if higher wattages are used. To maintain light
efficiency and prevent fixture overheating, glass lenses and enclosures must be kept clean and free of dirt, dust,
leaves, trash and mineral deposits from water. Keep away from materials that may burn.
CAUTION: When relamping fixture avoid touching the lamp envelope with bare hands. If touching the lamp is
necessary during installation, clean the envelope with alcohol and dry with a clean, soft cloth before burning.
Contamination of the envelope may reduce lamp performance. All electrical wiring should be done by a qualified
electrician. KEEP THIS SHEET FOR FUTURE REFERENCE. NOT INTENDED FOR INDOOR USE.
NOTE: Keep the lamp free from impact while burning, as this may deform the filament and shorten the lamp life.
Revised 7/16/10 ECN 100715008 Status 7 Part No. 95614
Tools Required: F”Allen Wrench N” Wrench Narrow Flat Blade Screwdriver
Base Installation:
1. Install one nut followed by a flat washer onto
each anchor bolt.
2. Place the base casting onto the
anchor bolts.
3. Install flat washers and nuts onto
anchor bolts protruding through
base casting. Level top edge of base casting
by adjusting nuts on bottom. CAUTION:
Concrete footing should be high enough
above grade to avoid contact between fixture
shaft and soil or standing water. Tighten the
upper nuts progressively and evenly keeping
base casting level. Final Installation Detail
Conduit
(by others)
Grade
M- 18 x 1” Flat
Head Socket
Screw (4)
Riser Base Casting
Nut and
Washer (3)
Anchor Bolt
(3)
Base Installation
Fixture Installation
Fixture Installation:
1. To protect finish, lay fixture horizontally on soft cloth with open-end of fixture next to installed base casting.
2. Pull fixture wires out from inside riser and make connections to field wires i.e., green-to-ground, white-to-common,
and black-to-voltage.
3. Place fixture over base casting being careful not to pull wires apart.
4. Install four M - 18 x 1” flat head
socket screws into base through
countersunk holes at bottom of
riser. Tighten progressively
and evenly.
EL150
Make certain the electricity is OFF before starting installation.
!
Make certain electricity is OFF before starting fixture installation.
!
!
!
!
Page 2 Kim Lighting • P.O. Box 60080 • 16555 E. Gale Ave. • City of Industry, CA 91716-0080 • 626/968-5666 • FAX 626/330-3861
Lamp Installation: Make certain electrical supply is OFF before relamping.
1. To install lamp, remove four (4)
slotted head screws from bottom of
husk.
2. Remove top cap, louvers and
globe.
3. Install lamp of type and wattage
as shown on fixture label and
chart below. (See "Caution" on
front side of instructions.)
5. Replace globe, louvers, top cap
and screws.
!
Globe
Gasket
Louvers
Globe
Top Cap Lamp
(Not supplied
by
Kim Lighting)
Fixture
Base
Riser
The Compact Bollard - EL150 Installation Instructions
Narrow
Flatblade
Screwdriver
Narrow Flatblade Screwdriver
KIM LIGHTING LIMITED WARRANTY
When installed in accordance with Kim Installation Instructions and accepted trade practices, the following shall apply:
General Product Limited Warranty Coverage
All material and component parts used in the manufacture of Kim Products, are warranted to be free from defects of material
and/or workmanship for a period of 1 year from date of sale, with the following exceptions:
Auxiliary Equipment
All auxiliary equipment (such as lamps, ballasts, and transformers) provided by and/or included in Kim Products shall carry the
component manufacturer's warranty.
Copper and Bronze Landscape Components
Copper and Bronze Landscape fixture components shall be warranted against defects of material and/or workmanship, and
failure due to corrosion, for a period of 25 years from date of sale.
Composite In-Grade Components
Compostie In-Grade fixture components installed below grade, shall be warranted against defects of material and/or
workmanship, and failure due to corrosion, for a period of 7 years from date of sale.
Aluminum Landscape Components
Aluminum Landscape fixture components not in direct contact with soil, shall be warranted against defects of material and/or
workmanship for a period of 3 years from date of sale. Aluminum fixture components in direct contact with soil, shall be warranted
from defects of material and failure from corrosion for a period of 1 year from date of sale.
Limit of Liability and General Conditions
Only products which are installed, used and maintained in accordance with applicable Kim instructions, specifications and
accepted trade practices, are covered by the Kim Warranty. During the warranty period, with proof of purchase, Kim will repair or
replace with the same or similar product, at Kim's option, without charge. Labor costs are the owner's responsibility and are
excluded from this warranty. This warranty is void if the product is modified, tampered with, misapplied, poorly installed,
improperly maintained, or subjected to abnormal conditions.
Repair or replacement as provided under this warranty is the exclusive remedy of the purchaser. This warranty is in lieu of all
other warranties, expressed or implied, including any implied warranty of fitness for a particular application. Kim Lighting shall not
be liable to the purchaser for indirect or consequential damages.
How may we serve you better?
Please let us know. Visit our website at:
www.kimlighting.com
Your input matters to us.
4. CAUTION:
Always coat screws
with grease before re-
installing after initial
installation or future
relampings.
!
LAMP INFORMATION
Cat. No. Lamp Type Max. Watts
T-3 Bipin 20
T-4 Bipin 50
EL150
Failure to do so could cause screws
to freeze up and become
unremovable.

Other kim lighting Outdoor Light manuals

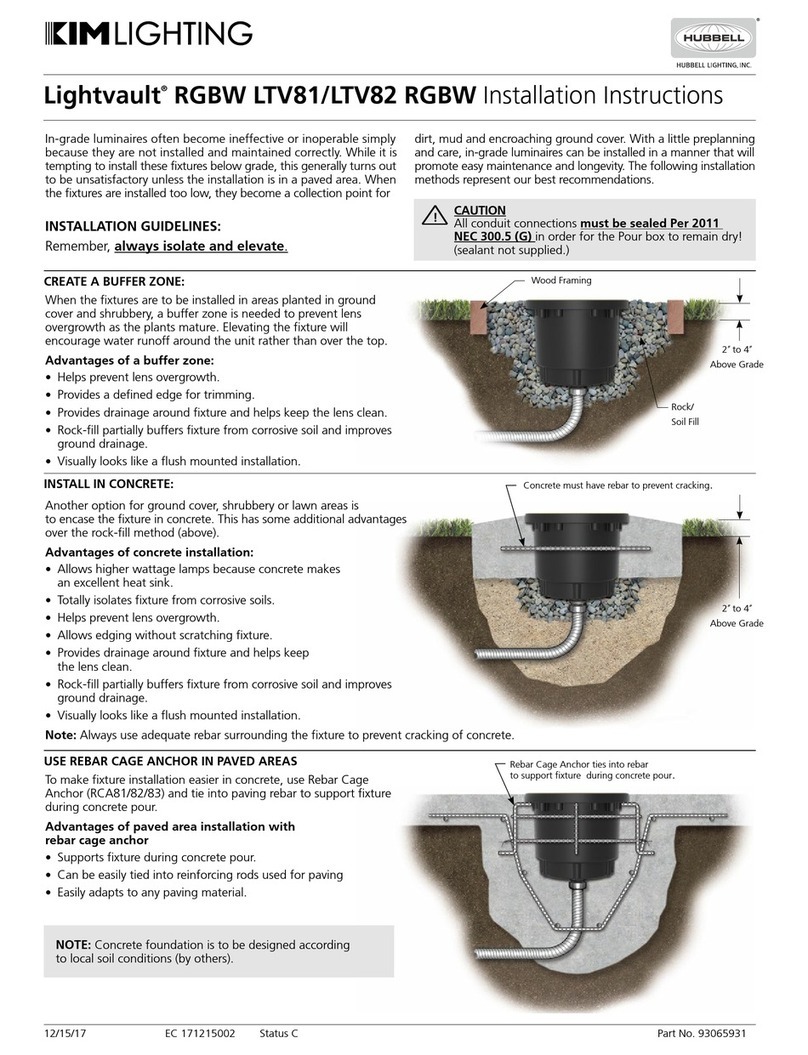
kim lighting Lightvault RGBW LTV81 User manual

kim lighting

kim lighting Lightvault RGBW LTV81 User manual

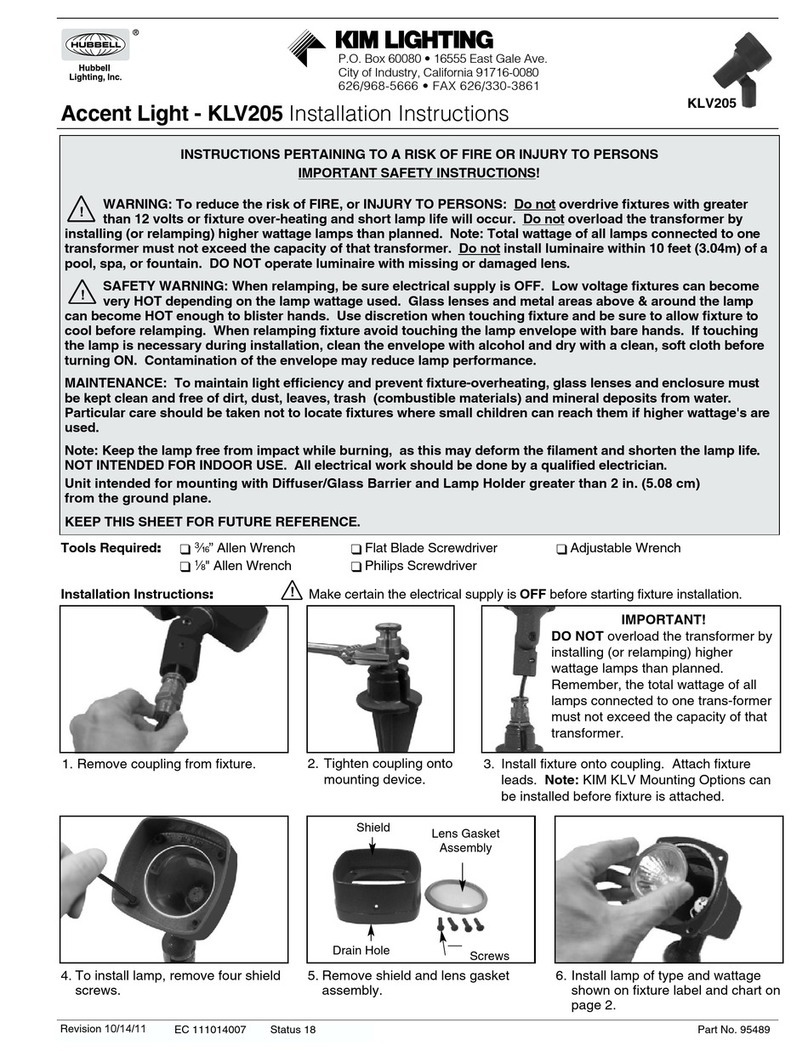
kim lighting KLV205 User manual

kim lighting

kim lighting KLV205 User manual

Popular Outdoor Light manuals by other brands

CREATIVE CONCEPTS Glow Bright Lily Lights operating instructions

CREATIVE CONCEPTS

CREATIVE CONCEPTS Glow Bright Lily Lights operating instructions

SIGNIFY LUMEC ROADFOCUS RFS installation instructions

SIGNIFY

SIGNIFY LUMEC ROADFOCUS RFS installation instructions

ABBA SPB08 installation guide

ABBA

ABBA SPB08 installation guide

LIGMAN MT-31410 installation manual

LIGMAN

LIGMAN MT-31410 installation manual

Catellani & Smith STCHU-MOON 05 LED Assembly instructions

Catellani & Smith

Catellani & Smith STCHU-MOON 05 LED Assembly instructions

LIGMAN LADOR 14 installation manual

LIGMAN

LIGMAN LADOR 14 installation manual

ALCO 9080-1 instruction manual

ALCO

ALCO 9080-1 instruction manual

LIGMAN LADOR 29 installation manual

LIGMAN

LIGMAN LADOR 29 installation manual

Vortice UVLOGIKA SYSTEM Instruction booklet

Vortice

Vortice UVLOGIKA SYSTEM Instruction booklet

V-TAC VT-909 instruction manual

V-TAC

V-TAC VT-909 instruction manual

LIGMAN QU-20021 installation manual

LIGMAN

LIGMAN QU-20021 installation manual

Wind Hover Lighten Up instruction manual

Wind Hover

Wind Hover Lighten Up instruction manual

Heath HZconnect 9003 Installation and operating instructions

Heath

Heath HZconnect 9003 Installation and operating instructions

Original BTC DAVEY LIGHTING DP8034 instruction manual

Original BTC

Original BTC DAVEY LIGHTING DP8034 instruction manual

Hunza SAFETOUCH 50 LED installation instructions

Hunza

Hunza SAFETOUCH 50 LED installation instructions

HUDSON VALLEY LIGHTING TROY LIGHTING BURBANK P1321 installation instructions

HUDSON VALLEY LIGHTING

HUDSON VALLEY LIGHTING TROY LIGHTING BURBANK P1321 installation instructions

Envirolite EV7064-306 instructions

Envirolite

Envirolite EV7064-306 instructions

Nemo STUDIO LUX Garden Mounting instructions

Nemo

Nemo STUDIO LUX Garden Mounting instructions

manuals.online logo
manuals.online logoBrands
  • About & Mission
  • Contact us
  • Privacy Policy
  • Terms and Conditions

Copyright 2025 Manuals.Online. All Rights Reserved.