Assembly Ins ruc ions
Priority
Proper product installation, in accordance with these instructions, is the responsibilit of the installing agent.
If ou have an questions concerning these instructions, please call Kimball Office Customer Service.
Part No. 2008506 Revisio B-09
Page 1 of 2
108", 102", and 96" Highback
Organizer
Tools Required
■Phillips Screwdriver ■Scissors or Utility Knife
or Allen Wrench ■Tape Measure or uler
Package Con en s
■Connecting Bolts ■#8 x 5⁄8" Panhead Screws
■Gang Plates
Ins alla ion
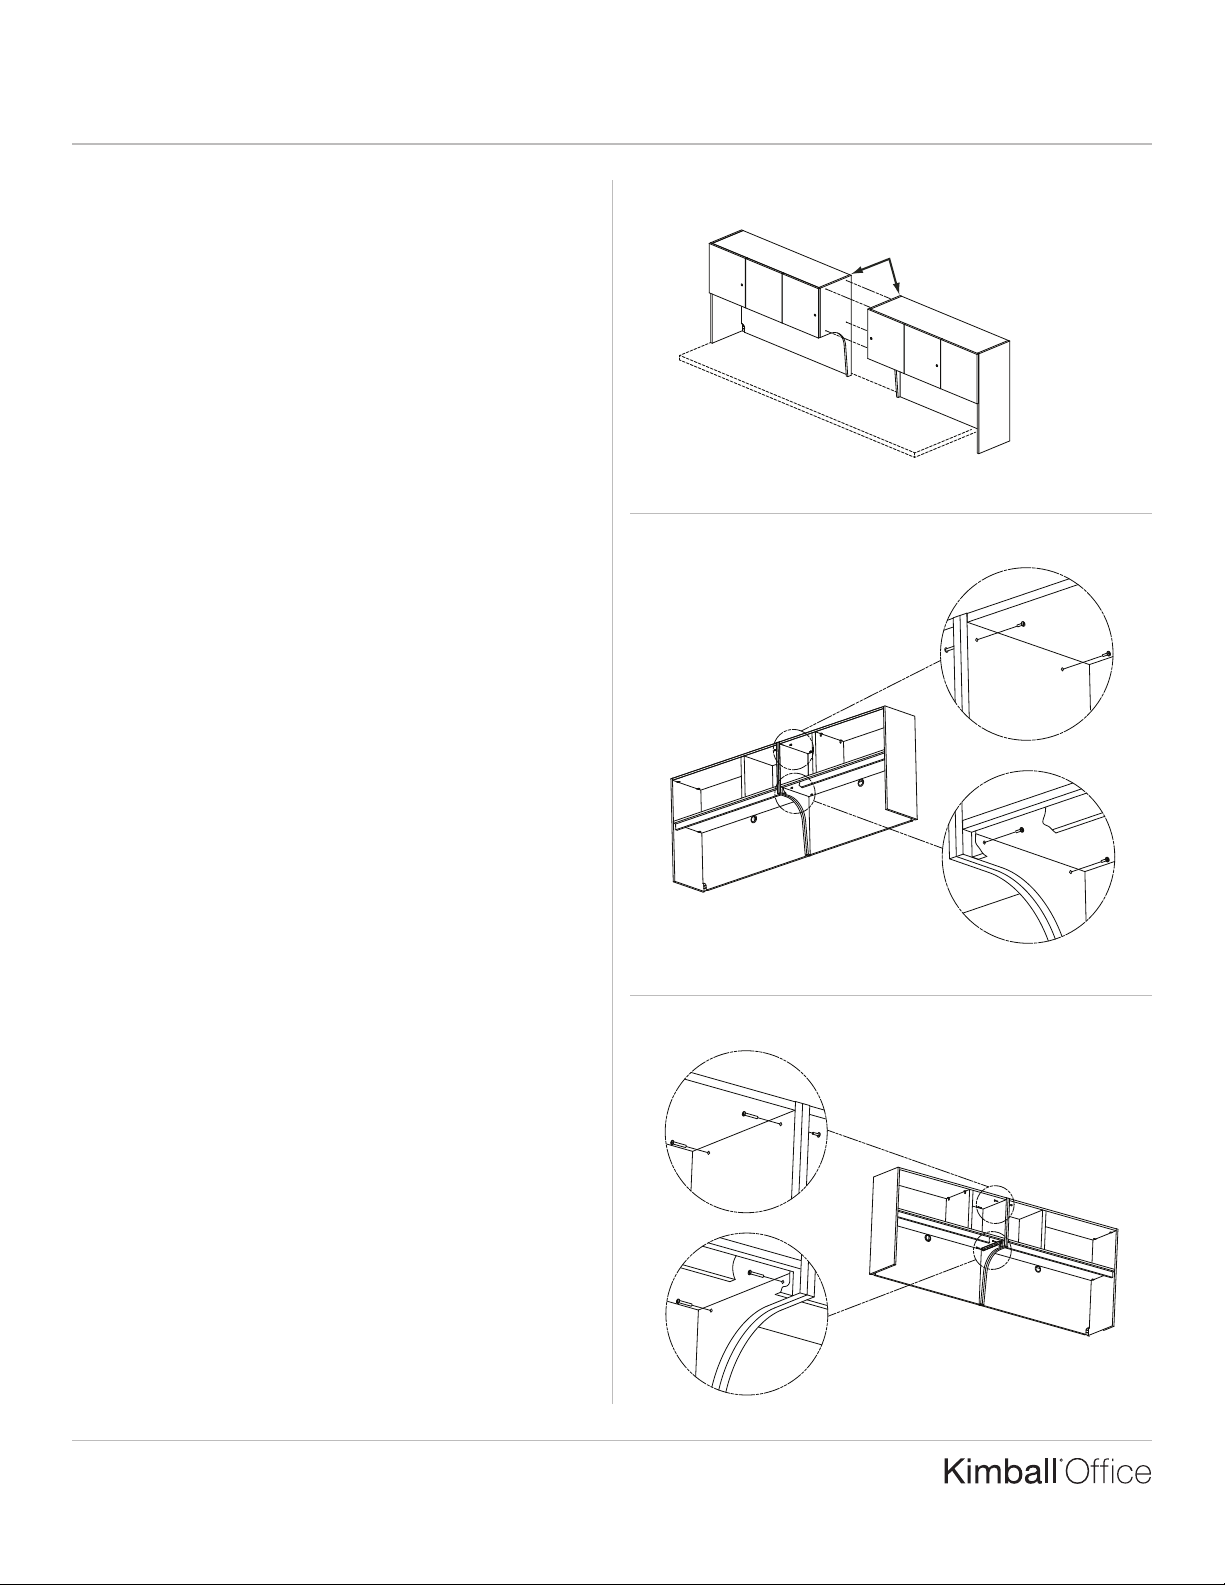
Note: The 108" highback organizer is shipped as two pieces:
a right and a left.
Note: It is recommended that more than one person be used
to assemble and install this unit.
1. Install two halves on a flat surface. Lift the first highback
half into its desired location on the worksurface. Lift the
second highback half into position against the first unit.
Make sure units align and are flush on all sides. (Figure A).
Caution: Make sure first unit is held steady while locating
second unit.
2. Align connecting holes in highbacks and attach highbacks
together using the four (4) provided connecting bolts.
Insert half of a connector bolt into one connecting hole,
and insert the other half into the opposite connecting hole.
Tighten all bolts securely, making sure both highback
halves are flush against each other with no gaps.
(Figures B1 and B2).
Figure A
Figure B1
Align
Figure B2


