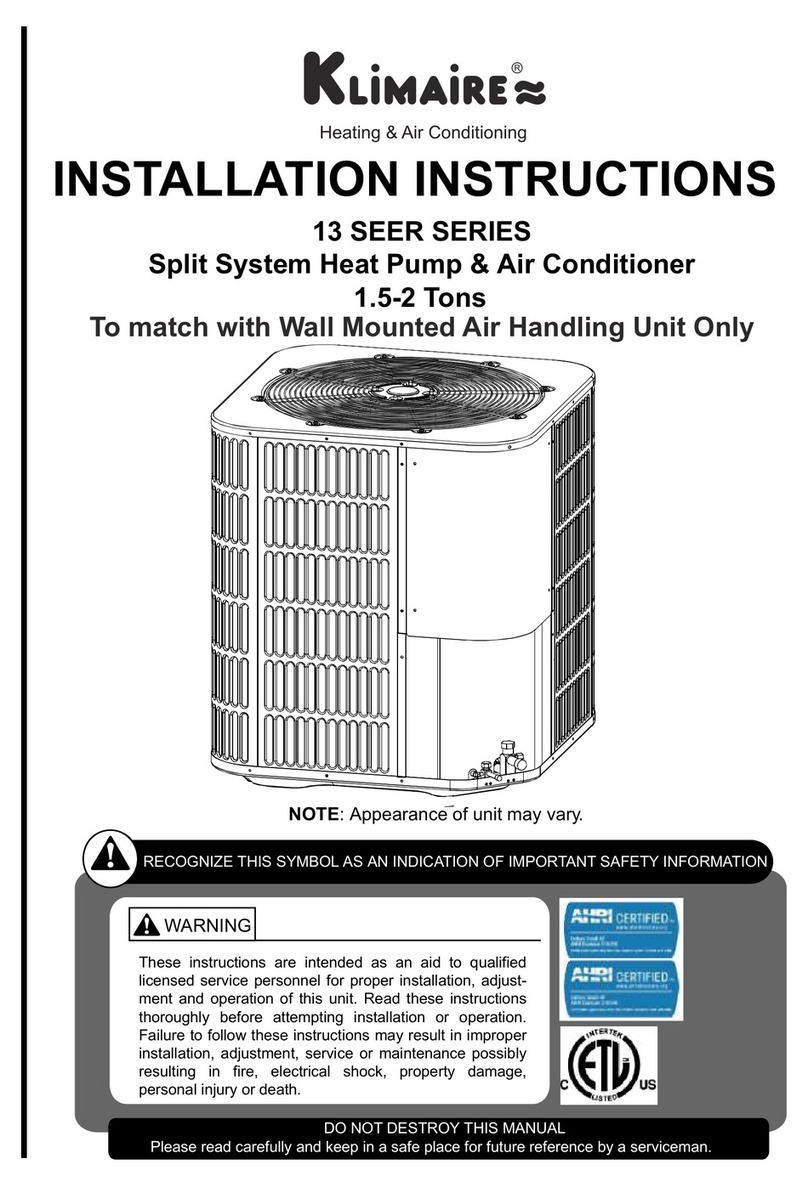
Klimaire KFTC018 User manual

INSTALLATION MANUAL
18,000 to 48,000 Btu/h
Cooling Only & Heat Pump
KFTC Series
®

INSTALLATION
INSTRUCTIONS
MODELKFTC018 / 024 SERIES
KFTC036 / 048 SERIES
COOLING ONLY OR HEAT PUMP SYSTEM
● Read this installation instructions carefully before installing the unit ●
CEILING CASSETTE TYPE INDOOR UNIT

2
High Pressure Copper Tube
Low Pressure Copper Tube
Drain Pipe
Wire
Low Pressure Piping Tape
High Pressure Piping Tape
OUTDOOR UNIT
INDOOR UNIT
INSTALLATION DIAGRAM AND ACCESSORIES

3
1.1 INDOOR UNIT DIMENSION.
MODEL KFTC018 KFTC024 KFTC036 KFTC048
Height above ceiling (A) 235 mm. 235 mm. 285 mm. 285 mm.
Height above suspension brackets (B) 180 mm. 180 mm. 230 mm. 230 mm.
Height of condensate drain above ceiling (C) 230 mm. 230 mm. 280 mm. 280 mm.
Pipe exit position (D) 165 mm. 165 mm. 215 mm. 215 mm.
drainpipe outlet
refrigernt pipe
main cable entry
60
830
22
A
D
CB
FIG.1
1
INDOOR UNIT INSTALLATION
■WHERE TO INSTALL INDOOR UNIT :
●There should not be any heat source or steam
near the unit.
●There should not be any obstacles to prevent the
air circulation.
●A place where air circulation in the room will be
good.
●A place where drainage can be easily obtained.
●A place where noise prevention is taken into
consideration.
●Do not install the unit near the door way.

4
1.2 INDOOR UNIT INSTALLATION.
418 785
340
390 950
330
370
350
512 860~890
THE CEILING HOLE
FIG.2
more than
100 cm
more than
100 cm
FIG.3
●Select the location where a space is more
than 100 cm. as shown in fig.3 also ensure
that the position does not interfere with
light fitting, sprinkle head, etc.
●Determine the ceiling hole by using the
paper pattern.
●Determine the mounting position on ceiling
by using position in
the paper pattern.
INDOOR UNIT INSTALLATION
A B C and
D

5
●Hang the four mounting rods to the positions
marked as picture shown (using twelve nuts and
eight washers to support the suspension
brackets). Suspend the unit to the mounting rods.
Lock the nuts, ensure for good drainsage, and
check whether the unit is on horizontal level by
using leveling guage.
Lock Nut
Washers
Suspension
Bracket
CAUTION :
Overtightening the screws will distort the front panel.
CROSS SECTION OF AIR OUTLET
INDOOR UNIT INSTALLATION
●Install the leveling metal plate to adjust the gap
between the unit and a ceiling, fixing the screws
following No. in paper pattern.
●Remove four screws (M8). Fix the front panel
with the units by tighten up four screws (M8).
1 2 3 and 4

6
More than 10 cm.
More than 10 cm.
More than 10 cm.
More than 70 cm.
More than
35 cm.
More than 30 cm.
More than 10 cm.
More than
35 cm.
More than
30 cm.
More than
120 cm.
OUTDOOR UNIT INSTALLATION
2
■WHERE TO INSTALL OUTDOOR UNIT :
●The location is sufficiently isolated so that the running
noise and the hot exhaust air do not disturb the
users or their neighbors.
●Easy access to check and to maintain.
●Ensure the spaces indicated by arrows from the wall,
ceiling, fence, or other obstacles.
●The foundation must be solid enough to bear the
weight and vibration of the unit.
●The space around the unit is adequate for ventilation.
●The location is not close to any flamable gases.
CAUTION
Installation in the following places may cause problems.
If it is unavoidable to use such places, consult with your distributor or dealer.
●A place with machine oil.
●A saline place such as a place very close to a seashore.
●A place with sulphur gas.
●A place where high-frequency waves are generated by radio equipment, welder and medical equipment.

7
Cutting Tool
90
Right Wrong
Rough Cut
Sloped Cut
Refrigerant Tube
Reamer
Up side
down position
Uneven
Slope
Poor Skin Cracked Uneven
Thickness
Flare-Kit
Low Pressure Refrigerant Tube
To Indoor Unit To Outdoor Unit
30-40 mm.
■WIRE CONNECTION AND TAPE COVERING
(See the picture on the right hand side)
0.5 mm.
Refrigerant Tube
PIPE PREPARATION
3
■PIPE & ELECTRICAL WIRE CUTTING
●Use cutting tools easily found in the market.
●Measure precisely both outer & inner pipe.
●Provide a little bit longer pipe than the measurement.
●Wire must be 1.5 m. longer than the refrigerant tube.
■FLARING THE PIPE END
■REAMING
●Clean inside of the inner refrigerant tube.
●While reaming, the tube end must be on the top of the
reamer to prevent any dust going back into the tube.
●Flare both ends of the pipe with flaring kit by fitting the
flare nut on the pipe before flaring. Set the die on the
pipe so that pipe end is 0.5 mm. above top of the die.
Check if the pipe end is even and perfectly round.

8
MODEL PIPE SIZE THICKNESS
(mm.)
KFTC018 3/8"0.8
KFTC024 3/8"0.8
KFTC036 3/8"0.8
KFTC048 1/2"0.8
Gas pipe and liquid pipe insulation depends upon
copper pipe size and the insulation thickness = 3/8"
LIQUID PIPE TABLE
GAS PIPE TABLE
4
REFRIGERANT PIPING WORK
Dia. Drain Pipe 1/2"
Liquid Pipe
Connecting Wire
Gas Pipe
Piping Tape
MODEL PIPE SIZE THICKNESS
(mm.)
KFTC018 5/8"1.0
KFTC024 5/8"1.0
KFTC036 5/8"1.0
KFTC048 3/4"1.0
4.1Select copper pipes for gas and liquid as informed in specific table (see the pipe table below)
4.2 For dust and moisture protection, before assembly of the pipe and its insulation, both ends of the
pipe must be covered.
4.3 Avoid pipe bending as much as possible. If it is necessary, the bending radius must be more than
3 cm. or 4 cm.
4.4 The connection between an indoor unit and an outdoor unit.
●Unscrew the flare nut for releasing pressure gas in the indoor unit. If there is no high pressure gas
blowing out, it is the signal of a leaking indoor unit.
●Fit the flare nut to the liquid pipe. Flare the pipe's end with flare tool.
●Tighten both flare nuts into gas pipe and liquid pipe at the indoor unit with two holding spanners.

9
■DRAIN PIPE OUTLET
●A drain pipe and refrigerant pipes must be covered by insulation to prevent condensation.
Caution on drain collecting piping.
Use a larger diameter pipe as it comes near the end.
The size of
pipes marked
with *must be at
least 40 mm (1-5/8),
depending on the number
of indoor units installed.
Install the drain pipe at a lower level immediately
after the unit.
Horizontal
Not greater
than 100
REFRIGERANT PIPING WORK

10
5
AIR PURGING AND CHECK OF PIPE LEAKAGE
OUTDOOR UNIT
Open Close
Vacuum Pump
Point at 30 inches
mercury pressure.
Gauge
■AIR PURGING
The purpose of air purging is to get rid of moisture and
air in the system, otherwise moisture and air may
cause ineffectiveness of the compressor which directly
affects the cooling capacity.
●
Remove a blank cap of a three-way valve by using a
torque wrench. Check if both high pressure and low
pressure valves are in closed condition.
●
Remove the nut of the service port.
●
Connect a gauge into the service port and a vacuum
pump.
●
Vacuum until the gauge indicates at 30 inches mercury
pressure.
●
Remove gauge. Tighten up the nut of the service port.
●
Use a hexagonal wrench to open both high pressure
and low pressure valves to the end (counter clock-
wise).
●
Tighten the blank cap of the three-way valve.
■GAS LEAKING CHECK
●Check leakage by apply soapsuds to every connec-
tion and inspect carefully. After checking, wipe them
off completely.
●Cover indoor unit joint with pipe insulation and 4
plastic bands to prevent condensation at joints.
■PURGING BY USING VACUUM.
After tightening the flare nuts between the indoor and
the outdoor units.

11
COOLING ONLY
HEAT PUMP
●Wiring is to be done as shown in the electrical wiring diagram (Do not change the internal wiring)
●Use copper conduction only.
●How to tighten screw on terminal block.
1. Bare the ends of electric wire.
2. After retaining the wire, check that all the terminal screws are firmly tightened.
6
WIRING DIAGRAM
INDOOR UNIT OUTDOOR UNIT
KFTC018-CKFTC02-CKFTC036-CKCHB018-CKCHB024-CKCHB036-C
INDOOR UNIT OUTDOOR UNIT
KFTC018-HKFTC024-HKFTC036-HKCHB018-HKCHB024-HKCHB036-H

12
WIRING DIAGRAM
COOLING ONLY
HEAT PUMP
INDOOR UNIT
KFTC036 / 048-C
OUTDOOR UNIT
KCVS036 / 048-C
INDOOR UNIT
KFTC036 / 048-H
OUTDOOR UNIT
KCVS036 / 048-H

13
Sealed
Saddle
Drain
Pipe
Wire
Trap
Tape
Drain Pipe
Refrigerant
Pipe
7
LIQUID PIPE AND DRAIN PIPE
IF THE OUTDOOR UNIT IS INSTALLED
LOWER THAN THE INDOOR UNIT (picture 1)
1. A drain pipe should be above ground and the end
of the pipe does not dip into water. All pipes must
be restrained to the wall by saddles.
2. Taping of the pipes must be done from bottom to
top.
3. All pipes are bound together by tape and restrained
to the wall by saddles.
Picture 1
IF THE OUTDOOR UNIT IS INSTALLED
HIGHER THAN THE INDOOR UNIT (picture 2)
Picture 2
1. Taping should done from lower to upper part.
2. All pipes are bound and taped together and trapped
the pipes to prevent water returning to the room.
(see picture)
3. Restrain all pipes to the wall with saddles.

14
Thermometer
Terminal Board
Electrical Wire
Ampmeter
Control Board Cover
8
TEST RUNNING
■RUN TEST
●Check electrical main wire's voltage.
●Run the air conditioner for 15 minutes or more. Check the electrical current with ampmeter
and compare with the specifications.
■EVALUATION OF THE PERFORMANCE
●Use a thermometer to measure cool air both in and out.
●The difference between in-air and out-air temperature should not be less than 8 c.

Klimaire Products, Inc.
7909 N.W. 54th Street
Miami, 33166 U.S.A.
Tel : (305)593- 8358
Fax : (305)593-8212
NOTE: SPECIFICATIONS AND PERFORMANCE DATA LISTED HEREIN ARE SUBJECT TO CHANGE WITHOUT NOTICE
®
I2TC2001
This manual suits for next models
3
Table of contents
Other Klimaire Heat Pump manuals
Popular Heat Pump manuals by other brands

aquatherm
aquatherm AT600 Owner operational manual

American Standard
American Standard 4TWA3036B3000A Service facts

Reelin
Reelin PPC 14 Seer installation instructions

Lennox
Lennox LRP16G installation instructions

Lennox
Lennox ML18XC2 Series manual

Shenbao
Shenbao SBR-26.0H-B-S Installation and instruction manual

Bryant
Bryant 575J 16 Series Installation, Start-Up and Service Instructions

LG
LG THERMA V HM141MR installation manual

Carrier
Carrier 38ZS/ZF Installation, operation and maintenance instructions

Amana
Amana AVH24 Series Installation instructions & owner's manual

Carrier
Carrier Performance 12 38YZA Product data

Toshiba
Toshiba RBM-Y1121FUPE installation manual