IMPORTANT SAFETY INFORMATION
1.This impact wrench is rated to 1/2 ” USS bolt size Rating will decrease for U-Bolts,Long
Cap Screws, Spring Fasteners and rusted/corroded Fasteners All of these factor
absorb power and reduce torque capability.
2.Use only impact sockets designed for impact wrenches.
3.Most impact wrenches have high torque capability. Keep a film grip on the tool at all
times. Use both hands whenever possible. Be physically prepared for the task you will
perform.
4.Always use approved eye and ear protection when using air powered tools. If
raising dust/debris,wear a suitable mask. do not wear loose clothing or jewelry.
5.Always operate tool a safe distance from yourself and other in the work area. Keep
footing and balance at all times.
6.Make sure work piece is secure to allow safe operation of the tool with both hands. Do
not hold the work piece in your hand, lap or against any part of your body.
7.Make sure trigger is in the “off ”position before connecting or disconnecting the
tool from air source. Disconnect tool form air source before changing
accessories, performing service and when not in use.
8.Follow air source manufacture's directions for connection of regulators, filters and other
accessories to air source. Do not install quick couplers directly at tool air inlet. This
causes inlet failure due to excess weight and vibration. Use a whip hose between tool
and quick couplers
9.DO NOT OVERLOAD! Do not force tool. Match tool capacity to work load requirement.
Use tool within its rated capacity and only for its designated purpose. Overloading air
tools will cause premature wear and/or permanent damage of internal and external driver
parts and will void warranty.
10.Inspect hoses and fitting for wear and damage prior to using tool, do not carry or drag
tool by the air hose. Keep air hose free from obstruction, twisting and binding.
LUBRICATION & MAINTENANCE
Oil tool before each use.4 to 5 drops of a good grade Air Tool Oil placed in the air inlet is
sufficient. Use proper air pressure and CFM rating listed for this tool.
Drain water from hoses and compressor tank. Water in the air supply line will cause
gummy and loss of power. Clean the air filter on the supply line and flush the tool with
gum solvent or a 50/50 min of Air Tool Oil and kerosene. It may be necessary to
disassemble the tool to properly clean and re-lubricate.
Oil Plug is available to add air tool oil after repair or maintenance.(See drawing at right)
use 1 ounce Air Tool Oil. Do not overfill.
Hammer Mechanism Maintenance-(Hammer Cage, Hammer Dog Anvil and Drive Cam).
When cleaning or repairing the tool, be sure to lightly coat the load bearing and mating
surfaces with clean wheel bearing grease or suitable substitute. Do not apply a thick
coat of grease to these parts. This will reduce the torque capability of the tool and will
require flushing to regain its power. You may also run the tool until the excessive grease
works its way out.
Test the tool for proper grease periodically by shanking the tool from side. Listen for
a metallic rattle. If the sound is loud and sharp, grease the hammer parts. if it is a dull
sound, the lubrication is correct.
AIR SOURCE
Clean air and correct air pressure is recommended for the power supply for this tool. A
maximum of 90 PSI at the tool is recommended for most air tools of this class. Check
specifications section for recommended pressure. (Depending on length of air hose and
other circumstances, air pressure at compressor may need to be increased to 100 PSI to
ensure 90 PSI at the tool.)
Water in the air hose and compressor tank contributes to reduced performance and
damage of the air tool. Drain the air tank and filters before each use and as necessary to
keep the air supply dry.
Hose length over 25 ’causes loss in line pressure. Increase hose I.D. or increase
compressor pressure to compensate for the pressure loss. Use an in-line pressure
regulator with gauge if air inlet pressure is critical.
TROUBLESHOOTING
INSUFFICIENT POWER:
Probable Cause
Dirty or clogged air passages
insufficient air supply
Air leakage
Worn/damaged wear & tear
parts tool matching
Solution
Flush and lubricate tool, drain air tank and supply line.
increase line pressure, Make sure compressor
matches tool's air pressure and consumption needs.
Use Teflon tape at all fittings and joints. Check tool for
leaks and repair as necessary
Be sure you are using a tool suited for the torque
requirements of the job at hand.
OPERATION
1.This impact wrench is rated to 1/2 ” USS bolt size. Rating will decrease for U-Bolts,Long
Cap Screws, Spring Fasteners and rusted/corroded fasteners. All of these factors absorb
power and reduce torque capability.
2.Use the simplest socket to wrench hook-up. Any additional extensions, u-joints or adaptors
will absorb power and reduce torque capability.
3.Use only impact sockets designed for impact wrenches.
4.Forward/Reverse Lever .Select “F”for Forward(Clockwise) or “R”for Reverse (Coun-
ter clockwise) operation. Do not attempt to change direction while tool is running.
5.If fastener bogs, slows or binds the tool(or, if fastener fails to move in 5 seconds), use a large
size impact wrench with a higher torque rating. Overloading this tool will cause premature wear
and/or permanent damage to internal and external drive parts and will void warranty.
6.Air regulator. This can be used as an air throttle. Turn air regulator knob out(Counter-clockwise)
for maximum power.
7.Torque setting: to set the tool to desired
torque, select a fastener of known tightness
of the same size, thread pitch and thread
condition as those on the job. Turn air
regulator to lowest position. Apply wrench
to (Turn regulator out) until fastener moves
slightly in the direction it was originally set.
This wrench is now set to duplicate the
torque applied to this fastener. Critical
torque specifications cannot be met by any
wrench in this class.
Use an appropriate torque wrench to attain
a specific torque.
Yes No
Air Tool
Oil
Air Tool
Oil
Whip
Hose
Whip
Hose
r ns
Ta
Fi
lu d
Water
Mt r
o o
oil
Brkea
ud
Fl i
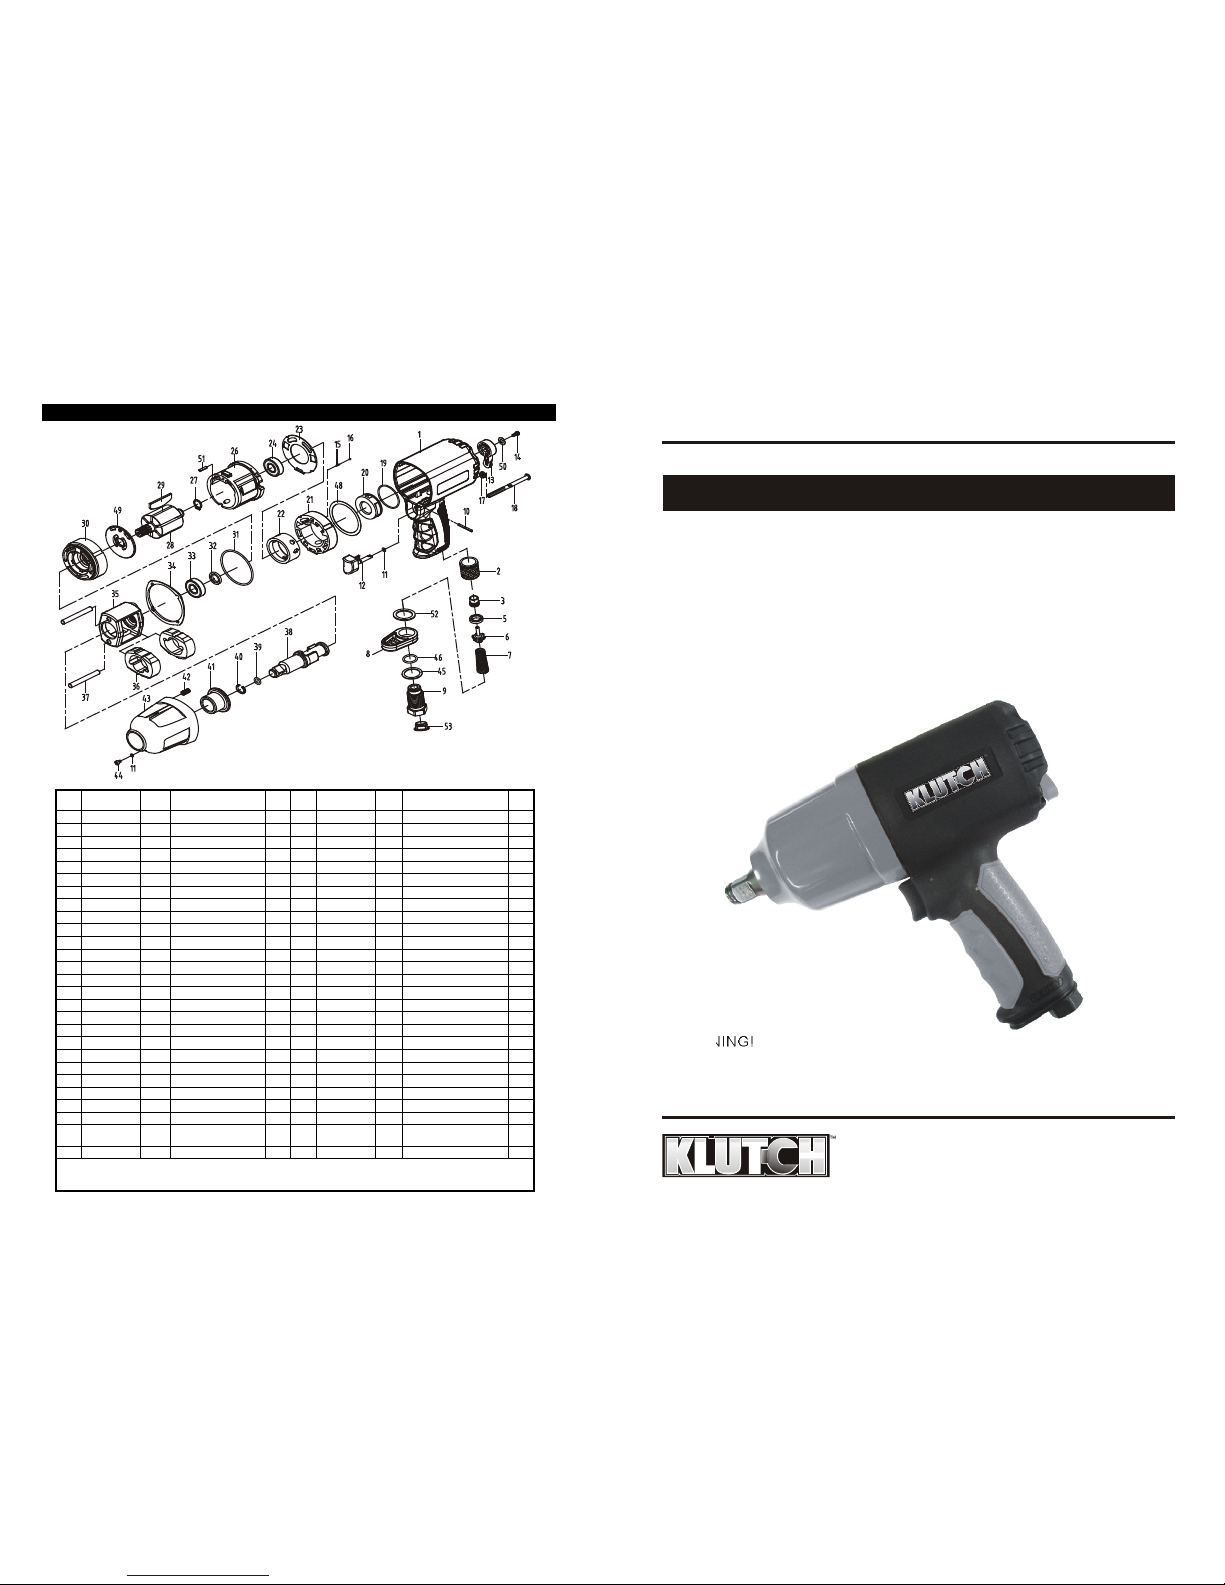
Trigger
Air inlet
Forward/
Reverse
Button