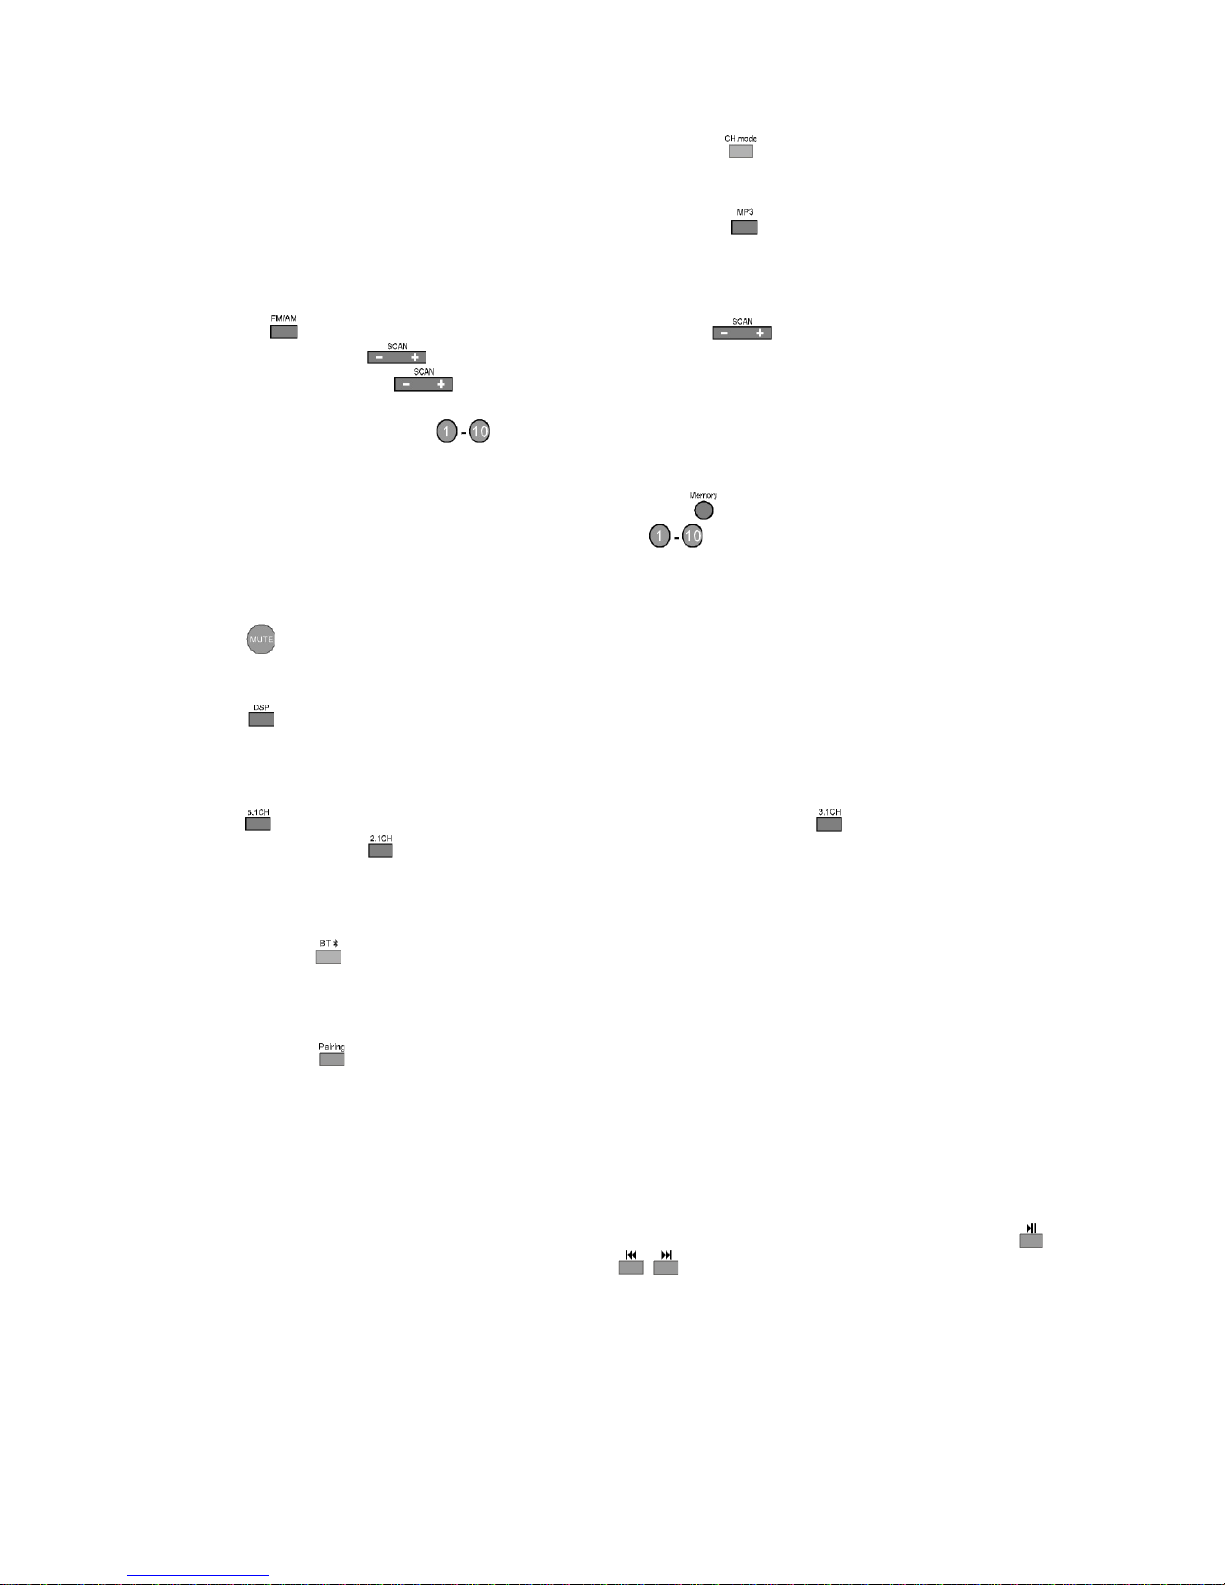
Kogan KAHTS51BTXA User manual


Front Panel Function
1 – Power ON/OFF 8 – Optical/Coaxial input selector 15 – MIC.ECHO ad ustment knob
2 – Bluetooth pairing 9 – FM/AM input selector 16 – TREB ad ustment knob
3 – Bluetooth input selector 10 – MUTE input selector 17 – BASS ad ustment knob
4 – AUX input selector 11 – Master volume ad ustment knob 18 – Tuner band ad ustment knob
5 – MP3 input selector 12 – Mic1 input socket 19 – MP3/iPhone input socket
6 – VFD display window 13 – Mic2 input socket
7 – HDMI input selector 14 – Mic volume ad ustment knob
System Features
•5.1 channel amplifier
•4 HDMI input ports and 1 HDMI output port for HDMI receiver and HDMI switcher.
•Optical/Coaxial input.
•Built-in AM/FM radio.
•MP3/iPhone input
•2 MIC input, treble and bass ad ustable, independent MIC volume control.
•Over current protection, short circuit protection and over voltage protection.
•10 preset radio stations.
•Full remote control
•VFD display.
•Power Output: Total 2000W; 15000W for L, R, Center, SL, SR Channel (8 Ohm); 500W for
subwoofer (4 Ohm).
•In-out Selector: 4 in 1 out HDMI selector, AUX1/AUX2/AUX3 selector, coax/opti selector,
1 AM/FM radio, 1 MP3/iPhone input, 2 microphone inputs.
•Output: 6 channel speaker output terminal for L, R, Center, SL, SR, Subwoofer.

Rear Panel Connectors
Remote Control
1 – Power ON/OFF
2 – Tuner band control
3 – Tuner memory
4 – Input mode
5 – Center volume ad ustment
6 – Treble volume increase
7 – Master volume control
8 – Left balance
9 – Treble volume decrease
10 – Bluetooth control
11 – Side left volume ad ustment
12 – Mic volume ad ustment
13 – Tuner number selector
14 – DSP control selector (live, hall, church)
15 – Channel source output selector
16 – Subwoofer volume ad ustment
17 – Bass volume increase
18 – Mute
19 – Right balance
20 – Bass volune decrease
21 – Side right volume ad ustment
22 – Mic ECHO ad ustment

Battery Installation
1. On the back of the remote control, push the tab and lift off the battery cover.
2. Obtain two (2) fully-charged AAA batteries. Match the “+” and “-” marks on the batteries
to the “+” and “-” marks in the battery case, then insert the new batteries.
3. Align the cover keys with the case holes and press the cover back into place. The tab should
click when the cover is locked.
4. Test the unit by pressing POWER or any mode key. If the batteries are inserted correctly,
the selected mode key will blink once.
Note
•Do not leave the remote control in an extremely hot or humid location.
•Do not use a new battery with old ones.
•Do not mix manganese batteries with other kinds of batteries.
•Do not expose the remote sensor to direct sunlight or other lighting apparatuses. Doing say
may cause a malfunction.
•If you do not intend to use the remote control for an extended period of time, remove the
batteries to avoid possible damage from leakage or corrosion.
Basic Operation
Turn power ON/OFF
Press the button to turn the unit power on and off.
Master Volume Control
Press the or button to ad ust the main channel volume.
Left Si e Channel Volume Control
Press buttons. Screen will display SL volume. Press “-ADJUST+” to ad ust volume.
Right Si e Channel Volume Control
Press buttons. Screen will display SR volume. Press “-ADJUST+” to ad ust volume.
Center Channel Volume Control
Press buttons. Screen will display CEN volume. Press “-ADJUST+” to ad ust volume.
Subwoofer Volume Control
Press buttons. Screen will display SW volume. Press “-ADJUST+” to ad ust volume.
Treble A just
Press buttons to ad ust the treble output of the main channel.
Bass A just
Press buttons to ad ust the bass output of the main channel.
Play via HDMI
Make sure the HDMI connections are made, then press buttons (whichever is
applicable) to play the HDMI source.
Play via AUX
Make sure the AUX connections are made, then press the button to play AUX1/2/3.

Play via CH.mo e
Make sure the CH.mode connections are made, then press the button to play CH.mode.
Play MP3/iPhone
Make sure the MP3/iPhone device is connected, then press the button to play MP3/audio.
How to play via Tuner
1. Select Program
Use button to select the AM/FM band. Press the button to ad ust the band.
Hold down the button for 2 seconds and the tuner will search automatically. You
can then press the button once to stop the auto-scanning.
2. Listening to Preset Program
Press the number keys to select the radio program that has already been saved. Once
selected, the screen will display the radio station frequency in the memory area.
3. Memory Program
When you receive a clear audio program, press the button first, and then the screen will
display the “Memory” icon. Press one of the buttons on the remote control to select
the number you wish for that station to be saved as.
How to Mute
Press the button to turn sound off. Press again to restore the audio to the original level.
Intro uction of DSP Control Key
Press the key repeatedly to switch between different operations. Live, Hall or Church. All of
the above functions can give different sound effects.
Intro uction of Source Output Selector Area
Press the button to receive 5.1 channel sound (default mode); Press to receive 3.1 channel
(SL/SR mute); Press to receive 2.1 channel (SL/SR/CEN mute).
How to play via Bluetooth
1. Select Bluetooth Input Mo e
Press the button and the word “B+T” will appear on the screen, signifying that the unit is
now in Bluetooth mode. At this point, ensure that Bluetooth is active on your phone/tablet
or other device.
2. Pair the evices
Press the button, which will put the unit into pairing mode, meaning it will be seeking
other Bluetooth devices to connect to.
Before the screen display changes back to “B+T”, you need to select the sound system on
your portable device to connect and communicate.
3. Play your music!
From now, you can simply hit play on your device and the sound should play via the sound
system as long as the device stays powered on and connected via Bluetooth.
You can control the music from your device via the sound system remote control, with
controlling playing and pausing, while the buttons will skip tracks forwards and
backwards.

Troubleshooting
Use this chart to help you solve any operational problems. If there are operational problems not
listed here, or the solutions do not solve the issue, please contact the Kogan customer support team.
Problem Possible Reasons Solution
No power from power supply Plug not inserted properly Check power supply and plug
Socket has no power Check socket and power supply
Display cannot be turned on Socket has no power Check socket and power supply
Fuse is broken Replace the fuse
Have not pressed POWER Press POWER button again
No sound at all Incorrect input selection Check connection and press the
correct input button again.
Input source not connected
correctly
Check the cable and plug
Unit has been muted Press the MUTE button
Input source is not turned on Check unit is turned on
Neither of the main channels
have sound
Speaker line is not connected
properly
Check cables and plugs
Center channel has no sound Speaker line is not connected
properly
Check cable and plug
Mode is not set correctly Mode should be set so that the
center channel has output.
Side surround channels have no
sound
Speaker line is not connected
properly
Check cables and plugs
Mode is not set correctly Mode should be set that the
surround channel has output,
for example 5.1 channel
Surround channel volume is too
low
Volume is set too low Turn volume up
Input signal is in STEREO Change to 5.1 channel mode
Center channel volume is too
low
Volume is set too low Turn volume up
Sound from speakers is out of
order
Speakers are located incorrectly
or inappropriately.
Check the location of the
speakers in regards to which
output ports they are connected
to
No sound when you choose
HDMI input
Source unit is not powered Turn the source unit on to
ensure it is running
HDMI cable is not connected
correctly
Check the plug and cable
Sound source unit is not set to
HDMI audio out
Set the source unit to HDMI
audio out mode

Can't operate, or the display is
not appearing correctly
Software malfunction may have
occurred
Turn unit off for 1 minute, then
turn it back on again
Unit may be overheating Avoid placing unit in direct
sunlight or other hot location
FM/AM reception is poor Need an outdoor antenna Plug the rear antenna port into a
cable that is connected to an
exterior antenna
Radio stations cannot be tuned
in at all
Antenna connection not secure Check that the antenna cable is
connected and plug in securely
The signal strength of the
stations is too weak (when
tuning in with automatic
tuning)
Ad ust the tuning of radio
stations yourself manually
No stations have been preset, or
the preset stations have been
cleared
Make sure you set the tuning
intervals correctly
Remote control does not
function
Obstacles exist between remote
control and the receiver
Remove any obstacles between
your location and the receiver
Remote batteries are too weak Replace all batteries in remote
control with new ones
Incorrect input selection on the
remote control
Make sure you select the
correct input on the remote
control
This manual suits for next models
1
Table of contents
Other Kogan Stereo System manuals