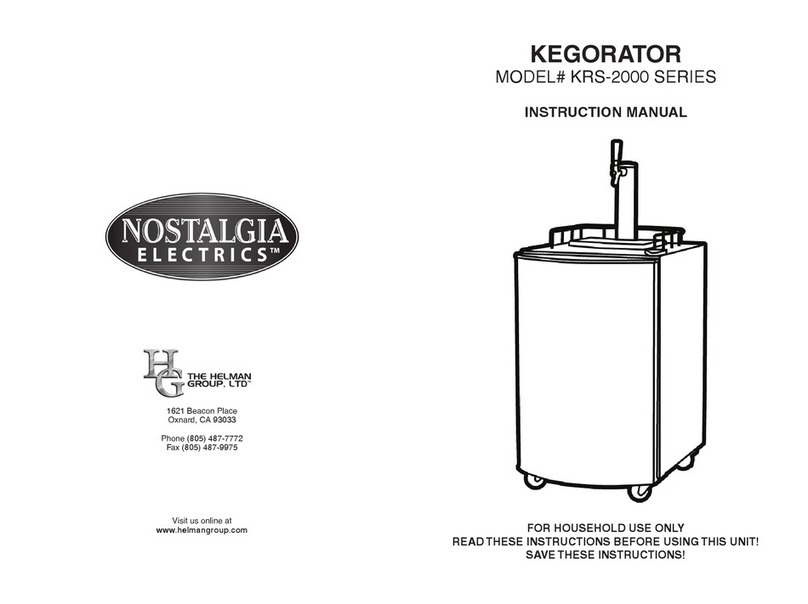
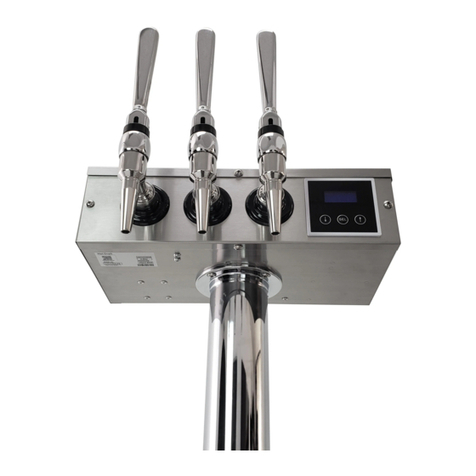
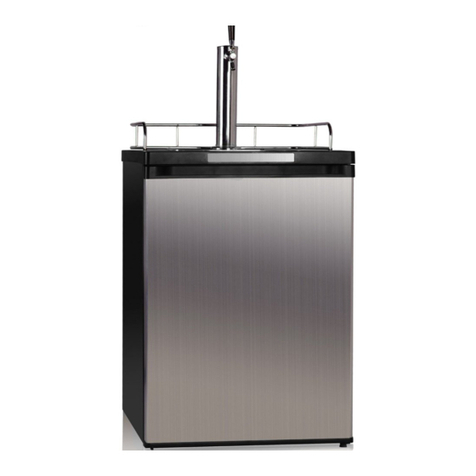
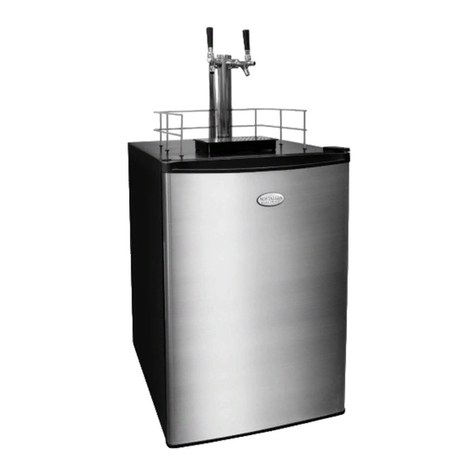
Komos Olympus User manual

1
INSTRUCTION MANUAL
CONTENTS:
PAGE 2.............................Important Safety Information
PAGE 3............................................Set Up & Installation
PAGE 4–5............................Assemble & Attach Tower(s)
PAGE 6–7.................................CO2Installation & Setup
PAGE 8.....................................Maintenance & Cleaning
PAGE 9...................................................Troubleshooting
WARNING
Read entire manual for important
safety information before using
your OLYMPUS Kegerator. Failure to
follow warnings could result in
serious injury or death.

2
IMPORTANT SAFETY INFORMATION
GENERAL PRECAUTIONS
•When kegerator is installed or used, all packaging (including carton and
plastic wrap) should be removed.
•Keep kegerator stable to avoid vibration and noise.
•The kegerator should be installed in a place with good ventilation and a space
of at least 4" between surrounding walls and the cabinet wall for air circulation.
Installation without proper ventilation will void the manufacturer's warranty.
•Kegerator should be placed far from any heating source to avoid decrease of
refrigeration eciency.
•Install the kegerator in a dry place to prevent rust from forming on the
compartment body, which may aect the electrical insulation.
•Avoid collisions and strong vibrations when transporting. Avoid resting the
cabinet at more than a 45° angle.
•Please refer to the Troubleshooting section of this manual when your
kegerator has operation issues. DO NOT attempt to solve the problem on
your own. Please refer to a certified technician only.
•If the power cuts o, wait for at least 5 minutes before turning on the unit
again to avoid damage to the compressor.
•Do Not climb, stand or hang on the shelves of the kegerator.
•Setting the temperature controls to the 0 (zero) position does not remove
power to the light circuit, perimeter heaters or evaporator fans.
•When lifting the kegerator do not use the countertop as a lifting point.
•Leave kegerator upright for 24 hours before plugging into power source.
ELECTRICAL HAZARDS
Failure to follow these warnings could result in electrical
shock resulting in serious injury or death.
When using electrical appliances basic safety precautions must be followed:
•This cooler must be properly installed and located in accordance with the
installation instructions before use.
•In case of damage to the electrical cord and plug, contact an electrician to
repair. Never repair the electrical cord or plug yourself.
•When unplugging unit, grasp by the plug, not the cord.
•If the voltage is unstable, please select a suitable automatic voltage regulator.
•The kegerator must be grounded correctly. Individual single-phase socket
must be used. It should be reliably connected to a grounding wire. DO NOT
connect grounding wire to water or gas pipe.
•Unplug the unit from the electrical outlet before cleaning or making repairs.
•Do not under any circumstances cut or remove the grounding prong from
the power cord.
•Appliance must be properly grounded at all times.
•Never use an adapter plug.
•Compressor warranties are voided if compressor burns out due to low
voltage.
FIRE AND EXPLOSION
Failure to follow these warnings can result in fire or explosion,
causing serious injury or death.
•Risk of fire or explosion. Flammable refrigerant used. DO NOT use
mechanical devices to defrost kegerator. DO NOT puncture refrigerant
tubing.
•Risk of fire or explosion. Flammable refrigerant used. To be repaired only by a
trained service technician. DO NOT puncture refrigerant tubing.
•Risk of fire or explosion. Dispose of properly in accordance with federal or
local regulations. Flammable refrigerant used.
•Risk of fire or explosion due to puncture of refrigerant tubing; follow handling
instructions carefully. Flammable refrigerant used.
•Keep clear of obstruction all ventilation openings in the appliance enclosure
or in the structure for building-in.
•Servicing shall be done by an authorized refrigeration service, to minimize the
risk of possible ignition due to incorrect parts or improper service.
•Remove all packaging for bottom heat radiation to avoid fire.
•Do Not store or use gasoline or other flammable vapors and liquids in the
vicinity of this or any other appliance.
•Never store flammable, explosive or corrosive liquid or gas in or near the kegerator.
PROPER DISPOSAL OF EQUIPMENT
DANGER! RISK OF CHILD ENTRAPMENT.
When disposing of a kegerator, please follow the instructions below to eliminate
the risk of child entrapment.
1. Remove the doors.
2. Leave shelves in place to prevent children from easily climbing inside.
REFRIGERANT DISPOSAL
Your old kegerator/refrigerator may have a cooling system that used "ozone
depleting" chemicals. If you are throwing away your old kegerator/refrigerator,
be sure the refrigerant is removed for proper disposal by a qualified service
technician. If you intentionally release any refrigerants you can be subject to
fines and more under the provisions of environmental regulations.
Failure to follow these warnings could result in serious injury or death.
Failure to follow the precautions could result in equipment failure and the warranty being void.
Please read this entire instruction manual for important safety information prior to the use of your
Kegerator.
3
SET UP & INSTALLATION
INITIAL SET UP
Tools Required: Phillips head screwdriver
1. Use your Phillips head screwdriver to remove the screws from the
four brackets connecting the kegerator to the wood pallet.
2. Next remove the L-brackets from the kegerator.
3. Remove wood pallet by unscrewing all base rail anchor brackets.
Place pallet to the side.
4.Carefully upright kegerator. IMPORTANT: When lifting the
kegertaor do not use the countertop as a lifting point.
5. Set unit in its final location. Make sure there is adequate ventilation
in this location. Under extreme heat conditions (+100°F/ +36°C)
an exhaust fan may be necessary.
6.Proper leveling of the unit is critical to operating success (for non-
mobile models). Eective condensate removal and door operation
will be aected by leveling.
7. Level kegerator front to back and side to side with a level.
ELECTRICAL SET UP
We strongly recommend servicing be performed by a professional
refrigerator technician.
NOTE: A wiring diagram can be referenced by removing the front louvered
grill, and looking on the inside cabinet wall.
•The power cord for the kegerator is equipped with a grounding plug
which mates with a standard grounding wall outlet to minimize the
possibility of electri c shock hazard.
•If the outlet is a standard 2-prong outlet, it must be replaced with
a properly grounded wall outlet. NEVER USE AN ADAPTER
PLUG.
•Have the wall outlet and circuit checked by a qualified electrician
to make sure the outlet is properly grounded. Check incoming
voltage with a voltmeter. If the results are anything less than
100% of the rated voltage for operation it must be corrected
immediately.
•DO NOT USE EXTENSION CORDS. The use of extension
cords to connect the kegerator will void the warranty. The
kegerator must be close enough to the electrical supply (outlet)
so extension cords are never used.
•The kegerator should always be plugged into its own dedicated
circuit with a voltage rating that matches the rating plate. This
provides the best performance and also prevents overloading
wiring circuits which could become a fire hazard from overheating
wires.
•Never unplug the kegerator from the cord. Always grip the plug
firmly and pull straight out from outlet.
•Repair or replace immediately all power cords that have become
frayed or otherwise damaged. Do not use a power cord that has
cracks or abrasions damage along it or at either of its ends.
•When removing the kegerator away from the wall be careful not to
damage the power cord.
SEALING KEGERATOR TO FLOOR
•Keep clear of obstruction all ventilation openings in the appliance enclosure or in the
structure for building-in.
NOTE: Asphalt floors are susceptible to chemical attack. A layer of
tape on the floor prior to applying sealant will protect the floor.
STEP ONE Position Kegerator
Allow 1" between the wall and the rear of refrigerated bar equipment
to assure proper ventilation.
STEP TWO Level Kegerator
Kegerator should be level side to side and front to back . Place a
carpenters level in the interior cabinet floor in four places:
A. Position level on the inside floor of unit near the door. Level
should be placed parallel to cabinet front.
B. Position level at the inside rear of the cabinet. Level should be
placed parallel to cabinet back.
C. Position similar procedures steps A and B by placing the level
on the inside floor left and right sides parallel to the depth of the
kegerator. Level cabinet.
STEP THREE Applying Sealant
•Draw and outline on the base of the floor.
•Raise and block the front side of the kegerator.
•Apply a bead of NSF approved sealant (see list below) to floor half
an inch inside the outline drawn on floor. The bead must be heavy
enough to seal the entire kegerator surface when it is set down on
the sealant.
•Raise and block the rear of the kegerator.
•Apply sealant on the floor as outlined above on the 3 sides.
•Examine to see that the kegerator is sealed to the floor around
entire perimeter.
NSF Approved Sealants:
•Minnesota Mining #ECU800 Caulk
•Minnesota Mining #ECU2185 Caulk
•Minnesota Mining #ECU1055 Bead
•Minnesota Mining #ECU1202 Bead
•Armstrong Cork - Rubber Caulk
•Products Research Co #5000 Rubber Caulk
•GE Silicone Sealer
•Dow Corning Silicone Sealer
Failure to follow the precautions could result in equipment failure and the warranty being void.

4
The process is the same for the single, double, and triple faucet tower. For the quad faucet tower, see the following page.
TIP: If setting up a triple faucet tower, start with the lowest faucet.
1. Set the tower's collar sleeve onto tower.
2. Feed the beverage line tubing up through the bottom of the tower so tubing comes out both the top and the bottom of the
tower.
3. Attach the Duotight fitting to the beverage line coming from the top end of the tower. Feed the Duotight fitting and tubing
through the tap hole. To attach the Duotight fitting, push the fitting onto the tubing then pull back slightly to lock in place.
NOTE: repeat this step for each additional faucet your tower has.
4. Locate the tower shank and remove the nut and white convex collar and set them aside. From the outside of the tower, attach
the Duotight fitting to the tower shank. Slide the shank and tubing into the faucet hole.
5. Turn the tower upside down. Slip the white convex collar and shank nut onto the beverage line with the white convex collar first
and the shank nut second.
6. Using your finger to hold the tower shank in place, align shank with convex collar first and then the shank nut and tighten by
hand.
7. Next tighten the shank nut with the included multipurpose wrench.
8. Attach the faucet to the shank; tighten with the included multipurpose wrench. Attach the tap handle and tower cap.
ASSEMBLE & ATTACH THE TOWER
① ② ③
⑤⑦
④
⑥⑧

5
①
③
⑤
②
④
⑥
ASSEMBLE QUAD TOWER
TIP: When attaching faucets, start with the lower faucets first.
1. Attach the tower to the kegerator with the included screws. The quad
tap tower mounting holes are located on the inside of the tower, and
it does not include a tower collar like the 1-3 tap towers. You may
need an extra-long Philips screwdriver or bit extension driver to more
easily reach the mounting holes.
2. Attach the tower shanks starting with the lower left hole location.
Remove the nut and white convex collar from the shank. Attach the
Duotight fitting to the tailpiece and then attach one of the precut
lengths of beverage line to the Duotight fitting. Push the tubing into
the Duotight fitting and then pull back slightly to lock in place.
3. Feed the line through the tap hole and then slip the white convex
collar and shank nut onto the beverage line with the white convex
collar first and the shank nut second.
4. Pull the line through until the shank meets the tower, then align the
white convex collar on the inside of the tower and secure in place with
the shank nut. Feed the line down through the tower and into the
kegerator.
5. Next tighten the shank nut with the included multipurpose wrench.
Repeat steps 1-5 for the remaining tower shank locations, starting
with the lower right hole location and working upwards.
6. Attach the faucets to the shanks; tighten with the included
multipurpose wrench. Attach the tap handles and tower cap.
ATTACHING THE TOWER
Tools Required: Phillips head screwdriver
Now that you have your tower or towers set up it's time to attach your tower and install the cooling hose.
1. For one, two and three tap towers, place tower gasket on top of kegerator and align with predrilled holes for tower. For quad
tap tower align holes on bottom of the tower with predrilled holes for tower.
2. Align holes on tower with the holes on top of kegerator. For one, two and three tap towers lift collar sleeve to reveal screw
holes.
3. Using a phillips head screwdriver, position screws into each hole and tighten.
4. Inside the kegerator, locate tower cooling hose on the left side of the cabinet & cooling hole at the top of the cabinet.
5. Push the tower(s) cooling hose into cooling hole. To cool the tower eectively, make sure the cooling hose reaches the top of
the tower.
① ② ③ ⑤④

6
INSTALLING CO2LINES
Required: • Pliers • Hand Drill • Silicone Sealer
1. Choose which CO2port works for your setup, 1 or 2.
2. Remove plug from port on the right wall with a pair of pliers.
3. Drill and bore a hole through the wall.
4.Insert gas line through drilled hole.
5. Seal hole around CO2line with silicone sealer to prevent leaks.
CONNECT CO2
REGULATOR TO TANK:
1. Remove barbed tail piece from the regulator
and replace with included Duotight push
fitting. Push gas line into Duotight fitting.
(See Photo To The Right)
2. Attach the regulator to the tank using a
multipurpose draft wrench. Tighten firmly,
but be careful not to over tighten.
3. NOTE: there must be a regulator gasket
between the regulator and tank. Some
regulators come with a gasket already
attached to the regulator.
CONNECTING THE BEER
LINE AND GAS TUBING:
Tools Required: • Wrench
Your Kegerator includes very high-quality
EVABarrier tubing that is designed to work
best with Duotight connectors. Compared to
standard PVC tubing, EVABarrier is a double-
lined tubing that is BPA free and greatly reduces
CO2loss. It can be used with traditional barb
fittings, but because of the double layer, it is
more dicult to fit over barbs.
CO2Gas Tubing (Larger inner diameter
tubing)
The length of your gas tubing won’t aect
serving the beer. Extra gas line is included to
accommodate dierent setups. We suggest
you cut to length for your set ups or roll up
the extra and zip tie it. If you have a 2, 3 or
4 faucet tower you will need to cut your gas
line and install the Duotight tees to split the
gas line.
Beer Line (Smaller inner diameter tubing)
Beer line/tubing is more than just a way to
get your beer from the keg to your glass. It
works as a flow restrictor, and when properly
sized it will ensure your beer is served just
right. Note that having the correct beer line
internal dimension, length, CO2pressure, and
beer temperature is critical to serving your
beer properly.
Attaching Duotight Fittings To Couplers Or
Quick Disconnects:
Attach the correct Duotight fittings to the
keg coupler or quick disconnects you are
using. Duotight fittings should be threaded on
as tight as possible by hand and then turned
an additional 180 degrees with a wrench. For
pictures of additional styles of couplers or
quick disconnects see page 7.
If Using Stepless Clamps:
Tools Required • Pinch Clamp pliers or Wire
Cutter Pliers • Needle-nose Pliers
If you did not purchase Duotight fittings
and have couplers or quick disconnects with
traditional barbs, you may use stepless clamps
for a tight seal. Because EVABarrier tubing is
an advanced two layer tubing it is dicult to
fit over barbs. Follow these steps:
1. Boil a cup of water and dip the end of
tubing for 15 seconds to soften.
2. Place stepless clamp onto tubing.
3. Insert needle-nose pliers into tubing and
expand the pliers to increase size of the
opening.
4.Push tubing onto the barb fitting and
crimp the clamp securely with pinch
clamp pliers or wire cutter pliers.
CRITICAL FINAL STEP
CO2 PRESSURE CHECK:
Tools Required: • Wrench
Before we start serving the beer we want to
confirm that the regulator and all attached
CO2INSTALLATION & SETUP
CO2
PORTS
①
②
DUOTIGHT
FITTING ON
GAS LINE
GAS & BEVERAGE QUICK
DISCONNECTS WITH
DUOTIGHT FITTINGS
GAS
BEVERAGE
GAS IN BEER
OUT
DUOTIGHT
TEE

7
hoses are properly sealed so there are no CO2leaks in the system.
Pressure leaks need to be fixed ASAP because if left unchecked, they
will cause the CO2tank to drain, which can be potentially dangerous
if located in a closed area. Testing is relatively straightforward:
Once your system is fully set up:
1. Open the CO2tank valve.
2. Turn up the pressure through the regulator to 20 PSI.
3. Turn o the CO2tank valve.
4.Wait a couple hours then check the pressure on the regulator.
If it has not dropped, then there are no leaks. Release the pressure
and reset the regulator to your desired serving pressure.
If there was a drop in pressure, then spray/wipe soapy water on all the
points where there may be a leak. Such as:
All tubing connections.
•Where the regulator attaches to the CO2tank.
When gas escapes and hits the soapy water it will create bubbles.
Wherever you find these bubbles tighten the connection.
1. D TYPE: Most US breweries
2. S TYPE: Newcastle, Becks, Heineken
3. U TYPE: Guinness, Harp
4. A TYPE: Paulaner, Spaten
5. G TYPE: Anchor, Boddington
BALL LOCK FITTINGS:
aka Pepsi-style
GRAY = Gas Fittings
BLACK = Liquid Fittings
PIN LOCK FITTINGS:
aka Coke-style
GRAY = Gas Fittings
BLACK = Liquid Fittings
KEG COUPLERS/CONNECTORS:
By now you most likely know which types of kegs you’ll be serving through your kegerator - commercial, homebrew, or maybe both. Below
is the list of the coupler options. When purchasing a commercial keg it is best to confirm the Coupler Type with the liquor store/distributor.
COMMERCIAL COUPLERS BY TYPE/SYSTEM SUBJECT TO CHANGE:
① ② ③ ⑤④
HOMEBREW DISCONNECTS FOR CORNY/SODA KEGS:

8
MAINTENANCE AND CLEANING
Condensers accumulate dirt and dust and require cleaning every 30
days. Dirty condensers result in compressor failure, product loss, and
lost sales, which are not covered by warranty.
Air is pulled through the condenser continuously along with dust,
lint grease, etc. If you keep the condenser clean you will minimize
your services expenses and lower your electrical cost. The condenser
requires scheduled cleaning every 30 days or as needed. A dirty
condenser can result in non-warranted part and compressor failures
and product loss.
Proper cleaning involves removing debris from the condenser by
using a soft brush or vacuuming the condenser with a shop vac or
using CO2, nitrogen or pressurized air.
If you cannot remove the debris adequately please call a refrigeration
service company.
The condenser is accessible at the rear of the unit. You will need to
remove the front grill to reach the condenser. The condenser looks
like a group of vertical fins. You will need to be able to see through
the condenser for the unit to function at maximum capacity. Do not
place filter material in front of condensing coil. This material blocks
flow to the coil.
CLEANING THE CONDENSER COIL
Tools Required:
•Phillips head screwdriver
•Sti bristle brush
•Adjustable wrench
When using electrical appliances basic safety precautions should be
followed.
•Disconnect power to kegerator.
•Take o lower grill assembly by removing all screws.
•Remove bolts anchoring compressor assembly to frame rails and
carefully slide out... tube connections are flexible.
•Clean o accumulated dirt from condensing coil with sti bristle
brush.
•Lift cardboard cover above fan at plastic plug and carefully clean
condenser coil and fan blades.
•After brushing condenser coils, vacuum dirt from coil and interior
floor.
•Replace cardboard cover, carefully slide compressor assembly
back into position and replace bolts.
•Reinstall louver assembly onto kegerator with appropriate fasteners
and clips. Tighten all screws.
•Connect kegerator to power and check to make sure condenser is
running.
CLEANING STAINLESS
•CAUTION: DO NOT USE any steel wool, abrasive or chlorine
based products to clean stainless steel surface.
•Use a soft cloth or plastic scouring pad with an approved stainless
cleaner.
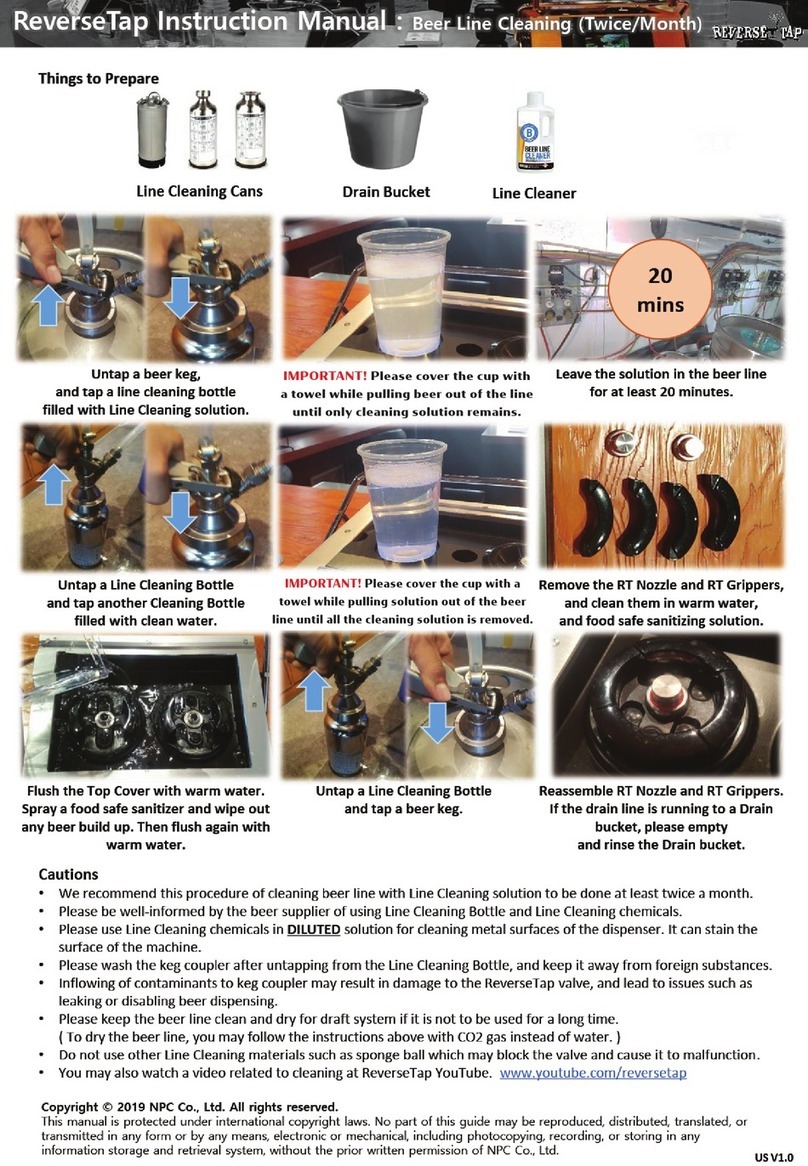
BEER LINE CLEANING
Always clean your commercial home tap setup
between every keg use. Cleaning your system
will ensure that your tap, lines, and faucet
are clean, resulting in a better-tasting beer.
Required:
•Cleaning Pump
•Faucet Wrench
•Beer Line Cleaner
•Tap & Faucet Brush
•Water
•Collection Bucket
•Large Bowl
1. Remove the tap from the keg. Use
the wrench provided to remove
the faucet (the piece that the beer
actually flows through to your glass)
from the shank. The collar should
have a few holes in it, insert the wrench
end into a hole and spin the collar clockwise to remove it.
2. Disassemble the faucet to the point that the shaft inside can slide
out. Place these parts in a bowl with 2 cups of warm water and ¼
teaspoon of Beer Line Cleaner. Take the lid o of the cleaner pump
and remove the O-Ring. Use this O-Ring to attach the brass end
of the pump unit into the collar of the shank (hand tighten). Put
one cap-full of cleaner into the jar and fill with warm water. Attach
the lid unit back on the jar. Get a bucket to collect the fluid running
from the tap, the tap will not allow beer to backlash. Insert the
cleaning brush’s small end into the bottom of the tap to allow the
flow to go through.
3. Pump cleaning solution through the line and tap allowing the
solution to sit in the lines for 10–15 minutes, then pump through.
Follow this with 1–2 jars of water to rinse. Remove the brush from
the tap.
4.Use the brush to clean the faucet, then rinse with water.
Reassemble the faucet, hand tighten parts, and leave them loose
enough so that they move freely. Attach the faucet back onto the
shank again, using the wrench, do not over tighten, just tighten
enough so that it does not leak.
5. Attach tap to new keg & enjoy!!

9
DISTRIBUTED BY KOMOS™
Still have issues? Call customer service at 1–800–600–0033
TROUBLESHOOTING
Kegerator does not turn on Check circuit breaker, fuse and power socket.
Kegerator does not seem cold enough
Check temperature setting by placing a cup of water with
a thermometer inside the fridge. Check after 2 hours &
compare against set kegerator temperature. Kegerator
may need to cool longer or the door gasket may not be
sealing correctly.
Kegerator shuts o/on too often
Check to see if the door gasket is sealing correctly. The
ambient room temperature may be too high so the unit is
working harder to cool to the set temperature.
Kegerator seems to make too much noise
Humming is normal. Gurgling sounds are caused by
cooling liquid used by the kegerator. Check to make sure
unit is level.
This manual suits for next models
2
Other Komos Kegerator manuals