KOTA Furnace PRO User manual

USER ManUal
Furnace PrO

Dear user,
Thank you very much for choosing a KOTA product.
KOTA produce equipment with high quality materials seeking to guarantee
the confidence and safety of its products.
To maintain the perfect functioning of your EVO Oven, some basic care
is necessary. Read this manual carefully and follow the instructions for
installation and use.
Safety precautions
best performance for your equipment.
when specifically KOTA authorize it, as performance and / or security could
be compromised. Any alteration of the product without previous
authorization will imply the loss of the guarantee.
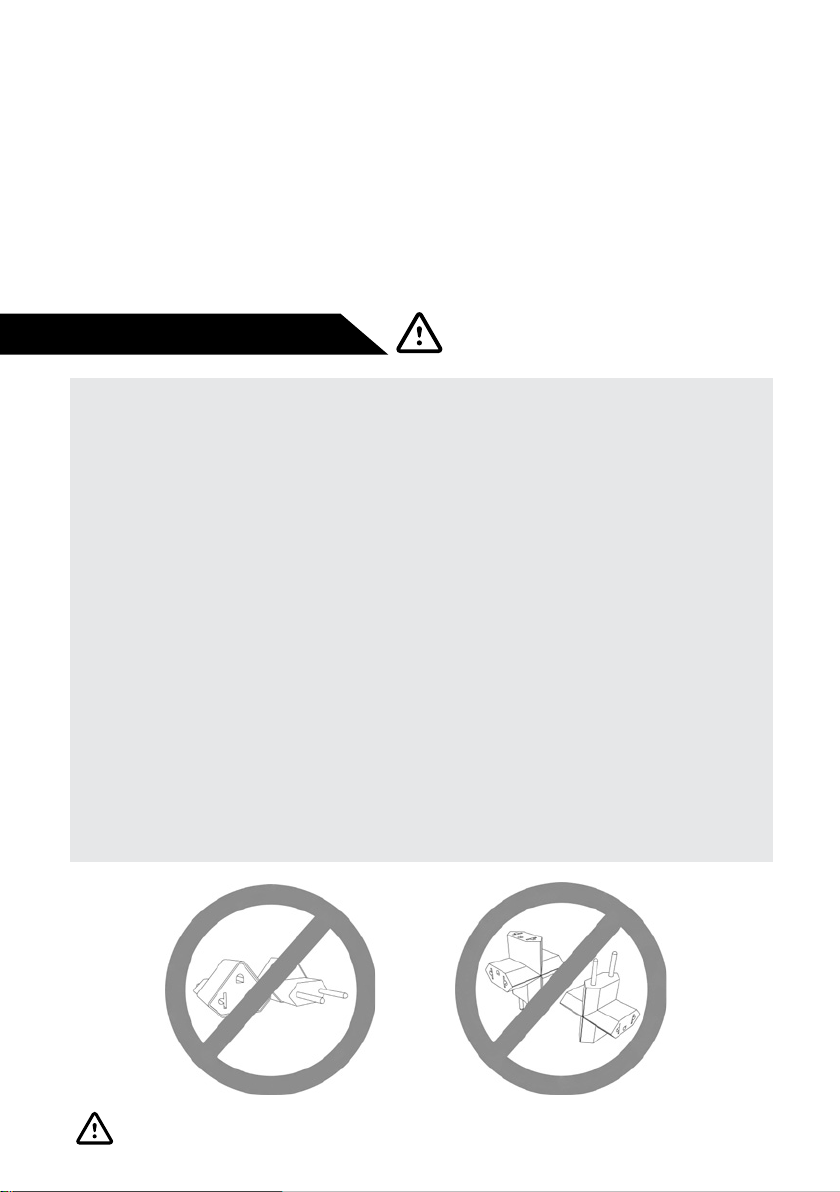
of the appliance and the socket. Procedures such as these could decrease
the performance of your equipment and increase your energy consumption.
corrosive products on the equipment.
base of the work area. Coatings or porcelain freshly removed from the
equipment can cause cracks in the glass base.
When Turn On the equipment, place the refractory base on the aluminium tray.
If do not perform this procedure so the rubber seal ring could be damaged.

Index
Initial set up............................................................................................. 5
Language selection................................................................................. 6
Selecting & editing firing programs......................................................... 6
Warranty terms and scope.......................................................................15

Features
Specifications
Equipment Overview
Electrical
Connection
for the
Vacuum Pump Connection for
Vacuum hose
Power Cable
Main Switch
4

voltage and then connect PRO to AC power socket.
Initial set up
When Turn On the equipment, place the refractory base on the aluminium tray.
If do not perform this procedure so the rubber seal ring could be damaged
Aluminium tray
Refractory Plate
Check the main voltage.
The Vacuum Pump voltage must be the same as that of the oven.
Check the main voltage.
The Vacuum Pump voltage must be the same as that of the oven.
5

Language selection
Available in Portuguese, English and Spanish.
To select the language, with the over switch off, press “” and turn
on. Choose the correct option and press “” to save changes.
MANUAL ELEVATOR MOVEMENT
The left directional key has the function of moving the elevator up, down
and stop at the desired position.
STANDBY MODE
and to save energy.
Whenever the oven remains unused for more than 5 minutes, the
Selecting and editing a ceramic program
When selecting the firing program we will have the following indications on
On this screen, it is possible to move the lift up, down and stop in any
position manually.
Just press the left directional arrow to perform the two functions.
These factory programs can be modified according to the instructions
detailed below.
inicial temperature
Number of the program selected
6

To edit a ceramic program, select a program number, and then press
INITIAL TEMPERATURE (TP1)
The initial temperature is the initial temperature of the firing process.
DRYING TIME (TSEC)
The drying time is the waiting period for the start of the closing stage of
RISE TIME (TSUB)
7

PRE-FIRING TIME (TPRE)
course.
The elevator remains in the position by the programmed time and then the
DOWNING TIME (TDES)
BASE TEMPERATURE (TP2)
8

HEATING RATE (TR2)
It is the heating rate between the initial temperature and the base
VACUUM RAMP 2 (VR2)
BASE TIME (TPAT2)
9

VACUUMTIME 2 (TVAC2)
time.
BASETEMPERATURE 3 (TP3)
downing time and then the program completion.
TEMPERATURE BASE 3 (TP3)
10

HEATING RATE (TR3)
VACUUM RAMP 3 (VR3)
BASETIME 3 (TPAT3)
11

VACUUMTIME 3 (TVAC3)
base time.
BASETEMPERATURE 4 (TP4)
download time and then the program completion.
BASETEMPERATURE 4 (TP4)
12

HEATING RATE (TR4)
VACUUM RAMP 4 (VR4)
parameter.
BASETIME 4 (TPAT4)
13

VACUUMTIME 4 (TVAC4)
The vacuum time must always be equal to or less than the base time.
ALTER NAME OF THE PROGRAM
seconds until the name of the program appears on the screen.
The cursor will blink in the first field to be altered.
To alter the name of the program, use the up and down arrows.
To navigate between the edit fields, press the right or left arrow keys.
14

Warranty terms and scope
KOTA Equipamentos guarantees the product and its accessories for
defects in materials and workmanship; always they have been used in
The warranty period is one year from the date of the purchase invoice,
contractual guarantee.
the remaining time of the original warranty, whichever is the last.
WARRANTY: ITEMS EXCLUDED
modifications by people or technical services not authorized by KOTA
Equipamentos.
the equipment.
In case of be necessary to contact KOTA Equipamentos, have the purchase
invoice of the equipment and the respective serial number.
15

KOTA Equipamentos
kotaimp.com.br
TECHNICAL CONSULTANT
consultoria.lab@kotaimp.com.br
SAC
Table of contents
Popular Oven manuals by other brands

Indesit
Indesit K6C517/RU operating instructions

KitchenAid
KitchenAid KEBK101 Use & care guide

montpellier
montpellier MON-SFOP60MC Installation and operating instructions

Koenic
Koenic KBO 42221 user manual

Zanussi
Zanussi ZHF 470 Instruction booklet

Frigidaire
Frigidaire FPET3085KF - 30" Double Electric Wall Oven Wiring diagram