Quick Installation Guide –DC 96 PLUS Revision 1.1 –December, 2023
❻Configuration and Operation
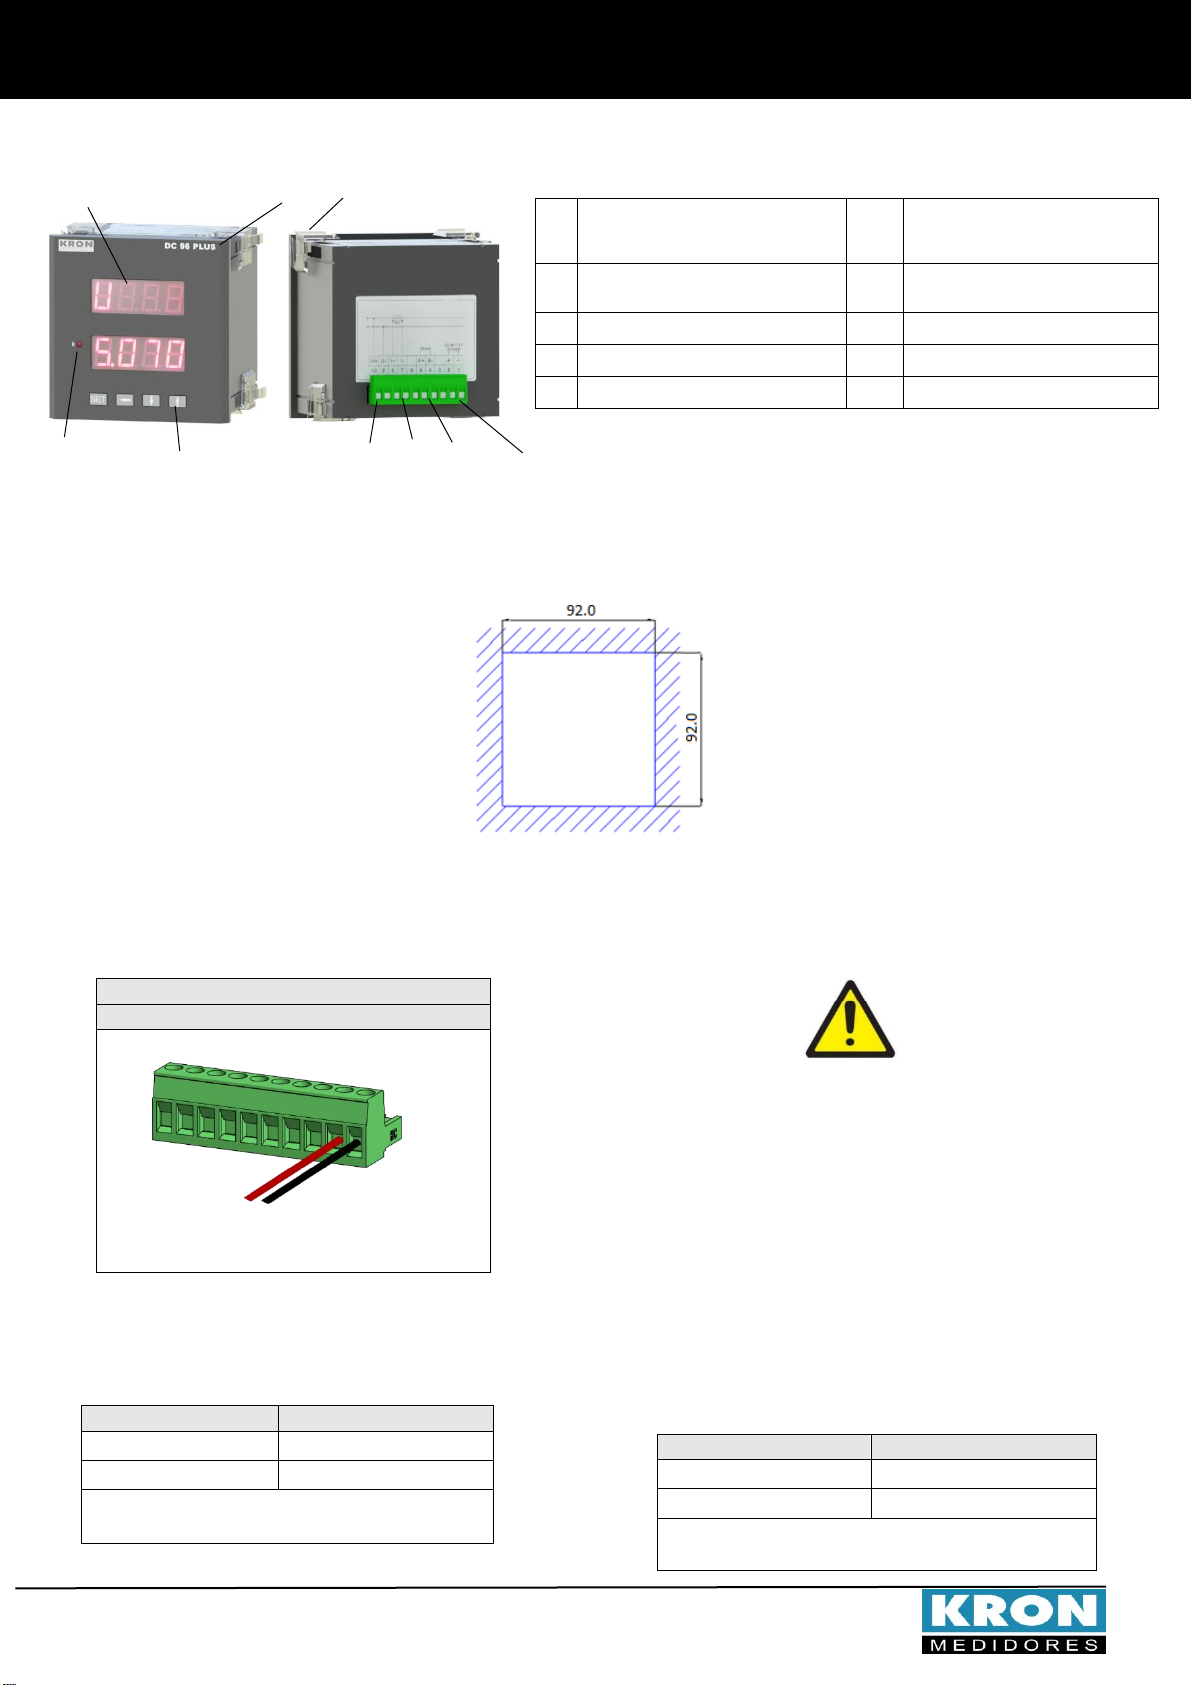
Configurable Parameters
FM U (Voltage Multiplication Factor)
Constant that defines the multiplication factor of the signal applied
to the voltage input.
Example: FM U= 540/60Vd.c. = 9.
Factory default setting = 1.
FE A (Current Full Scale)
Constant that defines the value to be displayed on the screen
when the input signal is equal to the nominal voltage at the
shunt input of the DC96 Plus Meter.
Factory default setting = 1.
TI (Integration Time): Internal constant that defines how often the
demand value should be calculated, in minutes.
Factory default setting = 15.
END: Address for Meter Identification on RS-485 Network.
Baud: Data transmission speed on the RS-485 network.
STP: Standard used for sending messages, which combines the
number of data bits (8), parity (None, Even, or Odd), and the number
of stop bits (1 or 2).
Operation mode
When turning on the DC96 Plus, the name kron dC will be
displayed on its screen, and then the measurement screen will
be automatically shown, where the instrument will indicate
the values being applied to its input.
To access the parameter configuration screen, it is necessary
to hold the button for 3 seconds or until the acronym
Fm U (Voltage Multiplication Factor) is displayed.
After this, simply press the button to start the
configuration. The value of Fm U can be configured from 1 to
9999.
At this moment, the value of the current configuration will be
displayed. Use the and buttons to increment or
decrement the value of the flashing digit, and the button
to navigate between digits. To change the decimal point, click
again and use to navigate between digits.
After making the desired configuration, click the button
to save the modification..
Current Full Scale: To make changes, press , and with the
display showing FE A, press the button to initiate the
configuration. It can be configured from 1 to 9999.
At this moment, the value of the current configuration will be
displayed. Use the and buttons to increment or
decrement the value of the flashing digit, and the button
to navigate between digits. To change the decimal point, click
again and use to navigate between digits.
After making the desired configuration, click the button
to save the modification.
Integration Time: To change, press , and with the display
showing tI, press again to initiate the configuration.
The value of TI can be configured from 1 to 60.
At this moment, the value of the current configuration will be
displayed. Use the and buttons to increment or
decrement the value of the flashing digit, and the button
to navigate between digits.
Modbus Address: To change, press , and with the display
showing End, press to initiate the modification. Use
and to increment or decrement the value of the
flashing digit, and to navigate between digits. After
making the desired configuration, click to save the
modification.
Baud rate: To change, press , and with the display
showing bAUd, press again to initiate the configuration.
At this moment, the currently configured Baud rate will be
displayed. Use the and buttons to switch between
9,600 or 19,200.
After making the desired configuration, click to save
the modification.
Dada Format: To change, press , and with the display
showing StP, press again to initiate the configuration.
At this moment, the currently configured format will be
displayed. Use the and buttons to switch between
8N2, 8N1, 8O1, or 8E1. After making the desired configuration,
click to save the modification.
Use to return to the measurement screen. On the initial
screen indicating values, the button has no function. Use
and to navigate between Measurements:
Instantaneous (U,A and P), Demand (ndP,dP, ndA and
dA) Energies (E,E- Et and Er)and Loads (AH, AH-,AHt
and AHr).
The Power (P), Grid Energy (Er)and Grid Load (AHr)screens
can have positive or negative values. When the values are
negative, a '-' sign will be displayed in the screen description.
To view Energies (E,E- Et and Er)and Loads (AH, AH-,
AHt and AHr), navigate between the quantities by pressing
the and buttons. When the desired measurement
is displayed, click to read the measured values. To
return to the quantity, click .