I – LEAK TESTING:
• During Leak testing, keep grill away from open flames or sparks and do not smoke.
• Grill must be leak tested outdoors in a well-ventilated area. Leak test must be repeated each time propane cylinder is
replaced or after it is removed for storage.
• Never attempt to light a grill if odor of gas is present.
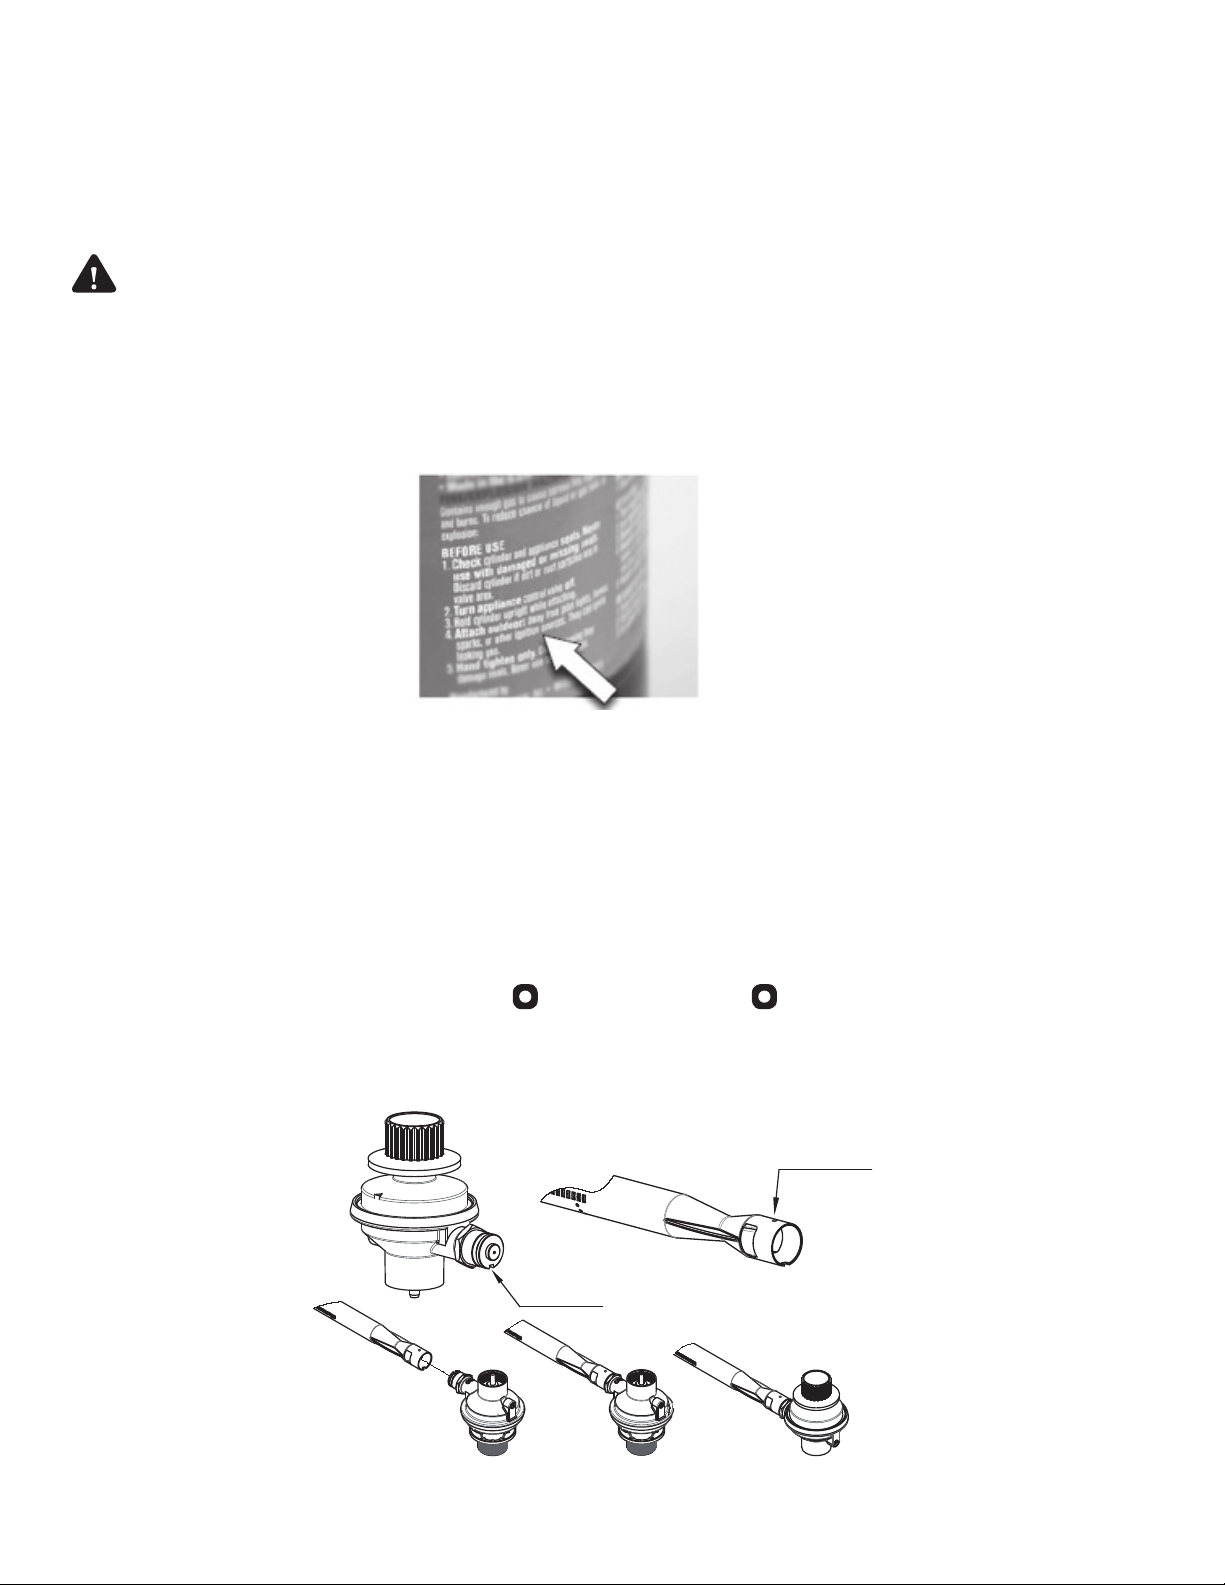
1. Verify control valve is in the “OFF” position and gas supply is connected.
2. Brush a soapy solution onto connection between cylinder and regulator.
3. Look for growing bubble to appear. If bubbles appear, re-tighten propane cylinder and repeat steps 1 & 2 until no
leaks are found.
4. If no leaks are found proceed to lighting the grill.
If you can’t stop a leak, remove cylinder from the regulator and check for damaged threads, dirt and debris on the
regulator or the cylinder fitting. If threads are damaged on any item, DO NOT USE the item until it is replaced. Also check
to see if anything is obstructing the flow of gas at the regulator or cylinder connection. Remove any obstruction that may
be found and repeat leak test steps.
See “SECTION L – ACCESSORIES” for replacement parts.
J – CLEANING AND MAINTENANCE
Never modify the grill, any modification may be dangerous and could cause injury or property damage.
To keep your new grill looking and operating properly, we recommend that the grill is thoroughly cleaned after each
use. By nature, stainless steel is rust resistant; however, the buildup of grease and food in and on the grill can and will
deteriorate the grill over time if not removed. A protective layer of “chromium-oxide” on the outer surface is the reason
stainless steels do not rust. Oxygen coming in contact with the Chromium in the metal creates this protective layer.
If food, grease or moisture covers the outer surface, oxygen can’t react with the Chromium and create the protective
chromium-oxide layer and surface rusting will occur. To minimize this effect:
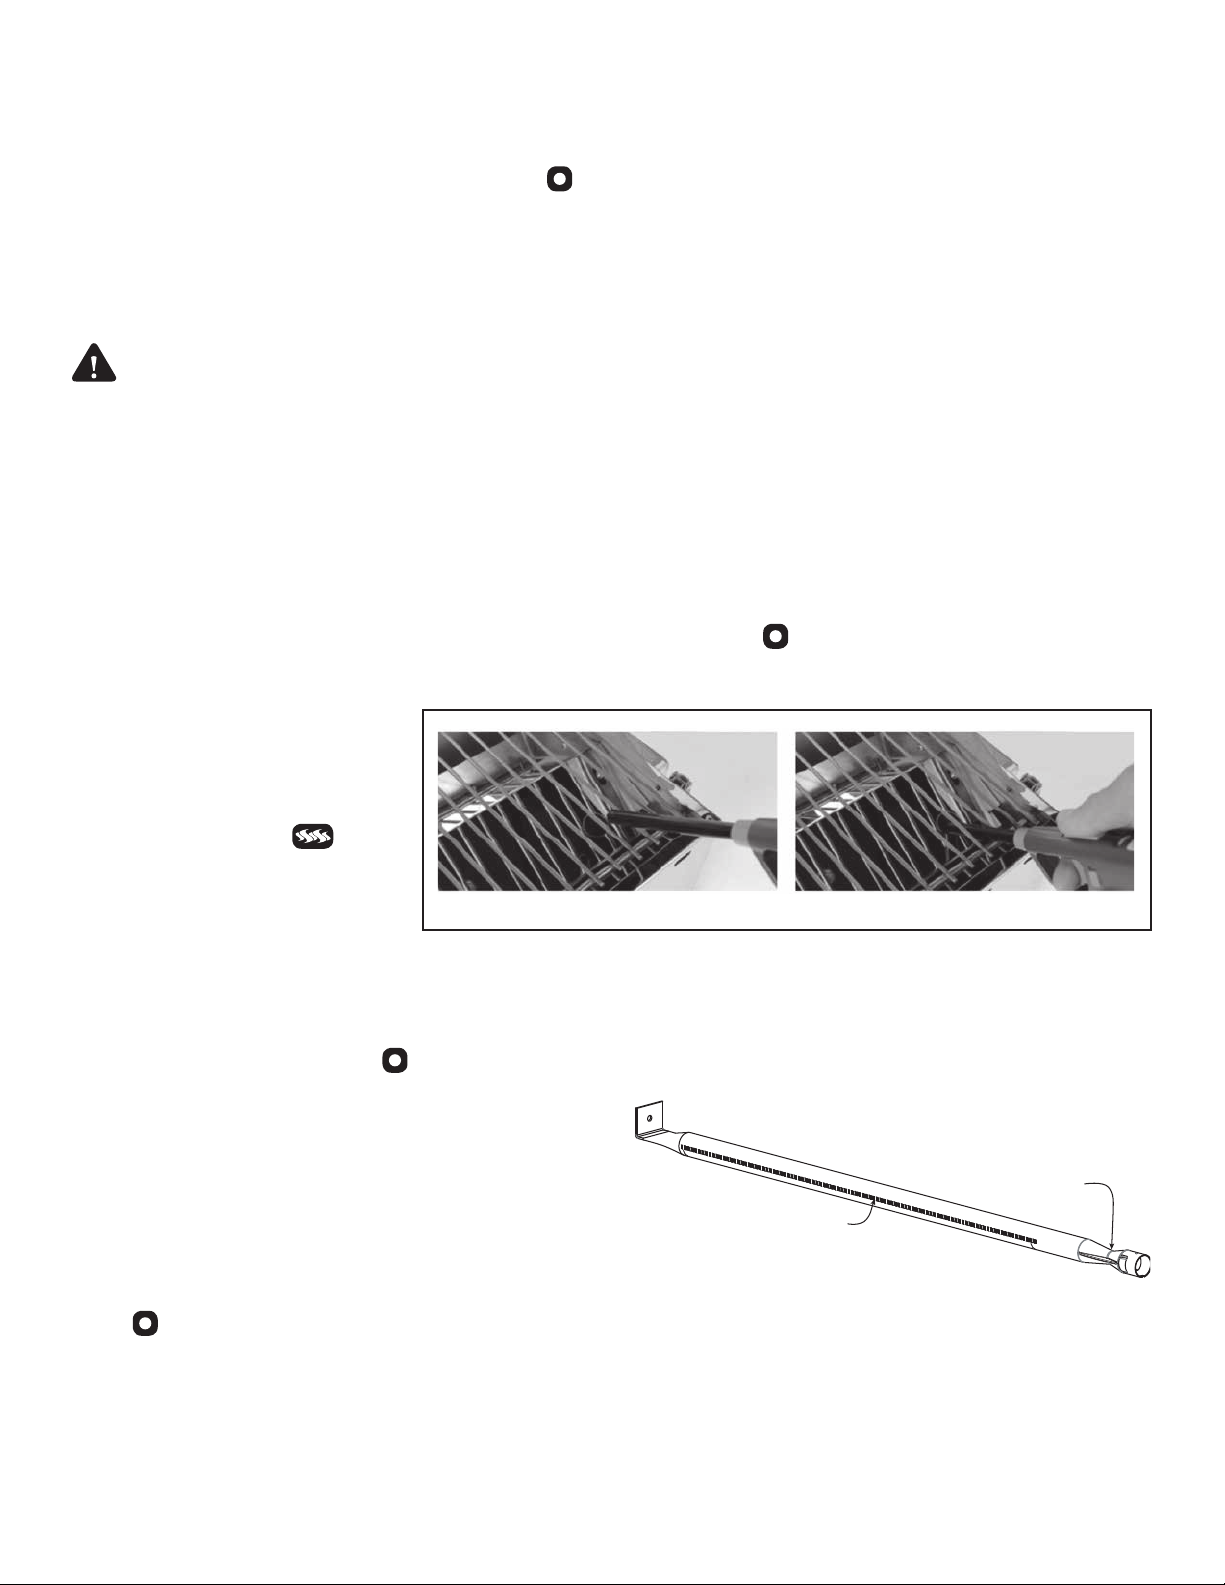
• Immediately after grilling, use a stainless steel or brass wire brush and scrub the cooking grate clean.
• After grill has cooled:
• Remove cooking grate and rub back side with wire brush
• Using the wire brush, rub and clean all build-up from “Heat Plate” or Lift and Clean Liner.
• Empty any and all grease from grease tray
• Remove any food particles or build up on or in the grill
• Use soap and water to thoroughly clean cooking area and adjacent
surfaces and the cooking grate. If needed to remove stubborn burnt-
on buildups inside the grill or on the cooking grate, use a commercial
oven cleaner. If an oven cleaner is used, be sure to thoroughly clean
with soap and water afterwards.
• Rinse with fresh water and then dry.
For technical assistance with disassembly or spare parts call Camco at
K – STORAGE AND TRANSPORT
After use, wait until appliance is cool before preparing for storage and
transport.
Remove propane supply cylinder if not already done; make sure control
knob is in the “OFF” position before doing this.
Clean the grill
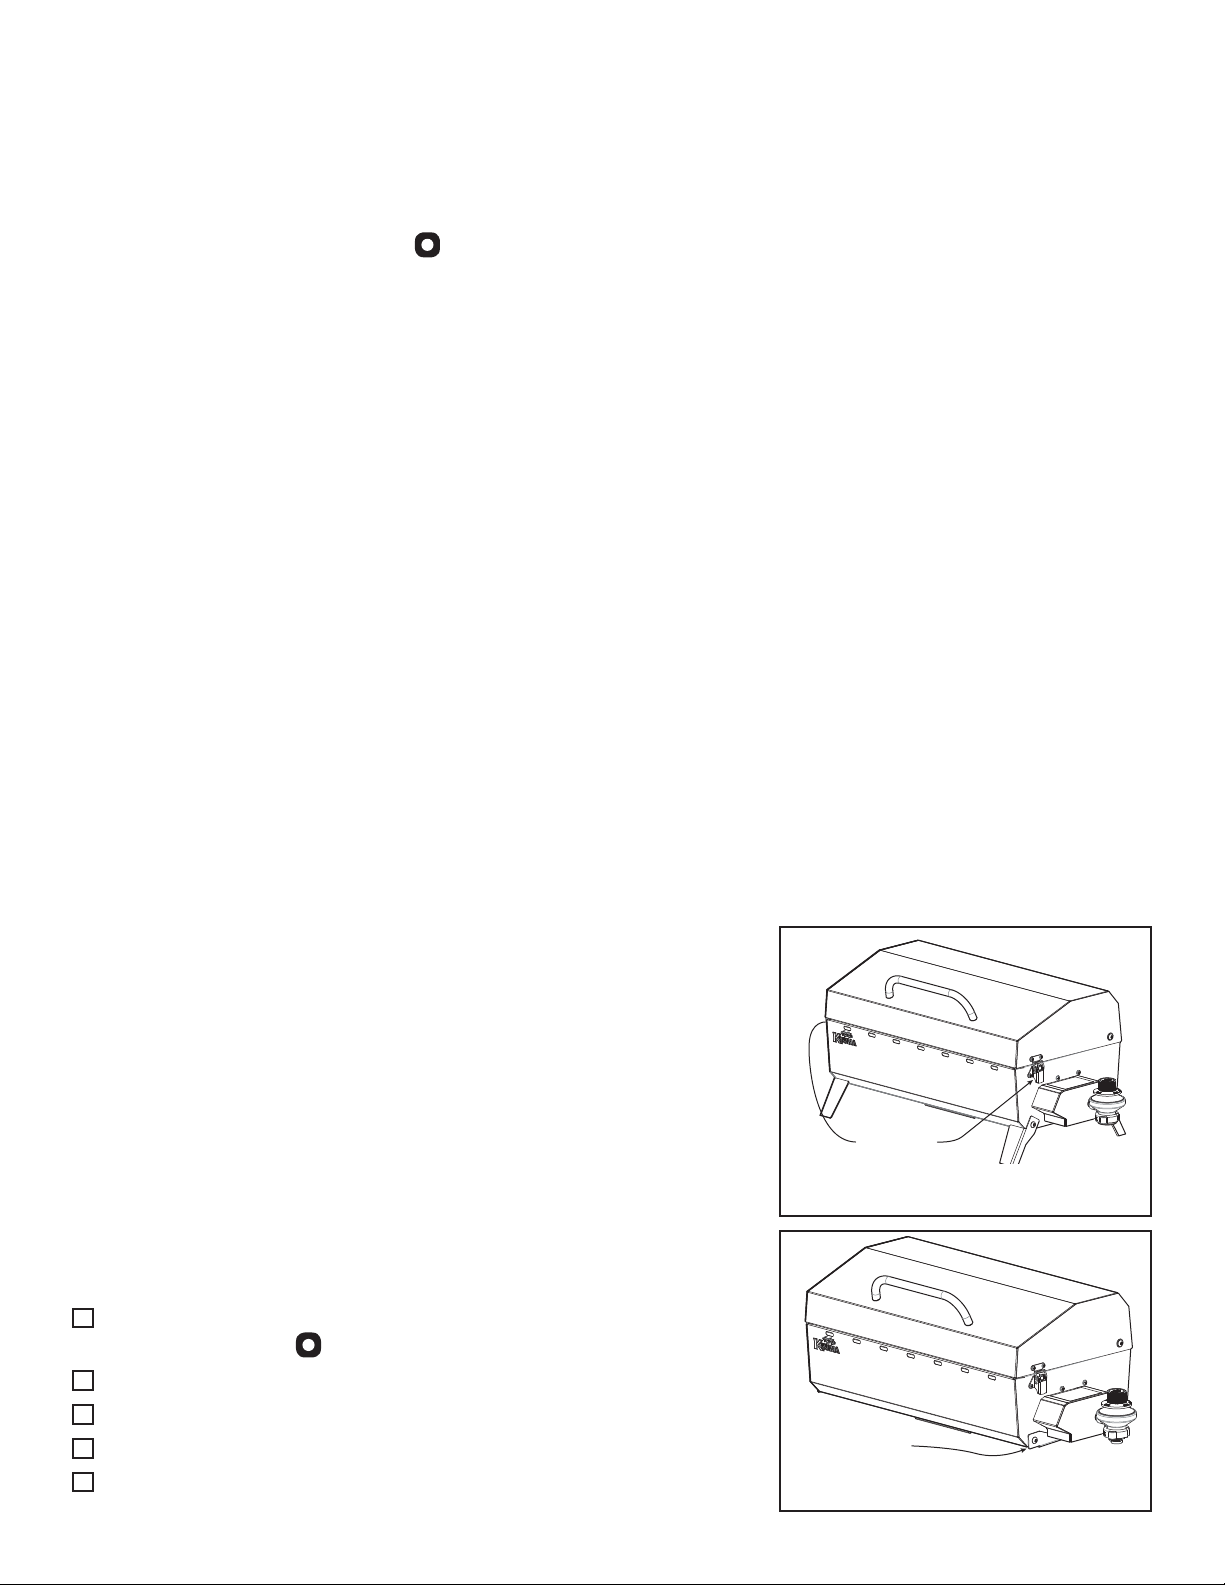
Closed the lid and latch shut to secure
Fold legs up to store position
Grill is ready to carry or store
>d,
(both sides)
LEGS
FOLDED
(4 corners)