manuals.online logo
Brands
  1. Home
  2. •
  3. Brands
  4. •
  5. La Crosse Technology
  6. •
  7. Weather Radio
  8. •
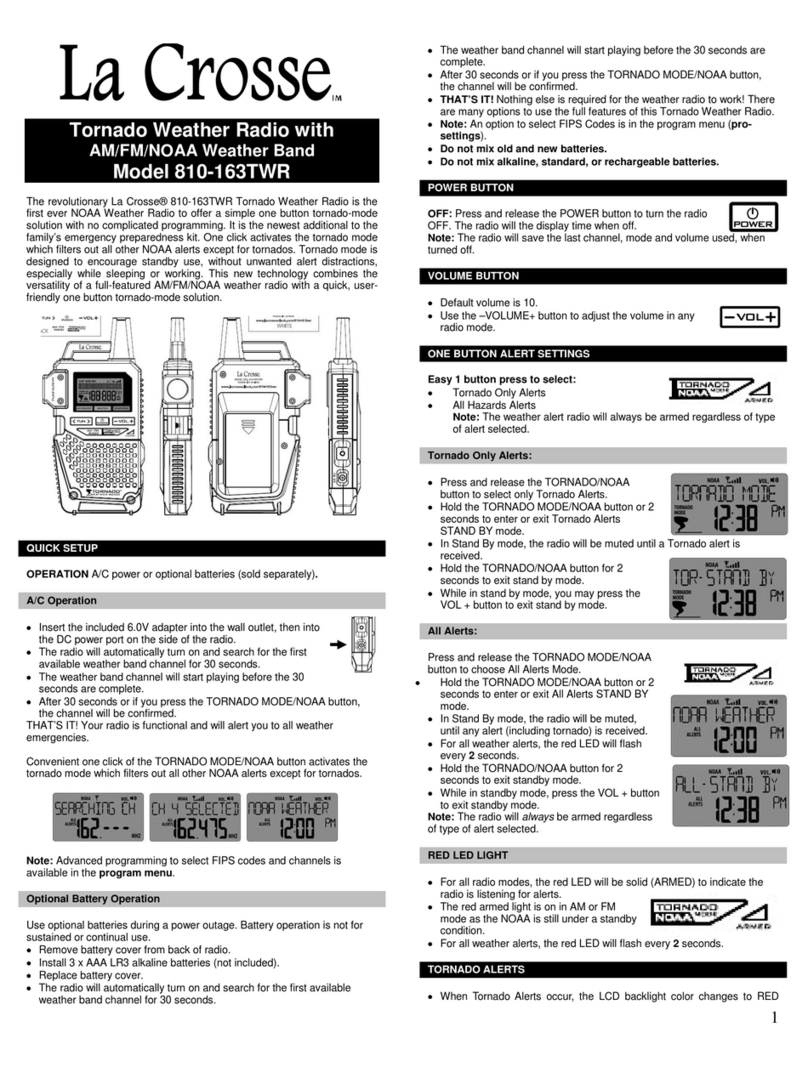
  9. La Crosse Technology 810-106 User manual

La Crosse Technology 810-106 User manual

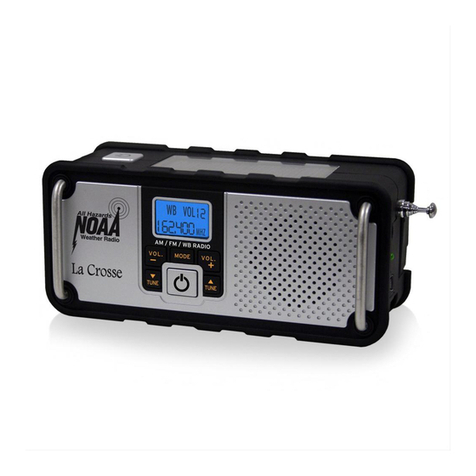
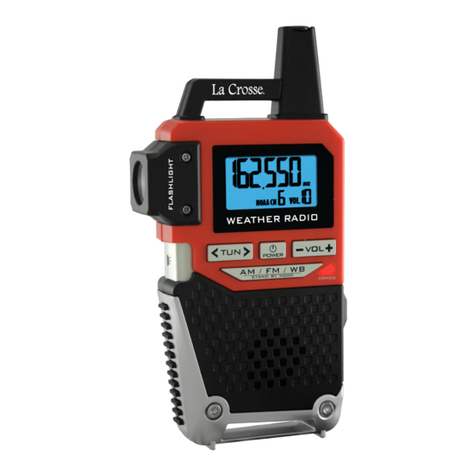
810-106 AM/FM Severe Weather Band Radio
Keep aware of weather while camping, hiking, boating or just at home in a
storm. This compact Weather Radio can receive 7 different weather band
channels for alerts and AM/FM stations for news or entertainment.
Operates as a LED flashlight if the power goes out.
FEATURES:
Weather Band: Receives 7 weather band channels.
Radio: AM and FM radio reception.
IC Chip: US made high quality.
Motor: Brushless AC motor
Battery: LIR123A Rechargeable 3.7V 600mAh
Hand Crank: Crank charge 1-minute equals 30-minutes of use.
Solar Panel: Power all day in sunlight.
Mini USB Port: Charge the radio with your computer
Charge the cell phone from the radio
Light: LED flashlight at the push of a button.
Audio out: Connect earphone (not included).
Backlight: Blue changes to Red for Weather Alert
OPERATION:
ON/OFF: Press and release the POWER button to turn the radio ON or
OFF.
SET TIME: With the radio off, press and hold the MODE button for 5
seconds to enter the program menu.
12/24-HOUR: 12h or 24h will flash. Press and release either TUNE
button to change. Press and release the MODE button once to
move to Hour.
HOUR: The Hour will flash. Use the left TUNE button to decrease
the hour or the right TUNE button to increase the hour. When the
Hour is set press and release the MODE button once to set the
Minutes.
MINUTES: The Minutes will flash. Use the left TUNE button to
decrease the minutes or the right TUNE button to increase the
minutes. When the Minutes are set press and release the MODE
button to return to confirm the settings.
NOTE: The clock will remain on when the power is off.
RADIO: Press and release the POWER button to turn the radio on.
SELECT BAND: Press and release the MODE button to select FM,
AM or WB radio.
TUNE: With your radio band selected, press and release the left
TUNE button to decrease the frequency and the right TUNE button
to increase the frequency of the selected band.
AUTO-SCAN: Press and hold the left or the right TUNE button to
auto-scan frequencies.
VOLUME: Use the -/VOL to decrease the volume and the +/VOL
to increase the volume.
WEATHER BANDS: The weather alert radio can receive 7 weather band
(WB) frequencies:
Channel 1: 162.400MHz
Channel 2: 162.425MHz
Channel 3: 162.450MHz
Channel 4: 162.475MHz
Channel 5: 162.500MHz
Channel 6: 162.525MHz
Channel 7: 162.550MHz
ALERTS: When WB is selected, the radio receives alarm signals
automatically.
STANDBY: When in WB hold the MODE button for 3 seconds to enter
Standby. When in Standby (WB Flashing) the radio receives alarm signal
automatically and the backlight will flash. Press MODE button for 2
seconds to turn off the flashing backlight without influencing weather band
radio reception. .
NOTE: Volume level is reduced while listening to the Weather Bands. The
volume will be adjusted to max level in weather band reception.
ANTENNA: Fully extend and rotate the telescoping Antenna and place
near a window to receive a steady strong signal and avoid a broken or
noisy reception.
LED LIGHT:
ON: Press and release the LIGHT button to turn on the white LED light.
OFF: Press and release the LIGHT button again to turn the light off.
NOTE: There is a light shadow above and below the light beam, which is
normal for a three LED arrangement.
CHARGING: When the low battery symbol displays, charge the radio by
solar/hand crank/USB.
Turn off the radio before charging.
The red LED charging indicator will illuminate to indicate the unit is
being charged.
Green light will indicate it is charged. (the light will not stay on
when not charging).
LOW BATTERY: A battery symbol will display in the top center of the
display when the battery is low and the radio will not function.
SOLAR: Place the unit outside with the solar panel in direct sun. In bright
sunlight the unit will be fully charged in 10-12 hours.
HAND CRANK: Extend the Hand Crank on the back of the radio. Rotate
steadily clockwise at a rate of 130cycles/minute. 1-minute of cranking will
provide 30-minutes of power. Red charge light will indicate cranking
speed is appropriate.
LED Light
Light Button
Hand Crank Antenna
Band
(AM, FM, WB)
Frequency
Volume
USB: This unit is equipped with a mini USB input/output jack for charging
the radio itself and to charge external other USB devices. To charge the
radio connect the USB charging cord into the mini USB port and plug into
a USB power source.
NOTE: The voltage should be 5.0V maximum and current should be
500MA maximum when charging by USB.
CHARGE CELL PHONE: Connect the cell phone to the mini USB jack
with the appropriate adapter kit (not included) and use the hand crank to
charge your cell phone.
NOTE: Charge time will vary based on the depletion of the phone battery.
It is best to have the radio off when charging.
RESET: If the display is blank, charge the battery then press the RESET
button once. The RESET button is a small pinhole near the antenna,
where the crank handle rests.
SPECIFICATIONS:
Dimensions: 5.5 in L x 2.5 in H x 2.375 in D
(13.97 cm L x 6.35 cm H x 6.032 cm D)
Bands:
Weather Band (7 Channels): -6dB 162.4000 - 162.5500MHz
AM 82dB 540-1700KHz
FM 10dB 88-108 MHz
Rechargeable Battery: LIR123/600MAH
Solar charging: 5.5v/40MA
Operating Temperature: 32F-130F (0C-54C)
Storage Temperature: 14F-130F (-10C-54C)
MAINTENANCE AND CARE
Extreme temperatures, vibration, and shock should be avoided to
prevent damage to the units.
Clean with a soft, damp cloth. Do not use solvents or scouring
agents; they may mark the radio.
Do not submerge the weather radio in water.
Opening the casings invalidates the warranty. Do not try to repair
the unit.
Open and close antenna fully. Never force the antenna.
Do not leave in vehicle in extreme temperatures.
Radio is not waterproof.
Do not crank the unit when there’s no battery inside or insulation
tap being inserted.
Do not listen to radio while the unit is plugged with USB power.
Reception effect will be heavily influenced this way. Use low
frequency adaptor to minimize the influence if an adaptor has to be
used.
ACCESSORY PACK (not included):
Please check with your local retailer to purchase the accessory pack for
the Severe Weather Band Radio.
The accessory pack includes:
Earphone
USB Radio charging cord
Cell Phone charging cord
Cell Phone charging Adaptors
To purchase accessory items, follow the link at:
www.lacrosseclock.com/810-106
Please help in the preservation of the environment and return used
batteries to an authorized depot.
WARRANTY:
1-Year Limited Warranty
La Crosse McCormick, LLC warrants that if the accompanying product
proves to be defective to the original purchaser in material or
workmanship within 1-year from the original retail purchase, La Crosse
McCormick, LLC will, at La Crosse McCormick, LLC ’s option, either
repair or replace same without charge (but no cash refund will be made).
CONDITIONS:
1.You must deliver, mail or ship the product, together with the original bill
of sale and this limited warranty statement as proof of warranty coverage
to:
La Crosse McCormick
Warranty Department
2817 Losey Blvd S
La Crosse WI 54601
2. This warranty is void if any defects are caused by abuse, misuse,
negligence or unauthorized repairs.
3. All liability for incidental or consequential damages is specifically
excluded. Some states do not allow the exclusion or limitation of
incidental or consequential damages, so the above limitation or exclusion
may not apply to you. This warranty gives you specific legal rights, and
you may also have other rights, which vary from state to state.
Limitation of Liability and Remedies
La Crosse McCormick, LLC shall have no liability for any damages due to
loss of profits, loss of use or anticipated benefits, or other incidental,
consequential, special or punitive damages arising from the use of, or the
inability to use, this product, whether arising out of contract, negligence,
tort or under any warranty, even if La Crosse McCormick, LLC has been
advised of the possibility of such damages. La Crosse McCormick, LLC’s
liability for damages in no event shall exceed the amount paid for this
product.
SERVICE PROCEDURE:
Please follow the procedure below to ensure the radio is properly serviced
and returned. Failing to follow the procedures may result in delays or loss
of product.
1. PROOF-OF-PURCHASE: Include some form of proof-of-purchase.
2. RADIO: Enclose the 810-106 AM/FM Severe Weather Band Radio.
3. PROPER PACKING: Pack the radio securely to prevent damage
during transit. Use original packing material if possible.
4. PROBLEM DESCRIPTION: Enclose a detailed written description of
the problem.
5. CONTACT INFORMATION: Enclose a typed or clearly printed name,
address, and phone number where you can be contacted during the day
M-F.
6. PREPAID TRACEABLE CARRIER: Ship the package with the contents
listed above, prepaid and insured by way of traceable carrier (to avoid
loss in transit). The Manufacturer is not responsible for units not received
if the package has not been properly insured.
Mail to:
La Crosse McCormick
Warranty Department
2817 Losey Blvd S
La Crosse WI 54601
Support: www.lacrosseclock.com/810-106
7. REPAIR/EXCHANGE: The radio will be repaired or
exchanged upon its receipt if it is under warranty.
8. SERVICE TIMELINE: Please allow approximately
2-4 weeks for the radio to be serviced under warranty.
Contact Support: 1-608-782-1610
Product Registration: www.lacrosseclock.com/register
Cell phone
charge adaptors:
Mini USB,
Micro USB,
iPhone
USB power PC to
Radio
Charge
light
indicator
Mini USB
DC IN/OUT
Charging cord Mobile Phone charging tip Mobile phone
Both items are part of accessory kit (not included) (not included)
Reset
button
Charge cord Earphone
NOTE:
Remove
battery
insulation TAB
for operation

Other La Crosse Technology Weather Radio manuals

La Crosse Technology 810-106 User manual

La Crosse Technology

La Crosse Technology 810-106 User manual

La Crosse Technology 810-1461 Dimensions

La Crosse Technology

La Crosse Technology 810-1461 Dimensions

La Crosse Technology WS-8010U User manual

La Crosse Technology

La Crosse Technology WS-8010U User manual

La Crosse Technology WS6204 User manual

La Crosse Technology

La Crosse Technology WS6204 User manual

La Crosse Technology 810-805 Installation guide

La Crosse Technology

La Crosse Technology 810-805 Installation guide

La Crosse Technology Wireless Weather Station User manual

La Crosse Technology

La Crosse Technology Wireless Weather Station User manual

Popular Weather Radio manuals by other brands

Midland HH54 user manual

Midland

Midland HH54 user manual

Oregon Scientific BAR386A user manual

Oregon Scientific

Oregon Scientific BAR386A user manual

Kenwood KTC-WB100 instruction manual

Kenwood

Kenwood KTC-WB100 instruction manual

Discovery Expedition D105X instruction manual

Discovery Expedition

Discovery Expedition D105X instruction manual

Radio Shack 12-240 owner's manual

Radio Shack

Radio Shack 12-240 owner's manual

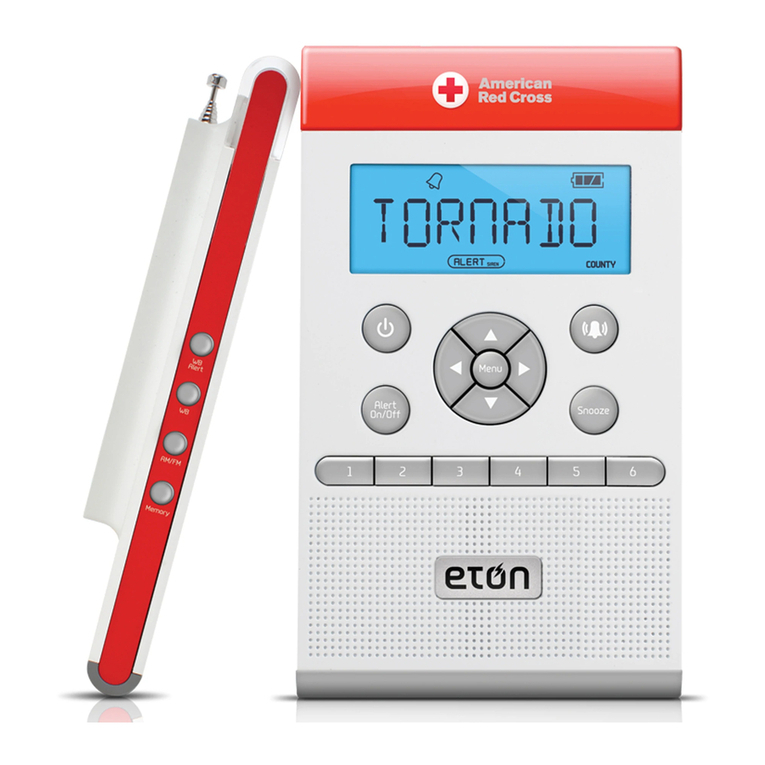
Eton ZoneGuard+ owner's manual

Eton

Eton ZoneGuard+ owner's manual

La Crosse S83301 instruction manual

La Crosse

La Crosse S83301 instruction manual

Eton ZoneGuard+ owner's manual

Eton

Eton ZoneGuard+ owner's manual

Eton FRX4 owner's manual

Eton

Eton FRX4 owner's manual

Eton MICROLINK FR160 owner's manual

Eton

Eton MICROLINK FR160 owner's manual

Eton FRX1 owner's manual

Eton

Eton FRX1 owner's manual

Eton MICROLINKFR170 owner's manual

Eton

Eton MICROLINKFR170 owner's manual

Eton FRX4 Features

Eton

Eton FRX4 Features

Honeywell TC682EL user manual

Honeywell

Honeywell TC682EL user manual

manuals.online logo
manuals.online logoBrands
  • About & Mission
  • Contact us
  • Privacy Policy
  • Terms and Conditions

Copyright 2025 Manuals.Online. All Rights Reserved.