Model: 308-1451H
www.lacrossetechnology.com/support
11
CH
Channel Selection and Auto-scroll
Channels: When more than one sensor is used, set each sensor to a different channel number then hold
the CH button for 5 seconds to search for the sensors.
View Channels: Press the CH button to select Ch1, Ch2, Ch3 or auto-channel scroll.
Auto scroll-channel will show a circling arrow below the channel number and will rotate
through each channel approximately every 5-8 seconds
Setup with Multiple Outdoor Sensors
The forecast station will accommodate up to three remote outdoor sensors (TX142TH or TX14TH). The channel
selection button allows you to easily see the temperature in various locations: outdoors, baby’s room,
greenhouse, basement, etc. Monitor remote temperature in up to 3 locations within a 200 ft. wireless range of
the forecast station.
To connect multiple remote sensors to the forecast station:
1. Remove the battery cover from all the sensors (Leave battery covers off until all sensors are
received by the forecast station).
2. Set the first outdoor sensor to Channel 1 and insert 2 AA batteries.
3. Set the second outdoor sensor to Channel 2 and insert 2 AA batteries.
4. Set the third outdoor sensor to Channel 3 and insert 2 AA batteries.
5. Press and hold the CH button on the forecast station for 5 seconds. The forecast station will search
for all outdoor sensors.
6. Press the TX button on each outdoor sensor to transmit RF signal.
7. When RF connection is established, the respective temperature & humidity for each of the selected
channels will appear on the main unit.
8. Allow the sensors and the forecast station to stay 5-10 feet apart for 15 minutes to establish a solid
connection.
9. Install the battery covers on each sensor.
10. After 15 minutes place the remote sensors in appropriate locations (see “position the outdoor sensor”).
Press and release the CH button to view channel 1, 2 or 3 on the forecast station when multiple sensors are
used.
Note: You cannot change channels if only one sensor is connected.
Channel Scroll
Press and release the CH button until you see appear in the outdoor data area. The forecast station will
automatically rotate through the channels for all connected sensors.
Press and release the CH button to lock the forecast station into one channel. Then view channels individually
with a press of the CH button.
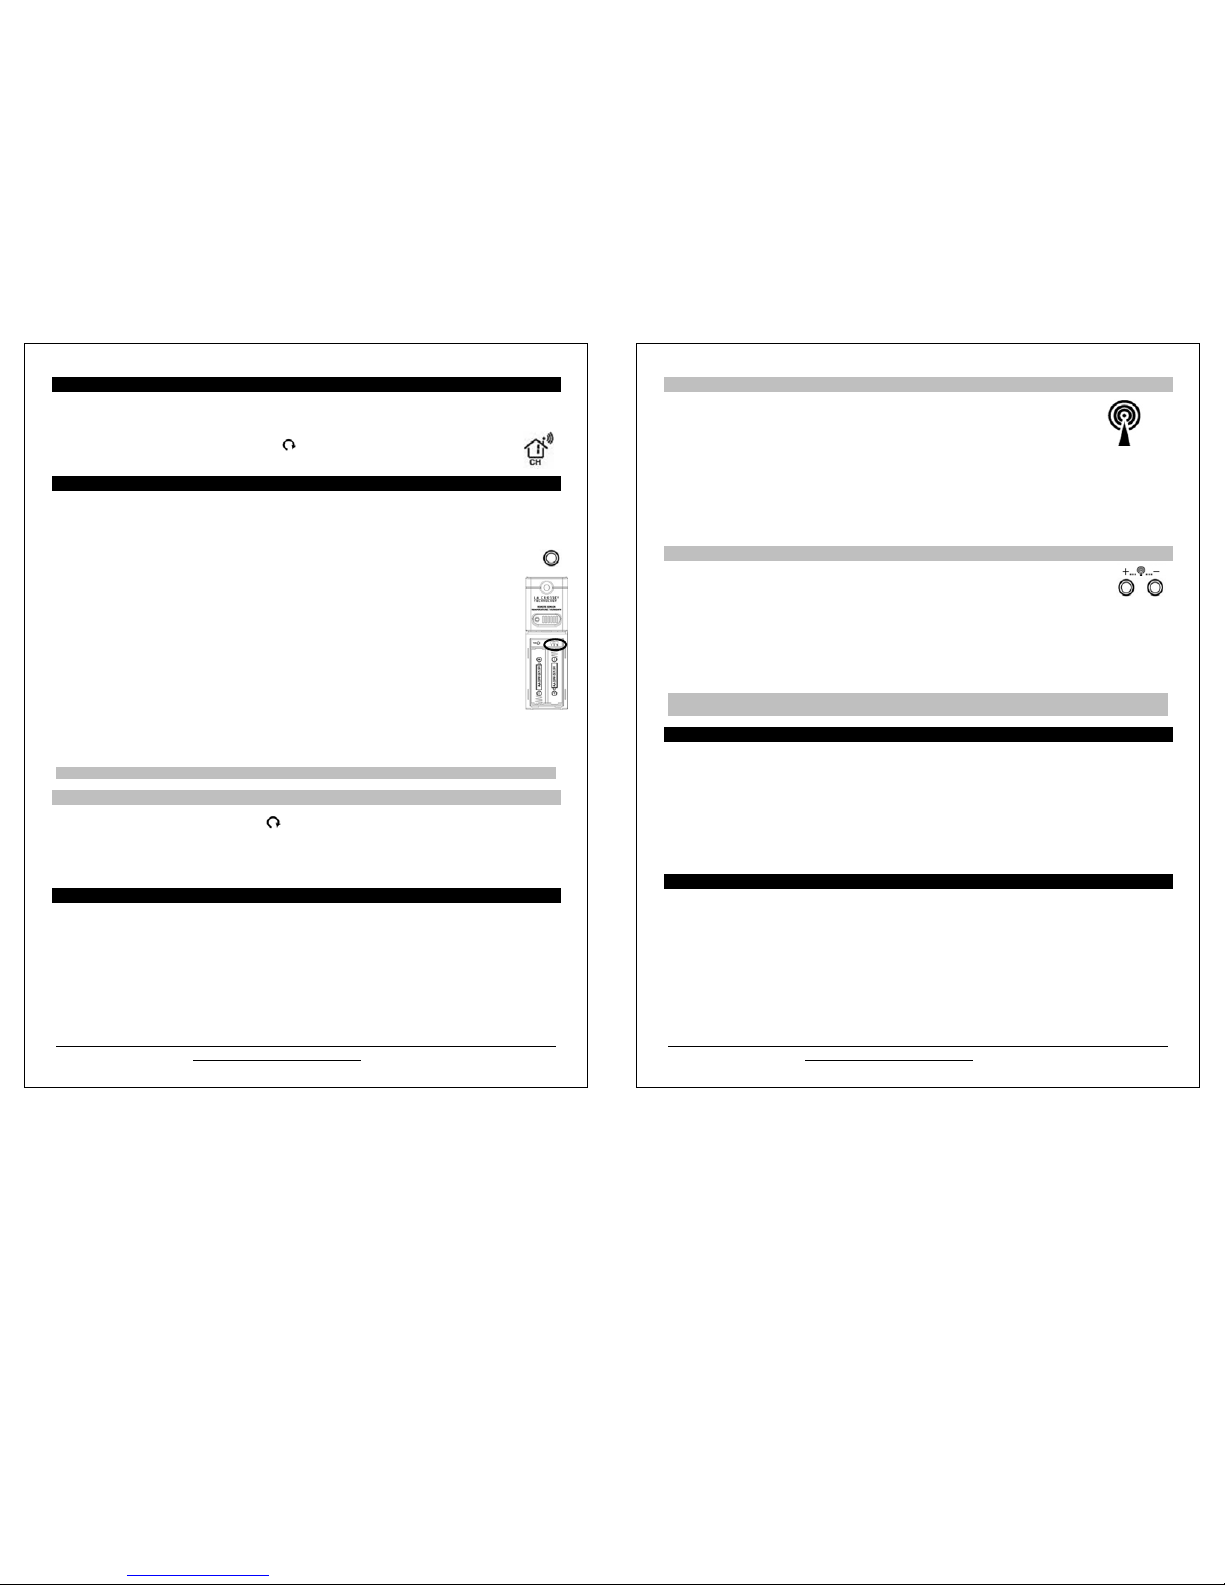
WWVB Radio-controlled Time
The NIST radio station, WWVB, is located in Ft. Collins, Colorado, and transmits the exact time signal
continuously throughout the United States at 60 kHz. The signal can be received up to 2,000 miles away
through the internal antenna in the forecast station. However, due to the nature of the Earth’s Ionosphere,
reception is very limited during daylight hours.
The forecast station will search for a signal every night when reception is best. The WWVB radio station derives
its signal from the NIST Atomic Clock in Boulder, Colorado. A team of atomic physicists continually measures
every second of every day to an accuracy of ten billionths of a second a day. These physicists have created an
international standard, measuring a second as 9,192,631,770 vibrations of a Cesium 133 atom in a vacuum.
This atomic clock regulates the WWVB sensor.
Model: 308-1451H
www.lacrossetechnology.com/support
12
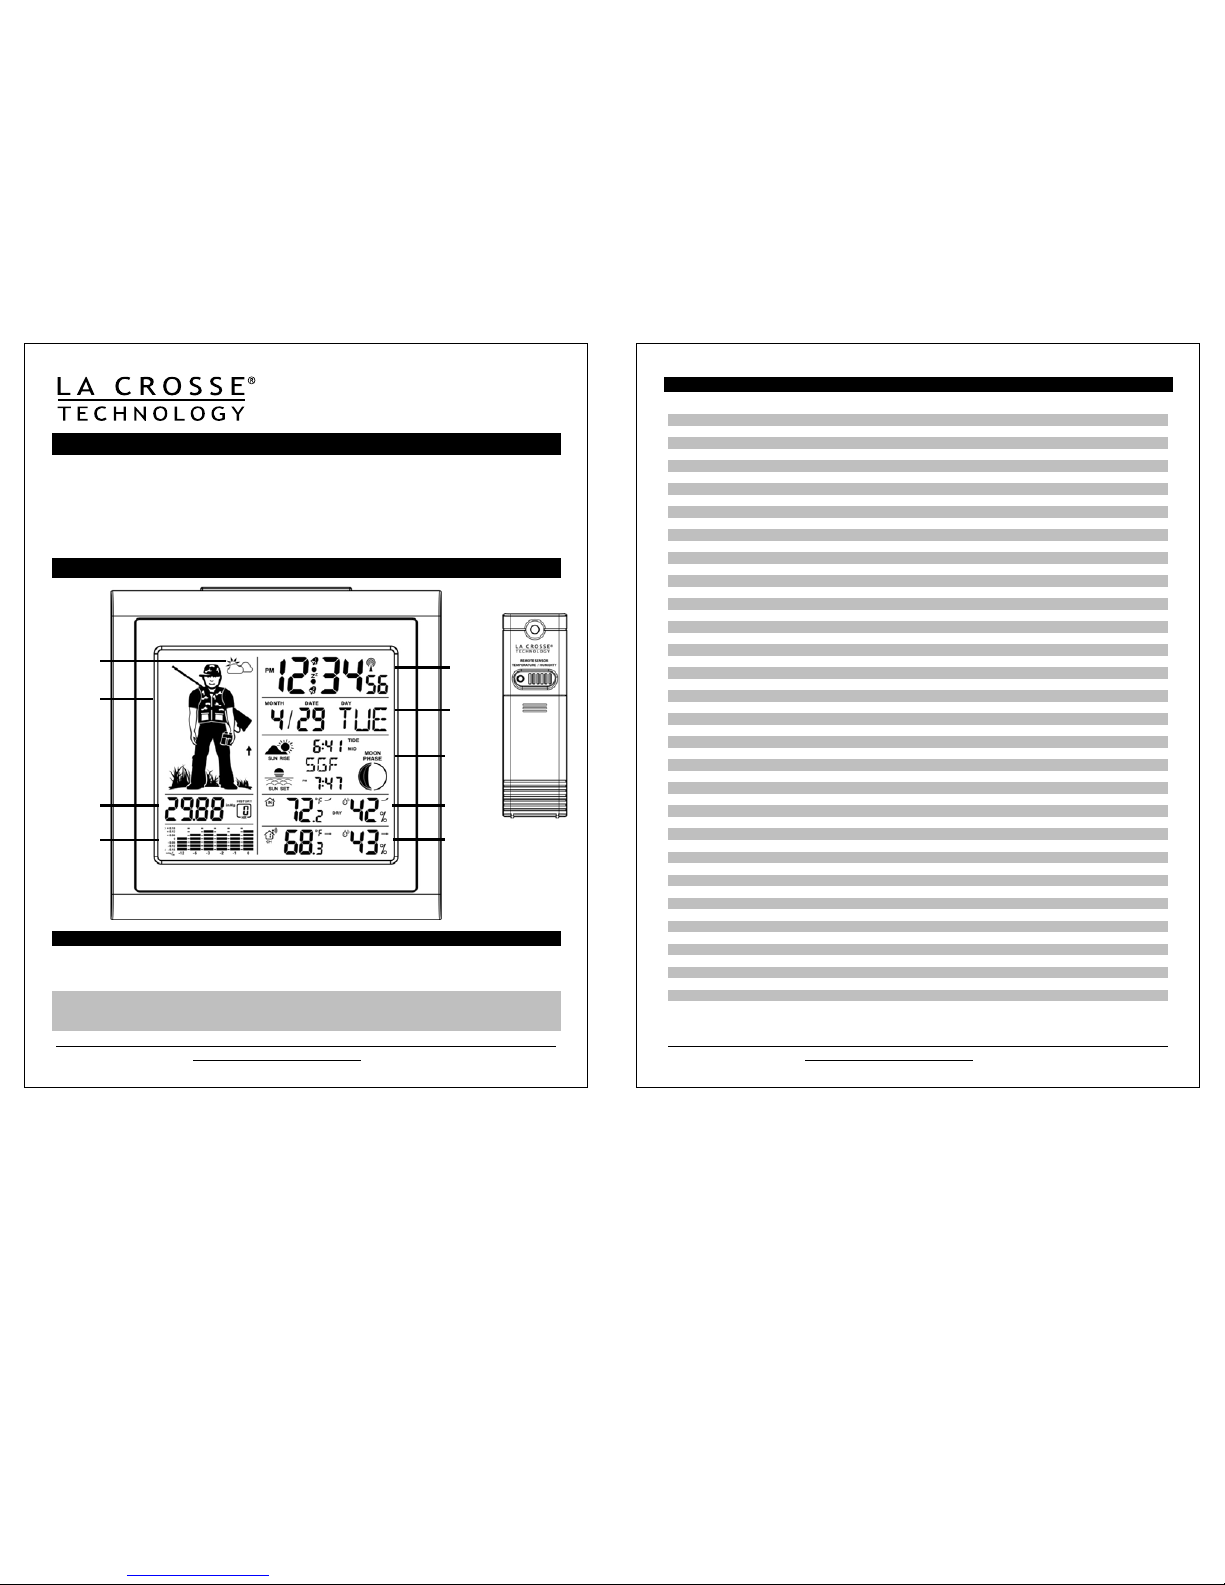
WWVB Reception Icon
Reception icon with full signal strength will appear on screen in front of the date when the
reception of time is successful.
The tower icon will show solid when the forecast station has received the WWVB signal.
No tower icon is shown. The forecast station was unable to receive a signal at this time.
Reposition the forecast station for better signal reception or try again at bedtime.
The forecast station will start searching at UTC: 07:00 and if no reception on the first attempt they will try
again at 08:00, 09:00, 10:00 and 11:00. Each attempt will be at least 2 minutes and the most will be 10
minutes.
If there is no signal or too much interference the receiver will only be on for 2 minutes.
If the signal is good it may catch a signal in ABOUT 2-3 minutes.
If the signal is marginal it will try to catch a signal for up to 10 minutes.
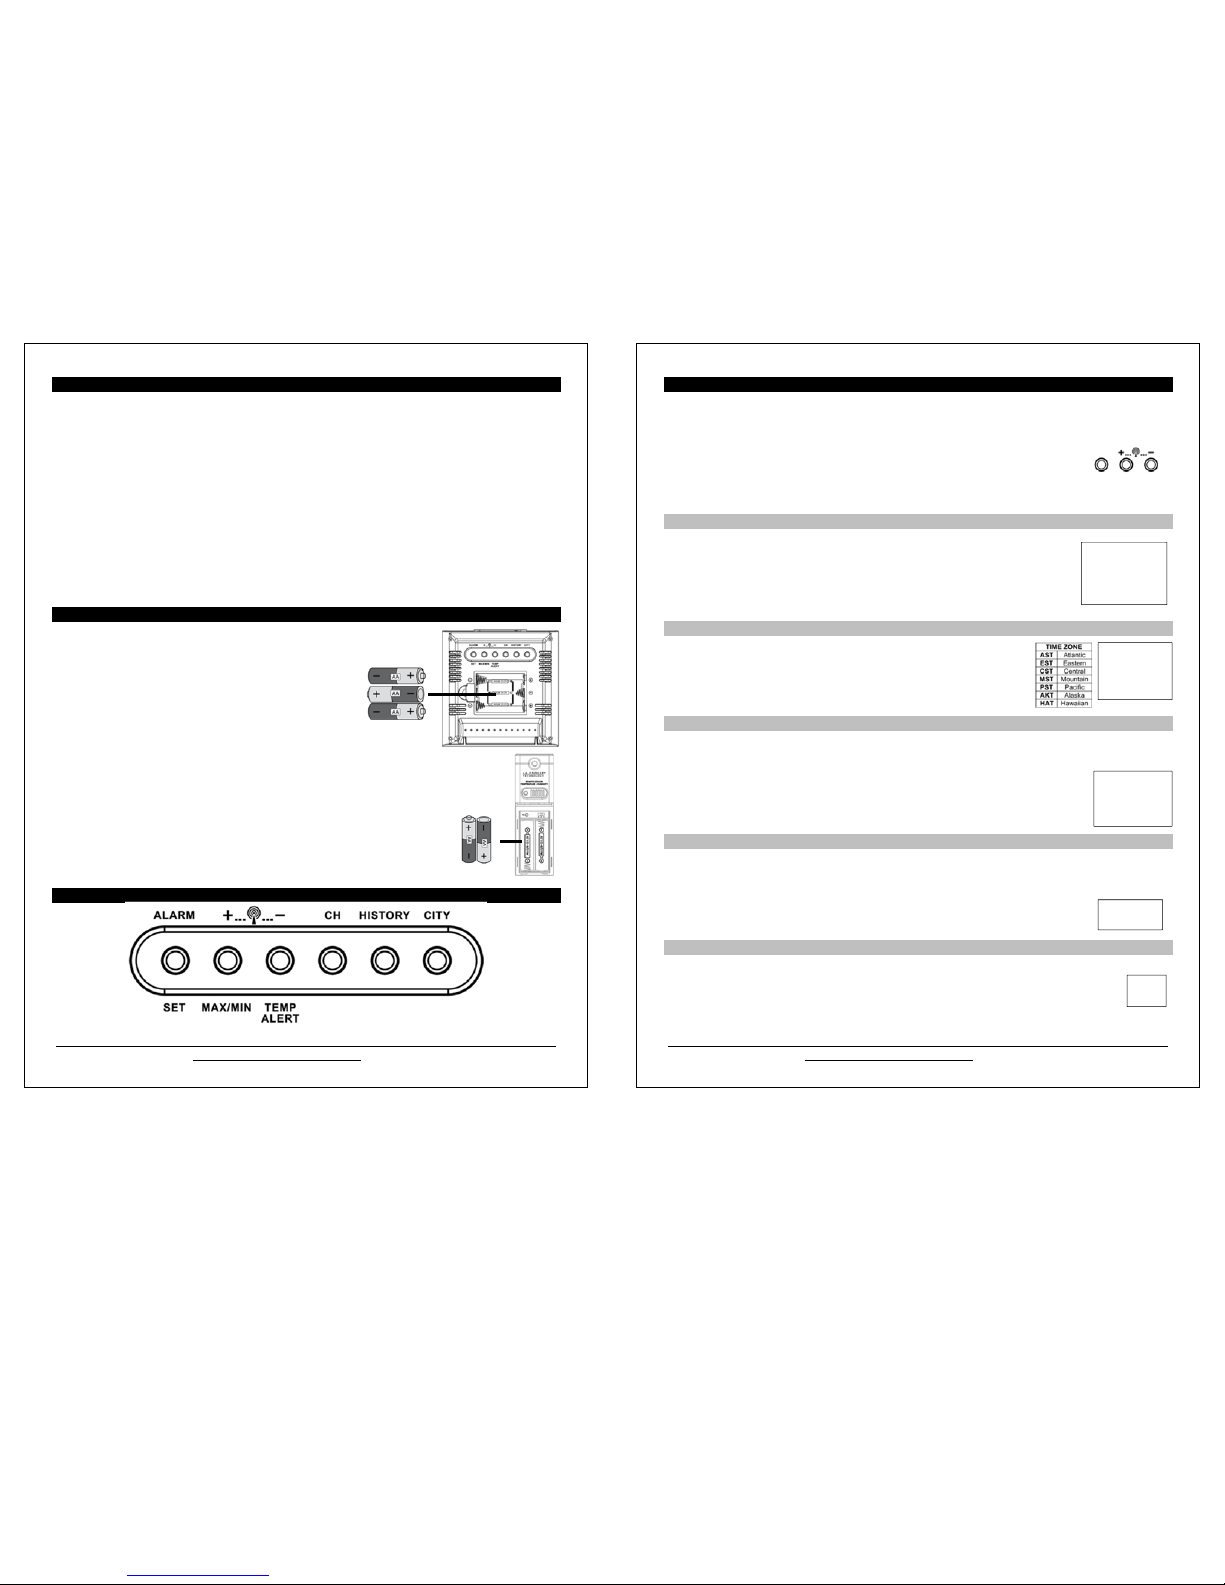
WWVB Manual Signal Search
Normal mode: Hold the + and - buttons together for 3 seconds to enter manual search.
Reception mode: Hold the + and - buttons together for 3 seconds to exit searching for the WWVB
signal.
Recommended distance to any interfering sources like computer monitors or TV sets is a minimum of 6 feet
(2 meters).
Within ferro-concrete rooms (basements, superstructures), the received signal is naturally weakened. In
extreme cases, please place the unit close to a window and/ or point its front or back towards the Fort
Collins, Colorado, sensor.
During nighttime, the atmospheric disturbances are usually less severe and reception is possible in most
cases. A single daily reception is adequate to keep the accuracy deviation below 1 second.
Note: In case the forecast station is not able to detect the WWVB-signal (disturbances, transmitting distance,
etc.), the time and date can be manually set (see “program menu”).
Care and Maintenance
Do Not Mix Old and New Batteries
Do Not Mix Alkaline, Lithium, Standard or Rechargeable Batteries
Do not expose the forecast station to extreme temperatures, vibration or shock. Keep dry.
Clean forecast station with a soft damp cloth. Do not use solvents or scouring agents.
The forecast station is not a toy. Keep it out of reach of children.
The forecast station is not to be used for medical purpose or for public information. It is for home use only.
The specifications of this forecast station may change without prior notice.
Improper use or unauthorized opening of housing will void the warranty.
If the forecast station does not work properly, change the batteries and/or check the a/c cord connection.
Position the Outdoor Sensor
Once the forecast station shows the outdoor temperature/humidity, place it and the sensor in the desired
locations and wait approximately one hour before permanently mounting the sensor to ensure that there is
proper reception. The sensor should be mounted vertically, in a shaded, protected area, where direct sunlight
cannot reach the outdoor sensor, at least 6 feet from the ground to avoid damage and ensure accurate
readings. The sensor is water resistant, not waterproof and should not be placed anywhere it will become
submerged in water or subject to standing water or snow.
Choose a location for the sensor that is within range of the forecast station and under an overhang for
accuracy. The maximum transmitting range in open air is over 200 feet (60 meters).