manuals.online logo
Brands
  1. Home
  2. •
  3. Brands
  4. •
  5. Lastolite
  6. •
  7. Camera Accessories
  8. •
  9. Lastolite Cubelite User manual

Lastolite Cubelite User manual

1. Remove items from the box. You should have:
- Bag containing the Studio Cubelite (flat)
- 4 x Black support rods
- 4 x Silver support rods
- Circular acrylic sheet
- Roll of translucent film
Remove the Studio Cubelite from the protective bag.
2. Lay the Studio Cubelite on the floor and position the
end of one of the black rods on the corner of the lower
steel rim. Ensure the steel rim locates into the jaws of
the tip at the end of the rod.
3. Pull the middle and top steel rims away from the lower
steel rim and locate the jaws of the tip at the other end
of the black rod into the middle rim.
4. Repeat steps 2&3 for the remaining three corners.
When all four rods are in place, check they are all in a
vertical position.
5. Position the end of one of the silver rods on the corner
of the middle steel rim. Ensure the steel rim locates
into the jaws of the tip at the end of the rod.
6. Pull the middle and top steel rims away from each
other and locate the jaws of the tip at the other end of
the silver rod into the top rim. This process will require
more force than you used when positioning the black
rods, as they are a much tighter fit. This helps pull out
the crease in the white fabric.
7. Repeat steps 5&6 for the remaining three corners.
When all four rods are in place, check they are all in a
vertical position.
8. Remove the blue protective film and place the circular
acrylic sheet inside the top white section and place it
on the white fabric surface seperating the top and
bottom sections (do not drop this sheet as it will break).
9. Place the translucent film inside the top white section
of the Studio Cubelite. There is a velcro strip running
along one edge of the film.
10. Attach the velcro edge of the translucent film to the
the two velcro tabs already sewn into the top of the
white section.
11. The Studio Cubelite is ready to use. Add to it your
chosen lighting solution. Refer to the label near the
rear opening of the Studio Cubelite for advice on
how to position the light source inside.
Breaking Down your Studio Cubelite
12. Remove the translucent film, roll it up and return it to
the protective tube.
13. Remove and pack away your chosen lighting system.
14. Remove the circular acrylic sheet from the top of the
lower unit and return it to the protective bag.
15. Remove the supporting rods from the top section then
the lower section and allow the three steel rims to lie
on top of each other. Return them to the protective bag.
16. Return all the Studio Cubelite items to the storage box.
Setting up your Studio Cubelite
123
456
789
10 11
B90371 - page 1 of 3
Setting up your Studio Cubelite
Montaje del Studio Cubelite
1. Retirar los componentes de la caja. En el volumen suministrado
deben estar incluidos los siguientes componentes:
- Bolsa con el Studio Cubelite (plana)
- 4 barras de soporte negras
- 4 barras de soporte plateadas
- Pantalla de acrílico redonda
- Rollo con film transparente
Retirar el Studio Cubelite de la bolsa de protección.
2. Colocar el Studio Cubelite en el suelo y pasar el extremo de una
de las barras negras por la esquina del aro de acero inferior.
Asegurarse que el aro de acero encaje en los ganchos de la punta
en el extremo de la barra.
3. Estirar el aro de acero central y el superior en la dirección contraria
hacia el aro de acero inferior y llevar los ganchos de la punta en el
otro extremo de la barra negra hasta el aro central.
4. Repetir los pasos 2 & 3 para las otras tres esquinas. Una vez
montadas las cuatro barras, controlar si se encuentran en posición
vertical.
5. Conducir el extremo de una de las barras plateadas hasta el aro
de acero central. Asegurarse que el aro de acero encaje en los
ganchos de la punta en el extremo de la barra.
6. Estirar el aro de acero central y el superior en la dirección contraria
y llevar los ganchos de la punta en el otro extremo de la barra
plateada hasta el aro de acero superior. Este procedimiento
requiere de más fuerza que para el posicionamiento de las barras
negras, ya que estas barras tienen un ajuste más apretado. De
esa forma el doblez en el paño blanco se puede quitar más
fácilmente.
7. Repetir los pasos 5 & 6 para las otras tres esquinas. Una vez
montadas las cuatro barras, controlar si se encuentran en posición
vertical.
8. Quite el plástico protector azul y coloque la pantalla acrílica
circular con la parte blanca hacia arriba, sobre la superficie blanca
de tela que separa las partes superior e inferior. (No deje caer la
pantalla, ya que se puede romper)
9. Colocar el film transparente en la parte superior blanca del Studio
Cubelite. El film posee una cinta de velcro en uno de los bordes.
10. Colocar la cinta de velcro del film transparente sobre las otras dos
cintas de velcro que están cosidas en la parte superior blanca.
11. Ahora el Studio Cubelite está listo para ser utilizado y se lo puede
combinar con el sistema luminoso previsto. En la etiqueta de la
abertura trasera del Studio Cubelite encontrará instrucciones sobre
el posicionamiento de la fuente luminosa interna.
Desmontaje del Studio Cubelite
12. Retirar el film transparente, enrollarlo y colocarlo nuevamente en el
rollo de protección.
13. Retirar el sistema luminoso utilizado y embalarlo.
14. Retirar la pantalla de acrílico redonda de la parte superior de la
unidad inferior y colocarla nuevamente en la bolsa de protección.
15. Primero retirar las barras de soporte de la parte superior y luego
las de la parte inferior. Colocar los tres aros de acero uno sobre
otro y después ponerlos en la bolsa de protección.
16. Colocar todos los componentes del Studio Cubelite en la caja para
guardarlos.
Montieren des Studio Cubelite
1. Die Komponenten aus dem Kasten nehmen. Folgende
Komponenten müssen im Lieferumfang enthalten sein:
- Tasche mit dem Studio Cubelite (flach)
- 4 x schwarze Trägerstangen
- 4 x silberfarbene Trägerstangen
- Runder Acrylplatte
- Rolle mit Transparentfolie
Den Studio Cubelite aus der Schutztasche nehmen.
2. Den Studio Cubelite auf den Boden legen und das Ende einer der
schwarzen Stangen in die Ecke der unteren Stahleinfassung
führen. Sicherstellen, dass die Stahleinfassung in die Klauen der
Spitze am Ende der Stange greift.
3. Die mittlere und obere Stahleinfassung in entgegengesetzte
Richtung zur unteren Stahleinfassung ziehen und die Klauen der
Spitze am anderen Ende der schwarzen Stange in die mittlere
Einfassung führen.
4. Die Schritte 2 & 3 für die anderen drei Ecken wiederholen. Wenn
alle vier Stangen montiert wurden, kontrollieren, ob sie in ihrer
Position vertikal ausgerichtet sind.
5. Das Ende einer der silberfarbenen Stangen in die Ecke der
mittleren Stahleinfassung führen. Sicherstellen, dass die
Stahleinfassung in die Klauen der Spitze am Ende der Stange
greift.
6. Die mittlere und obere Stahleinfassung in entgegengesetzte
Richtung ziehen und die Klauen der Spitze am anderen Ende der
silberfarbenen Stange in die obere Einfassung führen. Dieses
Verfahren erfordert einen größeren Kraftaufwand als die
Positionierung der schwarzen Stangen, da diese Stangen eine
knappere Passung aufweisen. Dadurch lässt sich die Falte in dem
weißen Tuch leichter herausziehen.
7. Die Schritte 5 & 6 für die anderen drei Ecken wiederholen. Wenn
alle vier Stangen montiert wurden, kontrollieren, ob sie in ihrer
Position vertikal ausgerichtet sind.
8. Die blaue Schutzfolie von der abgerundeten Acrylplatte entfernen,
diese in die Öffnung des weißen Lichtwürfels einführen und auf die
weiße Stoffabdeckung legen, welche das Oberteil vom Unterteil
trennt. (Acrylplatte nicht fallen lassen, Bruchgefahr!)
9. Die Transparentfolie in den oberen weißen Bereich des Studio
Cubelite führen. Ein Klettband verläuft an einem Rand der Folie.
10. Das Klettband der Transparentfolie an den beiden Klettbändern
anbringen, die oben im weißen Bereich eingenäht sind.
11. Der Studio Cubelite ist jetzt einsatzbereit und kann mit dem
vorgesehenen Beleuchtungssystem kombiniert werden. Auf dem
Etikett an der rückseitigen Öffnung des Studio Cubelite finden sich
Hinweise zur Positionierung der internen Lichtquelle.
Zerlegen des Studio Cubelite
12. Die Transparentfolie entfernen, aufrollen und wieder in die
Schutzrolle führen.
13. Das verwendete Beleuchtungssystem entfernen und verpacken.
14. Den runden Acrylplatte vom oberen Bereich der unteren Einheit
entfernen und wieder in die Schutztasche legen.
15. Die Trägerstangen zuerst vom oberen Bereich und dann vom
unteren Bereich entfernen. Die drei Stahleinfassungen aufeinander
und dann in die Schutztasche legen.
16. Alle Komponenten des Studio Cubelite in den
Aufbewahrungskasten geben.
B90371 - page 2 of 3
Setting up your Studio Cubelite
Montaggio dello Studio Cubelite
1. Estrarre i pezzi dalla scatola. Essa deve contenere:
- Borsa contenente lo Studio Cubelite (piatta)
- 4 bacchette di supporto nere
- 4 bacchette di supporto argentate
- Lastra acrilica rotonda
- Rotolo con pellicola trasparente
Estrarre lo Studio Cubelite dalla custodia.
2. Appoggiare lo Studio Cubelite sul pavimento e posizionare
l'estremità di una delle bacchette nere nell'angolo del bordo
metallico più basso. Assicurarsi che il bordo metallico venga
collocato nell'incastro dell'estremità della bacchetta.
3. Tirare i bordi metallici centrale e superiore in direzione opposta al
bordo metallico inferiore e infilare l'incastro dell'altra estremità della
bacchetta nera nel bordo centrale.
4. Ripetere i passaggi 2 & 3 per i rimanenti tre angoli. Quando tutte le
bacchette sono state montate controllate che esse siano tutte in
posizione verticale.
5. Infilare l'estremità di una della bacchette argentate nell'angolo del
bordo metallico centrale. Assicurarsi che il bordo metallico venga
collocato nell'incastro dell'estremità della bacchetta.
6. Tirare i bordi metallici centrale e superiore in direzione opposta e
infilare l'incastro dell'altra estremità della bacchetta argentata nel
bordo superiore. Questo procedimento richiederà più forza di
quella applicata per il posizionamento delle bacchette nere, poiché
queste bacchette sono molto più tese. Ciò favorisce l'eliminazione
della piega nel tessuto bianco.
7. Ripetere i passaggi 5 & 6 per i rimanenti tre angoli. Quando tutte e
quattro le bacchette sono state montate controllate che esse siano
tutte in posizione verticale.
8. Rimuovere il film azzurro di protezione della lastra acrilica rotonda
e posizionarla all’interno della parte superiore dello Studio Cubelite
sul tessuto bianco traslucido che fa da base. (Fare attenzione a
non far cadere la lastra perchè potrebbe rompersi o scheggiarsi.)
8. Infilare la lastra acrilica rotonda nella sezione bianca superiore.
(Fare attenzione a non far cadere la lastra perchè si romperebbe.)
9. Infilare la pellicola trasparente nella sezione bianca superiore dello
Studio Cubelite. Un nastro velcro scorre lungo un lato della
pellicola.
10. Attaccare il velcro della pellicola trasparente alle due chiusure
velcro cucite nella sezione bianca superiore.
11. Lo Studio Cubelite è ora pronto per l'uso e può essere combinato
con il vostro sistema d'illuminazione. Nell'etichetta vicino
all'apertura posteriore dello Studio Cubelite ci sono indicazioni su
come deve essere posizionata la sorgente di luce interna.
Smontaggio dello Studio Cubelite
12. Rimuovere la pellicola trasparente, arrotolarla e riporla nella
custodia.
13. Smontare e conservare il sistema d'illuminazione da voi scelto.
14. Rimuovere dal Tavolo Luminoso la lastra acrilica rotonda dalla
sezione superiore dell'unità più bassa e riporla nella custodia.
15. Togliere le bacchette di supporto prima dalla sezione superiore e
poi da quella inferiore. Mettere i tre bordi metallici uno sopra l'altro
e riporli nella custodia.
16. Riporre tutti i componenti dello Studio Cubelite nella custodia.
Montage du studio Cubelite
1. Sortir les éléments de la boîte. Le colis doit contenir les éléments
suivants :
- Sac contenant le studio Cubelite (plat)
- 4 barres de support noires
- 4 barres de support argentées
- Écran rond en acrylique
- Rouleau de film transparent
Retirer le studio Cubelite du sac de protection.
2. Poser le studio Cubelite sur le sol et insérer l'extrémité d'une des
barres de support dans l'angle du montant en acier inférieur.
S'assurer que le montant en acier soit bien fixé dans la pointe à
l'extrémité de la barre.
3. Tirer le montant central et le montant supérieur dans une direction
opposée au montant inférieur et insérer la pointe située à l'autre
extrémité de la barre noire dans le montant central.
4. Répéter les gestes 2 & 3 pour les trois autres angles. Lorsque les
quatre barres sont montées, vérifier leur alignement vertical.
5. Insérer l'extrémité d'une des barres argentées dans l'angle du
montant en acier central. S'assurer que le montant en acier soit
bien fixé dans la pointe située à l'extrémité de la barre.
6. Tirer le montant central et le montant supérieur dans une direction
opposée et insérer la pointe située à l'autre extrémité de la barre
argentée dans le montant supérieur. Cette étape nécessite une
plus grande force que pour la mise en place des barres noires car
ces barres ont un ajustement plus étroit. Ceci permet de tirer plus
facilement le pli du tissu blanc.
7. Répéter les étapes 5 & 6 pour les trois autres angles. Lorsque les
quatre barres sont montées, vérifier leur alignement vertical.
8. Enlevez le film de protection bleu et placez la plaque de Plexiglas
à l'intérieur de la partie haute du studio (la partie blanche) ; posez
la plaque sur la toile blanche qui sépare la partie du haut de celle
du bas. (ne laissez pas tomber cette plaque car elle se briserait)
9. Diriger le rouleau de film transparent vers la zone blanche du
studio Cubelite. Une bande velcro est placée sur un bord du film.
10. Attacher la bande velcro du film transparent aux deux bandes
velcro cousues en haut de la zone blanche.
11. Le studio Cubelite est maintenant prêt à être utilisé et peut être
combiné au système d'éclairage prévu. Vous trouverez des
informations sur le positionnement interne de la source lumineuse
sur l'étiquette située à côté de l'ouverture arrière du studio
Cubelite.
Démontage du studio Cubelite
12. Retirer le film transparent, l'enrouler et le remettre dans le rouleau
de protection.
13. Retirer le système d'éclairage utilisé et l'emballer.
14. Retirer l'écran rond en acrylique de la zone supérieure de l'unité
inférieure et le remettre dans le sac de protection.
15. Retirer d'abord les barres de support de la zone supérieure puis
celles de la zone inférieure. Détacher les trois montants puis les
mettre dans le sac de protection.
16. Placer tous les éléments du studio Cubelite dans la boîte de
rangement.
B90371 - page 3 of 3

Other Lastolite Camera Accessories manuals

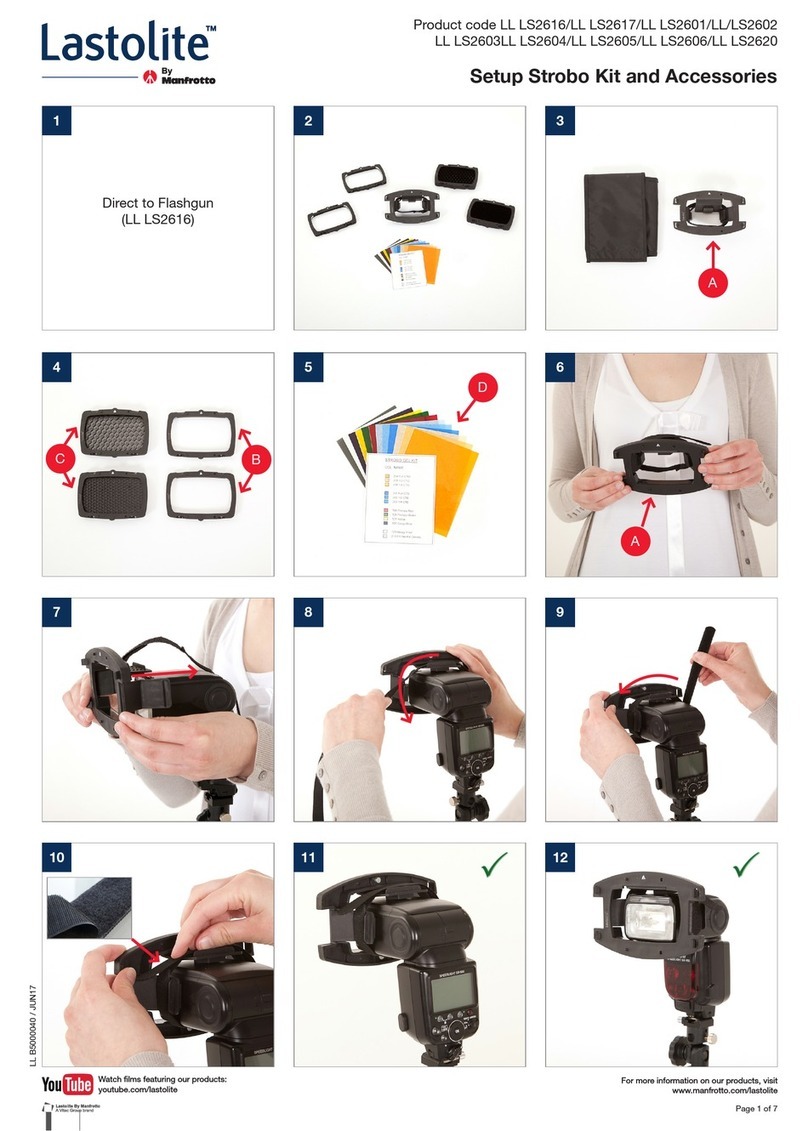
Lastolite LL LS2616 Manual

Lastolite

Lastolite LL LS2616 Manual

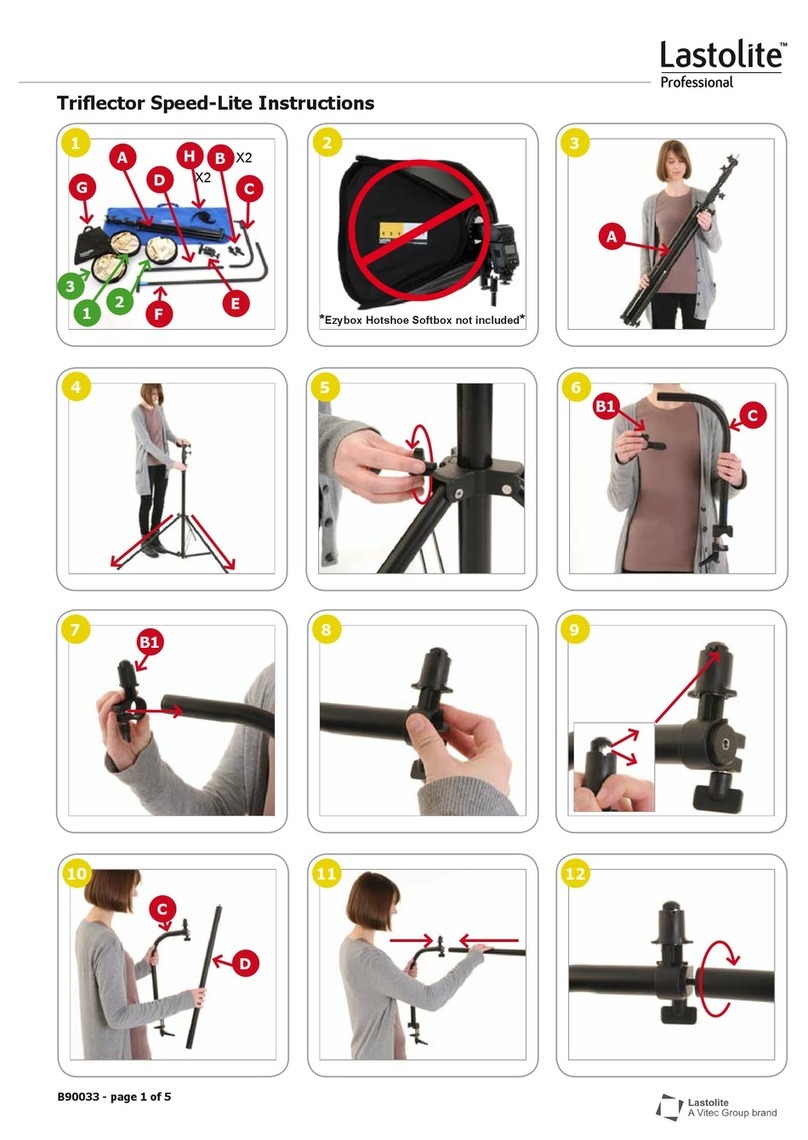
Lastolite Triflector Speed-Lite User manual

Lastolite

Lastolite Triflector Speed-Lite User manual

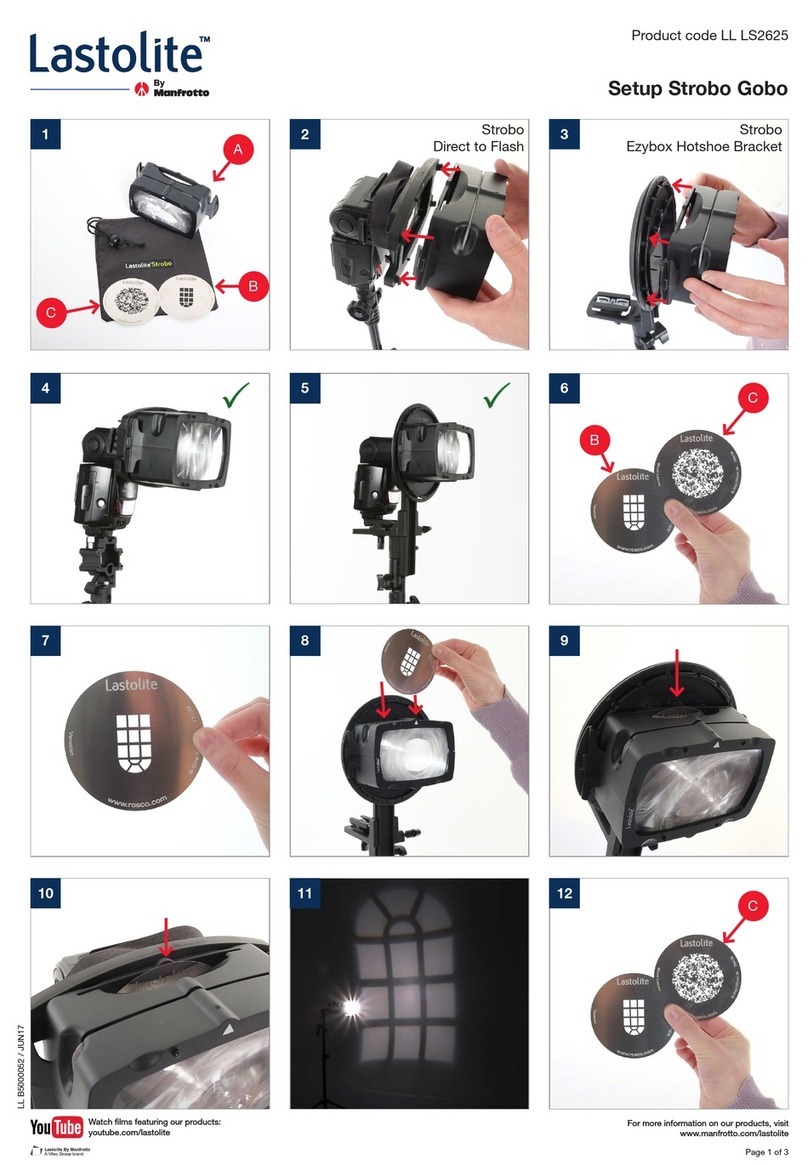
Lastolite Strobo Gobo LL LS2625 Manual

Lastolite

Lastolite Strobo Gobo LL LS2625 Manual

Lastolite Ezybox Beauty Manual

Lastolite

Lastolite Ezybox Beauty Manual

Popular Camera Accessories manuals by other brands

Aegis ABL-52012P user manual

Aegis

Aegis ABL-52012P user manual

SLIK Sprint Pro Ez operating instructions

SLIK

SLIK Sprint Pro Ez operating instructions

Pentax Motor Drive MX operating manual

Pentax

Pentax Motor Drive MX operating manual

Sony RM-L1AM operating instructions

Sony

Sony RM-L1AM operating instructions

Sinar Sinarback eSprit 65 LV operating instructions

Sinar

Sinar Sinarback eSprit 65 LV operating instructions

RITAR RL Series Technical manual

RITAR

RITAR RL Series Technical manual

Silverline 546856 manual

Silverline

Silverline 546856 manual

RRS BPC-16 quick start guide

RRS

RRS BPC-16 quick start guide

Philips SJB5192/37 datasheet

Philips

Philips SJB5192/37 datasheet

Aquatica Digital 20058 operating manual

Aquatica Digital

Aquatica Digital 20058 operating manual

Dynex DX-TRPFLX Quick setup guide

Dynex

Dynex DX-TRPFLX Quick setup guide

Saft 2506 Overhaul manual

Saft

Saft 2506 Overhaul manual

Delta-T M2-TRPD Assembly instructions

Delta-T

Delta-T M2-TRPD Assembly instructions

Panasonic Varicam AU-VCVF1G operating instructions

Panasonic

Panasonic Varicam AU-VCVF1G operating instructions

Hasselblad a5d manual

Hasselblad

Hasselblad a5d manual

Automotive AG POWER LITHIUM LiFePO4 Installation and operating instructions

Automotive

Automotive AG POWER LITHIUM LiFePO4 Installation and operating instructions

Panasonic HHR70AAAJ datasheet

Panasonic

Panasonic HHR70AAAJ datasheet

Panasonic DMW-DCC9 operating instructions

Panasonic

Panasonic DMW-DCC9 operating instructions

manuals.online logo
manuals.online logoBrands
  • About & Mission
  • Contact us
  • Privacy Policy
  • Terms and Conditions

Copyright 2025 Manuals.Online. All Rights Reserved.