press【B】for three seconds, and long alarm notice “Di…”, all the data will be cleared and back to Chrono mode. Otherwise, it will
back to Memory Recall image and give up to clear the memory.
Notice: Please confirm the chronograph mode paused and reset, and then clear the memories.
5. COUNTDOWN MODE
5.1 Setting the count down time
Press【D】to enter countdown mode, and press【C】and hold for 2 seconds to enter setting.
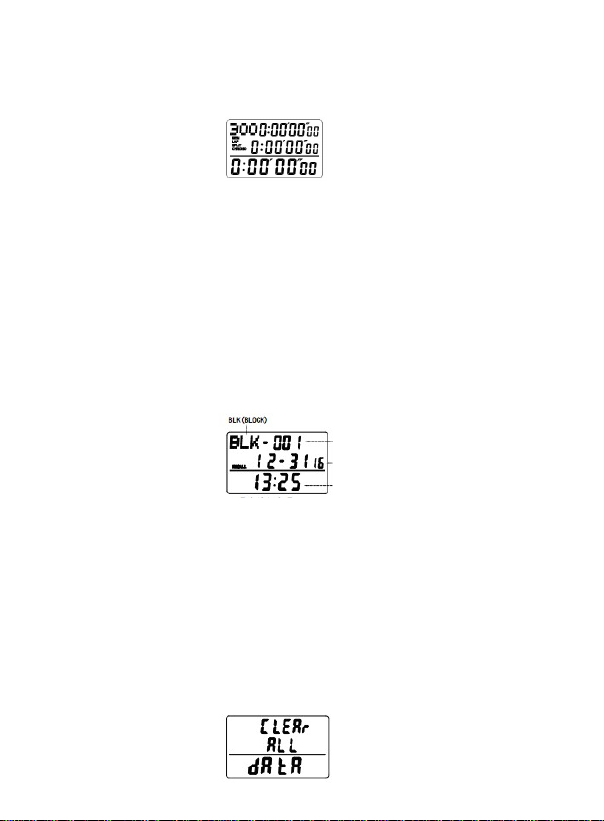
Upper row: Display the planned countdown time
Middle row: Display current countdown time
Bottom row: Display countdown times
The “Countdown Hour” starts to flash, and then press【B】to switch” Hour-Minute-Second”. During the flash of the number, press
【A】 to add 1, long press to add quickly. Press【C】to exit the setting procedures. After finished the setting, the middle row (current
countdown time) updated to the upper row (planned countdown time). If the planned countdown time is “0” , then the current
countdown time will start to count down from “9:59:59”.
5.2 Counting down
Press【A】to start or stop the countdown during the countdown time mode ”. Bottom row (countdown times) counting “1” after
completed once planned countdown time, and with a notice “Di-Di”, and then start the countdown again. The countdown mode will
be stopped and the countdown times is “0” when the countdown times is 9999. Press【B】to reset the countdown and clear all the
countdown times during the pause of the countdown mode.
6. PACER MODE
6.1 Setting the pacer
While in the TIME mode, press【D】to enter PACER mode. The frequency is flashing and press【B】to select the frequency in the
order :10 >>>20 >>>30 >>>40 >>>60 >>>80 >>>120 >>>160 >>>240 >>>320.
6.2 Running the pacer mode.
Press【A】to start or stop the pacer after selected the required frequency. During the running of the Pacer mode, it will have a
Notice “Di” per minute and frequency number is “1” according to the selected frequency, the maximum frequency number is 9999.
The pacer will be stopped and reset and all frequency number will be cleared when the frequency number is up to 9999.
During the pause of the pacer, press【B】to rest the pacer and clear the frequency number. After press【B】resetting to reset the
frequency again.
What does Stroke/frequency mean?
The stroke/frequency of an activity per minute is automatically calculated by measuring the time required to make three strokes.
Measurable number of strokes per minute is between 10 and 180. For example, F-10 means the sound will beep 10 times in 60
seconds. This works out 6 seconds per beep. F-80 means the sound will beep 80 times in 60 seconds which works out 0.75 second
per beep.
7. STROKE RATE MODE
7.1 Calculate
While in the time mode, press【D】switch to stroke rate mode. While in the stroke rate mode, press【A】to start count up the current
time and “the current stroke rate ” is “180” It will count down from “180” after 1 second. During the countdown, press【A】if
completed three times stroke, and it will display the current stroke rate. At the same time, Press 【A】again to start the stroke and
save the previous stroke rate automatically. When the stroke is stopped, press【B】to reset and save the previous “ current stroke rate”
automatically. Up to 10 data can be stored in memory. When more than 10 measurements are made, the oldest data will be erased
from memory.
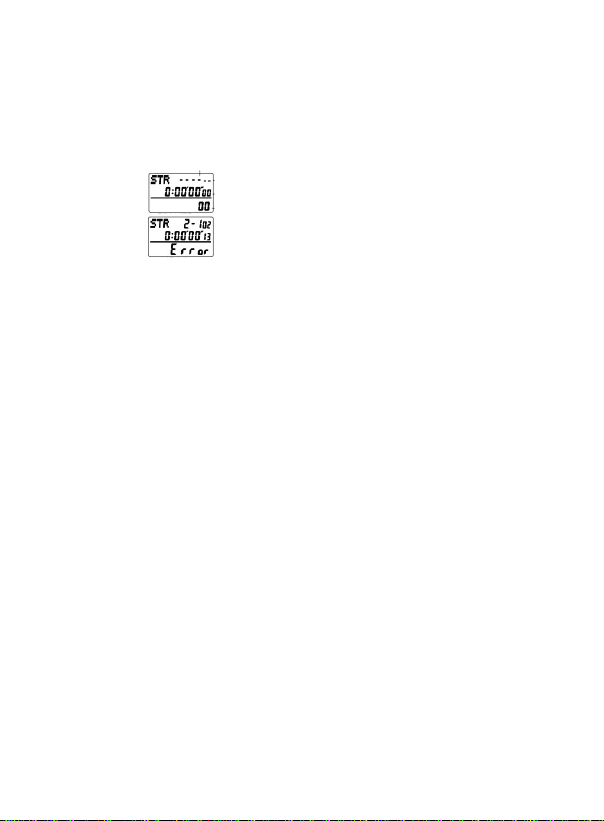
Upper row: Display the previous stroke rate
Middle row: Display event time
Bottom row: Displays the current stroke rate
Notes: After started the stroke rate mode, “180” display“1”second firstly. During this 1 second, press【A】immediately will stop and
show “ERROR” means the recall is failed. Meanwhile, if “180” starts to countdown and up to”10”,Press【A】immediately will stop
and show “ERROR” means the recall is failed.
7.2 Recall and clear
When the calculation is stopped, press【A】to recall the previous stroke rate , and appear “RECALL”. After recall a group of memory,
it will exist to recall.
Press 【B】at the state of recall, it will appear “Clear all data” and with the warning beep “Di-Di”. All the stroke rates will be cleared
after 3 seconds, Unless 【B】is kept pressed for less than 3 seconds ,the stored data will not be erased from memory.
8. Power saving and low battery reminder
8.1 Power saving
Please stop and reset the stopwatch/countdown/pacer/ stroke rate mode firstly, and then back to【Time/Calendar】mode, press
【A,B,C】for 3 seconds to shutdown the stopwatch, but the【Time/Calendar】function is still continue and useful.
8.2 Shutdown the stopwatch
Press【D】for 2 seconds after shutdown the stopwatch, and then the stopwatch will power on.
8.3 Low battery notice
When the middle line on display will flash, it shows low battery. Please ask your local retailer to replace the battery for you using a
CR2032 (Lithium) or equivalent.
8.4 Reset the stopwatch
When using the stopwatch, press【A,B,C,D】at the same time for 3 seconds to reset the stopwatch if the stopwatch is abnormal or all
the time/ calendar/ alarm parameter. After resetting, time/ calendar/ alarm parameter will restore factory setting, but the saved
chrono data and stroke rate memories will not be cleared.
PART IV MAINTENANCE
Keep away severe vibration or impact with hard objects to avoid damage;
keep away prolonged exposure in high temperature environments;
Please replace with a new one as soon as possible when the battery nears its end.
If the timepiece is not marked “water-resistant”, avoid immersing or exposing it to water, steam, or other forms of moisture.
The Executive Standard No.: GB/T22778-2008
The Warranty period is one year, the battery and physical damage is excluded.