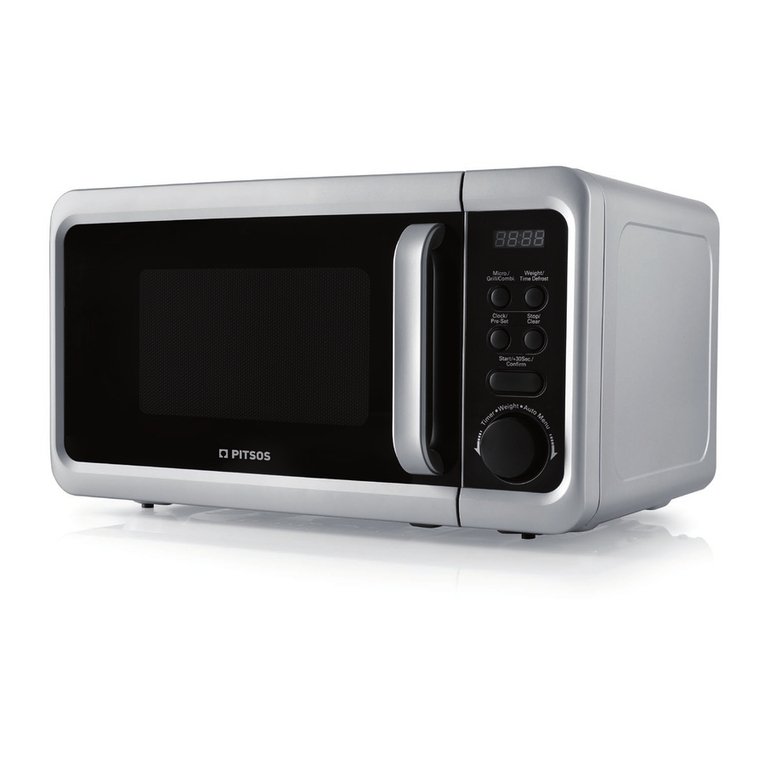
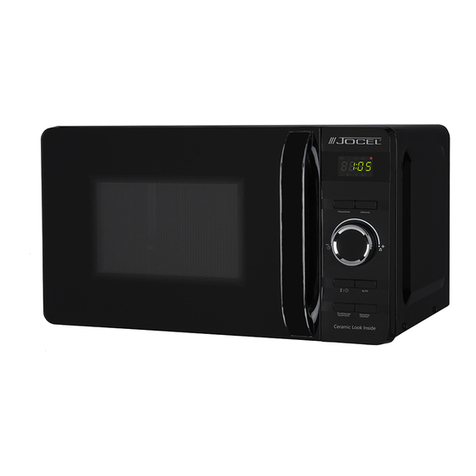
Lebensstil Kollektion LKMW-2301SS User manual

0

1
CONTENTS
Title Page No.
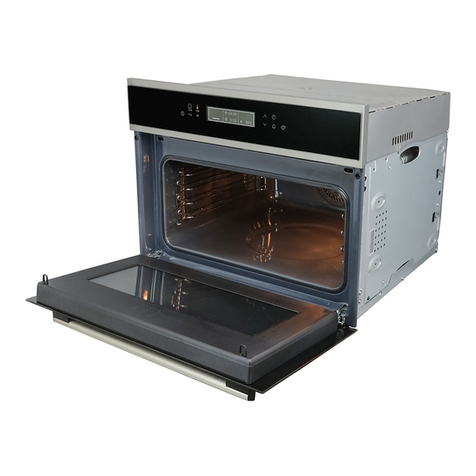
Parts Introduction 2
Technical Specifications 2
Control Panel 3
General Safety Precaution 4
Radio Interference 4
Microwave Cooking Principles 4
Utensils Guide 5
Before Use 5
How to set the Microwave Oven Controls 5
Timer Setting 5
Microwave Cooking 5
Weight Defrost 5
Grill 6
Combination 6
Preset 6
Quick Start 6
Child Lock 7
Auto Cook Menu 7
Cleaning and Maintenance 7
Thank you for choosing LEBENSSTIL KOLLEKTION Microwave Oven.

2
Parts Introduction
Technical Specifications
Model:
LKMW-2301SS
Voltage:
220-240V
Frequency:
50Hz
Power Consumption:
1400W(Microwave),1000W(Grill)
Microwave Output:
900W
Operation Frequency:
2450MHz
Oven Capacity:
23-Litres
Cooking Uniformity:
Turntable System
1.
Door Safety Lock System
2.
Oven Window
3.
Shaft
4.
Roller Ring
5.
Door Release Button
6.
Control Panel
7.
Wave Guide
8.
Glass Tray
9.
Grill Heater
10.
Metal Rack

3
Control Panel
MENU ACTION SCREEN
Cooking time, power, action indicators and clock time are displayed.
MICRO POWER
Touch this button to set microwave cooking power level.
GRILL
Touch to set grill cooking program.
COMBI.
Touch to set one of two combination cooking program.
WEIGHT DEFROST
Touch to defrost food by weight.
CLOCK/PRESET
Touch this button to set the oven clock or to preset a cooking program.
WEIGHT ADJUST
Touch it to specify food weights or number of servings of auto-cooking
menu.
PAUSE/CANCEL
Press to cancel setting or reset the oven before setting a cooking program
and to set the child lock.
START/QUICK START
Touch to start a cooking program.
Simply touch it multiple times to set cooking time and cook immediately at
full power level.
MENU/TIME (DIAL)
Turn the dial to set the oven clock time and input cooking time.
Turn the MENU/TIME dial to select an auto-cooking menu.

4
General Safety Precautions
Please read these instructions carefully before use and keep them for future reference.
Check your localmain voltage whether it is the same as stated on the rating label.
Do not operate any appliance with a damaged cord or plug or after the appliance malfunctions, or
is dropped or damaged in any manner. Return appliance to manufacturer or the nearest
authorized service agent for examination, repair or electrical or mechanical adjustment.
Do not touch hot surfaces. Use handles or knobs.
To protect against electric shock do not immerse cord, plugs, or housing in water or other liquid.
Unplug from outlet when not in use, before putting on or taking off parts, and before cleaning.
Do not let cord hang over edge of table or hot surface.
The use of accessory attachments not recommended by the appliance manufacturer may cause
injuries.
This appliance is not intended for use by persons (including children) with reduced physical,
sensory or mental capabilities, or lack of experience and knowledge, unless they have been
given supervision or instruction concerning use of the appliances by a person responsible for
their safety.
Do not place on or near a hot gas or electric burner, or in a heated oven.
Extreme caution must be used when moving an appliance containing hot oil or other hot liquids.
Do not touch any moving or spinning parts of the machine when baking.
Never switch on the appliance without properly placing the bread pan filled with ingredients.
Never hit the bread pan on the top or edge to remove the pan. This may damage the bread pan.
Metal foils or other materials must not be inserted into the bread maker as this can give rise to
the risk of a fire or short circuit.
Never cover the appliance with a towel or any other material, heat and steam must be able to
escape freely. A fire can be caused if it is covered by, or comes into contact with combustible
material.
Always attach plug to appliance first, then plug cord into the wall outlet. To disconnect, turn any
control to OFF, then remove plug from wall outlet.
Do not operate the appliance for other than its intended use.
Do not use outdoor.
Radio Interference
Operation of the microwave oven can cause interference to your radio, TV, or similar equipment.
When there is interference, it may be reduced or eliminated by taking the following measures:
Clean door and sealing surface of the microwave oven.
Reorient the receiving antenna of radio or television.
Relocate the microwave oven with respect to the receiver.
Move the microwave oven away from the receiver.
Plug the microwave oven into a different outlet so that microwave oven and receiver are on
different branch circuits.

5
Micro Cooking Principles
Arrange food carefully. Place thickest ingredients towards outside of dish.
Watch cooking time. Cook for the shortest amount of time indicated and add more as needed.
Food severely overcooked can smoke or ignite.
Cover foods while cooking. Covers prevent spattering and help foods to cook evenly.
Turn foods over once during microwaving to speed cooking of such foods as chicken and
hamburgers. Large items like roasts must be turned over at least once.
Rearrange foods such as meatballs halfway through cooking both from top to bottom and from the
center of the dish to the outside.
Utensils Guide
The ideal material for a microwave utensil is transparent to microwave, it allows energy to pass
through the container and heat the food.
Microwave cannot penetrate metal, so metal utensils or dishes with metallic trim should not be
used.
Do not use recycled paper products when microwave cooking, as they may contain small metal
fragments which may cause sparks and/or fires.
Round /oval dishes rather than square/oblong ones are recommend, as food in corners tends to
overcook.
Narrow strips of aluminum foil may be used to prevent overcooking of exposed areas. But be
careful don’t use too much and keep a distance of 1 inch (2.54cm) between foil and cavity.
Before Use:
Wash the oven accessories with mild soapy water and dry thoroughly before use.
Use a damp cloth to lightly wipe the inner walls of the oven.
Reassemble the grill tray and other accessories to their respective positions inside the oven.
Heat the oven at high temperature setting for approximately 5 minutes to eliminate any substance or oil
that may be used for testing and packing. Smoke and odour maybe detected and this is normal.
Turn off the appliance and allow it to cool down.
How to Set the Microwave Oven Controls:
Timer Setting
This is a 12-hour and 24-hour clock. Press the Clock/Preset button to check the operating status.
Example: Your selected time is 8:30.
1. In standby mode, press Clock/Preset button once or twice to select your required time.
2. Turn Menu/Time button to 8 o’clock setting.
3. Press Clock/Preset button to 30 min setting.
4. Press Clock/Preset button repeatedlyto confirm the setting.
Microware Cooking
The maximum cooking time is 95 minutes.
Press the Micro Power Button to select your desired cooking power as shown on the table below.

6
Press
Micro Power
Cooking Power
Once
100%
Twice
80%
3 Times
60%
4 Times
40%
5 Times
20%
6 Times
0%
Example: Your desired cooking time is 10 minutes at 60%.
1. In standby mode, press Micro Power button repeatedly to select cooking power.
2. Set the duration of 10:00 minutes byturning the Menu/Time button in clockwise direction.
3. Then press Start/Quick Start button.
Note: You may check the cooking power during cooking by pressing Micro Power button.
Weight Defrost
The oven can be used to defrost food based on the weight you entered.
The defrosting time and micro power will automatically set once the food category and weight are
programmed.
The frozen food weight ranges from 100g to 1800g.
Example: Defrosting 600g of meat.
1. In standby mode, pressWeight Defrost button once.
2. Press Weight Adjust button repeatedlyto select food weight.
3. Press Start/Quick Start button to operate.
Note: During defrosting process, the system will have a sound indication and pause to remind you to turn
over the food, then press the Start/Quick Start button to enter into the next defrosting stage.
Grill
Grill function is particularly useful for thin slices of meat, steaks, chops, kebabs, sausages, etc. In
addition, it may be used for hot sandwiches and au gratin dishes.
Example: Your desired grillingtime is 12 minutes.
1. Press Grill button once.
2. Set the duration of 12:00 minutes byturning the Menu/Time button in clockwise direction.
3. Press Start/Quick Start button to operate.
Note: The maximum setting time is 95 minutes.
Combination
Combination 1:
30% of time for microwave cooking, 70% for grill cooking. It is recommended for fish, potatoes or
au gratin.
Combination 2:
55% of time for microwave cooking, 45% for grill cooking. It is recommended for puddings omelets,
baked potatoes and poultry.
Example: You want to set the oven to Combination cooking for 25 minutes.
1. Press Combi button once or twice.
2. Turn Menu/Time button to 25:00 setting.
3. Press Start/Quick Start button to operate.
Note: The maximum setting time is 95 minutes.

7
Preset
Preset function allows the appliance to start at a later time.
Example: You want to delay cooking time to 11:30.
1. Set a cooking program.
2. Press Clock/Preset button.
3. Turn Menu/Time button to 11:00 setting.
4. Press again the Clock/Preset button.
5. Turn Menu/Time button to 30 minutes setting.
6. Press Start/Quick Start button to operate.
Note: You may check the preset time during cooking by pressing Clock/Preset button, and press
Pause/Cancel button within 3 seconds to cancel the feature. All cooking mode can be preset except
Quick Start and Weight Defrost.
Quick Start
The oven will operate at 100% power output for Quick Start cooking program.
The maximum cooking time is 10 minutes.
1. In standby mode, press the Start/Quick Start button in quick succession to set the cooking time,
the oven will start working automatically at full power. You can extend cooking time when cooking
is in progress by pressing the Start/Quick button.
Child Lock
Use to prevent unsupervised operation of the oven by little children. The child lock indicator will
show on display screen, and the oven cannot be operated while the Child Lock is set.
1. To set :In standbymode, press and hold the Pause/Cancel button for 3 seconds, hear a beep sound
and lock indicator light willbe illuminated on the display.
2. To Cancel: Press and hold the Pause/Cancel button for 3 seconds until lock indicator light turns off.
Auto cook Menu
For the following foods or cooking operation, you do not need to input cooking power and time. It is
sufficient to indicate the type of food that you want to cook as well as the weight or number of this
food.
1. In standby mode, turn the Menu/Time button in anticlockwise direction to select food code.
2. Press Weight Adjust button to select the desired weight or number of servings.
3. Press Start/Quick Start button to operate.
Code
Food
Note
A-1
Milk/Coffee
(200ml/cup)
1. For Milk/Coffee and Potato, it’s the number of servings but not
weight that matters.
2. For Chicken, Beef/Mutton and Skewered Meat, you need to
turn food over during cooking to get better cooking results.
3. The result of Auto Cook depends on factors such as the shape
and size of food, your personal preference as to the doneness
of certain foods and even how well you happen to place food in
the oven. If you find the result at any rate not quite satisfactory,
please adjust the cooking time accordingly.
A-2
Rice (g)
A-3
Spaghetti (g)
A-4
Potato (230g/unit)
A-5
Auto Reheat (g)
A-6
Fish(g)
A-7
Chicken (g)
A-8
Beef/Mutton (g)
A-9
Skewered Meat (g)

8
Cleaning and Maintenance
Turn off the appliance and remove the power plug from the wall socket before cleaning.
Allow appliance to cool completely before cleaning. Unplug cord from the main electrical supply.
Please be cautious when cleaning the productneartothe heater housing area.
Use only damp cloth to wipe the internal, exterior, window on both sides and the door seals surfaces of the
unit. Never use corrosive products and never scrape the walls with sharp or pointed objects.
Do not immerse the main bodyin water or other liquids.
Do not allow the electrical components to be exposed to water.
It is occasionally necessary to remove the glass trayfor cleaning.
The roller ring and oven base should be cleaned regularly to avoid excessive noise.
If necessary to replace the microwave oven light, please consult a dealer to have it replaced.
If steam accumulates inside or around the outside of the oven door, wipe with a soft cloth. This may
normally occur when the microwave oven is operated under high humidity condition.
When the microwave oven with grill function is first used, it may produce slight smoke and smell. This
is a normal phenomenon, because the oven is made of a steel plate coated with lubricating oil, and
the new oven will produce fumes and odor generated by burning the lubricating oil. This phenomenon
will disappear after a period of using the microwave oven.
This marking indicates that this product should not be disposed with other household
wastes throughout the nation. To prevent possible harm to the environment or human
health from uncontrolled waste disposal, recycle it responsibly to promote the
sustainable reuse of material resources. To return your used device, please use the
return and collection systems or contact the retailer where the product was purchased.
They can take this product for environmental safe recycling.

9
Table of contents