DO NOT HEAT unopened food containers. Build-up of pressure may cause the container
to burst and result in injury
WARNING
Always ensure service is carried out by a qualified personnel
The installation and connection of the new appliance MUST be carried out by qualified
personnel
Repairs to the appliance are only to be carried out by approved service personnel.
Repairs carried out by inexperienced persons may cause injury or serious
malfunctioning. If your appliance needs repairing, please contact the nearest Service
Centre.
WARNING
In the event your appliance malfunctions or is damaged switch “OFF” all cooking
zones and disconnect the hob from the electricity supply to avoid from possibility
of electric shock
INFOMATION/PRACTICAL TIPS
Please follow these instructions, otherwise the warranty would not cover any
damages that may occur.
Flush mounted appliances must only be operated following installation in suitable
cabinets and workplaces. This ensures sufficient protection against contact of electrical
components.
This appliance is not intended to be operated by means of an external timer or separate
remote control system.
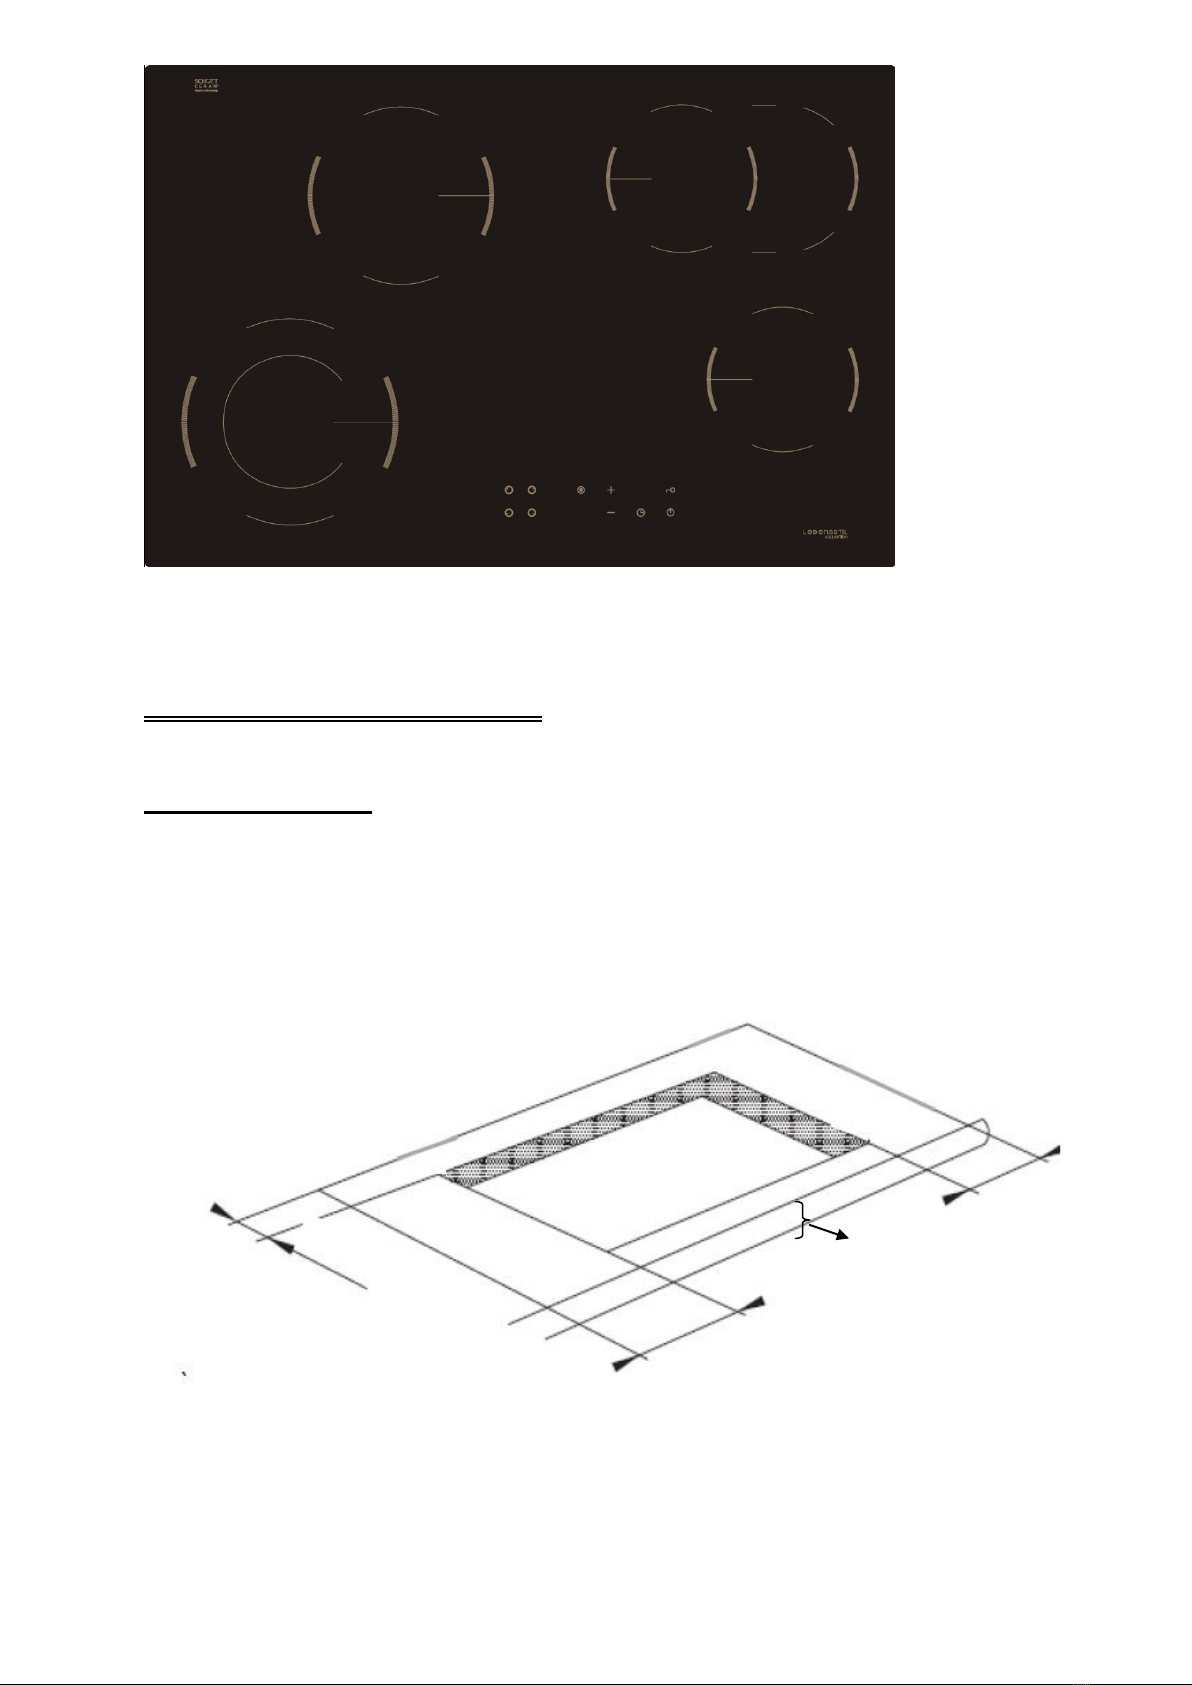
About The Radiant Ceramic Hob
The Radiant Ceramic Hob has radiant surface elements located below the surface of the
glass. The design of the ceramic hob outlines the area of the heating element
underneath.
Heat is transferred up through the surface of the hob to the cookware. Only flat-bottom
cookware should be used. The type and size of the cookware, the number of heating
elements in use and their settings are all factors that will affect the amount of heat that
will spread to areas beyond the cooking zone. The areas surrounding the elements may
become hot enough to cause burns.
The element temperature rises gradually and evenly. As the temperature rises, the
element will glow red. To maintain the selected setting, the element will alternate
between ON and OFF. The heating element retains sufficient heat to provide a uniform
and consistent heat during the OFF cycle.