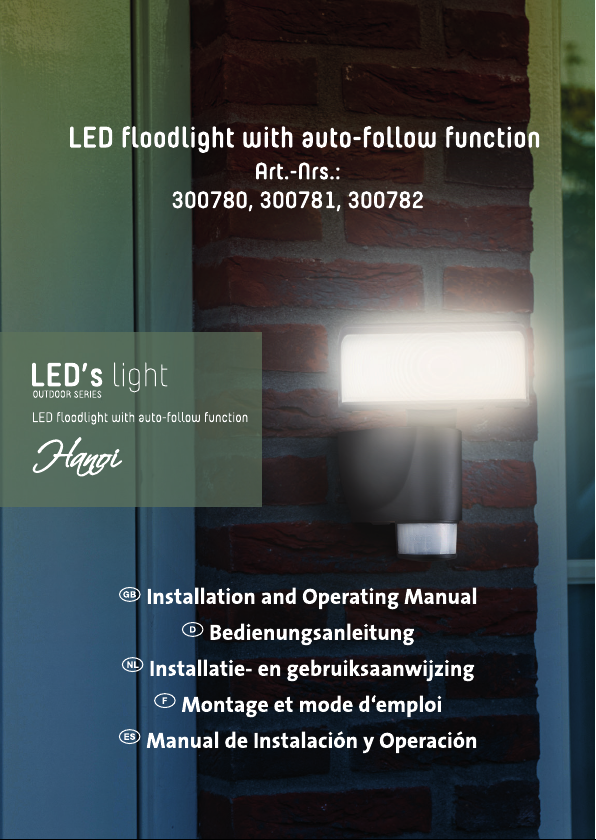
54
light
OUTDOOR SERIES
FILE-NAME: SHADA Main Brands - 2019012501 - Two different sizes for Packing artwork - Workfile with fonts.indd
Printfile created on: 20200123 09:49 - Design: WAPC
05 Security related information
When using the product, make sure the unit is suciently ventilated, never cover the unit
during operation and keep it out of reach of children or animals. This product is not a toy,
LED lights are extremely bright and looking directly at the light source during operation
can lead to serious eye damage. Any other use of the device than described in the manual
may damage the product or cause danger to the user, e.g. due to a short circuit, fire or
electric shock. The safety instructions must be observed at all times.
06 Conformity of the product with legislation
The warranty expires in the event of damage due to non-compliance with the safety in-
structions of the device. Furthermore, we are not liable for consequential damage, damage
to objects or persons resulting from failure to observe the safety instructions and improp-
er use/handling of the device due to wear and tear. Product design and specifications are
subject to change without notice. All logos and trade names are registered trademarks of
their respective owners and are hereby acknowledged as such.
07 Storage of the Manual
Please read the operating instructions carefully and completely before use. The operating
instructions are part of the product, they contain important information on the commis-
sioning and handling of the device. Keep all enclosed operating instructions for future
reference. If the device is sold or passed on to third parties, you are obliged to pass on the
operating instructions as these are lawfully part of the product.
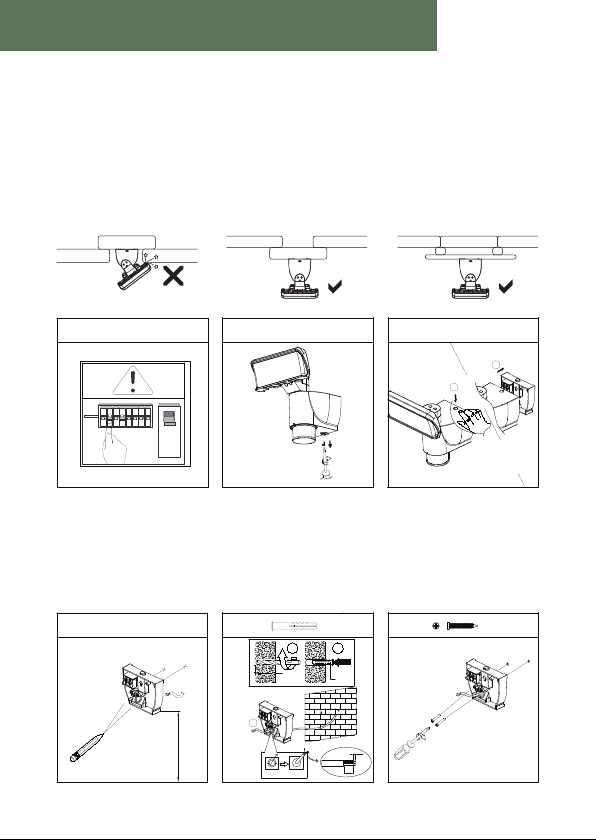
08 Use of the product / Installation
Before use, check the completeness of the parts supplied and the intactness of the prod-
uct. If damaged, it must not be put into operation.
This product may only be installed by a qualified technician
Installation (see also instructions on p.7-9):
1. turn o mains voltage.
2. take precautions against accidental re-activation by third parties
3. verify that the contacts are power-less.
4. follow the Installation-steps on the drawings
Attention! When the LED’s keep glowing slightly, verify that you made the correct connec-
tions (L/L en N/N).
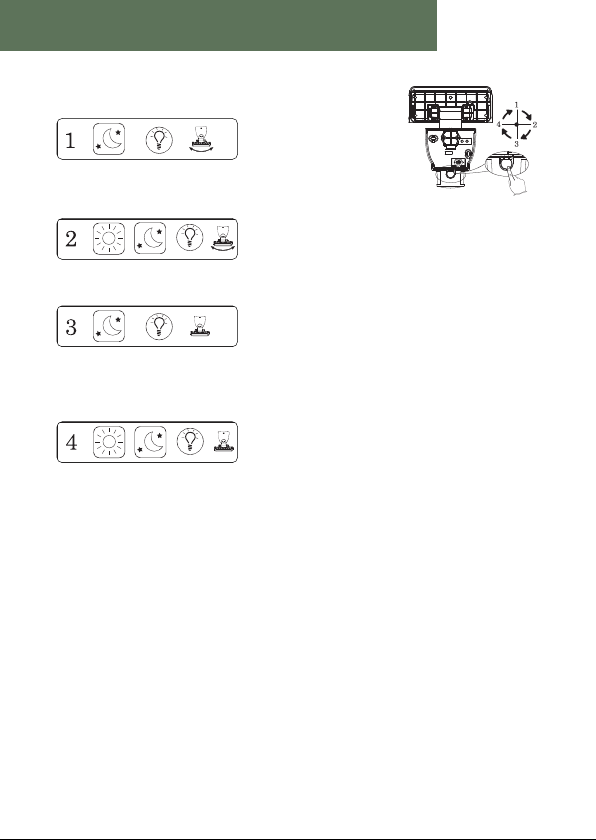
09 Operating the product
The safety instructions and warnings must be observed to ensure both the perfect condi-
tion of the product and safe operation.
10 Product maintenance
The product can be cleaned with clear water and a soft cloth. Do not use detergents con-
taining surface active agents or scouring agents.