LITESOUNDS
®
INSTALL GUIDE
PLEASE CALL US WITH ANY QUESTIONS TO MAKE YOUR INSTALLATION EASIER
AT 1-877-709-3846 OR GO TO OUR WEBSITE: WWW.LITESOUNDS.COM
4
TROUBLE SHOOTING CHECKLIST
NO SOUND
• Make sure the AUDIO SOURCE is playing, and volume is at or
near max.
• Check the connections on the rear of the AUDIO SOURCE.
• Make sure TRANSMITTER has POWER (RED LED IS ON).
• Check the connections on the back of the TRANSMITTER.
• Make sure TRANSMITTER volume control is at or near
maximum level.
• Make sure that TRANSMITTER and the outdoor RECEIVER are set to the same
channel A >A; B >B; or C >C.
• Make sure outdoor RECEIVER has POWER (RED LED IS ON).
• Check connections on rear terminal of outdoor RECEIVER.
• Make sure RECEIVER CABLES are connected properly.
• Ensure the volume control is turned up on the outdoor RECEIVER.
• Check connections of SPEAKER FIXTURES.
• Adjust the FINE-TUNE BUTTON ON THE RECEIVER. (These are slow small
adjustments - FINE TUNE).
• Adjust the VOLUME CONTROL of the TRANSMITTER.
• If you still don’t here desired audio signal, change the channels of both the
TRANSMITTER and outdoor RECEIVER. A to B to C. Repeat steps above to
achieve desired signal.
NO LIGHTS
• Make sure the lighting control of the outdoor RECEIVER is in the ON position.
• Cover the PHOTOCELL during daylight hours to confirm operation.
• Check connections of LIGHTING FIXTURES.
• Check FIXTURE to ensure BULB is properly installed.
IMPROVING RECEPTION
Identify the frequency on the FM radio band in the area that has the least
signal (maximum distortion) between 106.9 MHZ to 107.7 MHZ. Select the
Channel from TABLE 1 that is as far away from other radio stations as
possible within the frequencies listed. Tune the TRANSMITTER and RECEIVER by
selecting the optimum channel (see chart below) and increasing the output
volume on the side of the TRANSMITTER unit to maximum output.
• FINE TUNE your RECEIVER with the FINE TUNE KNOB to get the best reception.
These are slow small adjustments - FINE TUNE.
TABLE 1
RELOCATE THE TRANSMITTER
If necessary, relocate the TRANSMITTER to different and adjacent area in the
environment and note the location with the clearest sound quality. It may be helpful
to insert the batteries in the TRANSMITTER to aid in mobility of the unit during this
test. Be sure that the output volume on the side of the unit is set to maximum
output. Oftentimes, FM signals will ‘bounce’ off solid objects in the area so changes
will be noticeable with relatively small movements. Be prepared to try a different
area if it appears that small movements are not effective.
PLEASE NOTE: OPTIMUM PERFORMANCE WITH BATTERIES CAN ONLY BE
ACHIEVED IF THE BATTERIES ARE PROVIDING RATED VOLTAGE +/- 5%.
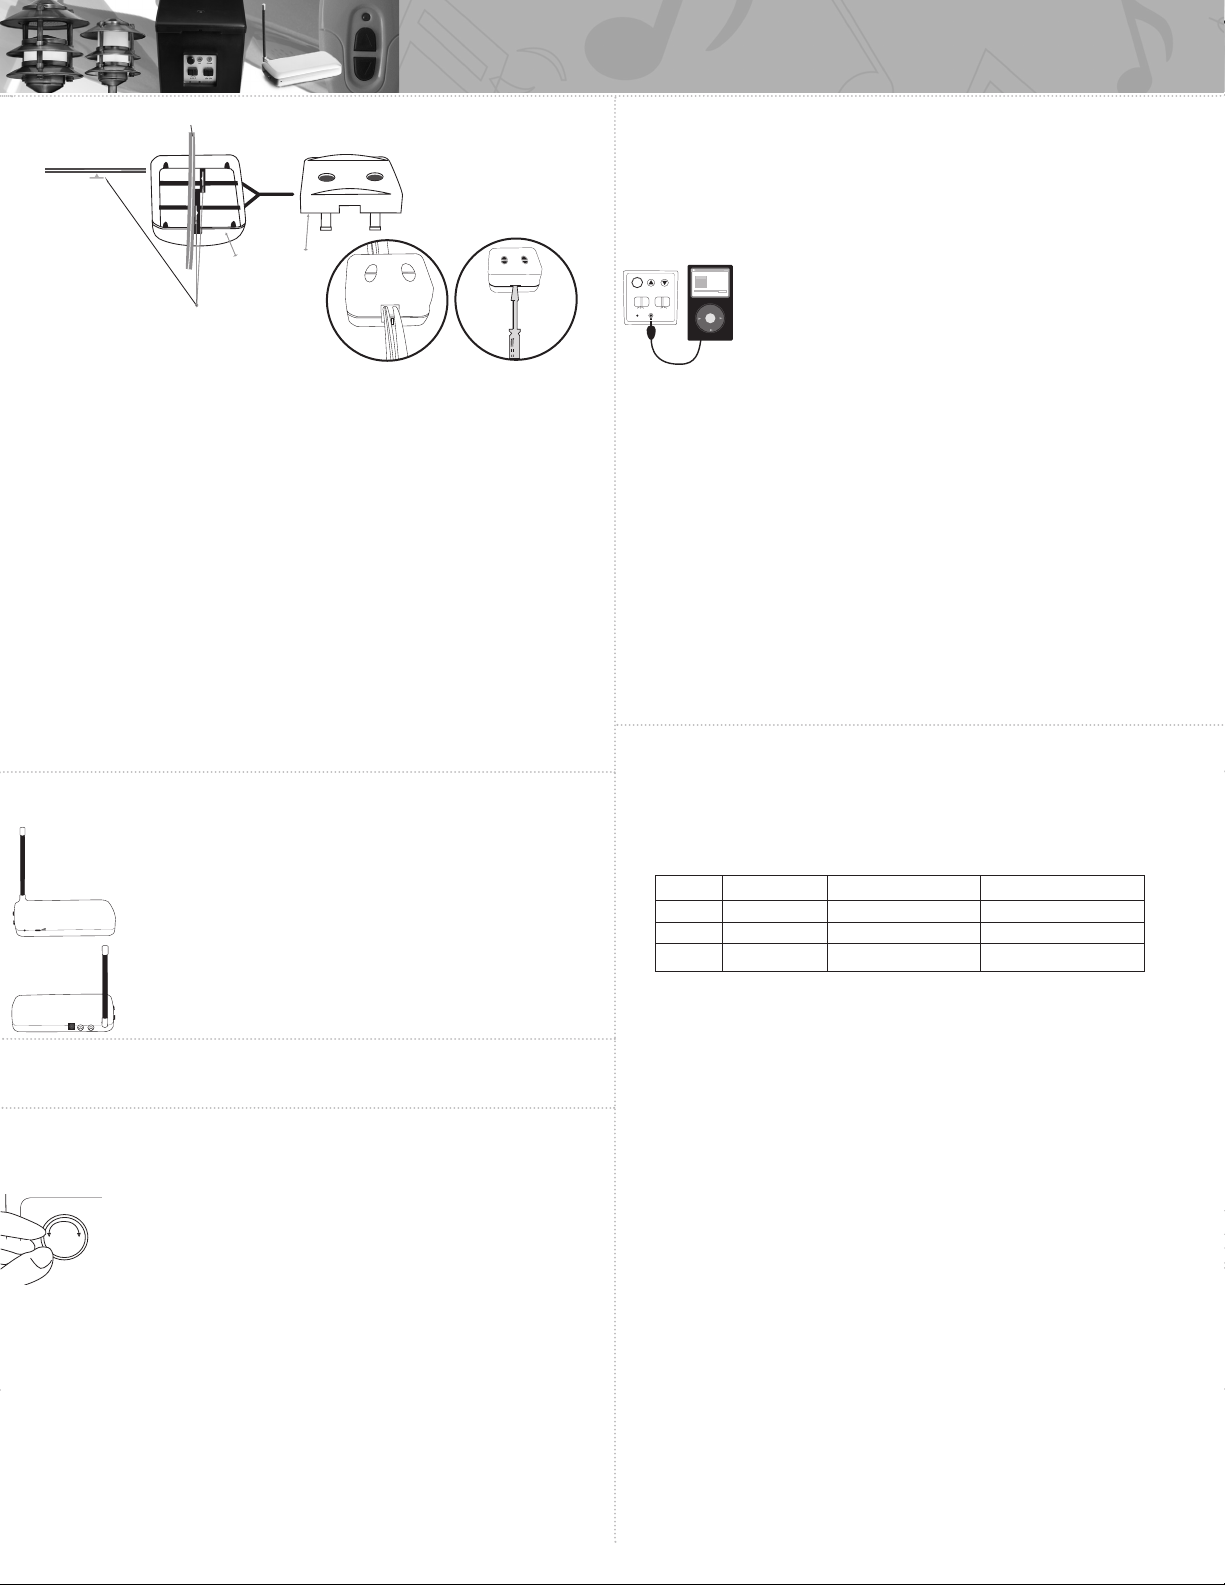
Optimum FM reception may require relocation of the RECEIVER,
TRANSMITTER or both, depending on many factors. Prior to making
any physical location changes, please test the system with a direct
connected sound source. The RECEIVER has a jack on the front panel
capable of accepting a 3.5mm male audio jack for the purpose of
connecting a sound device directly to the unit. Using a known sound
source (CD player, MP3 player, RADIO, etc.), connect the audio output of this device
directly to the RECEIVER (using a 3.5mm male straight cable) to determine sound
quality. If distortion occurs, check all SPEAKER and electrical connections for
proper polarity (+, -). Remember, the GREEN CONNECTORS have a
RIB on it that must be aligned with the white stripe of the GREEN
BURIAL WIRE to insure proper SPEAKER polarity.
RE-POSITION OR RELOCATE THE RECEIVER
In some cases, it may be necessary to re-position the RECEIVER to an area better
suited to accept the signal from the TRANSMITTER source. Identify obstructions and
sources of interference from power lines, machines, large motors, electrical
transformers and other devices that are known to affect reception. Some of this
equipment typically cycles on and off as needed. Their interference would most often
occur when operating. Also, keep in mind that the power cord of the RECEIVER acts
as the ANTENNA (this is typical on devices of this nature) and will improve reception
when stretched out vertically and/or as its orientation is adjusted. It should be noted
that external factors may cause minor drifting of the FM signal and require slight
adjustment (fine tuning). The fine tuning knob on the front of the RECEIVER should be
used for this purpose.
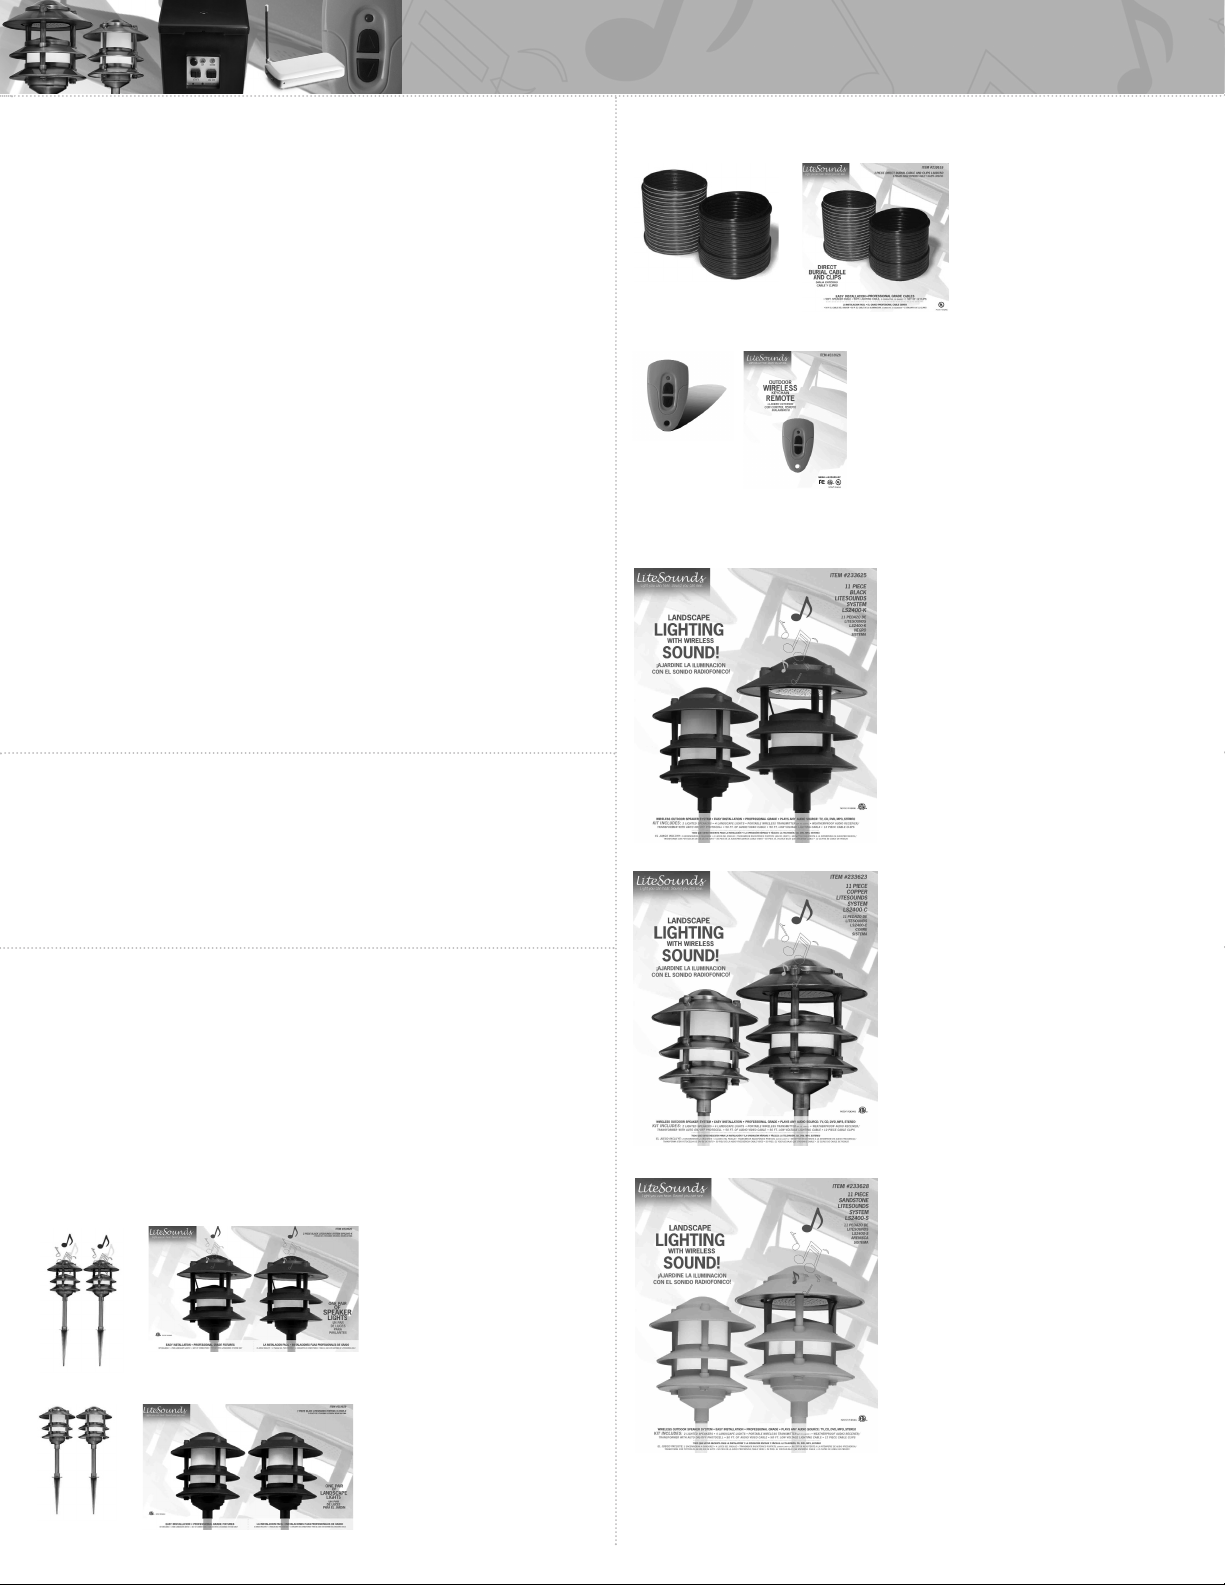
CHANGING LIGHT BULBS
• LiteSounds®FIXTURES use a 9-watt long life bulb in
conjunction with a high-illumination lens. This
combination provides the equivalent lighting output
of a higher wattage bulb with the energy savings of the
9-watt lamp.
• To prevent electrical shock, disconnect RECEIVER from
electrical supply before service.
• Loosen the THREE SCREWS from the bottom of the
FIXTURE.
• Remove bottom FLANGE to expose the BULB.
• DO NOT touch BULB with bare hands. Always use a
soft cloth to handle the BULB.
• Replace BULB with correct wattage and type as
marked on FIXTURE label.
• Replace FLANGE and hand tighten SCREWS.
LITESOUNDS®FREQUENTLY ASKED QUESTIONS (FAQs)
Q How many FIXTURES can I add to my system?
A. You can operate a total of 10 FIXTURES using 9w BULBS. Of these
10 FIXTURES, 4 of them may be SPEAKER LIGHTS.
Q. How do I turn off the volume when not in use?
A. Reduce volume on RECEIVER to minimum by the repeat pressing of the
down button or by using the REMOTE CONTROL (OPTIONAL).
Q. How do I improve reception?
A. Review section 7 or call 1-877-709-3846 or go to www.litesounds.com.
Q. How far can the TRANSMITTER be from the RECEIVER?
A. LiteSounds® recommends a max of 100ft.
Q. How far from the RECEIVER will the REMOTE CONTROL work?
A. LiteSounds® recommends a max of 65ft.
Q. What are the advantages of low voltage outdoor lighting?
A. The major advantage of low voltage lighting systems is economy, safety, security
and ease of installation. The low voltage lights use low wattage lamps, they are
very economical to operate. A typical six light set uses less electricity than a
single 100 watt bulb. The systems are easier to install than conventional
120-volt systems and are safer too. For instance, if you touch the bare wires
or cut a buried cable with a garden tool you will not get a shock.
Q. How close can I install low voltage lighting fixtures to my swimming pool?
A. For maximum safety, the lights and cable must be at least ten feet from the
edge of the pool.
Q. Can I submerge the lamps in my pool, fountain or pond?
A. While some low voltage lights are designed for this use, the LiteSounds®system
should not be used in water.
#
8
Channel FM Frequency Fine Tune - Low Range Fine Tune - High Range
A 107.3 MHZ 106.9 MHZ 107.5 MHZ
B 107.5 MHZ 107.1 MHZ 107.7 MHZ
C 107.7 MHZ 107.5 MHZ 107.9 MHZ
FINETUNE
UP DOWN
CHANNEL LIGHTS
A B C ON OFF
AUDIO INPUT
VOLUME LITESOUNDS
MUSICSYSTEM
00:01 00:02
POWER
#
7
FINE TUNE
*MP3 IS NOT INCLUDED