LENCO DC-5102 User manual

DC-5102
User Manual

Page 1 of 32
Thanks for purchasing our digital camera products. Please read through this
manual carefully before using the camera and follow the instructions to avoid any
damages that may be caused to camera by improper operation.
Please try to take pictures before you perform the formal recording or take photos
of any important occasion. Please do test the camera beforehand to ensure that it
functions well. Any loss of benefit generated by the photography is not the
responsibility of our company and no compensation will be given for it.

Page 2 of 32
1. Functional parts of the camera
1 Lens
2 Flash light
3 MACRO button
4 USB jack
5 Tripod socket
6 SD card slot
7 Battery cover
8 LEFT / FLASH mode
9 MENU button
10 RIGHT / DISPLAY
button
11 UP
12 MODE button
13 DOWN
14 BUSY light
15 MACRO light
16 OK/SHOOT button
17 POWER button
18 TFT monitor screen

Page 3 of 32
2. Prepare for use
2.1 Load batteries
It’s optional to use AAA alkaline batteries or rechargeable batteries.
Open the battery cover and put in batteries according to the polarity indicated on
the battery door.
2.2 Insert the memory card.
Insert the card upfront facing the front face of the camera gently.
Attention: If you cannot insert the SD card properly, take it out and re-insert
again.
2.3 Taking pictures and AVI function
Capture
1. Press the POWER button to turn the camera on. It enters capture mode
automatically
2. If it is not in the capture mode, press the MENU button to select camera icon,
then press OK to confirm.
3. Press the SHOOT button again to take pictures.
Note: Select the macro function for sharper pictures by sliding the macro button

Page 4 of 32
in place when the subject is 15 – 40cm from the camera.
Attention
While saving the photos into the camera, don’t open the battery cover or
remove the batteries, or else, it will fail to save or damage will be caused to the
images being saved.
The camera turns off after being inactive for some time.
Taking video
1. Press the POWER button to turn on the camera;
2. Press the MENU button. Select the video mode by pressing OK;
3. Press the SHOOT button to start recording;
4. Press the SHOOT button again to stop.
Attention
The length of recording depends on the capacity of the memory card.
2.4 Playing video
You can play the photos and video through TFT screen, or by connecting the
camera to the TV.
Note: DC-5102 does not support audio function, therefore recorded AVI files

Page 5 of 32
do not produce sound when played back on the camera or on TV.
Viewing the photo
You can view photos saved in the camera or the memory card through LCD
screen. During the process, you can enlarge or delete them.
1. Press the menu button, then press OK to select the album mode;
2. Press left/right button to preview the item;
3. Press down/up button to enlarge or dwindle the photo. The highest
zoom is 4 times.
Viewing the video
You can view the video saved in the camera or the memory card through the LCD.
1, Press the MENU button, then press OK to select the album mode;
2, Press LEFT/RIGHT button to select the item;

Page 6 of 32
3, Press the up button to play the video, press down button to stop;
4. Press the OK button to return to preview mode.
Re-playing the video by TV
You can play the video by connecting the camera to the TV.
1. Press the POWER button to turn the camera on, connect its TV output jack to
the input port of the TV with a video cable
2. Turn on the TV, and change to the AV mode.
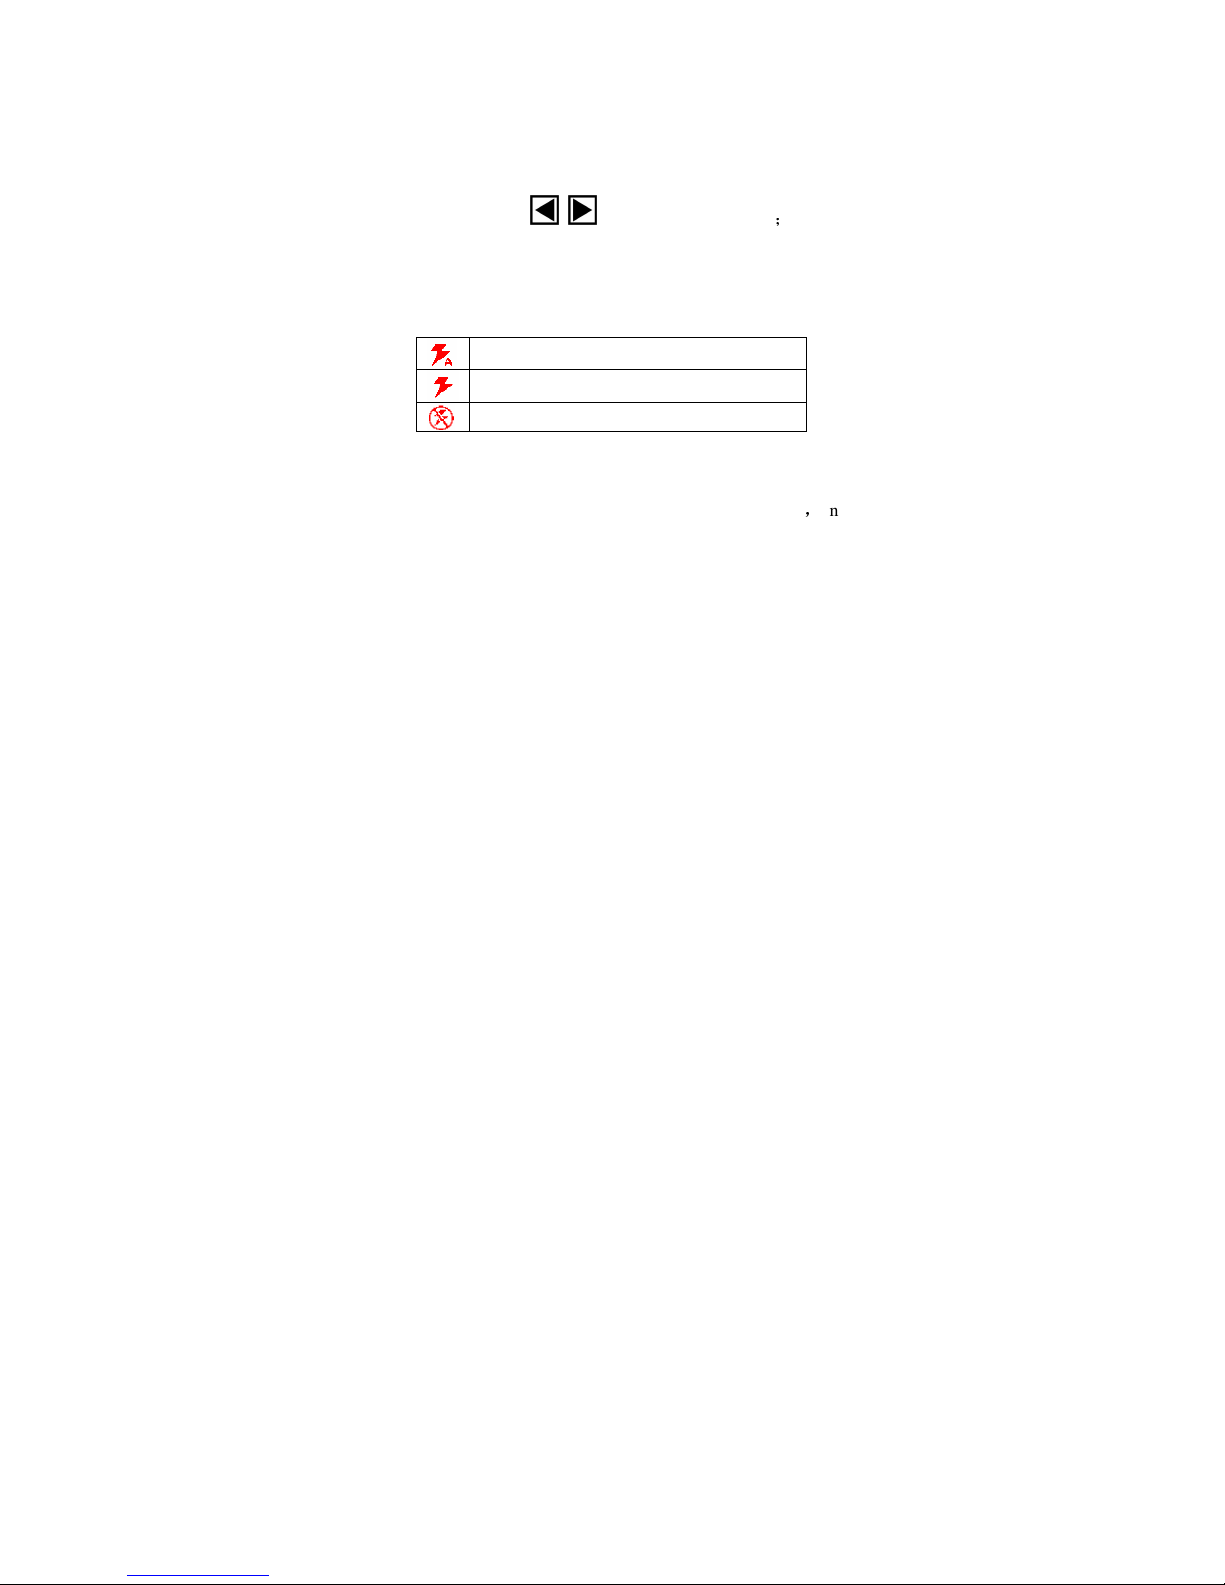
3. Press left/right button to play, speed or slow it.
Attention
While connecting the camera to the TV, ensure to turn off the TFT screen.
( TFT display can be turned off manually by pressing DISP twice ).
It will consume the battery voltage to connect the camera to the TV.
The TV mode may effect the picture quality. Please adjust the camera output
mode in accordance with the TV mode (PAL or NTSC to be selected)
The image may not display properly on the TV screen .It is caused by settings of

Page 7 of 32
the TV, instead of faults of the camera.
Set the camera mode
1
Press the MENU button, select the settings menu and press OK;
2
Press the DOWN/UP button to select the TV-OUTPUT window
3
Press LEFT/RIGHT button to select the required NTSC mode or
PAL mode
4
press the MENU button to exit
2.5 Enlarging photos
While viewing the photo, you can enlarge or dwindle it.
1. Press the MENU button, select the album mode and press OK
2. Press LEFT/RIGHT button , scroll to the item
3. Press UP button to enlarge the item
4. Press OK button;

Page 8 of 32
5. Press DOWN/LEFT/RIGHT/UP button to move the
item
6. Press the OK button to return.
2.6 Deleting the photo
The images can be deleted from the camera or the memory card
Delete one:
1. Press the MENU button, then press OK to select album mode
2. Press LEFT/RIGHT button , scroll to the item
3. Press the MODE button
then enter the deleting window
4. Press the OK button to confirm deleting.
5. Repeat the above process to delete the photos one by one.
2.7 Delete all
1. Press the MODE button
then enter the deleting window
2. Press DOWN/UP button , scroll to “delete all”
3. Press the OK button to confirm deleting all.

Page 9 of 32
3. Settings
You can adjust the camera settings in the menu.
3.1 Self-timer
1. Press the MODE button, and change to the Self-timer window
2. Press LEFT/RIGHT button to select the needed time
3. Press the MODE button to return. The camera is set in the self-timer mode.
Attention: If you want to cancel, just set self-timer off.
3.2 Flash light
Auto: turn on/off auto according to the light
Flash on: always keeping on
Flash off: always keeping off
The flash light needs to be charged between two snapshots, then you can shoot
the next photo.
Under bright light, visible facula may be caused to the image
and correct
exposure may not be obtained.
The workable range of flash light is 1.8m to 2.5m.

Page 10 of 32
3.3 White balance
You can select the correct white balance to get the best quality photos.
1. Press the POWER button to turn the camera on
2. Press the MODE menu;
3.Press UP/DOWN button
scroll to the “white balance” window
4.Press LEFT/RIGHT button to select the needed
5. Press the MODE button to return.
3.4 Picture size
The size to be selected
1600X1200
2048X1536
2560X1920
1. Press the MODE button
2. Press UP/DOWN button ,and scroll to the size window
3. Press LEFT/RIGHT button to change the menu of picture size
4. Press the MODE button to return to preview mode

Page 11 of 32
3.5 Digital zoom
This camera is equipped with digital zoom function.
Use LCD to preview the image to check the effect of digital zoom.
Attention
Digital zoom will affect the picture quality. The higher the zoom, the
lower the quality. The highest is 4 X zoom.
1. Press UP/DOWN button to adjust the focal range of camera while it
is in working mode.
2. Then start to capture.
3.6. Date and Time
This camera has the clock function to record the date and time of shooting and
recording.
1.Turn on the camera, press the MENU button
and then change to the settings
menu
2. Press the OK button to confirm
3. Press UP/DOWN button ,scroll to the “Date & Time Setting”
window
press OK to select;

Page 12 of 32
4. Press UP/DOWN button to adjust the date and the time;
5. Press the OK button to confirm setting.
3.7 The other settings
You can also set the other functions in the menu
3.8.USB (storage) & PC camera mode
PC—CAM mode: this camera can be used as a webcam.
Storage mode
With this mode, you can download ,delete and upload files. This
camera can be also used as a removable disk.
Changing the USB connection mode
1. Turn camera on, press the MENU button, select the settings menu by pressing
OK;
2. Press UP/DOWN button , scroll to USB Connection mode window
3. Press LEFT / RIGHT button , scroll to the required USB mode
4. press the MENU button to return .

Page 13 of 32
Change to TV Output:
NTSC or PAL can be selected.
1. Press the MENU button, then select the settings menu by pressing OK
2. Press UP/DOWN button
scroll to “TV mode”
3. Press LEFT/RIGHT button , scroll to the required TV mode
4. press the MENU button to return.
3.9 Auto power off
You can set the time to auto power off in the menu.
1. Turn on the camera ,press the MENU button ,and select the settings menu
2. Press UP/DOWN button
scroll to “Auto Power Off” window
3. Press LEFT/RIGHT button to select the time to auto power off
4. Press the MENU button to return.
3.10 Language
1. Press the MENU button ,and then select the settings menu

Page 14 of 32
2. Press UP/DOWN button
scroll to the language window
3. Press the OK button to confirm
4. Press UP/DOWN button to select the required language
5. Press the OK button to return.
3.11 Power
The battery shows on the LCD screen:
empty
low
full
Factors affecting battery life
the frequency and time in using the LCD
the frequency and time in using the flash light
number of photos taken
temperature(the battery life shortens in low- temperature environment )
Attention
Do not use manganese battery;

Page 15 of 32
While the camera is turned on, do not take out the battery or re-install it, or
else, the settings and the function will be affected.
The following factors will consume the battery :
While turning on the LCD screen,
LCD screen stays in replay mode,
Connecting the camera to the computer
4. Downloading
Turn the camera on, and then connect to the computer with a USB cable. Then
you can download and copy pictures, files and other data from the camera to your
computer or from the camera to the memory card.
If you are running Window 98, please install the camera driver first.
After finishing downloading or uploading, ensure to disconnect the camera from
the computer in a safely removal way.
5. PC camera function
This camera can be used as a PC camera after the camera driver is installed into
your computer.

Page 16 of 32
5.1 How to install the camera driver
1.Put the accompanying CD into the CD-ROM;
2. The installation interface automatically appears.
3. Click “Install Driver” to confirm installation
4. The system will indicate when installation is finished
5. Restart your computer
if needed
Attention
While installing the driver, ensure that the camera isn’t connected to
the computer.
How to use PC camera
1. Press the POWER button to turn on the camera
2. Press the MENU button to select the settings menu
3.Press UP/DOWN button
scroll to the “USB Connection” window
4. Press LEFT/RIGHT button
scroll to “PC-CAM”
5 .Press the MENU button to return
6. Connect the camera to the computer with USB cable

Page 17 of 32
7. Run the “AMCAP.EXE”;
A window will turn up on the computer monitor screen, showing the images
being taken.
6. How to maintain the camera
It is recommended always to maintain your camera and also the accessories.
6.1 For camera
Keep the lens clean. If LCD monitor or viewfinder surface is dirty, please use a
lens brush or soft cloth to wipe the surface clean instead of touching the lens with
your fingers.
Do not use any solid object to hit the camera to avoid scratching the lens, LCD
monitor or viewfinder surface.
Do not keep the camera in a sunning or scorching environment for a long time.
When bringing the camera from a chilly environment to a warm one, please hold
on for several minutes before using, in order for the camera to adjust to the
existing temperature.
6.2 For battery
When the battery is low, please change new batteries of the same type according

Page 18 of 32
to instructions on the batteries.
Please take out the batteries if the camera is not to be used for a long time.
Ensure that no leaking, corroded or expansive batteries are used in the camera.
Attention: If rechargeable batteries are used, ensure to take them out from camera
for recharging by charger if the battery level is low.
6.3 Memory card
In the following conditions, the memory card needs to be formatted:
non-formatted card
When the formatted card doesn’t work in the camera normally, please
re-format it again.
If the same card is used in different cameras, it is recommended to format it
for the best effect.
Attention: Ensure the item being formatted is unlocked. Formatting will delete all
the data, so please backup the data in the card before formatting.
Formatting the memory card:
1. Ensure the card is unlocked
2. Insert it into the camera, and turn on the camera
3. Press the MENU button, then select the settings menu

Page 19 of 32
4. Press up/down button
scroll to “Format storage”
5.Press the OK button to confirm
6. Press the MENU button to return.
Attention: When the process is being done, do not open the cover or remove the
batteries, or else damage may be caused to the memory card.
SD card can be used in this camera
Normal SD card (8MB-1GB)
3V
3.3V
card
8MB-1GB
5V SD card cannot be used in this camera.
The camera may not distinguish non-standard cards and cards formatted in other
cameras, so make sure to format the memory card before use.
6.4 Safety
To avoid the risk of electronic shock, do not disconnect or repair the camera by
yourself.
Keep the camera dry. Fault may be caused in watery environment. Once water or
steam gets into the camera, stop using the camera at once and dry it completely
Table of contents
Other LENCO Digital Camera manuals