Lenovo Robotic User manual

Lenovo Robotic Vacuum Cleaner X1
User Manual
Please read the User Manual before using---Warranty card included, pictures are for reference only.


Contents
English.......................................................................................................................................................................................................................................
German ....................................................................................................................................................................................................................................
De
P01
P28

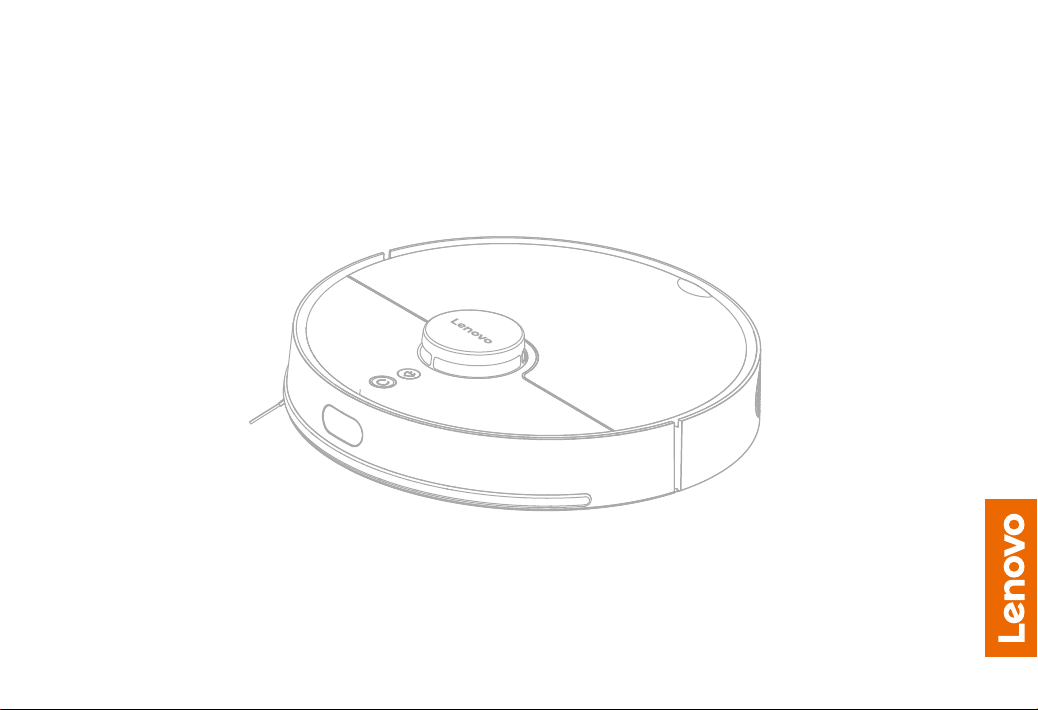
Thank you for choosing the artificially intelligent (AI) Lenovo Robot vacuum cleaner! Please read all the operating
instructions carefully before using your Robot and keep the operating instructions for future reference. We know you
will love this vacuum! Lenovo Robot is a highly intelligent sweeping robot that utilizes high-precision radar and an
array of other sensors, all working together through navigation algorithms to create and follow sophisticated,
accurate maps and plans. Sweeping, vacuuming, and mopping, all in one, with the end result being regular, efficient
full indoor cleaning that can be performed without the need of any human assistance.
Region
ipcsupport@lenovo.com
Global
E-mail
Lenovo Robotic Vacuum Cleaner Contact List
1
Dear Customers

Mopping cloth x 1Water tank x 1
Universal plug x 4 Water tank filter
elements x 6
Main machine x1
Power adapter x 1 Cleaning tools x 1User manual x 1
Charging dock x 1
2
Packing List
Damp proofing pad x 1

o Recharge/Spot cleaning button
o Cleaning/Power button
• Short press to recharge/pause
•Long press and hold to start Spot cleaning
• Short press to start sweeping/pause
• Press and hold for 3 seconds to turn on/off
• If abnormal condition, please press and hold
for 15 seconds to force poweroff
Note:
•Press any key while cleaning, recharging or spot cleaning to pause the current task.
•After power on, press both buttons and hold for 3 seconds to reset Wi-Fi
3
Main machine
Product Overview

Main brush
cover and buckle
Main brush
Main wheel
(driving wheel)
Dust brush
Universal wheel
Main machine
Product Overview
4
Cover
Protection strip
Power button
Recharge button
LDS laser
distance sensor

Water tank
Water inlet
Installation switch
Radar cover/
collision sensor
TOF Wall sensors
Recharging sensors
Main machine
Product Overview
5

Wi-Fi indicator light
Reset hole
Dust bin bracket
HEPA Filter
Dust bin bracket Dust bin cover
Dust bin
Product Overview
6

Power indicator light
Charging
electrode strips
Signal emission area
Wire slot exit
Bottom
cover
Power port
Charging dock
Product Overview
7

1) Connect the power cord, put extra wire in the slot.
3) For the convenience of the robot vacuum cleaning and
recharging properly, please do not frequently move the
charging dock. If the location of the charging dock is
changed, the robot vaucm may lose the map due to failure
in positioning. When it works again, the robot vacuum will
re-create and memorize the map.
2) Place the charging dock on a level ground and connect the power
supply.
Note:
• Please make sure that there are more than 0.5 meter (feet) space
on both sides of the charging dock and more than 1.5 meters (feet)
space in front of the charging dock.
•
Note:
• Re-creation may result in the loss of information of off-limit area
zone and regional cleaning.
• Avoid direct sunlight
Wall
Ground
Installation Instructions
8
Note:
• The extra power cord touched the ground can be pulled by the main
unit to cause the interruption of charging.
• The charging dock indicator is always on and goes off when charging.
Put damp-proofing pad in front of charging dock

4) Before use, be sure to remove the protective strip on the
bumper to ensure proper operation of the cleaner.
6) Download the mobile phone APP
Note: When the mobile phone is not connected to the cleaning
robot, please refer to the “User’s Manual” - “Reset Wi-Fi” to operate.
Search for “Lenovo Cleaner X1” in Google Play or Apple
store then find its App and download it. Follow the APP to
configure the network of the device.
5) Powering and Charging
Method 1: Press and hold the Power button key to power on.
Wait for the ring indicator to light up and place the main
machine within one meter of the charging dock. By tapping
the charging button,the device will automatically search for
the charging dock and go to charge.
Method 2: Place the Robot vacuum near the charging dock
and align it with the charging electrode strip. The power
indicator on the charging dock will be off and the cleaner will
automatically power on and starts charging by default. After
the device is turned on, it can be usde normally.
Note: If the battery is low, the machine will not turn on. Please place the
main machine on the charging dock and the device will start automati-
cally. The power of the device should be≥30% before it can work.
Note: Before charging, wipe the robot vacuum charging pad with a dry
rag, and put aside the side brush at the same time to prevent the poor
contact coming from side brush or dust.
Charging Dock
Main machine
Please pay attention to align main
machine with the charging
electrode strip
Installation Instructions
9

Note: Please don’t move Robot frequently. Please place the device
near the original place if you move it manually. Robot will try to
reposition its coordinates when it is started again. If the positioning is
successful, Robot will continue to work according to the planned
clean path. If the positioning fails, Robot will give up the current task
and re-create the map and may not be able to complete the recharge.
After startup, the robot will scan to generate maps and
intelligently create areas. In these areas, the cleaning paths
are planned as along the wall firstly, followed by the
bow-shaped filling method. The cleaning in each area will be
accomplished step by step with high efficiency and full
coverage. After the cleaning is completed, Robot will
automatically return to harging dock to recharge itself.
Cleaning methodClean/Pause
Method 2: Click the Sweep in the APP to start cleaning (press
the pause key to pause the current task)
Method 1: After the power is turned on,short press the power
key on the main unit to start cleaning(press any key to
pause while cleaning)
• Please remove all types of wire (including the power cord of the
charging dock) on the floor before cleaning because dragging from the
worked machine can cause a power failure and damage items or wire.
• Robot vacuum cleaner cannot be used to clean liquids.
• When battery Is lower than 30%, the Robot will automatically return
to the charging dock After the battery reaches 80%, the Robot will stop
the charging itself and start the cleaning again.
Note:
Method 1
Operating Instructions
10
Method 2

Case 1: Starting the Robot in a new area to clean can
cause the Robot to re-create map.
Case 2: The main changes of the environment may result
in the failure of reposition and may trigger to re-create
the map. Regenerating map will lose all the settings of
the original one (including the off-limit area zone).
Loss of regional information
1) Customized area cleaning
Users can define one or more of the size and location of
the cleaning area. Under such a condition, Robot will
only clean the set area and will NOT clean the unset
area. Meanwhile, the number of cleanings can be set.
The default cleaning is 2 times and 1 time cleaning can
also be set optionally.
Spot cleaning
Operating Instructions
11
Charge
Automatic mode: After cleaning is completed, the
device will automatically return to the charging dock
to recharge itself. Manual mode: Under paused state,
short press the charging key to start the recharge,
or the APP triggers the recharge.
Note: Please make sure that the charging dock is connected to
the power. If the Robot does not find the charging dock, it will
return to the starting position. Please manually put the Robot
back into the charging dock to recharge.

Operating Instructions
12
2)Set up off-limit area
It is also possible to set certain area as a restricted area
where Robot will not enter. The restricted area can also be
set as a permanent forbidden zone which applies to a room
or area that you do not want Robot enter it. (See the
diagram below).
Note:
• Robot may intrude into the restricted area due to
incorrect positioning, sensor abnormality and some other reasons.
• The permanent forbidden zone may become invalid due to a big change
in the location of the charger or furniture. Therefore, please try not to
move or interfere with Robot during cleaning.
• Re-creation of map will lose the settings of the previous off-limit area
The Robot will mapping automatically and divides
the room. When you need to clean a room
separately, you can select “Specify Room”. After
selecting a room on the map and starting to clean,
the Robot will clean the room.
Specified room

Wi-Fl indicator
Operating Instructions
13
After the expiration of the accessories, the accessory
can be purchased in the advanced function-accessories
purchase, and reset operation is required after replacing
the new accessory.
Accessories purchase
Reset Wi-Fl
When the router changes settings, passwords, or other
reasons that prevent the mobile phone from connecting
to Robot, Please turn on and press both buttons
simultaneously key and the charging key
simultaneously for 3 seconds till the voice prompts
‘Wi-Fl has been reset” and the Wi-Fi indicator changes
to fast flashing blue light which indicates that the reset
was successful.
Case 1: Starting the Robot in a new area to clean can
cause the Robot to re-create map.
Case 2: The big changes of the environment may
result in the failure of reposition and may trigger to
re-create the map. Regenerating map will lose all
the settings of the original one (including the
off-limit area).
Loss of regional information
Recharge
Automatic mode: After cleaning is completed, the
device will automatically return to the charging
dock to recharge itself. Manual mode: Under paused
state, short press the charging key to start the
recharge, or the APP triggers the recharge.
Note:Please make sure that the charging dock is connected to the
power. If the Robot does not find the charging dock, it will return
to the starting position. Please manually put the Robot back into
the charging dock to recharge.

Note: In order to have a better mopping effect, it is
recommended to use the water tank to mop after the robot
vacuum completes at least three indoor cleanings.
Usage of water tank
• The device mopping function only has a wiping effect, which helps deep
cleaning, but can not effectively remove stubborn stains (such as dried coffee
stains, etc.), and can not completely replace labor.
• If you have carpet in your home, please use the mopping function carefully.
In order not to soil your carpet, do not use the mopping function on the
carpet. You can avoid the equipment from entering the carpet area by setting
the off-limited area APP.
• If you need to add water or clean the rag while the vacuum is cleaning,
please pause it, press and hold the button to pull out the water tank, add
water or clean it, then put the water tank back into the vacuum and place the
vacuum back to its original spot. When you start it again, the vacuum will try
continue cleaning according to the plan.
• For safety reasons, it is recommended to remove the water tank assembly
when charging to avoid damaging the wooden floor.
• Do not use the water tank to mop the floor when no one is at home.
Step4: Push the water
tank horizontally into the
bottom of the main unit
During the Do-Not-Disturb period, Robot will not
automatically power off and play voice. The Do-Not-Dis-
turb mode is enabled by default after the main unit has
been deployed with internet for the first time. The open
period is from 22:00 to 08:00. You can use the phone
App to turn off the Do not disturb mode or modify the
Do-Not-Disturb mode time period.
Do-not-disturb mode
Quiet, standard, powerful and Max
modes can be chosen by the phone App.
The default is automatic mode.
Cleaning mode
the suction is very low in this mode,
so it is recommended to use this
mode after cleaning.
Mopping mode
Step3: stick on the
mopping cloth
Step2: buckle up the
water tank
Step1: add water
Operating Instructions
14

In order to ensure the continuous and effective cleaning ability of the product, please clean the water tank and mop after using
the water tank assembly.
Water tank
Step 3
Clean mopping cloth
Step 2
Remove mopping cloth
Step 1
Hold the two buttons above the water tank
and pull out the water tank
Step 5
Air-dry the water tank and
mopping cloth for next use
Step 4
Dry the water tank
Tips
In order to guarantee the optimal water seepage effects,
you should replace the filter element monthly.
Filters element
Filters element
15
Routine Maintenance

16
Dust bin and Filter
Step1: Open cover to remove the dust bin.
Step2: Open the dust bin buckle and empty the dust bin. To avoid spilling the dust, keep the top cover of the dust bin facing
up. hold the top cover with your right hand and the transparent dust bin with your left hand. To avoid clogging of the filter
element, tap the dust bin when you empty it (it is recommended to clean it at l east once a week).
Step3: After a longer period of use, remove the filters component : the high-efficiency HEPA washable filter (It is recommended
to replace a set of filters every 6-12 months to ensure good cleaning results).
Step4: Rinse dust bin and filters (not too frequent, recommended monthly cleaning).
Step5: After rinsing, dry the water droplets. Be sure to dry Dust bin and filters completely before reinstalling them to ensure the
lifetime of the device.
• Please rinse with clear water without any detergent. Please do not clean the flier with brush or fingers.
• Do not put an incomplete dust bin into the device which can avoid the air flow channel (wind channel) to be blocked or damaged when cleaning.
Note:
Step1 Step2 Step3
Step4 Step5
Routine Maintenance

The main brush bearing
Main brush (weekly cleaning)
1 ) Turn the machine over, open the main brush cover by
pressing the buckle on it, and then remove the main brush.
2 ) Use a blade attached to the dusting brush to cut off the
entangled hair around the main brush.
3 ) The main brush bearings on both sides of the main brush
can be removed to facilitate removal of the entangled hair in
the gaps at both ends.
Note : It is recommended to replace the main brush every 6-12 months to
ensure good cleaning results.
Side brush ( recommended monthly cleaning)
1) Turn the machine over, remove the screw of side
brush, remove and clean the internal entangled hair and
dirt, then reinstall it.
2) The entangled hair on the side brush can also be
removed by using the blade attached to the dusting brush.
Note: It is recommended to replace the side brush every 3-6
months to ensure good cleaning results.
17
Routine Maintenance
Table of contents
Other Lenovo Vacuum Cleaner manuals