LG WG6005R User manual

wwwJ_ice.com
OWNER'S MANUAL
MANUAL DEL PROPIETARIO
AIR CON NER
AIRE ACONDIC
Mod,els/Modelo WG6005R 0R6004-i
su venti_dor de

FOR YOUR RECORDS
Write the model and seria_ numbers here:
Mode! #
Serial #
"Youcan fi_'ld the numbers on a labe_ on the side of the
pr_uct,
Dealer's Name
Dale P'urchas_
IIi Staple your receipt to this Ipaglein the ewat yo_=need i_
to p_ove _te ,ofpurchase or for warranty issues,
READ THiS MANUAL
Inside you will {ind many _lp{u{ hints oin how to use and
maintain your .air conditio,r_r pro_dy. Just a little pr_entive
care on your _rt can save, y_ a great deal of' time and
money over the iife of your air cond_ioner.
htbulll find mar_/answers to, common problems in the chart
of troub[esho@ing t#s Ill you review ,our chart of
Troubleshooting Tips first, you may rlo¢ r_ed to, ca[I for
serv_e at a&
•Contact an Authorized _r_ Center for repair or
maintenance of this un_ Call i-_,-243_00 to
locate the nearest ASC
.,This air cond_toner is no_ int_ded for u_ by 'young
children or invalids without supervision.
•Young children shou|d be su_rvis_ to ensure that
they do not p|ay wRh the ai_,_nditioner,
•if the power cord r_uires rep,la_ment, have an
Author_z_ Servicer instal| _n exa_ rep|ace_nt pa_.
.,installation wo_ must be performed in ac_rdl_nce
with the National E|ectri,c Code by q_a||Ii_ and
authorlzed personnel on|y;
2 Room Air Conditioner

To prevent iniury to the user or other _op_e and property damage, the following instructions
must be folllowed.
[] incorrect operation due to ignoring instructions willl cause harm or damage. The seriousness
is classified by the following indications.
[] Because of the weight of the product, it is re_mmended that you have a helper to assist in
the installation.
[] Meanings of symbols us_ in this manual are as shown below.
Be sure not to do. "/
q
Be sure to follow t
[] Installation
. improper assemNy or installation may cause
incorrect o_ration, inclluding injury,fire, and
electric shock hazards.
, It may cause explosion or fire.
. It may cause fire and electric shock.
• It may cause failure and ,ele_ric sho_.
Owner_ Manual 3

[] Operation
. ,_herwise, it will cause
electric shock or fire due toi
heat generation or electric
shock.
. _ will _use electric shock or
fire due to heat generation.
. _hem_ise it may cause fire
and electric shock accident.
• It willlcause electric shock or
fire due to heat generation.
• It will cause electric she@ or
fire due to heat generation.
• It may cause fire and electri,c
shock,.,
•litwill cause ellectric shock or
fire.
•No grounding may cause
electric sho_ (See Ilnstallation
IManual),.
4 Room Air Conditioner
•It will cause electric shock.

.It will cause failure of machine
or electric shock.
[] Installation
.They are sharp and may
cause injury,
, It may cause iniury.
• It is not: designed to _ol the
enfire house.
CAUTION
._ may cause failure of
appliance or accident.
• It may _use explosion, fire,
and burn.
•If the outer case is damaged,
it must _ repaired or
repEaced immediately.
Leaving it damag_ could
result in the air conditioner
falling out of the window,
creating a _fety hazard.
[] Operation
Sharp
edges
• _tmay cause elec#ic shock
and damage • Prevent a_idental sta_up and
the _ssibility of injury_
Owner_ Manual 5

, There is danger of fire or
e]e_r[c sho_. .,Water may enter the unit and
degrade the insulation. It may
cause an electric shock,
,Since the fan rotaries at high
speed during o_ration, it:may
cause [niury.
, Operation without filters will
cause failure,.
•This _,uUdiniurie the pet or
piant
'i it _S _n air _ndit[oner, not a
precision refrigeration system,,
•Tlhe ap_arance of the air
c:ond_i,oner may deteriorate,
change coJor, or develop
surface flaws.
.,It contains containments and
will make you sick.This co,ulld
diamage your ihealth,
6 Room Air Conditioner

BeforetoOperation
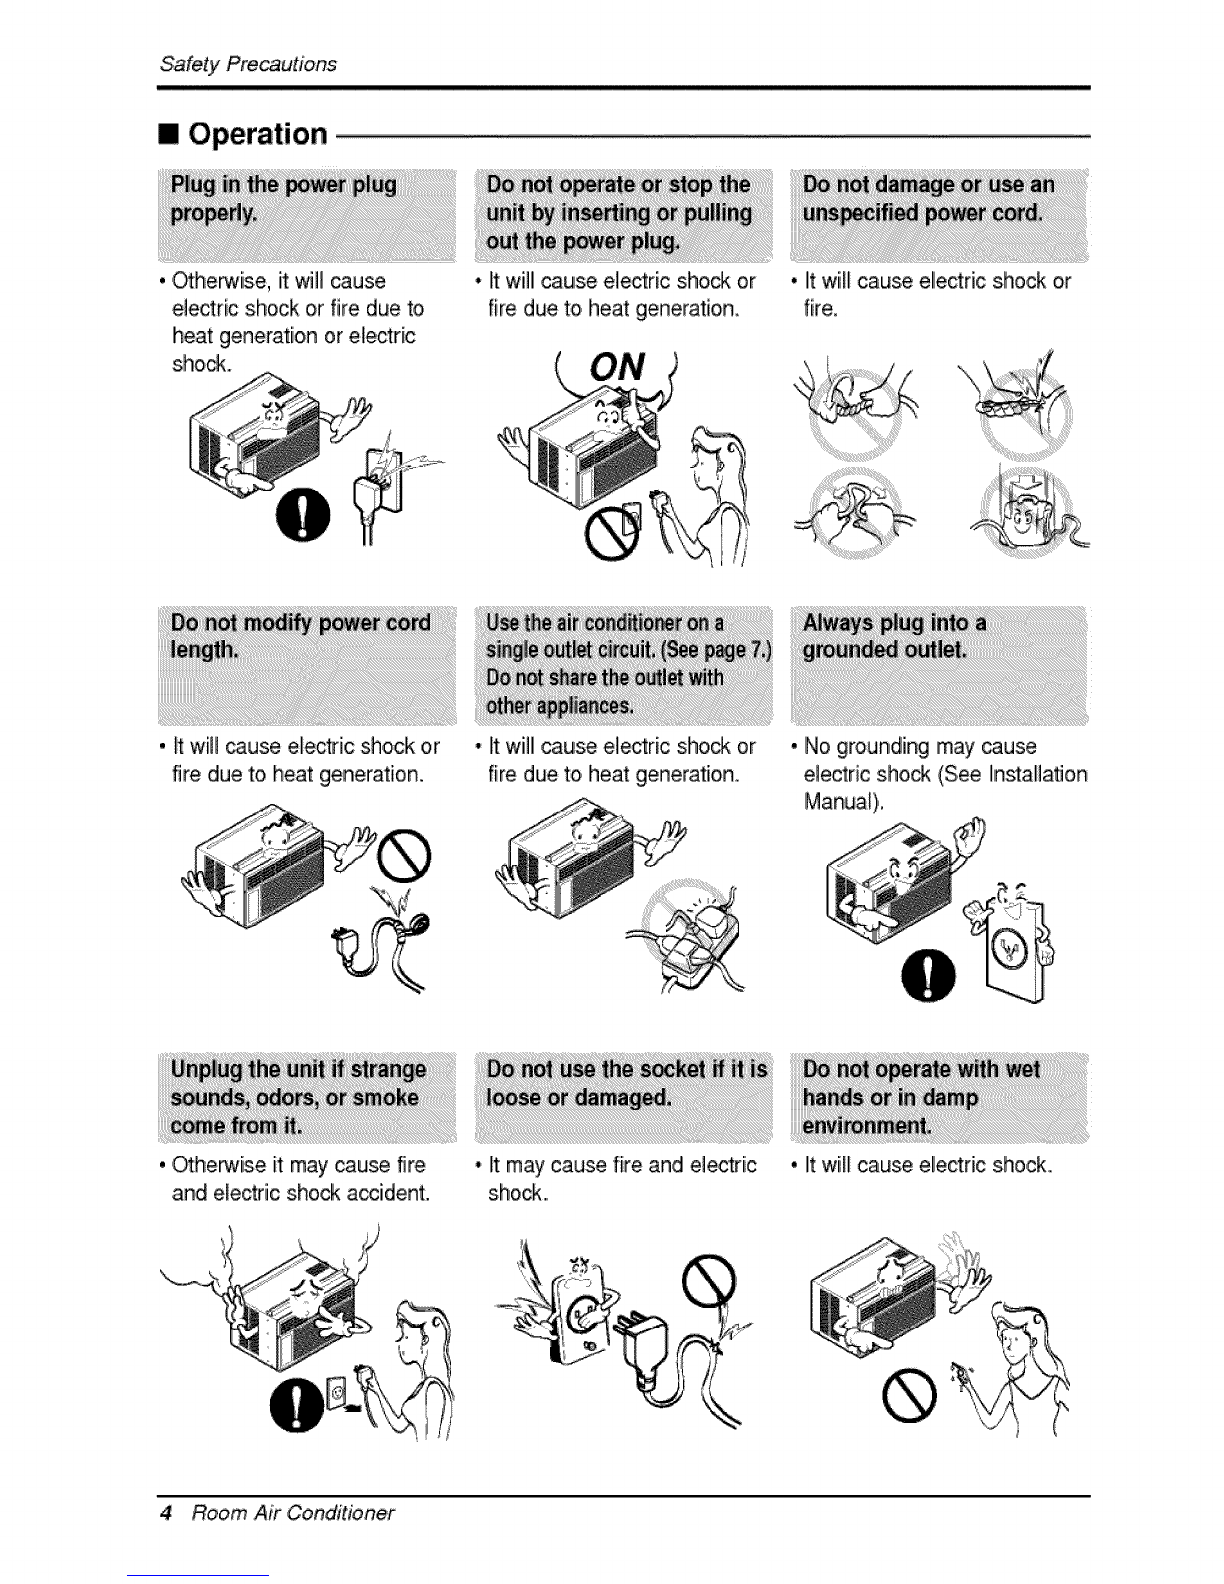
1i' Plug in the, power cord properly.
2. Use a dedicated circuit. Overloading the line could create a fire hazard.
3. Iao not use an extension cord. See page 10 for more detaii]s.
4. Do not staWstop operation by plugging/unplugging the power cord.
5. IIfthe power cord is damaged and requires, replacement, have an Authorized
Servicer install an exact replacement part.
1i_ Being exposed to direct airflow for .an extended period o,ftime could b,e
hazardous to your health, Do, not expose occupants, pets, or plants to direct
airflow for extended periods of time.
2i_Due to the possibility of oxygen deficiency, ventilate the room when used
together with stoves or other heating devices,
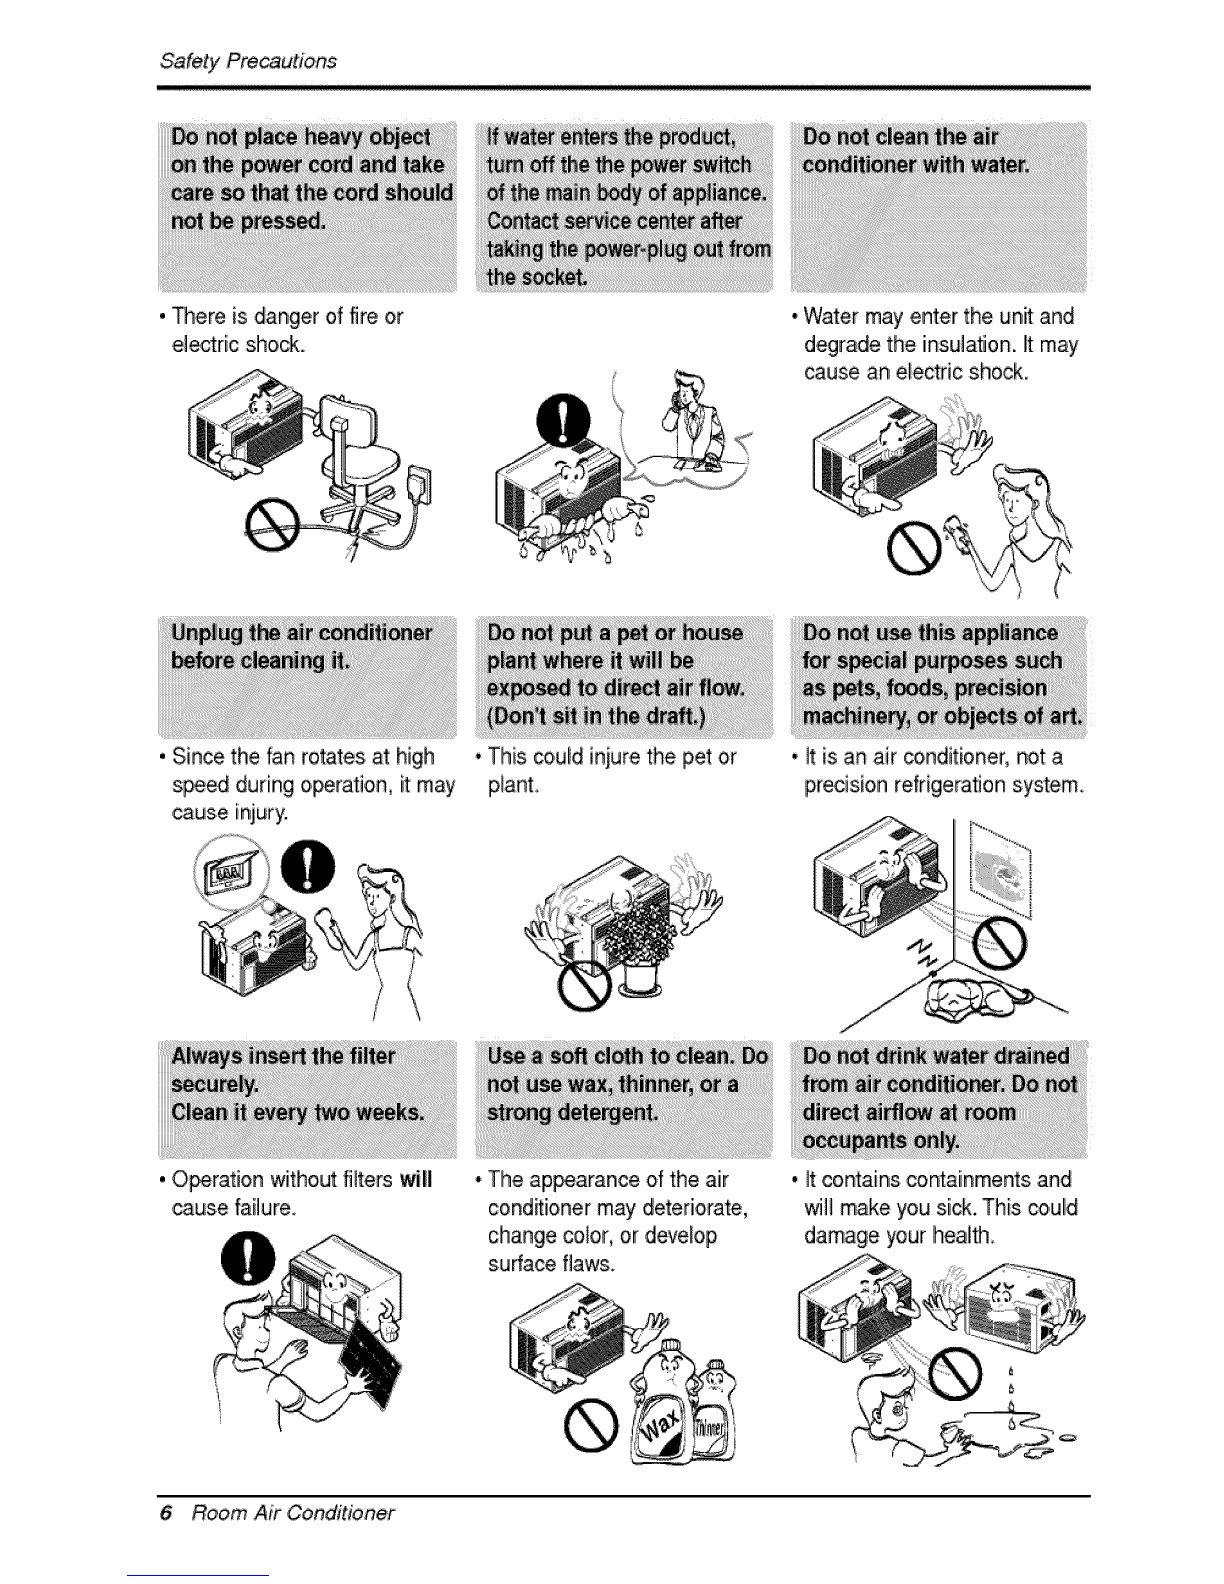
3 Do not use this air conditioner for non-specified special purposes (e.g.
preserving precision devices, food, peR, p,lan_, and art objects). Such usage
could damage the, items.
43The air conditioner is a consumer comfort appliance, not a precision climate
control system.
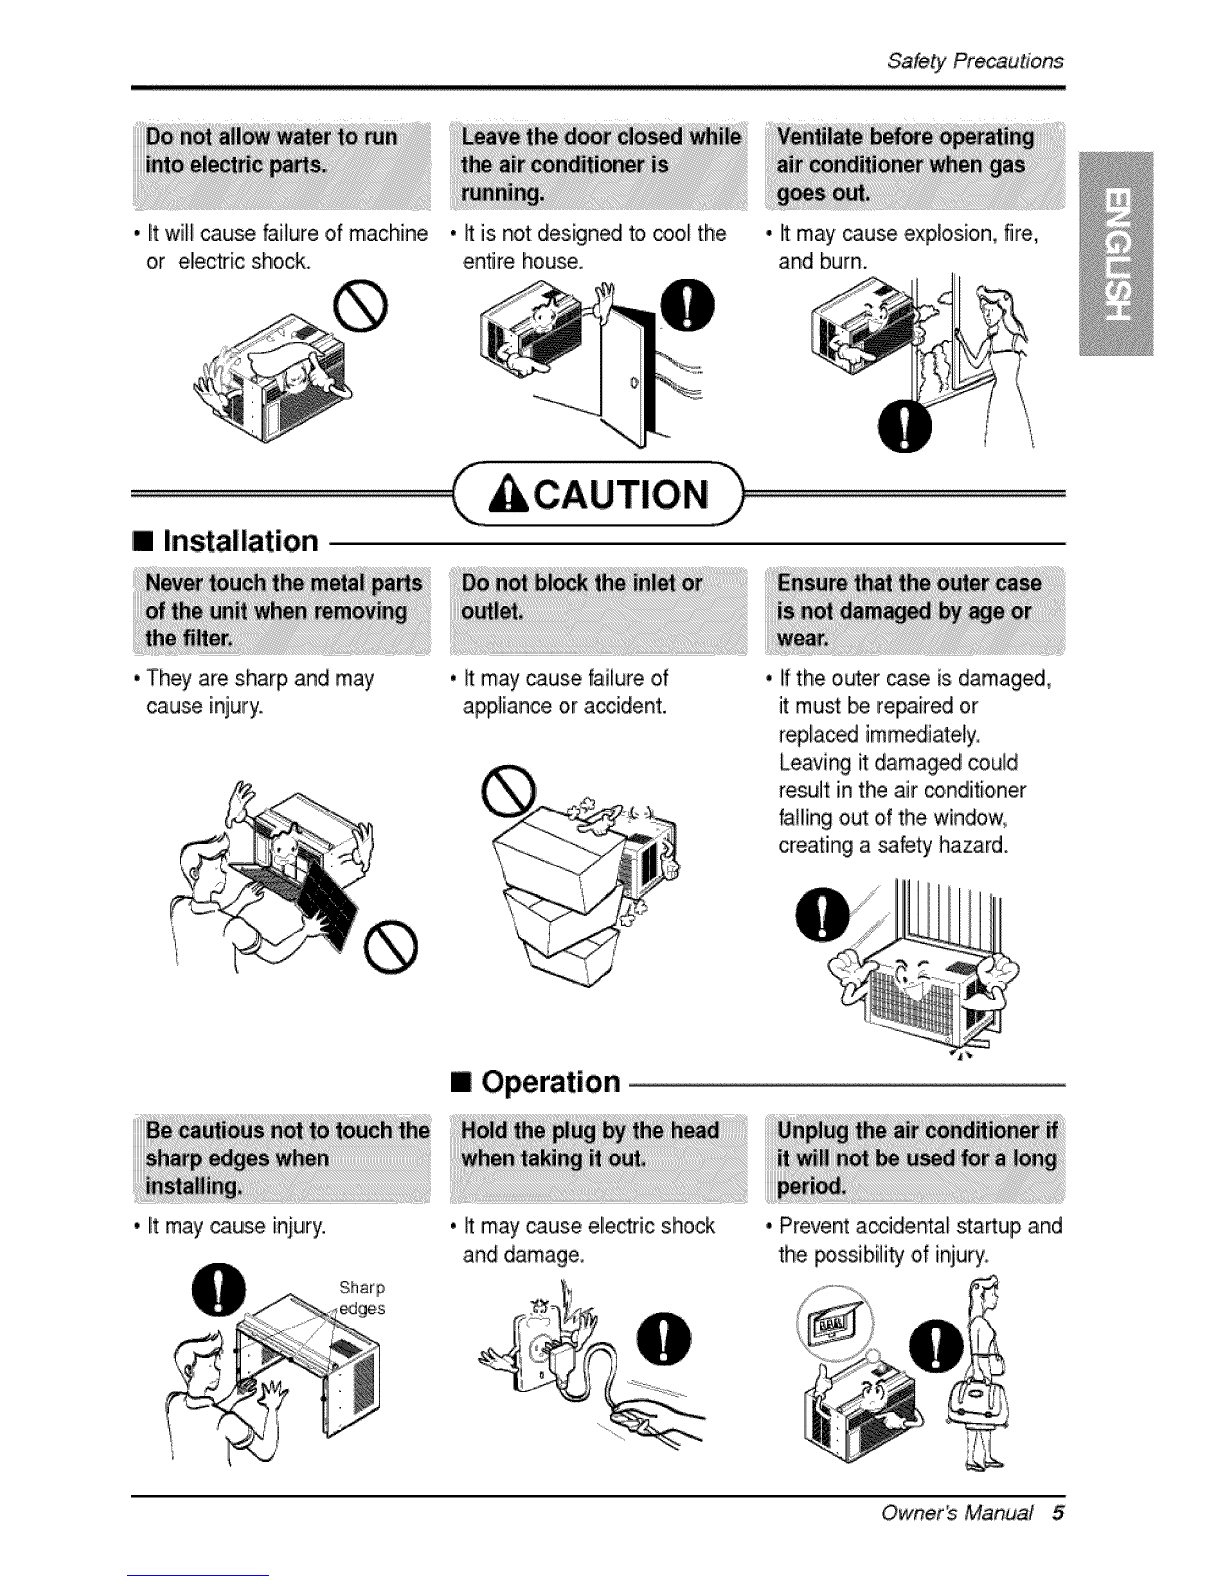
1. Do not touch the metal parts of the unit when removing the filter. Injuries ,can
occur when handling sharp metal edges.
2. Do not use water to clean inside the air conditioner. Exposure t,owater can
destroy the insulation, leading to possible electric shock.
3. When cleaning the unit, first make sure that the power and breaker are turned
off. The, fan rotates at a very high speed during operation. There is a
possibility of injury if the unit's power is accidentally triggered on while
cleaning inner parts of the unit.
For repair and maintenance, contact an Authorized Service Center. See the,
warranty page for details or call ,(800),243-000& Have your model number and
serial number available. They should be written on page, 2 of this manual.
Owner_ Manual 7

introduction
This symbol alerts you to the risk of electric shock.
This symbol alerts you to hazards that could cause harm to the
air conditioner:
This symbol indicates s_cial notes.
WARNING: This appliance should be install_ in accordance with the
National El_tric C_e.
Cabinet Guide
Cool Air Discharge Front Grille
Air Deflector
Air Filter
Cabiinet
_ol Air Discharge
Jpper Guide
Front Grille
Horizontal
Air Defl_o,r Air Filter
Control Board
Remote controller i
_Ail Intake Iinlet Grilile
8 Room Air Conditioner

i
Power cord may inc+ude a currant interrupter device. A test and reset button is
provided on the plug _se. The devi_ should be test_ on a periodic basis by
first pressing the TEST bu_on and then the RESET bu_on, If the TEST button
does not trip or if the RESET button wiltl not stay engaged, discontinue use
of _e air condiUoner and contact a qualified se_i_ technician.
Damaged power supply cord must be replaced with a new power supply cord
obtained from the product manufacture and not repaired.
WARNING: This applian_ must be pm_riy ground.
The _wer cord of this app]ian_ is.equipp_ with a three-prong grounding plug.
To minimize the risk of ele_ric shako use the plug w_h a standard three-slot
grounding wall power outlet, If the power outlet does not include a grounding s+ot,
have a qualified electrician repla_ _e outlet before _u use _e room air
Changing Me oit._l_ without making the appmpda_ wiring
chang_ will create an unsa_ condEion that _uld _,ult in fire or
electrical .sh_k. Ref_ al! such wo_ to a limned and qualified
exi_ _ore
Do not cut or r,_ove Me grounding prong 'from the power
WARNING: Art.aching the adapter ground terminal to the wall
r_acle c_€_ scr_ d_s not ground the applian_ unless the
cover sct_ is n-total and not insulated, and tim wall receptacle is
grounded through the hou_ wiring.,
WARNING: !f you have any doubt whether the air condHioner !s
pro_dy grounded, have Me wall re_ptacle and c:i_uR ch_ed by a
qualmed el_rician..
C_Jvner's Manua!

We strongly discourage the use of an r due to, _tential safe_ hazards.
For tempora_ conn_ions, use only a UL-listed adapter, available from most:
!_al hardware stores. Ensure that the large slot in the adapter is aligned with
_e large slot in the r_ep_cle for a proper polari_ conn_tion.
To dis_nnect the _wer cord from the adapter, use one hand on each to avoid
damaging the ground terminal. Avoid frequently unplugging the I_er cord as
• is _n Iiead to eventual ground terminal damage.
Te_ r_
WARNING: Never u_ the appliance with a broken adair.,
We strongly discourage the use of an e_ension _rd due to potential safe_
haza_s. For tem_rary situations, use only CSA ce_ified and UL listed 3-_re
grounded extension cords, rat_ 15 A, 125 V.
R_ Air _ditioner

Installation
"I"yF_A: 11EA Type B:5 EA Type C:3 EA
(ShortScrew)
L
....ly_ D: 1 EA [ype E: 1 EA Type F: 2 EA lype G: 1 EA
(Seal Strip} (Sash Sei_}
(Adhesive backed} (No,tadhesivebacked)
Have the following tools available for installation:
* Screwdriver (,Slotted and Philips) * Ruler
* Knife * Hammer
* Pencil * Level
This room air conditioner is
designed for installation in standard
double-hung windows with actual
opening widths from 22" to 36",
The upper ,and lower window sash
must open sufficiently to allow a
clear verticall opening of 13" from the
bottom of the upper sash to the
wi ndow s.tooli.
"_........._" to 36" ---,,
13" mini
WARNING: This product is a WINDOW AIR CONDITIONER.
As such, a standard single-hung or double-hung window is required
for proper installation. Non-wind_ installationsi, including using
sleeves, holes in walls, and other installations are not recommended,
Owne, s Manua/ 11

Installation
Proper clearance enhances the cooling! efficiency of the unit and prevents heat
radiation of the condenser.
1. If a storm window presents interference, fasten a 2" wide wood strip to the inner
window sill across the full width of the sill. The wood strip should be thick
enough to raise the height ,of the window sill so that the unit can b,e installed
without interference by the storm window frame.
2. See Figure. B. The top of the wood strip should be, approximately 3/4" higher
than the storm window frame (Storm Window Rame) or wood strip (Outdoors)
to help ,condensation to drain properly t,o the outside.
3. Install a second wood strip (approximately 6" long by 11/2"wide and same
thickness as first strip) in the center of the sill flush against the back off the
inner sill. This will raise the L bracket as shown Figure. B.
4. If the distance between Storm Window Frame and Wood Strip Mounted on Top
of Inner Sill is more than 1", two of wood strips are not necessary.
Inner Si_l
indoors
Figure, A Figure, B
12 Room Air Conditioner

tn$i_]/ation
1. insert the guide panels into the guides
of the air conditioner. Fasten the
curtains to the unit with screws
(Type A).
_: Use a long screwdriver and
installing the screws will be easier.
T_e A
2oCut the adhesive-backed seal strip
(Type D) to the window width,
Remove the backing from the seai
strip and attach the seal strip to the
underside o,fthe bottom window,
3. Locating unit in window
Open the window and mark center line
on the center o,fthe inner sill,
4Attach L bracket
4-!. Ins.tatlithe L brackets behind the
inner window sill, with short side of
bracket as shown. Use the 2 screws
(Type A) provided.
4°2, The bracket helps to hold unit
securely in pliace. Be sure to place,
bracket edge flush against back of
inner sill.
A Inside
,CenCerLime
O{_id,e
ILBracket
Owne, s Manual 13

instaflation
Caution: During the following step, hold unit firmly until window sash
is lowered to top channel behind side panel frames, Personal injury or
property damage may result if unit falls from window.
1. Install the air conditioner in the window
1ol. Carefully lift the air conditioner and
slide it into the open window. Make
sure the bottom guide of the air
conditioner drops into the notches of
the L bracket.
: When the air conditioner drops
into the Lbracket, the air conditioner
will be cent:ered in window opening.
i!)i¸i¸_':'_'..... !1
-2 While steadying the air conditioner,
carefully bring the window sash
down behind the upper guide of the
air conditioner.
When the air conditioner is propedy
installed, it should tilt slightly down at
the back. If it is set correctly in the
window, it wiii hang lower in the back
automatically, if it does not, there is a
probl,em with the installation.
2. S_ure the guide _neis
Extend the guide panels (Type F) to
filli the window opening using 4
screws (P/pe B) to secure them.
3 install tlhe _sh seal and sash lock
3-1.
3-2,
Cut the sash seal (Type E) to the
window width Stuff the sash seal
be_een the glass and the window
to prevent air and insects from
geeing into the room.
Fasten the L bracket using a screw
(Type A),.
3-3. Remove the screws that secure the
cabinet and base pan in the right
side.
_®'1:/4 °
14 Room Air ConditioRec

Installation
3-4. Fasten the support bracket (Type G)
using a screw removed from the air
conditioner cabinet. Attach the
support bracket (Type G) to the inner
window sili with a screw (Type B)_
4Window installation of room air conditioner is now completed,,
S_ ELEi'CTRICAL DATA for attaching power cord to electrical outlet.
Owner_ Manual 15

Operating instructions
If you turn off the air conditioner or switch from cooling to
the fan, wait at least 3 minutes before _tting to c_ling again.
High
FaR'_ o
!High
J Coot
_, LOW
Cool
- Turns air conditioner off.
High Fan -iH[gh speed fan operation witho_ _ol[ng.
L_ Fan - Low speed fan operation without cooling.
High Cool -Cooling with high speed fan o_rat[on,.
L_ Owl - Cooling with low speed fan o_ration.
This a_omatica]ly controlsthe temperatureofthe indoorair.
Turnthe knob,_ that arrow points to,the larger marksforgreater
cooling. Pointthe arrowto the smallermarksformoremoderate
cooling.
([.e, the higher the number, the greater the cooling),
FOR NORMAL COOLING
1, Turn the operation switch to the High C:_l or the Low Cool setting.
2. Set the thermostat contro! to, the desired temperature mark (the mid-point is a
good starting position). If the room temperature is not satisfactory after a
reasonable time, adjust the control to a cooler or warmer setting, as
appropriate.
FOR MAXIMUM COOLING
1. Turn the operation swiitch to the High C_l setting.
2 Set the thermostat control to the Largesttemperature mark.
FOR QUIETER OPERATION
1. Turn the operation switch to the Low Cool setting.
2 Set the thermostat control as needed.
16 Room AZr Conditioner

Operatinginstructions
The controls look like this
rTemp ature Se ing
, This button can automatica!ly control the tem_r_ure
of the room. Thetem_rature can _ set wimin a range of
60°Fto 86°F by I°F,
Sel_ the lower number for _owertemperature of the room,
EnergySaver
The fan stops when _,e compressor stops cooling.
Approximately every 3 minutesthe fanwill turn on and
check me room airb determine if cooling is needed,
Fan/Cool/D
* Every_meyou push _is button, it will toggle [be_n
C_3L, FAN, and DRY,
OntOffTimer
-Stopping Operation
Eachpress ofthe b_ton cycles through the options in this
order: 1 Hour--, 2 Hours--, 3Hours --_4 Hours 5 Hours
_ 6 Hours _ 7'Hours _, 8 Hours _, 9 Hours _-_,10 Hours
11 Hours---,12 Hours--_CANCLEo
The set temperaturewill be raised2°F after30 minutes
and again after another30 minutes,
- Stopping Operation
Eachpress ofthe button cycles through the options in this
order: 1 Hour _,2 Hours_,3 Hours_ 4 Hours ....5 Hours
........_6Hours-_,7Hours 8Hours 9Hours lOHours ....
11 Hours ....12 Hours CANCLE
- To turn me un_ON. pushthe b_on oTo turn me unitOFF,
pushme b_on again
. This bu_on takes priority over any o_er buttons°
• When the unitis first powered up it defau_s# settings of
High Cool a:7_F,
Fan=Speed
Pressingthe Fan Speed b_on toggles be_een Low and
High speeds.
Owne, s Manual 17

Operatingtnstructions
CAUTION: The Remote Controller will not function properly if strong
light strikes the sen_r window of the air conditioner or if there are,
obstacles between the Remote Controller and the air conditioner.
•To turn the Set ON, push the button. To turn the S_ OFF, push the button ag_n.
•Th_ button _kes priority over any other b_tons.
•When you fin _m it on, 'the Set is on the High c_l m_e and the temp. at 72_F
Temperature Setting
•This button controls the room temperature _e_ing in a range between
_°F and 86nF in 1° increments,
Fan Spe_
, Pressing _e Fa_ Sp_d bu_on t_gles be_ Low and
High speeds
On/Off Tim_
oStopping _eration
Eachpress dthe button cycles through the options in this order:
1 Hour..*2 Hours.-*3Hours 4 Hours 5 Houm*:.6 Hours 7 Houm
........,8Hou_ _gHoum 10Hours 11Hours 12Hours CANCLE
The _t tem_r_ure will be raised by 2°F after 3,0minutes and
again after another 30 minutes,
Energy _ver
The fan stops when the compressor stops cooUing.
•_proximately every 3 minutes,the fan will turn o,nand
check the room air to dete_ine if c_ling is n_d_.
Power
• Every{me you push this button, _ 'wil!t_g!e between COOL, FAN,,and DRY,
How to Inert
1. Remove the _ver from the ba_ of the remote
co_roHer
2. Insert two batteries.
• Be sure of the _larity when installing the
batteries.
,i Be sure that both batteries are new.
3. Re-attach the coven
• Do not use rechargeable
batteries. Such batteries
differ from standard dry cells
in shape, dimensions, and
performance.
• Remove the _tteries. from
the remote controller if the air
,conditioner is.not going to be
used for an extended length
of time.
18 Room AZr Conditioner

Operatinginstructions
Air Direction
Adjusting the air direction using the
hodzonta! air aeflector control.
Using the control tabs, the air flow can
b,edirected to the left, riight, straight
ahead, or any combination of these,
directio, ns.
Drain Pipe
In humid weather, excess water may
cause the Base Pan to ovedlow. To
drain the water, remove the Drain Cap,
and secure the IDrain Pipe to the rear
hole of the Base Pan.
Press the drain pipe into the hole by
pushing down and away from the fins
to avoid injury.
This air conditioner is equipped with a
stinger fan. (See drawing, below.)
The fan has an outer ring that runs in
the ;water that collects in the base pan
if it gets deep. That condensate is then
picked up by the fan and expelled
through the condenser, making the air
conditioner more efficient.
Be careful when inserting the drain pipe. Push away from
the sharp fin area to avoid slipping injuring yourself.
Removal From Window
Turn the air conditioner df, disconnect the power cord, remove the L bracket, the
screws and Support Bracket installed through the top and bottom of the guide
panels, and save for reinstallation later. Close the guide panels. Keeping a firm grip,
on the air conditioner, raise the sash,, and carefully tilt the air conditioner backward,
draining any condensate. Lift the air conditioner from the window and remove the
sash seal from between the windows.
Be sure, to drain ALL condensate from the air condit:ioner. IIfyou don't, it could run
out while you carry the unit, making a mess and creating a slipping hazard. This
simple step w'ill save you much cl!eaning and make a safer work environment.
Owne s Manual 19

MaintenanceandService
Air Filter
Check the air fillter at least tv¢ice a month to see if cleaning is necessary.. Trapped
particles in the fillter can build up and block the a[rfl,ow, reducing cooling capacity
and causing an accumulation of frost on the evaporator. To clean the air filter:
Donetforce
e_n oFo£entofa_.
3_
4,
Lift the inlet grilile.
Remove the air filter from the front grille by pu]lling the air fii]ter up slightly,
Wash the filter using lukewarm water below 40 'C (104 °F).
Gently shake the excess water from the filter and rep]a.ce.
Cleaning The Air Conditioner
The front grille and inlet grille may be
wiped with a cloth dampened in a mild
detergent solution,
The cabinet may be washed with mild
soap or detergent and lukewarm
water, then polished with Liquid Wax
for Appliances.
To ensure continued peak efficiency,
the condenser coils (outside of unit)
should be checked periodically and
clleanedi if clo,gged with soot o,rdirt
from the atmosphere.
20 Room Air Conditioner
Other manuals for WG6005R
1
This manual suits for next models
1
Table of contents
Languages:
Other LG Air Conditioner manuals
Popular Air Conditioner manuals by other brands

mundoclima
mundoclima CL23390 Installaton manual

York
York F2FP040H06 User's information manual

Maplin
Maplin A75TB user manual

Fujitsu
Fujitsu AUT12 operating manual

Olimpia splendid
Olimpia splendid maeStro Pro Instructions for installation, use and maintenance

Soleus Air
Soleus Air GB-PAC-08E4 operating instructions