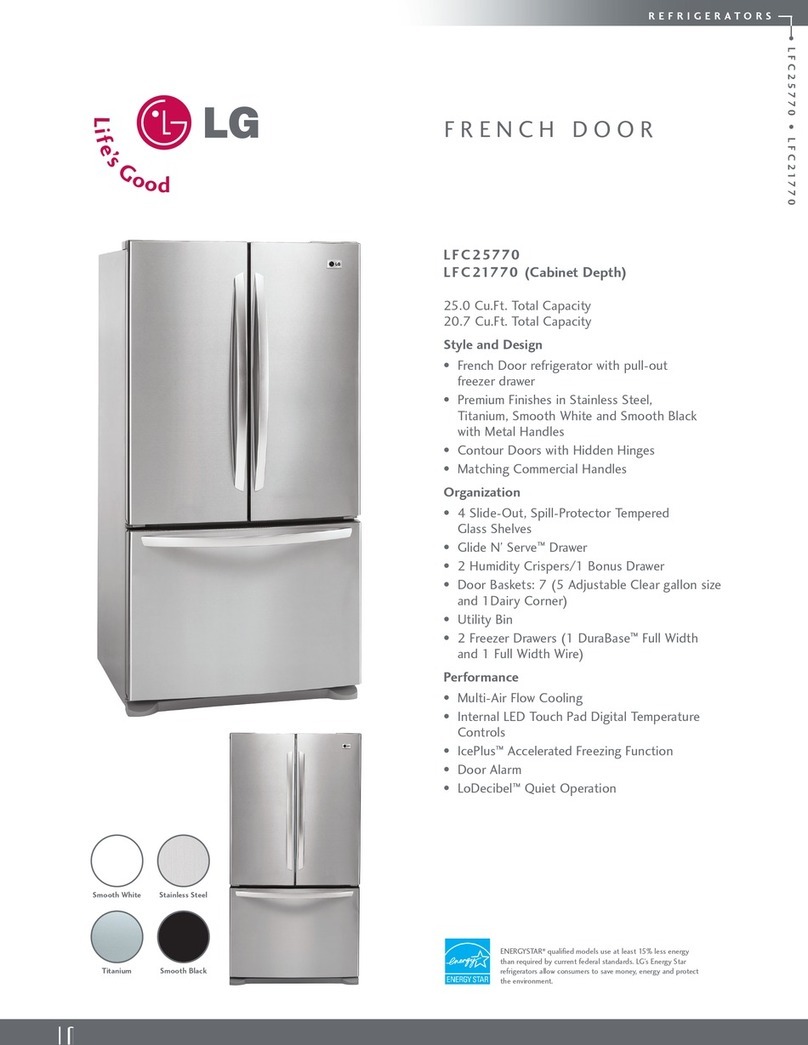
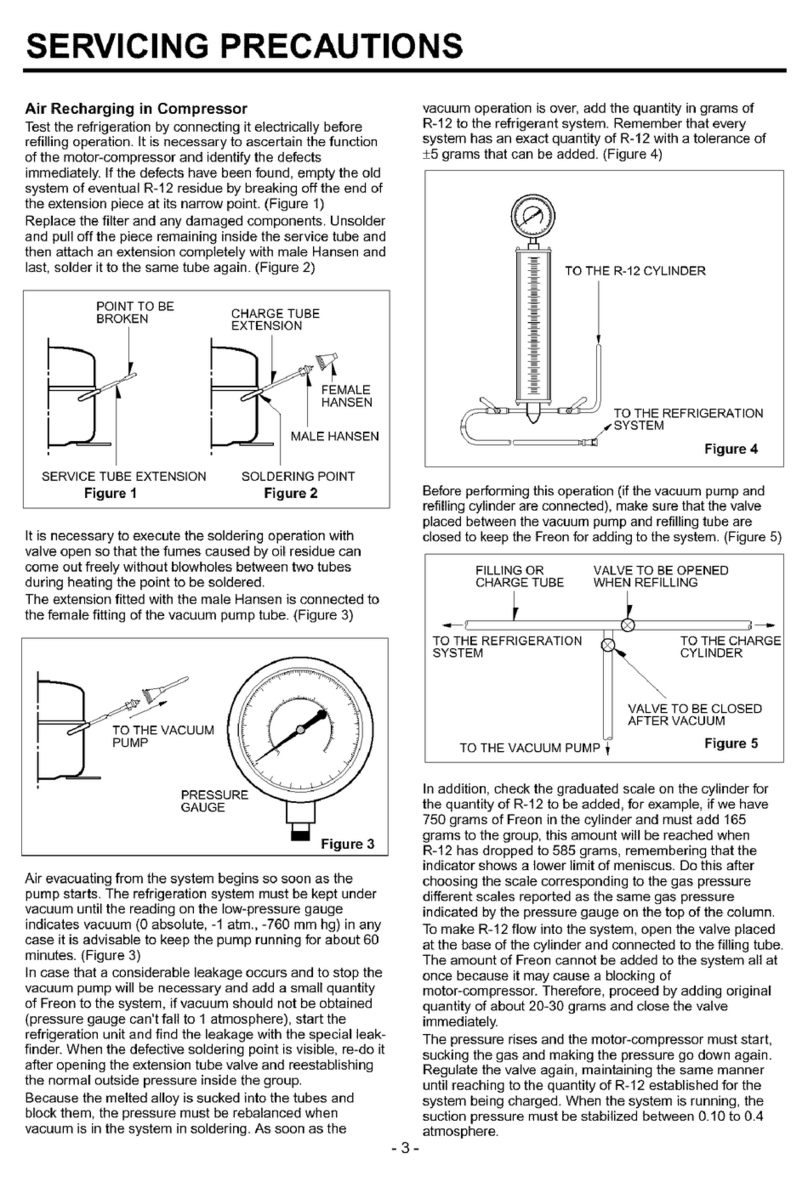
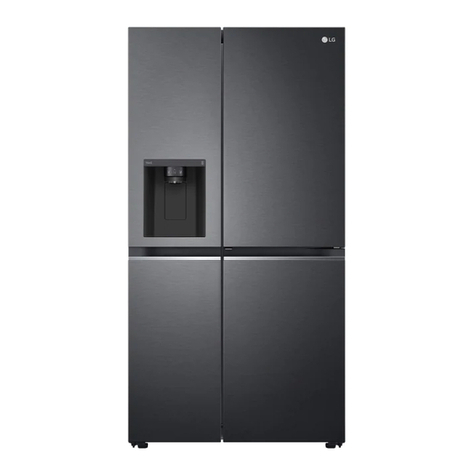
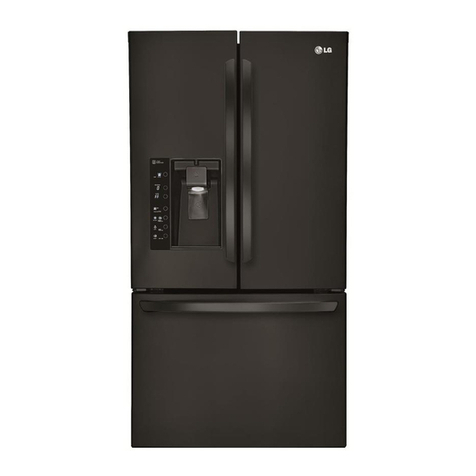
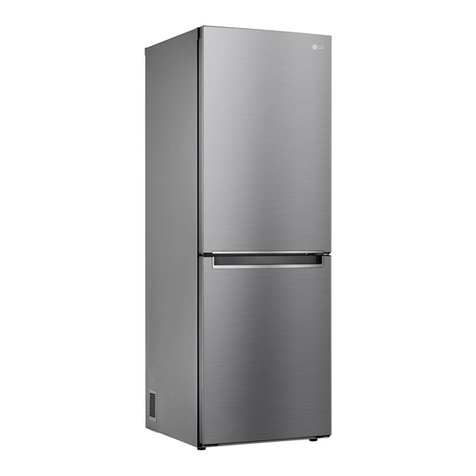
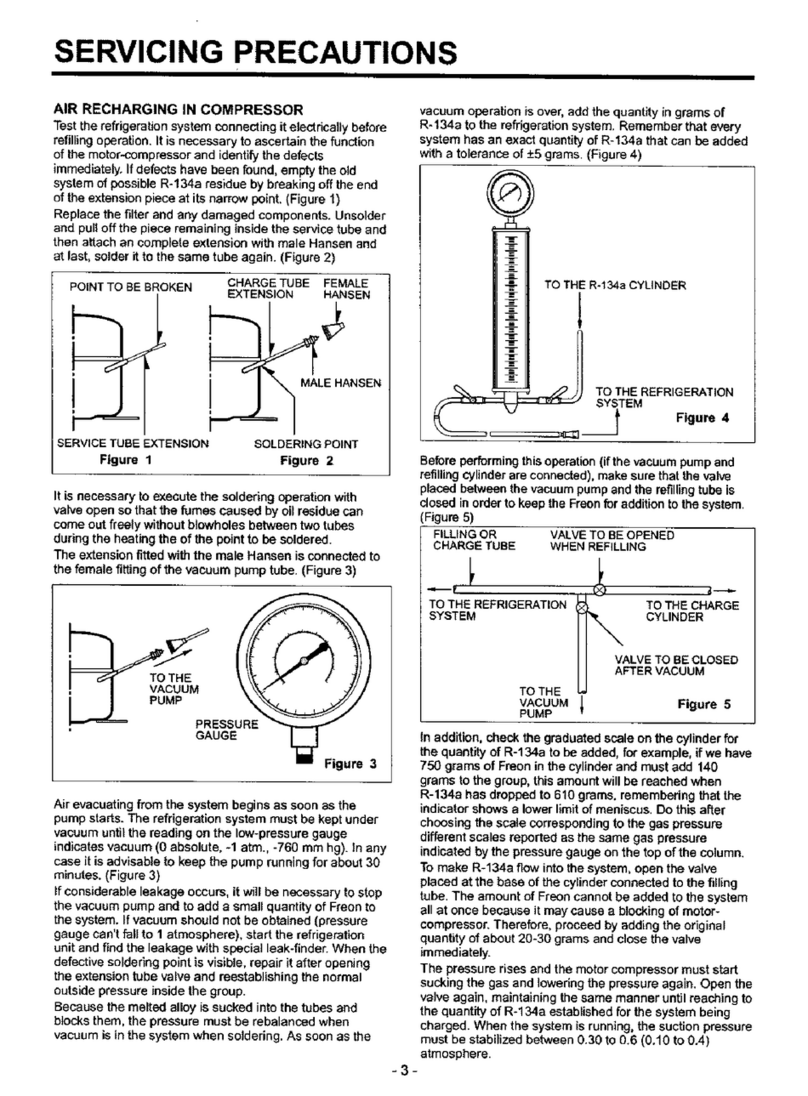
LG SxS LRSPC2661T User manual

I_ REFRIGERATOR
User's Guide
Please read this guide thoroughly
before operating and keep it handy for
reference at all times.

Important
(In the UK Only)
The wires in this mains leadare coloured in accordance with the following code :
GREEN AND YELLOW : EARTH
BLUE : NEUTRAL
BROWN : LIVE
This appliance must be earthed
GreenandYellow(Earth)/fll
Brown(Live)
Blue(Neutral)
_3 Cord
,_ gnp
As the colours of the wires in the mains lead of this apparatus may not correspond
with the coloured markings identifying the terminals in your plug, proceed asfollows :
The wire which is coloured Green and Yellow must be connected to the terminal in
the plug which is marked with the letter E or by the earth symbol(b) or coloured
Green or Green and Yellow,
The wire which is coloured Blue must be connected to the terminal which is marked
with the letter N or coloured Black,
The wire which is coloured Brown must be connected to the terminal which is
marked with the letter L or coloured Red,
If a 13 amp(BS 1363) plug is used, fit a 13 amp BS 1362 fuse,

Introduction
Installation
Operation
Suggestion on
food
storage
Care and
maintenance
Table of Contents
Entry
Important Safety Instruction
Identification of Parts
Where to Install
Door Removal
Mount the freezer and refrigerator compartment doors
Feed Water Pipe Installation
Height Adjustment
Method to Connect Cables
Starting
Adjusting the Temperatures and Functions
(Dispenser /Automatic ice maker)
Use to Screen
Use to Remote Control
Shelf
Egg Box
Convert into a Vegetable or fresh compartment
Deodorizer
Location of Foods
Storing Foods
How to Dismantle Parts
General Information
Cleaning
Trouble Shooting

Don't use an
extension cord
Supply cord
replacement
Entry
The model and serial numbers are found on the inner case of the refrigerator
compartment of this unit. These numbers are unique to this unit and not
available to others. You should record requested information here and retain
this guide as a permanent record of your purchase. Staple your receipt here.
Date of Purchase
Dealer Purchased From
Dealer Address
Dealer Phone No,
Model No,
Serial No,
Important Safety Instruction
Before it is used, this refrigerator must be properly installed and located in
accordance with the installation instructions in this document,
Never unplug your refrigerator by pulling on the power cord. Always grip plug firmly
and pull it straight out from the outlet,
When moving your appliance away from the wall, be careful not to roll over the
power cord or to damage it in any way.
After your refrigerator is in operation, do not touch the cold surfaces in the freezer
compartment, particularly when your hands are damp or wet. Skin could adhere to
these extremely cold surfaces.
Unplug the power cord from the power outlet for cleaning or other requirements,
Never touch it with wet hands because you can get an electric shock or be hurt.
Never damage, process, severely bend, pull out, or twist the power cord because
damage the power cord may cause a fire or electric shock, You have doubts on
whether the appliance is properly grounded,
Never place glass products in the freezer because they may be broken due to
expansion when their contents are frozen,
Never allow your hands within the ice storage bin of the automatic ice maker. You
could be hurt by the operation of the automatic ice maker,
Never allow anyone to climb, sit, stand or hang on the Home Bar door. These
actions may damage the refrigerator and even tip it over, causing severe personal
injury,
If possible, connect the refrigerator to its own individual electrical outlet to prevent
it and other appliances or household lights from causing an overload that could
cause a power outage.
If the supply cord is damaged, it must be replaced by the manufacture or its
service agent or a similarly qualified person in order to avoid a hazard,

Child entrapment
warning
Don't store
Grounding (Earthing)
DANGER: Riskof childentrapment,
Before you throw away your old refrigerator or freezer:
Takeoff the doors but leavethe shelves in placesothat children may not easilyclimb
inside,
Theapplianceis not intended for use byyoung children or infirm personswithout
supervision.
Young childrenshould be supervisedto ensurethat they do not playwith the appliance,
Don't store or usegasolineor other flammable vapor and liquidsin the vicinity of this or
anyother appliance,
In the event of an electric short circuit, grounding (earthing)reduces the risk of electric
shock by providingan escape wire for the electric current,
In order to prevent possible electric shock,this appliancemust be grounded
Improper use of the grounding plug canresult in an electric shock, Consult a qualified
electricianor service person if the grounding instructions are not completely
understood, or ifyou havedoubts on whether the applianceis properlygrounded,
Identification of Parts
Freezer Refrigerator
Compartment Compartment
Dai_/Compartment
DoorRack Lamp(Upper)
Automatic Shelf
IceMaker Wine StorageRack
(Optional)
Lamp -- DoorRack
Shelf(SlideType)
SnackDrawer
Shelf RackCover
EggBox
Lamp(Lower)
DoorRack VegetableDrawer
-- m DoorRack
Drawer Vegetable
Drawer/FreshDrawor
DoorRack -- DoorRackSupport
Support
Height " J" Deodorizer
Adjustingscrew ConversionSwitch
LowerCover (VegetableDrawer/
FreshDrawer)

Strong
and even floor
A proper
distance from
adjacent items
Where feed
water pipe can
be easily
connected in a
dry place
Where is free
from heat or coal
gas
Where to Install
Unstableinstallationmay cause vibration and
noise, If the floor to installthe refrigerator on
is not even, make the refrigerator levelby
rotating the height adjusting screw, Carpet
or floorcloth on which a refrigerator is
installed may be discolored by heatfrom the
bottom of the refrigerator, So,it is necessary
to placea thick pad below the refrigerator,
r_
Pleasekeep the refrigerator at a proper _ t_r_._--_ _
distance from other things, Too small a "_11111_ I_'_vv
distance from adjacent items may result in
lowered freezing capability and increased
electricity charges consumption,
Select a placewhere a feed water pipe can
be easily connected between the automatic
ice maker and dispenser,
A wet or near-water place,refrigerator may
be rusted or electricity may be leaking
Bottom Paa
Places where ambient temperature are
high,freezing capability isdeteriorated and
electric charge is increased,
Coalgas and smoke may discolor the
appearance of refrigerator,

Remove lower
cover and
then feed water
pipe
Remove the
freezer
compartment
door
Remove the
refrigerator
door
Door Removal
Ifyour accessdoor istoo narrow for the refrigerator to passthe through, remove
the refrigerator door and pass the refrigerator
laterally,
Removethe lowercover byliftingupward,and
thenpullup thefeed water tubewhile pressing
area(9shown inthefigureto the right. Feed Water Tube
1) Separateallconnectionwires exceptfor the
earth lineafter removingthe hinge coverby
looseningthe screws.
2) Removethe keeperbyrotating itto counted
clockwise ((9)and then lifting the upper
hingeup (@).
Keeper Upper
Hinge
3) Removethe freezercompartmentdoorby
liftingitupward. Thistime,the door should
belifted enoughfor thefeed water pipetube
to be completelypulledout.
Lowc_ Hinge
1) Loosenscrews ofthe hinge-cover,Sub
coverandspeakercaseand Removethe
covers. .......
Speaker case ___ Sub-cover
Connection__Hmg_Hinge'c°ver
2) Loosenscrewsof the earthwires,Separate
allconnectionwires.
wires

Remove the
refrigerator door
Pass the
refrigerator
Before
installation
Warning
3) Removekeeperbyrotating it clockwise(@)
and then removethe upperhinge by lifting it
up(®). Keeper
4) Removethe refiigeratorcompartment door by
lifting it up.
Lower EtJnge
Passthe refrigeratorlaterallythrough the access
door asshown in the right figure.
Mount the freezer and refrigerator
compartment doors
Mount them inthe reverse sequence of removal after they pass through the access
door.
Feed water pipe Installation
• Automatic ice maker operation needs water pressure of 147-834 kPa
(1.5-8.5 kgf/cm_)(That is, an instant paper cup (180 cc) will be fully filled within
3 sec.).
• If water pressure does not reach the rating 147 kPa(1.5 kgf/cm2)or below, it is
necessary to purchase a separate pressure pump for normal automatic icing and
cool water feed.
• Keep the total length of the feed water pipe tube within 12 m and be careful for the
tube not be bent straightly. If the tube is 12 m or longer it may cause trouble in
water feed owing to the drain water pressure.
• Install the feed water pipe tube at a placefree from heat.
• Connect to potable water supply only.

If the freezer
compartment door
is lower than the
refrigerator
compartment door
If the freezer
compartment door
is higher than the
refrigerator
compartment door
After leveling the
door height
Height Adjustment
Make them levelbyinsertingflat ( -type) driverintothe grooveof the left heightadjusting
screw and rotating itclockwise (0),
HeightDifference
Adjus_nentScrew
Make them level by inserting fiat ( - type) driver into the groove of the right height
adjusting screw and rotating it clockwise (0),
HeightDifference
Adjusb_entScrew
Refrigerator door will close smoothly by heightening the front side by adjusting the
height adjusting screw. If the door does not close well because of bad Open/Close,
performance may be affected,

Connection
Terminal
Connect to
W-antenna
Caution!
Connect to Video
Connect to
Outside Speaker
(audio)
Method to Connect Cables
There is a terminal on the rear upper part of refrigerator where the expansion
port can be plugged-in.
• For connection, turn the connection terminal to the right and fix it using round
wires.
• in connection of round wires, take care so that copper wires will not be bent.
• SB/2, COM1/2 is external expansion terminals used in occurrence of service.
Rear Upper Side of Refrigerator
WIAN UEBt U_B2 C0M1 CQM2
[ /
• Connect the TV terminal on the top of the refrigerator to antenna terminal with
Round Wire.
TVterminaFonthe topof
refrigerator
antenna[erminal TV Round wire
-Installthis productata placeawayfrom the transmissionwire. Touchingwith antenna
maycauseelectricalshock.
-installwith appropriateintervalsothat evenifantennawillfalldown dueto severewind, it
will nottouch with adJacentelectricalwires. Fallingof antennamaycauseelectricalshock
andharm.
-Bendthe partdownward whereoutsideantennawires enterintosothat rainswill not
come intoit. Comingof water intothe refrigeratormaycauseelectricalshock.
You must use select No.3 or No.4 TV channel in case of connecting video.
(However, they must correspond to the No.3 or No.4 channel switches on the
rear side of video.)
• in Connect both video and refrigerator with video connection wires
(accessories).
• Plug either side of the connection wires into the [Connection to TV] terminal on
the rear side of video and plug the other side into the place on the rear side of
refrigerator where the round wire have been plugged in.
TV Round w#e
antenna terminaF
• Connect when desiring to loudly listen by
connecting voice to the outside speaker(audio).
• Connect to both outside input terminal of the
speaker(audio) and speaker input terminal of
the refrigerator.
TV Round wire
TV terminal on the top of
refrigerator

Starting
When your refrigerator is first installed, allow itto stabilize at normal operating
temperatures for 2-3 hours prior to filling it with fresh or frozen foods,
If operation is interrupted, wait 5 minutes before restarting,
Adjusting the temperatures and functions
ExternalOutput
Management button
Water/IceOutput -
DispenserPushSwitch
DewProofingSwitch
(Whendewisformed
aroundthe Dispenser,
turnonthe switch.)
DispenserLamp
(BottomCeilingof --
Functiondisplayboard)
,:.-. .............. ,'
j"
.....,. _-- Screen Power button
Reset button
Remote Controller
-- Receiver
Camera tense
MIC
-- Screen
PUSH3SEC 88
_L=_M__H_ __TEMP TEMP FILTERSTATUSROOMTEMP
FILTER LOCK
SUPER FRZ DISPENSER FRZ TRMP REF TEMP RESET CONTROL
Refrigerator Room Temperature Control Button
Filter Replacement Button
Lock/Unlock Selection Button
Freezing Room Temperature Control Button
Dispenser Selection Button
Super Freezing Selection Button

LCD Back Light
How to adjust the
temperature in
the freezer
compartment
How to adjust the
temperature in
the refrigerator
compartment
Dispenser use
selection
4
LCD back light turns on to easily see display status in following cases:
•When powering on
• When touching desired button
• When opening doors of refrigerator (refrigerator room, freezer room)
Only LCD back light turns on if touching any button with the LCD back light
turned off. No setting status is changed.
The LCD back light turns for power saving in following cases:
• When a minute has passed after powering on
• When a minute haspassed after opening or closing doors of refrigerator
(refrigerator room, freezer room)
• When there is no button operation for a minute after touching the desired button,
Black lines may temporarily appear in the nature of LCD within the display window
when scrubbing it with the dry cotton for cleaning of the display window,
Such phenomena do not mean failure asthey disappearafter a moment,
You can adjust temperature of and freezer room and refrigerator room.
FRZ'_MP 47°c 49°c-22°c-23°c
TEMP TEMP TEMP TEMP 119_P _mperatum
:H H H H _H
.... ....... ...... •_. BAR
_M _M _M IIIdlc_Jon
_L_L_L_L_L
REFTEMP 5°c g°c 3°c 2°c 8°c
1EMP 1EMP 119_P 1EMp TEMP temperature
H H H H _H
M M M _M_M
•._,_,_._Indication
L_ L_ L_ L_ L_
• Whenever touching the button, temperature option is repeated in the order of
(Middle) aN(Middle Strong)aN:Strong)aN:Weak)aN:MiddleWeak),
• Actual inside temperature may vary depending on the status of food asthe
displayed setting temperature is not actualtemperature but target temperature,
• Refrigeration function is weak for the initialtime, Control temperature asabove
after using it for at least two or three days,
You can select water or ice.
÷ Please select water, slice ice and square ice be by
DISP_ISER
pressing button as you desire,
÷ Selection option is repeated in the order of
(Crushed) aM(Water)aN:Cubed)wherever touching
the button,
÷ Please press the push button lightly by catching
and pushing in cup,
• The border line is indicated for the selected
function,
• "TAM"sounds if 5 seconds pass after icecomesout, It is sound that the outlet of ice isclosed,
Pressin
SwitcI'F @
: !
DISP_R

Automatic ice
maker
When ice maker
does not operate
smoothly
Super freezer
Lock
• The automatic ice maker can automatically make 8 pieces of ice cube at a time,
80 pieces a day, But these quantities may be varied according to various conditions
including how many times the refrigerator door opens and closes,
• Ice making stops when the icestorage bin isfull.
•Reference :Pleasewait for 23 seconds in order to take final ice slices or drops of water
when taking out cup frorn the pressing switches after taking ice or water.
Ice is lumped together
• When ice is lumped together, take the ice lumps out of the ice storage bin, break
them into small pieces, and then placethem into the ice storage bin again,
• When the ice maker produces too small or lumped together ice, the amount of
water supplied to the ice maker need to adjusted, Contact the service center,
÷ If ice is not used frequently, it may lump together,
Power failure
• ice may drop into the freezer compartment, Take the ice storage bin out and discard
all the ice then dry it and place it back,After the machine is powered again, crushed
icewill be automatically selected,
The unit is newly installed
• It takes about 12 hours for a newly installed refrigerator to make ice in the freezer
compartment,
rlom p,,artition within the
• 'On, 'Off" isrepeated whenever touching the (Rapid
Freezing)button, SUPERFRZ _)ln_cing Ex)lnaalec_ng
"Or_ "OtF
• The arrow mark graphic continues to turn on after
blinking 4 times when selecting "On"of the rapid
freezing,
• The button automatically turns off when a constant time has passed after turning it on,
• Rapidfreezing time may differ depending on the status of the freezing room or the type
or status of foods included in the rapid freezing room partition,
Use when interrupting operation of other
button.
• "Lock","Release"is repeated whenever touching
the (Lock/Release)button.
• This function does not operate ever if touching
other buttons,
i:ii_i!i!i!!i_i!!!i!!!_i!!!!!ii i
LOCK
CONtrOL B(]Insele_r_ Ex)In_le_r_
'I.OCI_' 'UNLOCK"

The other
functions
How to use
dispenser
Filter Status
Display Function
Ambient temperature display window.
• Temperature isdisplayed only by-9°C - 49°C,
•Temperature less than -10°C isindicated with 'LO' and
temperature more than 50°C is indicated with 'HI',
• Temperature may differ from the actualambient temperature as it ismonitors
on the upper partof refrigerator (top of door),
Door open warning
• 3 times of warning sounds atthe interval of 30 seconds ifa minute passeswith the
door of refrigerator opened or completely closed,
• Pleasecontact with the localservice center ifwarning continue to sound even after
closing the door,
Diagnosis (failure detection) function
• Diagnosisfunction automaticallydetects failure when failure isfound in product during
the useof refrigerator,
• If failureoccurs at product, it does notoperate though pressing anybutton and normal
indication is not done, Inthis case,do not turn power off but immediately contact with
the local servicecenter, A lot of time are need for serviceengineer to detect the failed
part ifturning it off,
• Select one among crushed ice, water, and cubed ice and slightly press the push
switch with a glassor other container,
Water
Light the water
indicating lamp by
pressing the selection
button.
• Water will be dispensed
by pressing the push
switch with a glass.
Crushed ice
Light the crushed ice
indicating lamp by
pressing the selection
button.
•Crushed icewillbe
dispensedby pressingthe
pushswitchwith aglass.
Cubed ice
Light the cubed ice
indicating lamp by
pressing the
selection button.
• Cubedicewillbedispensed
by pressing the push
switch with a glass,
i I
Remaining filter replacement period is displayedas in "_°'_' _°f _'_°' P_°'
the below figure per month from the power application
of refrigerator,
Text andgraphic calledas on the filter
status text of LCD if 6 months havepassed,
Return to the initial Power On status bytouching the
filter replacebutton for more than 3 seconds to after
replacingfilters when 6 months havepassed or if
desiringto reset the filter display status, Fa_s of PaSSof p_S_of
4 mont_ 5faont_ 6mo_t_

Cautions Throw away the ice (about 20 pieces) and water (about 7 glasses) first made
after refrigerator installation.
The first ice and water may include particles or odor from the feed water pipe or feed
water box, This is necessary in case that the refrigerator has not been used for a long
time,
Keep children away from the dispenser.
Children may push switch incorrectly bador damage lamps,
Be careful that food is not block the ice
passage.
If foods are placed at the entrance of ice
passage, ice may not be dispensed, The ice
passage may also be covered with ice
powder if splinter ice is used only, This time,
remove the icepowder
accumulated,
Freezer
door
Never store beverage cans or other foods in ice storage bin for the purpose of
rapid cooling.
Such actions may damage the automatic ice maker,
Never use thin crystal glass or crockery to collect ice.
Such glasses or containers may be broken,
Put ice first into a glass before filling water or other beverages.
Water may be splashed if ice is added to existing liquid in a glass,
Never touch a hand or other tools on ice outlet.
Touch may cause a part breakageor hand injury,
Never remove the ice maker cover.
Sometimes level the surface so that the ice storage bin is fully filled with ice.
Ice is piled upjust nearthe ice maker, So, such status may be considered, by the ice
maker, that the ice storage bin isfully filled and ice making operation may stop,
If discolored ice is dispensed, immediately contact Service Center, stopping
use.
Never use too narrow or deep glass.
Ice may bejammed in ice passage and,thus, the refrigerator may be failed,
Keep the glass at a proper distance from ice outlet.
A glass too close to the outlet may hinder icefrom coming out,
Please don't stain the area near to door switch with any sweet food so that
ants can't interrupt the normal operation of door switch.

Caution!
Caution!
Function of
Remote Control
Method to Change
Cell
4
For more details, see the screen guide.
Use To Screen
Do not scrub the screen with a knife or auger with a sharp end.
Pressing the screen too strongly may damage LCD screen.
It is better write by using a touch pen for more clarity.
-Thetouchpenisattachedtotherightsideofthescreen.
-Pushthehameofthescreenwith handsinordertoclosethescreenat_tsownplaceafterusingitif pullingthescreen
oUt,
Catching and pushing the bottom handle of the screen may result in danger.
Pressing any place of the screen returns to the main screen with the screen off
when it becomes the power saving status.
For more details, Refer to screen guide.
Operate the screen again when any problem occurs in using it.
-Openthedoorof_efrige_atorandtouchtheresetbuttononitonce.
-Contentssto_eddonotdisappearevenifopecatingthescreenprogramagain.
Use To Remote Control
Avoidaplacearoundafurnaceordisebsedtomuchmoistureastheremotecontroliscomposeddaprecisedecbon_:suucture.
Takecaresinceasuongst_ockmayresultinfailure.
ItwillnotpF_pedyoperateingenera[TV.
Donetuseceilsotherthandedicatedones,
DonetusebothnewcellsandeEdceilstogether.Otherwise,_tmaycausefi_eorelectricalshockduetorupturedceils,leakageliquid,
[ncaseofinsefti%cd[sintoadevice,insertthemasindicatedcons_edngpola_indication(+/direction}.Otherwise,itmaycausefire.
damageGstainsofneighboringduetoruptureofcells,leakageliquid.
[ncaseofpulloutceilsusedforthedevice,exe_dsecautionsoUtatlJtechilddtouldnetswallowthem.
Placeceltsataplacewherechild'shandsshallnottouchwilJtthem.IfthechiEdswallowthem.pleasecousultthedoctGimmediately.
Press a place to receive signal from the remote control in the front of the
monitor when using the monitor.
-Youcaneasilyselectchanneland
controlvolumebyusingtheremote
control.
Touch when desiring --
-Make sure no obstacles exist towa[chTV
between remote control and the Touchwhendesiringto-
frontreceipt part return the channel
watched immediately
beft_e
Touch when selecting the __
channel saved @,O
_/_Touch when Inoving
to the main screen
'_' _ToL,ch whent_king
plcture
RR_
_ _Toud whet U¢_5kl9 to
flare mutefunction
Touching_ gainmakesa
_ norse
_e Touch when tuning
volume @,O
Press a place to receive signal from the remote control in the front of the
monitor when using the monitor.
-Get rid of the lid pressing it toward No.1and then lifting it up toward
No2.
-Replacethe cell to the (+), (-)directioninsideof the remote controland d_-'X d_-'X
then closethe lid.
.By usinga 1.5V(AAAtype) type of 2 cells, replaceold cellswith new
ones,
.Thelifecycle of acell isabouta yearand maybecomeshortdepending
onfrequencyof its use.
.Takethe cellsout when not usingthe remote controlfora longtime as
liquidof themflows out to causefailure.

Slide type
tempered
glass shelf
(In select models
only)
Attachable wine
corner (In select
models only)
Shelf height
adjustment
Shelf
Slide type shelf allows you to place or take
food out or put it in more conveniently,
Bottles can be stored laterallywith this wine
corner, This can be attached to any shelf,
Wine holder adjustment :
Wine holder can be separated by pulling
it straight out and installed by placing it at
the end of the shelf you want and
pushing it inward,
The Refrigerator compartment shelf is movable so that you can place it at a proper
height according to the space you need for different Fooditems,,
How to separate a shelf :
At delivery, shelves are fixed with keepers
so that they cannot be moved during
distribution, So, remove keepers first, lift
the shelf up (0), and then separate it
pushing it down (@),
How to install a shelf :
Position the shelf at the desired height and
hang its links on the grooves,This time,
lower the front side of the shelf and hang it
on the grooves,

Egg Box
You can move the egg box to a place you want and select another form of box
according to the amount of eggs,
[Normal] [For Many Eggs]
Convert into a Vegetable or Fresh compartment
• The Bottom drawer inthe refrigerator can be converted into a vegetable or fresh
compartment
.__Vegetable
Comna_m_nt _
_0 _ 0 ersion
Fresh Compartment l v / _Switch
The Fresh compartment maintains the temperature at a lower point than the
refrigerator compartment so that meat or fish can be stored fresh longer.

How to use the
deodorizing
system
Deodorizer (In select Models Only)
This system efficiently absorbs strong odors
by using the optical catalyst. This system
does hot have any affect on stored food, r_71 l/ Deodorizing
':.,"_ 11 system
" _ Vegetable
_compartment
/_Cco°nVersi°n
•Since it is installed already installed onto the cool air intake duct from the from
the refrigerator compartment, you need no separate installation,
• Pleaseuse closed containers to store food with pungent odors,
Otherwise, this oder can beabsorbed by other food inthe compartment,

Automatic ice
maker
Wine rack
Snack Drawer
Freezer
compartment
shelf
Freezer
compartment
door rack
Freezer
compartment
drawer
Dairy
compartment
Egg box
Refrigerator
compartment
shelf
Refrigerator
compartment
door rack
Vegetable
compartment
Vegetable
compartment/fre
sh compartment
conversion
corner
Location of Foods
(Referto 4pages, Identification of Parts)
Automatically made ice is stored,
Store wine,
Store small foods such as bread,snacks,etc,
Store variousfrozen foods such as meat, fish,
ice cream,frozen snacks,etc,
• Store small packaged frozen food,
• Temperature is likely to increase as door
opens.
So, do not store long-term food such as
ice cream,
• Store meat,fish, chicken,etc, after wrapping
them with aluminum,
Store dairy products such as butter, cheese,
etc,
Placethis egg box in the proper location,
Store side dishes or other foods at a proper
distance from each other for effective
cooling,
Store small packaged food or beverages
such as milk,juice, beer, etc.,
Store vegetables or fruits,
Storevegetable,fruits, meat to thaw, fish, etc,
setting the conversion switch as necessary,
Be sure to check the conversion switch
setting before storing foods,
Other manuals for SxS LRSPC2661T
2
Table of contents
Other LG Refrigerator manuals

LG
LG LMXC23746 Series User manual

LG
LG GB7143 series User manual

LG
LG LFX23961 Series User manual

LG
LG Dios GR-J303UG Series User manual

LG
LG LFC20770SB User manual

LG
LG GR-L28ANSPP User manual

LG
LG GT-515SDC User manual

LG
LG MFL63268501 User manual

LG
LG LRFDS3016 Series User manual

LG
LG GR-P247PGMH User manual