LG FH6G1BAPK2 User manual

Model name: FH6G1BAPK2
Note: Please read this guide carefully before repairing and operating the product.
WASHING MACHINE
SERVICE MANUAL

2
Table of Contents
1. Product Features
........................................................................................................................................................................................................... 3
2. New Technologies and Operation Principles ....................................................................................................................................... 4
3. Names and Functions of Components ..................................................................................................................................................... 7
4. Service Sequence ...................................................................................................................................................................................................... 10
5. How to Service the Controller Assembly ........................................................................................................................................... 16
5-1. Cautions for Service ............................................................................................................................................................................16
5-2. LQC Mode ....................................................................................................................................................................16
5-3. Check Program ...........................................................................................................................................................18
5-4. Fault Confirmation Criteria and Method of Checking .........................................................................................19
6. Fault Diagnosis and Solution Matrix ...................................................................................................................................................... 23
6-1. Diagnosis and Response to Operation Mistaken for Faults ....................................................................... 23
6-2. Fault Diagnosis and Solution Matrix ................................................................................................................................. 26
7. How to Disassemble and Assemble ........................................................................................................................................................ 37
8. Disassembly Diagram and Service Parts Matrix .......................................................................................................................... 49
8-1. Disassembly Diagram of Cabinet & Cabinet Cover Assembly .................................................................. 49
8-2. Disassembly Diagram of Dispenser & Pump Assembly .................................................................................. 50
8-3. Disassembly Diagram of Drum & Tub Assembly .................................................................................................... 51
8-4. Disassembly Diagram of Duct Assembly .....................................................................................................52
9. Post-repair Check ..................................................................................................................................................................................................... 53
10. Circuit diagram .......................................................................................................................................................................... 54

3
1. Product Features
Movement of the washing tub in 6 directions for hand-wash effect
This model, which enables the washing tub to move in 6 different directions,
offers washing performance optimized for the type and load of washing and
reduces the washing time.
Front-loading washer with DD inverter
This product is driven directly by the BLDC motor controlled by the inverter,
is very quiet during operation, and is an energy saver.
Customized washing cycle for those with busy lifestyle
Many people today lead a busy life; this product offers various washing
cycles that meet the needs of users living a busy life and help them easily do
the wash.
Smart ThinQ (Wi-Fi feature)
This feature lets you use various functions of the product, e.g., remote
control, smart alert, mode download, and smart self-diagnosis via the
smartphone app..
Low noise speed control system
By sensing the amount of load and balance, it evenly distributes load to
minimize the spinning noise level.
Button lock feature (CHILD LOCK)
This feature locks the buttons and ensures that your children are protected
from incidents caused by accidental operation.
Heat pump drying technology
Heat Pump drying cycles use less energy than conventional drying cycles
due to an optimized heat exchanger and auto cleaning technology. This
drying technology has been designed to save your money and minimize
the damage to the fabric.

4
2. New Technologies and Operation Principles
2-1. Product Comparison (Dimensions and Functions)
FH6G1BAPK2
BLUE WHITE
AC220-240 V, 50 Hz
94.5kg
2100 W
700 W
50 RPM
No spin/400/600/800/1000/1200/1600 RPM
75 ℓ
Microprocessor type
12 kg / 7 kg
600 (W) x 675 (D) x 850 (H)
Automatic type
Standard rinse, Add 1 rinse cycle, Add 2 rinse cycles
Sensor type
Yes
Yes
Yes
Yes
Yes
Yes
Yes
23 modes
- Daily Cycles(Cotton, Auto Wash, Speed14, Easy Care, Mix, Wool)
- Special Cycles(Allergy Care, Stain Care, Outdoor, Gentle Care, Direct
Wear(1kg), Delicate)
- Dry Cycles (Cotton Dry, Wash+Dry(7kg),Outdoor Dry, Easy Care Dry,
Time Dry ,Delicate Dry)
- Download Cycle (Tub Clean, Refresh, Rinse+Spin, Turbo 49, Spin)
COLOR
POWER
CATEGORY
PRODUCT WEIGHT
POWER CONSUMPTION WASHING
DRYING
WASH
SPIN-DRY
ROTATION COUNT
STANDARD QUANTITY
CONTROL METHOD
WASH/DRY CAPACITY
EXTERNAL DIMENSIONS
DOOR SWITCH
RINSING COUNT
WATER LEVEL CONTROL
SCHEDULING
LAUNDRY WEIGHT DETECTION
NEURO-FUZZY
REMAINING TIME
ERROR DIAGNOSIS
PUMP IDLING PREVENTION
AUTO POWER DOWN
WASH/DRY MODE

5
2-2. How to Detect Laundry Weight
• This product detects 5 levels of laundry weight.
• Laundry weight detection is for pre-wash and spin-dried weight; the detected laundry weight
data is used for:
- Pre-wash laundry weight detection (prior to initial water supply): To determine the wash
duration and the remaining time
- Spin-dried laundry weight detection (after draining and prior to spin-dry): To determine the
spin-dry algorithm and unbalanced state
2-3. Water Level Control
• This product is equipped with a sensor-type pressure switch that detects the water level in the drum while
water is supplied into the drum via the water supply valve and a sensor-type flowmeter that supplies the
measured amount of water.
• Once a certain amount of water is supplied via the flowmeter, the microprocessor detects the water amount
and stops water supply to start washing.
(If the water level is reduced as the laundry is wet, water supply resumes up to the appropriate level.)
• Upon drainage via the drain hose, the air pressure of the switch is reduced, and the lowered water level is
detected. After a certain period passes, spin-dry is initiated.

6
2-6. Condition for Door Lock Icon and Pop-up Display
• The water level frequency is 23.2 kHz or lower (display off when the water level frequency is
23.4 kHz or higher)
• The in-tub temperature is 45 degrees or higher, and the water level frequency is 24.6 kHz or
lower (display off when the in-tub temperature is 40 degrees or lower and the water level
frequency is higher than
24.6 kHz)
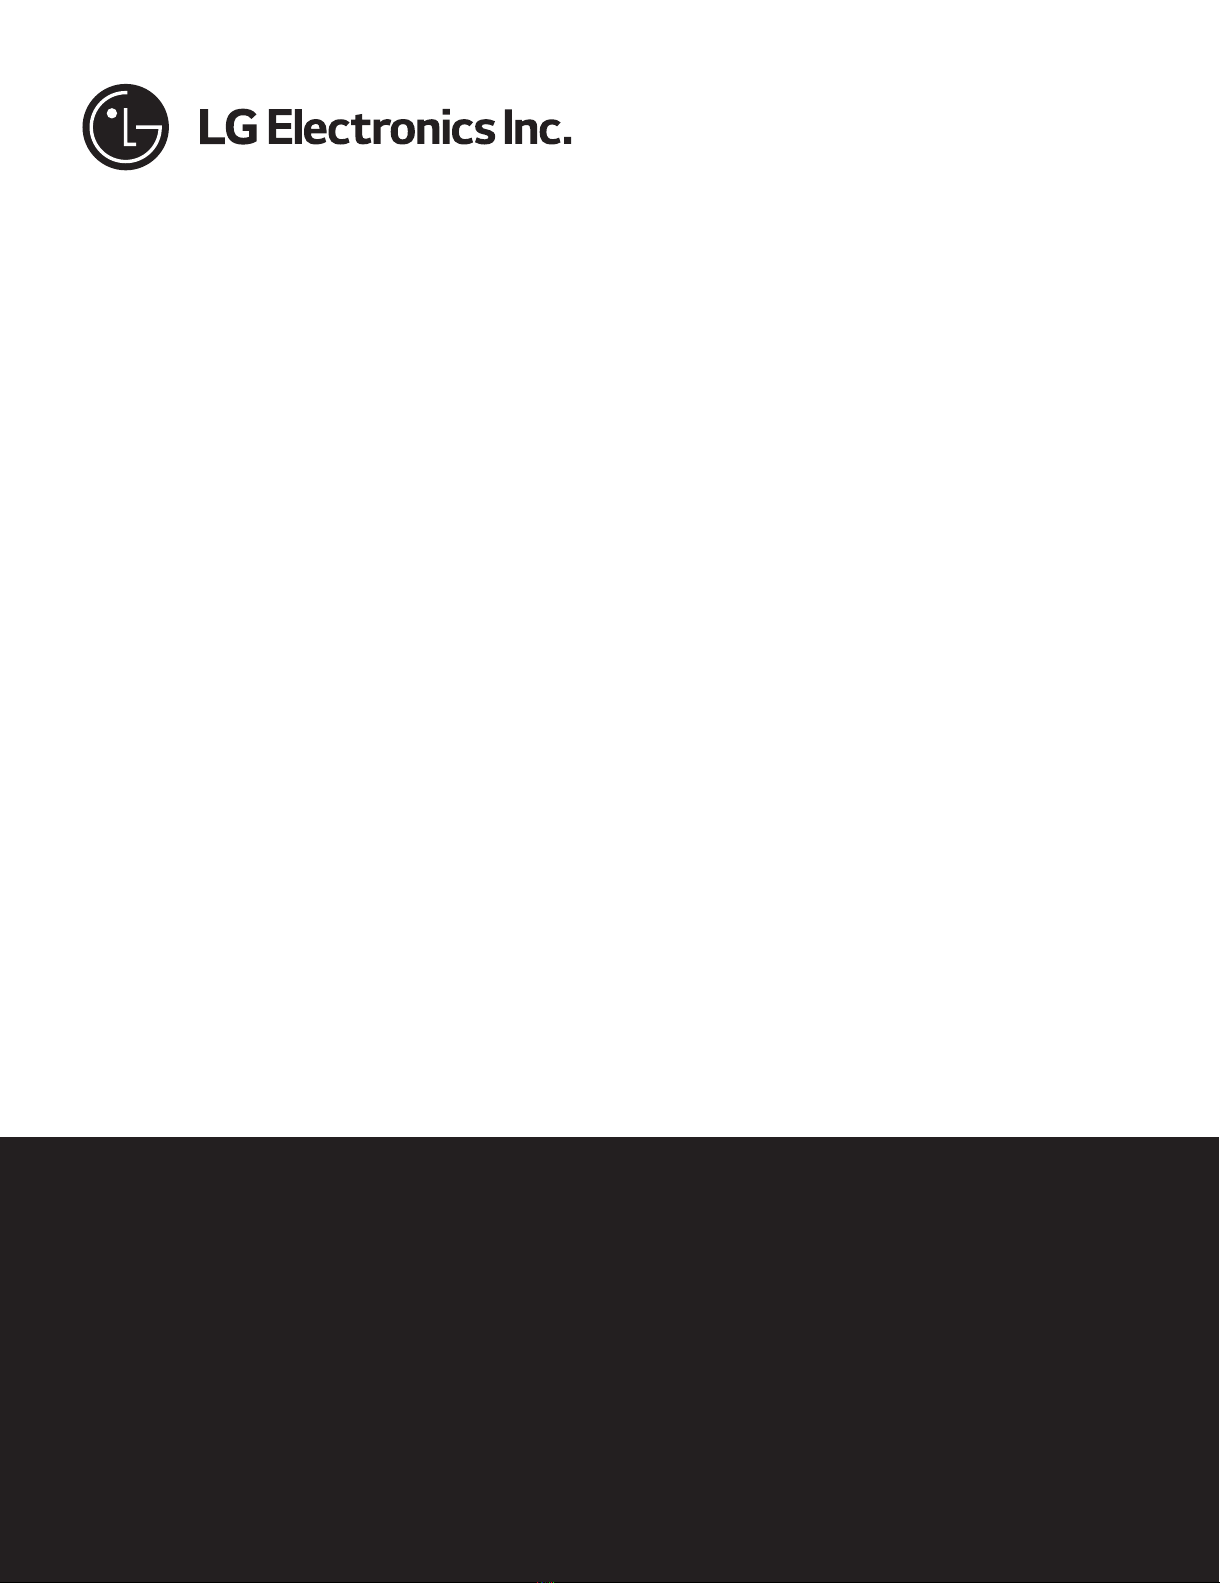
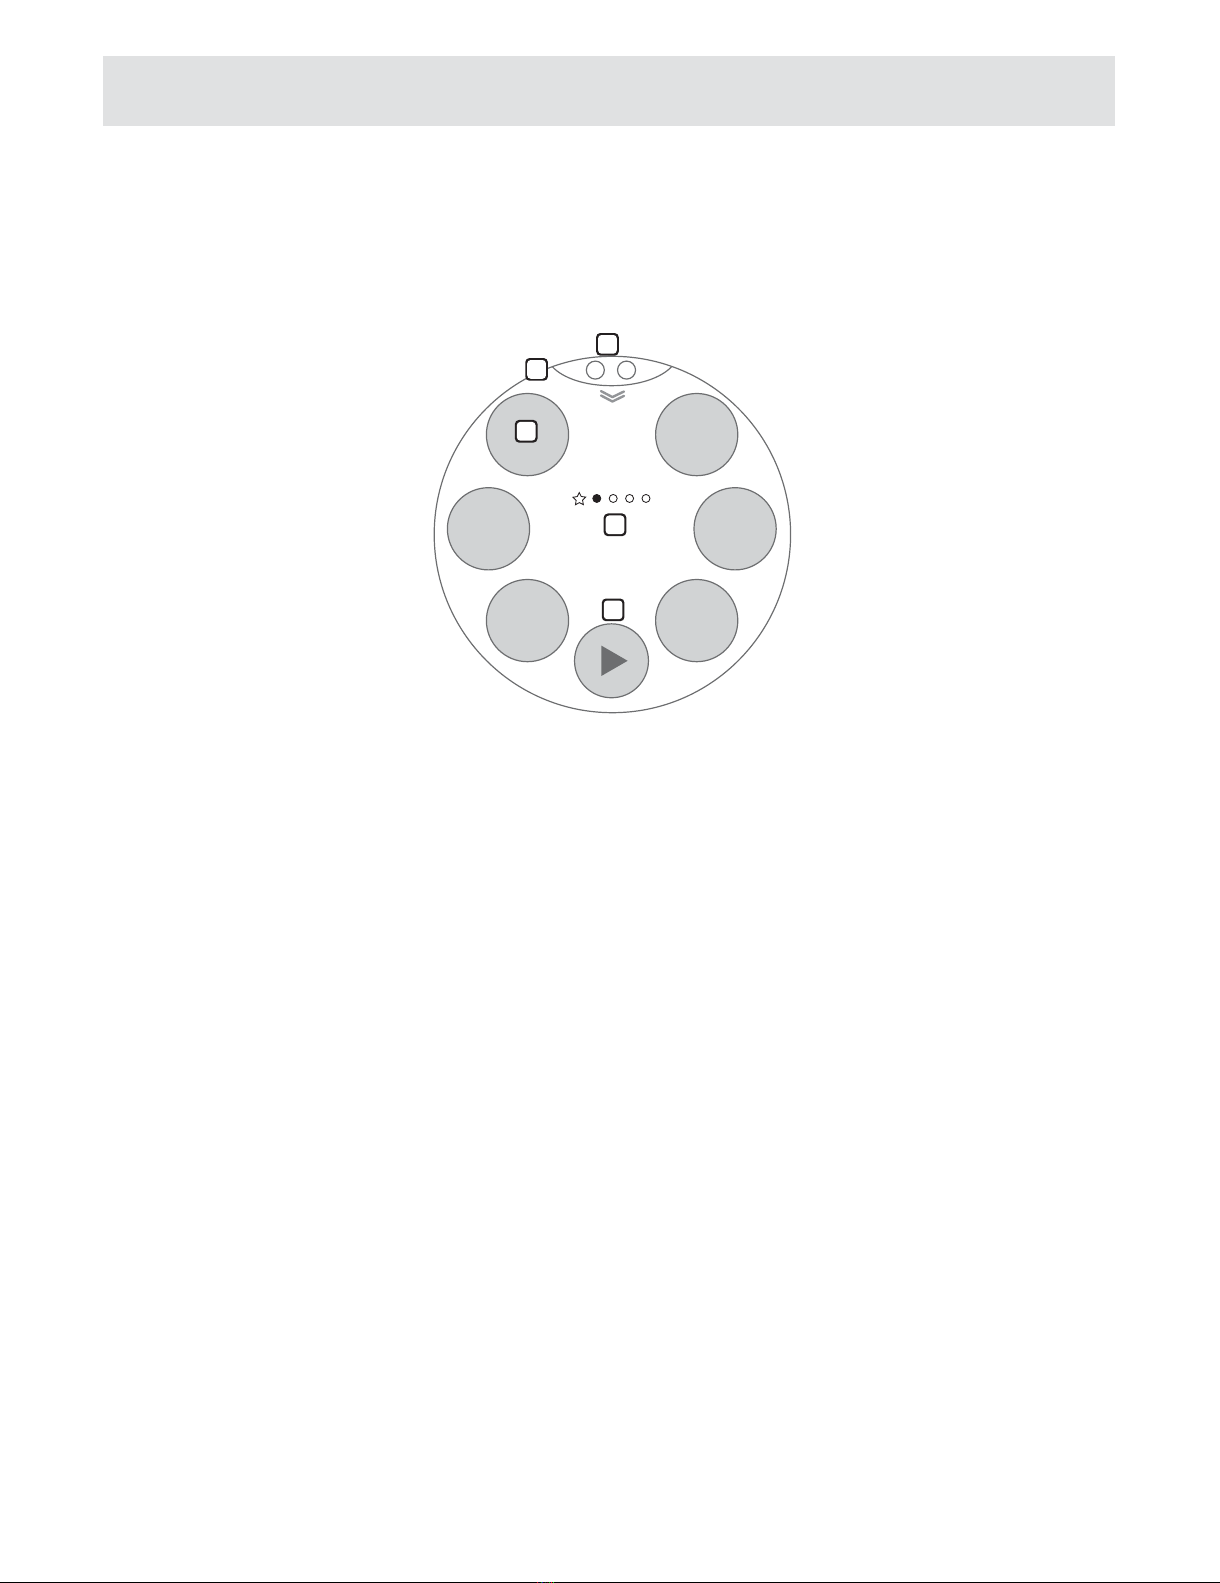
2-7. Button Lock Feature
2-9. Smart ThinQ (Wi-Fi feature)
•
This feature prevents children from changing the preset mode accidentally during the wash.
- This feature is enabled/disabled with the "Screen lock" icon on the Settings window.
- This feature may be selected even when the motor is not in operation.
- Once the "Screen lock" is enabled, no button is operated except the Power button.
•
While the Screen lock icon is displayed on the Settings window, no button is operated except the Power button.
If you download and install the smartphone app, you can use various features, e.g., remote
control, smart alert, mode download, and smart self-diagnosis.
• To use the Wi-Fi feature, please install the app, register your product, and complete your Wi-Fi
network setup process.
• Wi-Fi connection may not be available depending on your home network setup. For issues in
this regard, please contact your Internet service provider or network admin.
2-4. Door Open Control
• Once the program is closed, the door lock is released, and you can press the door handle to open
it.
• When you pause the product, the drum operation stops, and the door lock is released and may
be opened if the water level frequency is 23.4 kHz or lower and the in-tub temperature is below
a certain level (45℃).
• During power outage, within 5 minutes of power down, you can open the door. (If the in-drum
water level is above a certain level, the remaining water removal hose cap [CAP, COVER
(REMAINING HOSE)] should be removed before water can be removed.)
2-5. The door cannot be opened if:
• The power is down, or the power plug is removed
• The product is in operation
• The door lock icon is on
• The motor is turning by inertia after the product is paused

3-1. Names of Components
7
3. Names and Functions of Components
Transit bolts
Tub lamp
Lower cover
Drain hose
Lid for auto liquid detergent
Power plug
Drum
Adjustable feet
Drain pump
Lid for auto liquid softener
Power button
Door
Auto liquid dispense
Drain filter
Feature control panel
Pu
sh
12
14
13
15
• Power supply : 220-240 V~, 50 Hz
• Size : 600 mm (W) X 675 mm (D) X 850 mm (H)
• Product weight : 94.5 kg
• Wash / Dry Capacity : 12 / 7 kg
• Permissible water pressure : 0.1-1.0 MPa (1.0-10.0 kgf / cm2)
• Appearance and specifications may vary without notice to improve the quality of the product.
Inlet hose (1EA)
(Option: Hot (1EA))
Elbow Bracket
(for securing drain
hose)
Anti–slip sheets
(2EA)
(Optional)
One detergent
cup
Spanner
Accessories

8
3-2. Function Operation Panel
※ FH6G1BAPK2
5
4
3
2
1
1 Display window
● You can control the washing machine
by touching the screen.
● Wash mode, remaining time, options,
status messages, etc, are shown on the
screen.
2 Settings window
Screen lock, remote control, automatic
detergent, automatic softener, Mini
Washer/TROMM selection, and More are
shown here. You can enable or disable
the features by touching the screen.
3 Wash/Dry mode
You can select your desired wash mode.
For details on wash modes, see "Wash
Mode Descriptions."
4 Start/Pause button
You can start or pause the selected
wash mode.
5 Wash mode display window
This indicates the page location of the
currently displayed screen.
Flip the screen left or right to access
My Pattern, Daily Cycles, Special Cycles,
Dry Cycles, Download Cycles.

9
Option Programme
When you select a programme, washing starts
with the default settings. If needed, change the
options as shown below.
1
: Soil
2
: Rinse
3
: Temp.
4
: Spin
5
: Add Option
6
: Add
Drying(Optional)
1Press the Power button.
2Select a washing programme.
3Select the options you want to change.
4Change the options and press the OK
button.
5Press the Start/Pause button.
1
Soil
Light
Use this option when the soil level is lower than
a general washing.
Normal
Use this option for general washing.
Heavy
Select this option to wash heavily soiled laundry
with more power compared to the standard
wash for each programme.
2
Rinse
Rinse+
Add rinse once.
Rinse++
Add rinse twice.
Rinse & Hold
The programme is paused until start button is
Rinse+ & Hold
Add rinse once then after rinsing process, the
programme is paused until Start/Pause button is
pressed again.
3
Temp.
The
3
button selects the wash temperature
combination for the selected programme. Press
the desired setting. All rinses use cold tap water.
•Select the water temperature suitable for
the type of load you are washing. Follow the
garment fabric care labels for best results.
4
Spin
Spin speed level can be selected by pressing
the
4
button repeatedly.
NOTE
•When you select No Spin, it will still rotate for
a short time to drain quickly.
•The spin setting range may be different
depending on programmes.

10
5
Add Option
Option settings may be different depending on
programmes.
Turbo Wash ( )
Wash programme in under 1 hour with energy
and water saving. (based on half of laundry)
Prewash ( )
If the laundry is heavily soiled, the Prewash is
recommended.
NOTE
•If you select Prewash after putting the
detergent directly in drum, the detergent
may be washed away, causing less washing
performance. When selecting Prewash, be
sure to set to Auto Detergent.
Medic Rinse ( )
For best results or for cleaner rinsing. This
degrees.
Crease Care ( )
If you want to prevent creasing, select Crease
Care option.
NOTE
•To prevent tangling of your laundry, the tub will
rotate for a certain period of time after spinning
6
Add Drying
Option settings may be different depending on
cycles.(Refer to 'Drying Programme')
Cooling
This programme cools the clothes down after
drying when they are hot.
Normal
You can use it to dry your normal fabrics.
Iron
Eco
A special programme to dry with an optimized
energy consumption.
Speed
You can use it to dry your clothes quickly.
Time Dry(30/60/90/120min)
amount of time.

4. Service sequence
11
1
Listen carefully to the consumer's description of the
fault.
2
Make sure the product is connected to a 220 V source
since it is only for 220 V.
3
Make sure the product is installed properly.
Transport
Safety
Device
Removal
• Use the spanner to remove three BOLT
ASSEMBLIES (TRANSIT)
• Store the three BOLT ASSEMBLIES (TRANSIT) at
an appropriate location for safekeeping.
→ They are needed when moving or relocating the
product.
• Install the product on a firm, even surface.
Install
on a
firm,
even
surface
Leveling
Basic installation
Ensure the installation of the following:
Sloping floor Hollow (wooden) floor Uneven floor
1
Check the gap between the four
leveling feet of the Mini Washer and
the floor.
• Check whether the front-loading washer
moves when you shake it.
• If a leveling foot needs to be loosened by
10 mm or more, place a height adjustment
plate underneath. (Height adjustment
plates are sold at LG Electronics service
centers.)
2
Adjust the four leveling feet so that
all of them are firmly standing on the
floor.
3
Once level adjustment is done,
firmly tighten the tightening
nuts.
• Be sure to open the drawer when
adjusting the front leveling feet.
Tightening nut
Rubber support

12
1. Unfasten the adapter ring plate and the 4 adapter retaining screws.
2. Push the adapter onto the end of the tap so that the rubber seal forms
a watertight connection. Tighten the adapter ring plate and the 4
screws.
3. Push the water supply hose vertically upwards so that the rubber
packing in the hose connects fully to the tap and then
tighten it by fastening clockwise.
• Water supply pressure must be between 100 kPa and 1000 kPa (1.0 ~ 10.0 kgf / cm
2
)
• Do not strip or crossthread when connecting inlet hose to the valve.
• If the water supply pressure is more than 1000 kPa, a decompression device should be installed.
• Periodically check the condition of the hose and replace the hose if necessary.
Type-A : Connecting Screw-type hose to tap with thread
• Fasten the hose connector onto water supply tap.
古Connecting water supply hose
君
Step1 : Check the rubber seal of the inlet hose
君
Step2 : Connect hose to water tap
• Two rubber seals are supplied with the water inlet hose.
They are used for preventing water leaks. Make sure the connection to
taps are sufficiently tight.
Upper
connector Rubber
packing
Plate
Water supply
hose
Fixing screw
Hose
connector
Rubber
seal
Type-B : Connecting Screw-type hose to tap without thread

13
Please use the horizontal tap
Horizontal tap Extension tap Square tap
1. Unfasten the adapter ring plate and the 4 adapter retaining
screws.
2. Remove the guide plate if the tap is too large to fit the
adapter.
3. Push the adapter onto the end of the tap so that the rubber
seal forms a watertight connection.
Tighten the adapter ring plate and the 4 screws.
4. Pull the connector latch plate down, push the inlet hose onto
the adapter, and release the connector latch plate.
Make sure the adapter locks into place.
After completing connection, if water leaks from the hose, repeat the same steps.
Use the most conventional type of faucet for water supply. In case the faucet is square or too big, remove the
guide plate before inserting the faucet into the adaptor.
Ring plate
Guide plate
Latch plate
Type-C : Connecting one touch type hose to tap without thread
ඖ
Step3: Connect hose to washer
• Make sure that the hose is not kinked or crushed.
ඖ
When your washer has two valves.
• The inlet hose with the red connector is for the hot water tap.
• If the washer has two valves, energy is saved by using the hot valve.
After connecting inlet hose to water tap, turn on the
water tap to flush out foreign substances (dirt, sand or
sawdust) in the water lines. Let water drain into a
bucket, and check the water temperature.

14
Connect Drain Hose.
Connect power plug.
If the drain hose is not installed properly, the unit will not drain properly.
This allows water to flow back into the unit which can cause odors.
Refer to owner’s manual for proper drain hose installation.
The odor could also be coming from the home’s drain to which the drain hose is attached.
In this type of drain hose installation, the odor could be coming from the standpipe.
This odor can come up the drain hose and into the unit.
Pour a cup or two of bleach or vinegar down the home drain
and let it sit for 24 hours before running another cycle.
This will help eliminate odor from the home drain.
If a cycle is started too soon after doing this, it will not help the issue.
Connect the power plug to the wall outlet. Avoid connecting several electric devices,
it may be the cause of a fire.
about 100 cm
about 145 cm
about 105 cm
Laundry tub
Max. 100cm
Max. 100cm
Retainer
Tie
strap
Hose
max. 100 cm

15
Check the horizontality with a level (Gage).
Step 1
If washing machine legs are loose or not fully attached, then tighten with the spanner wrench.
Using the level, level the washing machine from front to back and side to side.
Step 2
Use the spanner wrench to adjust legs until level and try the Diagonal test.
Step 3
Perform a Rinse and Spin with some clothing in the machine.
To do this, put 2~3kg of clothing in the unit, turn on the unit, select the Rinse+Spin
and then start. When the unit reaches the spin cycle, check vibrations.
If the unit vibrates, adjust the leveling foot slightly until the vibration subside. (Repeat step 2)
Step 4
Tighten the lock nut up to lock the positioned leg.
Lower the foot until there is no gap between floor and foot.
And only use adjustment rubber when the gap is more than 10mm.
Place your right hand on the back, right corner and your left hand on the front,
left corner of the unit, then attempt to rock the unit from corner to corner.
Then, move your right hand to the front, right corner and your left hand to the
back, left corner and attempt to rock the unit from corner to corner.
If the unit is level, it will not rock. However, if the unit is not level, it will rock.
If the unit rocks, it will be necessary to adjust the leveling feet of the unit.
Adjust the foot on the front right corner.
How to perform a diagonal test:
A level
Lower
Tighten
Adjustable feet
Diagonal test
Loosen
Adjustable feet
Higher
Tighten
Adjustable feet
Lower
4620ER4002B
(Gray)
for Wooden floors
Rubber Cup
4620ER4002A
(Black)
for Tile floors
Lock nut
10mm
Adjustable bolt
Tighen the lock nut
Floor
No Gap
Floor
No Gap
Floor
Gap

220V 전용 콘센트에 연결
냉수 수도꼭지에 급수호스
연결
급수 시작 후 드럼의 좌우
반전 확인.
전면부 급수 확인
세탁준비 과정
동작/일시정지 터치
Test mode에서 Start버튼
10회 누른 후 가열 확인
탈수단독 코스를 선택하여 배수
및 탈수를 확인
시운전 후 서비스 할 필요가
있을 때 제품 하단의 Cover을
열고, 잔수제거 호스마개를
빼내어 잔수를 제거하세요.
세탁수 가열 확인 자동 반전 확인
전원 버튼 누름
급수 확인
배수 및 탈수확인 동작/일시정지 터치 잔수 제거
펌프 마개
호스
마개
잔수 제거용
호스
4
Connect the water supply hose and power and perform a test run.
• Listen carefully to the consumer's description of the fault and proceed with the following procedure as much as possible:
Base the service sequence on the result of the fault diagnosis.
• Perform the service based on the result of the fault diagnosis according to 6. Fault Diagnosis and Solution
Matrix.
• If disassembly and assembly are required, follow 7. How to Disassemble and Assemble.
Once the service is completed, check the condition against 9. Post-repair Check.
16
Get ready
Check the wash water heating
Check drain and spin-dry
Press the Power button
Check automatic turning
Touch the Start/Pause button
Check water supply
Remove remaining water
• Connect to a dedicated 220 V outlet.
• Connect the water supply hose to a cold
water tap.
• In Test mode, press the Start button
eight times and check whether the wash
water heats up.
• Select spin-dry mode, check drain, and
spin-dry.
• Check whether the tub turns left and
right after water supply starts.
• Press the button and wait for the tub to
stop turning. Check for the solenoid
operating sound as the washer door
unlocks. (You will hear a "tick" once or
twice before power is turned off.)
• Check water supply through the front
window.
• If servicing is required after the test run,
open the bottom cover, remove the
residual water hose cap, and drain the
remaining water.
Pump cap
Hose cap
Remaining water
removal
hose

17
5. How to Service the Controller Assembly
5-1. Cautions for Service
5-2. Check Program
■ Since the output terminal of the controller ASSEMBLY has AC 220 V and DC connections, avoid electric
shock while checking for a fault (wear cotton gloves while working).
■ Enter the LQC mode.
■ Make sure the product is not powered on while you replace the controller and proceed with disassembly and assembly.
■ Beware of static electricity when handling the controller ASSEMBLY; carry and store it in an antistatic plastic bag.
.3%58%
Z
1. Press 15 times in the 7 o’clock direction.
2. Screen changed to LQC mode.
Reed
Switch
Touch
Check
WiFi M.:OK
ZigB M.:OK
ZigB Com.
Life
Entry DP Option
Mode
Contaminant
Check
START
Sereen
Control
Main Ver.:21
Display Ver.:125
ZigB Ver.:7
REVISION:9176
HP Ver.:100
DP Option:(00000000227)
MAC:E8:F2:E2:A4:BB:79
LQC SVC
SWU:SWU_20161028_V2
1. SW version check
- DISP version: 102
2. ZigB version: 8
3. DP option value : 227
※ SW/ZigB version may be different.
*Drawing specification (DP options value)
DP OPTION Remarks
227 G + Best Heatpump (WD) for WW
195 G + Best Washer (WO) for WW
221 G + Best Hybrid (WD) for WW
65729 G + Best Washer (WO) for domestic supply
16579 G + Best Washer (WO) for WW Auto Restart
Reed
Switch
Touch
Check
WiFi M.:OK
ZigB M.:OK
ZigB Com.
Life
Entry DP Option
Mode
Contaminant
check
START
Sereen
Control
Main Ver.:21
Display Ver.:125
ZigB Ver.:7
REVISION:9176
HP Ver.:100
DP Option:(00000000227)
MAC:E8:F2:E2:A4:BB:79
LQC SVC
SWU:SWU_20161028_V2
1. Wi-Fi connection confirmed
Wi-Fi device; OK and green confirmed
if not OK, Wi-Fi device displays NG and red.
2. RF module connection confirmed
ZigB device; OK and green confirmed
if not OK, ZigB device displays NG and red.
* ZigB communication; OK and green confirmed
if not OK, ZigB device displays NG and red.
ZigB communication is tested (Paining) with a
jig by the RF module manufacturer (Union).
Reed
Switch
Touch
Check
WiFi M.:OK
ZigB M.:OK
ZigB Com.
Life
Entry DP Option
Mode
Contaminant
Check
START
Sereen
Control
Main Ver.:21
Display Ver.:125
ZigB Ver.:7
REVISION:9176
HP Ver.:100
DP Option:(00000000227)
MAC:E8:F2:E2:A4:BB:79
LQC SVC
SWU:SWU_20161028_V2
1. Press the Touch Check button.
①
③
②
④
⑤

18
1. Press the button for the 9 areas
indicated in red.
2. These turn green and OK; if you press
all 9 areas, the screen returns to the
previous one.
Reed
Switch
Touch
Check
WiFi M.:OK
ZigB M.:OK
ZigB Com.
Life
Entry DP Option
Mode
Contaminant
check
START
Sereen
Control
Main Ver.:21
Display Ver.:125
ZigB Ver.:7
REVISION:9176
HP Ver.:100
DP Option:(00000000227)
MAC:E8:F2:E2:A4:BB:79
LQC SVC
SWU:SWU_20161028_V2
1. Check if the Touch Check button
turns green.
Reed
Switch
Touch
Check
WiFi M.:OK
ZigB M.:OK
ZigB Com.
Life
Entry DP Option
Mode
Contaminant
check
START
Sereen
Control
Main Ver.:21
Display Ver.:125
ZigB Ver.:7
REVISION:9176
HP Ver.:100
DP Option:(00000000227)
MAC:E8:F2:E2:A4:BB:79
LQC SVC
SWU:SWU_20161028_V2
Reed
Switch
Touch
Check
WiFi M.:OK
ZigB M.:OK
ZigB Com.
Life
Entry DP Option
Mode
Contaminant
check
START
Sereen
Control
Main Ver.:21
Display Ver.:125
ZigB Ver.:7
REVISION:9176
HP Ver.:100
DP Option:(00000000227)
MAC:E8:F2:E2:A4:BB:79
LQC SVC
SWU:SWU_20161028_V2
1. Press the Contaminant check
button.
1. Check if the screen turns red.
2. If you press the red screen, it turns green.
3. If you press the green screen, it turns blue.
4. If you press the blue screen, it returns to the LQC screen.
6QWEJ 6QWEJ 6QWEJ
6QWEJ
⑥
⑦

19
5-3. Check program mode
■ Enter the LQC mode.
■ Press the [Start] button; the product operates as follows each time it is pressed:
☞ The 5th operation starts when the motor comes to a complete stop, and the sixth operation proceeds upon
pressing after the motor is stopped.
Start button
Press count
Step
No. Step Display Output check
0 0 Display version
1. Initial letter
2. Main ver.
3. Display ver.
4. Heat Pump ver.
Version check
1 1 Tub turning CW Check RPM
/ Visual inspection CW 46RPM
2 6 Cold Valve Water Level Check FlowMeter pulse
3 7 Hot Valve Water level Check water level
4 9 Atomizing Valve Water level Check water level
5 11 Dry Filter Clean Valve Water level Check water level
6 12 Eva Valve Water level Check water level
7 13 Tub turning CCW RPM CCW 46RPM
8 14 Wash heater activated Temperature Check temperature
9 15 Circulating pump activated Water level On
10 16 Drain pump activated Water level On
11 2 Low speed spin RPM 600RPM
12 3 High speed spin RPM Max RPM
13 4 Automatic detergent/
Softener pump activated Water level Zig. Inspection
(Heat Pump On)
14 22 Flow Meter FlowMeter Pulse Zig. Inspection
(Heat Pump On)
15 18 (Fan Motor/Compressor/Cooling
Fan)HeatPump
1. Comp Freq.
2. Eva InTemp.
3. Eva Out Temp.
4. Comp Out Temp.
5. Fan Motor RPM.
Zig. Inspection
1. Press 15 times in the 7 o’clock direction.
2. Screen changed to LQC mode.
.3%58%
Z

20
* ERROR display
• If an error occurs, press the Start/Stop key or Power key to cancel the error, and the product
is paused.
• If you do not cancel the error, the error automatically turns off in 20 seconds, and the
display shows the error.
Other errors are automatically turned off in 60 minutes. The display shows the error (FE is
not automatically turned off, however).
5-4. Fault Confirmation Criteria and Method of Checking
Display
• 4 min.: if the water
level frequency is 24.8
kHz or above, and if
the water level
frequency and the
increase are 0.2 kHz or
lower
• 8 min.: if the water
level frequency is 24.8
kHz or above
• 25 min.: if the water
level is not reached
1. If the water tap is closed or frozen • Open the water tap
and supply water.
• Wash is initiated when the
supply condition is met.
• Clean or replace the
filter.
• Reconnect the
connector and correct
the poor connection.
•
Reconnect the
connector and correct
the poor connection.
• Replace the controller.
• Check the pressure
switch.
• Remove the clogging
of the drainage hose.
•
Reconnect the
connector and correct
the poor connection.
• Replace the drainage
motor.
• Replace the controller.
1. If the drainage hose is bent or clogged
(frozen or clogged by contaminants)
2. If the connector connected to the
drainage motor or the white 4-pin
connector connected to the
controller is disconnected, or it has
a contact fault
3. If the drainage motor device is
faulty (if the product does not
work even when the 2-pin terminal
of the drainage motor is directly
connected to the AC 220 V source)
4. If the controller assembly is faulty
2. If the water supply is stopped
6. If the load driving part of the
controller is faulty
7. If the pressure switch's pressure
detection is faulty
3. If the upper filter of the water
supply valve is clogged
4. If the connector to the water
supply valve is disconnected, or it
has a contact fault
5. If the connector to the controller is
disconnected, or it has a contact
fault
• If the empty level is
not reached within
10 minutes of
drainage
Fault Confirmation Criteria
Possible causes of faults Action
Table of contents
Other LG Washer manuals
Popular Washer manuals by other brands

AEG
AEG LR76CUCA06 user manual

Whirlpool
Whirlpool 3XLSQ7533 Use & care guide

Siemens
Siemens WM14Y791GB Instruction manual and installation instructions

Electrolux
Electrolux IQ-TOUCH EIFLS55I IW Specifications

Bosch
Bosch WAW32668SN Instruction manual and installation instructions

Daewoo
Daewoo DWF-180MNP instruction manual