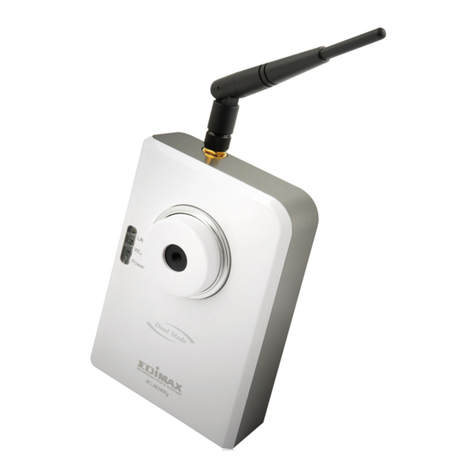
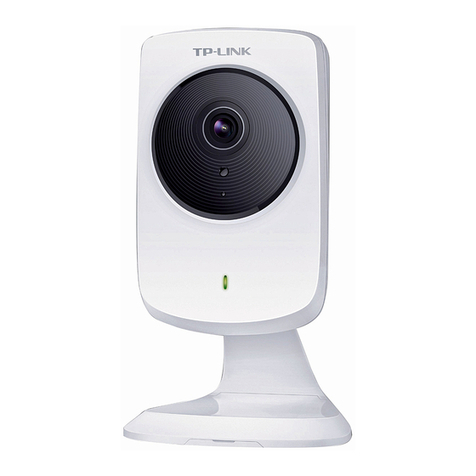
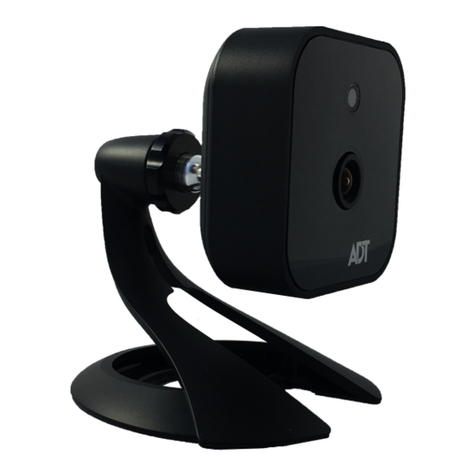
Linux Skypecam series User manual


Read and understand thoroughly this safety awareness & instruction before using and keep it
for future reference,the device is called Skypecam in this text.
Safety Precaution:
Do not place heavy object on the Skypecam.
Do not let any solid or liquid fall into or infiltrate the Skypecam.
Do not disassemble, repair or replace the parts of the Skypecam by yourself.
Using environment:
Please place and use the Skypecam between 0℃and 40 ℃.Avoid direct sunlight or stay away
from heat.
Do not install the Skypecam in damp environment.
Do not expose the Skypecam in smoky or dusty environment.
Do not drop the Skypecam and avoid strongly collision.
Please insure the Skypecam level installation in a stable workplace and prevent the Skypecam to be
dropped
Please install in well-ventilated place. Do not block the vents.
The Skypecam only can be used within the range of rated input and output.
1


1ProductIntroduction
1.1 Product Overview
The Skypecam series is a type of excellent intelligent home product specially designed for
digital field. It introduces embedded LINUX operating system which is more stable. It introduces
the technology of standard H.264 mp video compression format and G.711A audio compression
format which insure the high-quality image, low-bit rate and single-frame playing. It introduces
Cloudlink P2P network transmission technology which achieves strong network data transmission
ability and remote control ability. It introduces wireless learning codes technology and wireless
detector to construct a strong alarm system.
1.2 Main functions
Video call
It can realize the video call not only between two Skypecam, but also among smart phone,
tablet computer and Skypecam.
Record function
After inserting U disk or Micro SD to Skypecam, it can realize simultaneous storage and
recording of audio and video, and different recording mode such as manual recording, alarm
recording, timing recording can be selected.
You can search video files intelligent on the device and playback video on the screen directly.
Remote monitor
It can achieve remote monitor by using mobileAPP to dial 3C number.
Wireless alarm
It introduces wireless learning code and wireless detector to construct alarm system, and also
email alarm function is supported.
3

Network Phone Camera User Manual
2 Open-package inspection and cable connection
2.1 Open package check
First, please check whether there is any visible damage to the package appearance. The
protective material used for the package of the Skypecam can sustain most accidental clashes during
the transportation.
Then, please open the box and get rid of the plastic protective coating. Check whether there is
any visible damage to the Skypecam appearance.
2.2 The front panel and rear panel
The key function specification in the front panel and the interface specification in the rear panel
are described in details in the manual.
Please check carefully the product model in the bottom plate or in the rear panel film whether
is accordant with the model you ordered.
The label in the bottom plate or in the real panel is very important for after-sales service, please
protect it carefully.
Please provide the product model and serial number in
the label before you contact our after-sales.
4

Network Phone Camera User Manual
2.3 The front and rear panel key function
Piolot lamp:From left to right are: (Network, Defence,Recording,
Alarm)
5

Network Phone Camera User Manual
The front button operation function
Num Button
name Mark Function
1 Number button 0-9 Input the number key during user input state
Short press to decrease the volume during video call or
playing state
Short press to delete text during edit state
2 */.键
Long press to record/stop recording during manual record
mode
Short press to increase the volume during video call or
playing state
Short press to switch input method during edit state
3 Ctrl shift/
defense
Long press to do defense/cancel operation
Short press to dial video call during standby state
4 Dial/preview Long press to enter real-time preview during standby
mode
Hang up call during video call
5 Hang up/Exit Back to above level menu and exit current state
Remove the cursor by up and down buttons when the
main menu or submenu is popped
Add or decrease number during edit state
Change the setting in the menu
Play last or next video file by up and down buttons
during the playback state
Move the cursor by left and right buttons when the main
menu or submenu is popped
6 Direction button
Play in the multi-low or multi-fast video during the
playback state
7 Main
Confirm
6

Network Phone Camera User Manual
menu/confirm
key Enter main menu
2.4 The rear panel
○
1 Network interface ○
2 WIFI ant interface ○
3 Learning code indicator ○
4 Learning button
○
5 Power switch ○
6 Power interface ○
7 USB interface ○
8 3C smart card interface ○
9Micro
SD card interface ○
10 Earphone interface
7

Network Phone Camera User Manual
3 Basic operation
3.1 Turn on
Plug the power supply and turn on the power supply switch to “ON”, the Skypecam enters the
system.
Suggest using the stable input voltage and power input ripple with less interference to make
sure the Skypecam power supply.
Suggest using the UPS to protect the power supply under allowable conditions
3.2 Turn off
Check and confirm the recording is stopped before turn off the Skypecam, turn off the power
supply switch to “OFF”, or pull the rear panel power switch that can switch power.
Auto resume after power failure
If the Skypecam is shut down abnormally, it can automatically backup video and resume
previous working status after power failure.
Insert the U disk or Micro SD card
Please make sure the Skypecam is not in recording state before inserting the U disk or Micro
SD card, otherwise information will loss or storage equipment will be damaged.
Replace the battery
Please save the setting information and turn off the power supply switch before replacing the
battery. The Skypecam uses button battery. Please check the system time regularly, if the time is not
correct, you need replace the battery. Suggest replacing the battery every year and using the same
type battery.
Note: The setting information must be saved before replacing the battery otherwise information will
lose.
3.3 Standby state
Turn on the Skypecam and enter standby state, the system standby is shown as below:
8

Network Phone Camera User Manual
Picture 3.1 Login interface
Icons meaning under standby state:
1 USB detection icon 2 Micro SD detection icon
3 Motion detection icon 4 3C smart card detection icon
5 WIFI connection icon 6 Internet connection icon
7
Sever abnormal
connection icon
9

Network Phone Camera User Manual
4 Main menu
Press button , the system main menu is shown as below. You can operate and set each function
in this menu.
Picture 4.1 Main menu interface
4.1 Main menu navigation
Main menu Function Overview
General Set the basic parameters of the system
System Update and maintain system and show related information
of the system
Play Search and play video files
Network Set the basic parameters of the network
Alarm Set the basic parameters of the alarm
Record Set different record modes
10

Network Phone Camera User Manual
4.2 General setup
Picture 4.2 General setup interface
Set the basic parameters of the system, please click [main menu]> [general] to enter the
general setup interface.
【Time setup】Set the system date and time.
【Language setup】Set the system language.
【Video format】According to PAL or NTSC used in different areas, set the video format of the
system.
【Access password】Set the password of network remote monitor, the password only can be
numbers; You must set access password for the system in the first time, otherwise the remote
monitor can not be used.
4.3 System setup
Update and maintain the system, please click [main menu]> [system] to enter the general setup
interface.
11

Network Phone Camera User Manual
Picture 4.3 System setup interface
【Restore factory】Restore system to factory setting.
【System update】You can update and maintain the system when there is system software need to be
updated. There are two ways: local update and cloud update. Local update: Copy the update file to
U disk or Micro SD card, then insert U disk or Micro SD card, Press update button and then
press button to update after system detect the update file,the system will reboot up after finish
updating. Could update: Under network state, press the update button ,then the system will
automatically detect whether there is file need to be updated. Press button , the system will
automatically upload and update after detect the new version .The system will reboot up after finish
updating.
【3C ID】The 3C ID number will be shown here after insert 3C smart card to the device.
【Version information】The current system version information is shown.
4.4 Play
Search and play video files, you can click [main menu]> [play] to enter the video playback
interface.
12

Network Phone Camera User Manual
Picture 4.4 Video retrieval
【Fast retrieval】
Enter the video playback interface, you can search system video file of the day
after press search button directly. If there is no video, it will show “no video file found”.
Picture 4.5 Video retrieval
【Accurate retrieval】Move the cursor to adjust the starting and ending time, the window will
pop-up the video file list which conforms to searching condition after press search button ,
press up-down and left-right buttons to move the cursor to select the target file, then press
button to play.
13

Network Phone Camera User Manual
Picture 4.6 Video retrieval
【Play】During play state, press left-right buttons to finish fast forward and rewind operation
and press up-down buttons to switch different video files. Press the button to stop playing.
Press right key for single-frame playing during stop-playing state. Press button or can
adjust the volume.
4.5 Network setup
Set network parameters, you can click [main menu]> [network] to enter the network setup interface.
Picture 4.7 Network setup
14

Network Phone Camera User Manual
【IP】Set system IP address, you can automatically or manually set the IP address.
Through automatically set the IP address, system will automatic access to IP by DHCP;
Through manually set the IP address, you can manually set the IP address(system will automatically
determine the network segment of IP address, you only need manually set the last one of IP
address. )
【Internet】According to access way to network to choose wired or WIFI connection to internet.
Equipped with wire, system will connect internet through the wired network; Using WIFI, system
will search WIFI and set the connection accordingly, the connected internet name will be shown
after successful access, and WIFI connection icon will be shown in standby interface.
Picture 4.8 WIFI setup
4.6 Alarm setup
Set alarm parameters, you can click [main menu]> [alarm] to enter the alarm setup interface.
You need pre-start the defence system before using alarm function, system enter defence state after
long press button in 15 seconds, defence indicator will constant light.
15

Network Phone Camera User Manual
Picture 4.9 Alarm setup
【Send e-mail】When there is alarm or alarm linkage of capture images, you can send specific
alarm information or capture images to given e-mail address.
Picture 4.10 Email alarm
【Motion detection】This option is turned on and when the system detects the mobile signal that
reached a preset sensitivity by analyzing the video image, motion detection alarm
will be booted.
【Screen capture】You can choose the quantity of system automatic screen capture when alarm
appears, the images will be saved in U disk or Micro SD card.
【Buzzer】You can set the alarm duration of system speaker when alarm appears.
16

Network Phone Camera User Manual
4.7 Recording setup
Set different record modes, you can click [main menu]> [record] to enter the record setup
interface. You can set three record modes: manual,alarm and timed. The record LED indicator will
blink during record state.
【Manual】Long press record button can manually control the opening and closing.
Picture 4.11 Record setup(1)
【Alarm】When motion detection or outside alarm triggers, system will automatically enter
record state; Record timing indicates that record duration after trigger the alarm.
Picture 4.11 Record setup(2)
17

Network Phone Camera User Manual
【Timed】You can set the record time, system will automatically enter record state during this
time.
Picture 4.12 Record setup(3)
5 Remote monitor and video call
5.1 Remote monitor
You need correctly connect to the network before remote monitor. For network setup, please see
4.5 【Main menu】>【network setup】
Remote monitor between two devices
The internet abnormal connection icon of standby interface will disappear after normal access
to the internet, and the system is online state. Example: when using device A to make remote
monitor to device B(the 3C ID is 1001), you need set remote monitor password for device B(see
【Main menu】>【general】).And set device A as follows: press “1001#” and dial it, the dialog box
will be popped up to remind you of entering access password, press confirm button after enter
password, then device A can make remote monitor to device B.
Using cell phone or tablet computer to make remote monitor to the Skypecam
Boot up the application after normally installing Skypecam client software to cell phone or
tablet computer etc, click on the dial screen and enter the 3C ID as required, then click remote
monitor button and the dialog box will be popped up to remind you of entering access password,
18

Network Phone Camera User Manual
you can make remote monitor to this Skypecam after enter correct digital passwords; If the remote
monitor fails, please check whether the network of mobile device is normal.
5.2 Video call
Video call between two devices
Dial among WAN network: After Skypecam connecting to internet normally, the icon of standby
abnormal network connection will disappear, the Skypecam is online state, then you can make video
calls after dial the 3C ID of the other device.
19
Table of contents
