Longshine LCS-US204 User manual

1
LCS-US204
USB 2.0 Hi-Speed Device Server
Quick Installation Guide
①
①①
①.
Introduction
This document describes the steps for installing and configuring
LCS-US204 as a USB device server in the Windo s environment.
LCS-US204 uses LAN (standard Ethernet) and ireless module
(802.11b/g) to access net ork. Please refer to the User’s Manual in the
bundled CD-ROM for more details.
②
②②
②.
ackage Contents
If any item is missing, please contact the shop here you bought this
product.
-
One LCS-US204 USB 2.0 Device Server (x1)
-
One Control Center Soft are CD (x1)
-
One DC IN 12V/1.5A Po er Adaptor (x1)
③
③③
③.
OS Supported
Windo s 2000/XP/2003/Vista
④
④④
④.
hysical Description
1. ower Adaptor Connector: for DC IN 12V/1.5A po er adaptor
2. Init Button: for restoring the configurable parameters to the default
values
3. Wireless Station: IEEE 802.11 b/g ireless station ith antenna
4. Ethernet Connector: connected to a t isted pair category 5 cable
5. USB Host orts: USB 1.1/2.0 lo , full, and Hi-Speed compliant
6. Indicators
Power Indicator is lit hile po er is applied. If it is not lit, or if
it blinks, there is a problem ith the USB device server or
Po er Adapter.
LAN Indicator blinks to indicate ired net ork activity. If it is

2
lit, it indicates the ired net ork is applied. If it is not lit, it
indicates that the server does not connect to the ired
net ork.
WLAN Indicator blinks to indicate ireless net ork activity. If
it is lit, it indicates the ireless net ork is applied. If it is not
lit, it indicates that the server does not connect to the ireless
net ork.
USB Indicator is lit hile a USB device connects to a USB Port
of the USB device server. If it is not lit, or if it blinks, there is a
problem ith the USB device or the USB device server.
⑤
⑤⑤
⑤.
Connect USB Device Server to Your Wired Network
I. Connect USB device server to the wired network, such as a LAN switch
or a LAN hub, using a LAN cable.
II. Connect USB printers, hard drives or flash ROM disks, or all-in-one
series printers (AIO/MFP), or USB speaker, or USB 1.1 camera to the
server using USB cables.
III. Plug in the power adaptor (included in this package) to power on the
USB device server.
⑥
⑥⑥
⑥.
Connect to Your Wireless Network
Just skip this step if you are using ireless net ork.
I. Follo Step 5.
II. Properly set up ireless configuration as Step 8.
III. Plug-off the LAN (Ethernet) cable.
IV. Plug-off the po er adapter and then plug-in the po er adapter to
restart server. LCS-US204 ill connect to your ireless net ork.
⑦
⑦⑦
⑦.
Install Utility
I. Insert the included CD-ROM into the personal computer. The
Autorun screen should appear.
II. Click Install roduct button.
III. Click Next, if you see any Next button in installation indo s.
IV. Click Finish.
⑧
⑧⑧
⑧.
Configure USB Device Server with Utility
Using the Control Center Soft are (Fig1):
1. Run the Control Center. It will automatically search the existing servers

3
and display their status.
Figure 1 Control Center
2. Select the server that you ant to configure. Double click the
selected server and you ill get the eb pages of the server.
Figure 2 Web age
3. Click “CONFIG” icon and then enter Administrator (default: admin)
and Pass ord (default: admin) to login.
4. Assign IP address to USB device server as Fig3. Please choose one
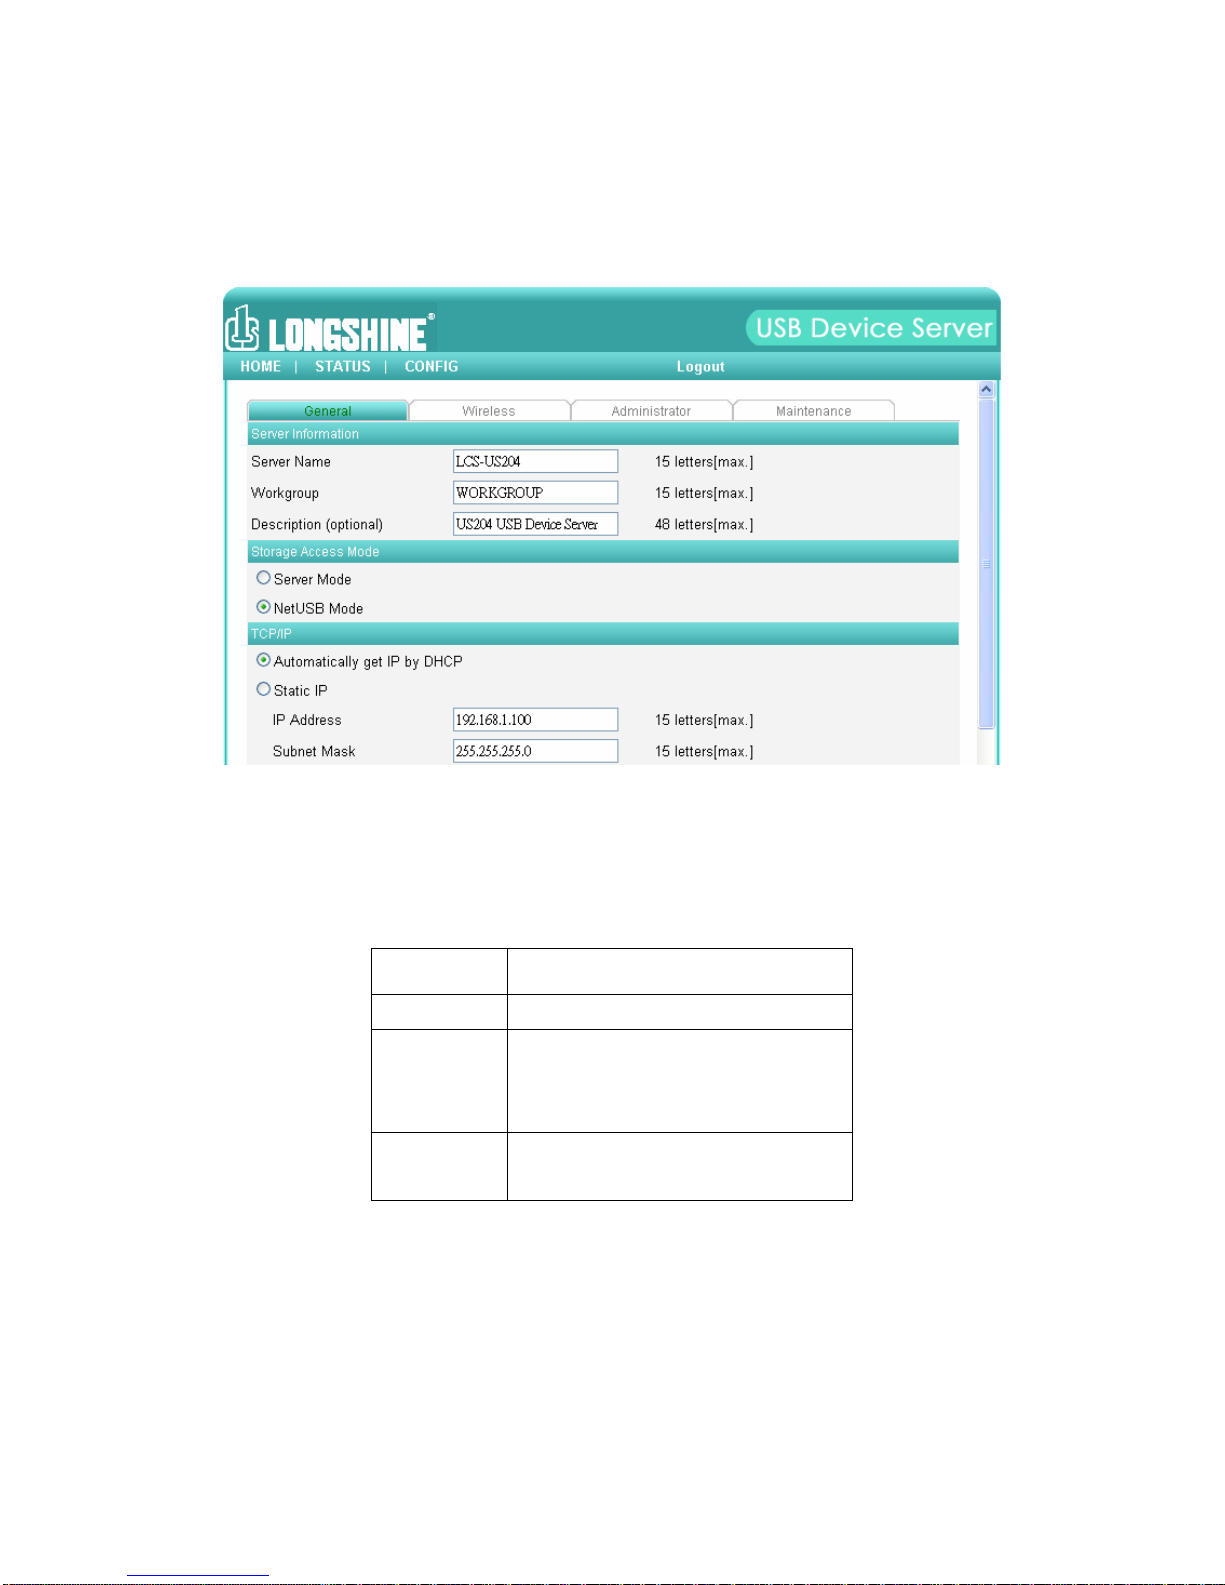
4
method to set the IP address of the server. You can automatically
get IP address by using DHCP or manually assign an IP address to
the server.
Figure 3 TCP/IP Setting
5. Set up wireless configuration:
-Set SSID, Channel, and Security according to the table below
Infrastructure Mode
SSID Must match the Access Point.
Channel Access Point sets the Channel used.
Wireless stations automatically locate
the correct channel.
Security
Settings
Must match the Access Point.
⑨
⑨⑨
⑨.
Install the Driver of the USB Device
Some USB devices, like printers or MFPs (multifunction printers),
require to install vendor-supplied driver (usually on CDROM). For
those USB devices that do not need to install driver, please skip to next
step.

5
A. Insert the CDROM into the CD drive and run the “autorun”
program.
B. Follo the instructions of the installation program to install driver.
C. When the installation program asks you to plug-in the USB device,
run the “Control Center”.
D. In the Control Center, click the USB device server that has the
desired USB device attached.
E. Click the desired USB device as Fig4.
Figure 4 Click the Desired USB Device
F. Click the “Connect” button. Then the message “Manually Connect
by your_computer_name” ill be sho n, as Fig5.

6
Figure 5 Device Connected
G. No , the installation program ill detect the USB device and
continue to install driver.
H. After the installation is completed, click the USB device in the
Control Center and then click the “Disconnect” button to
disconnect the USB device.
⑩
⑩⑩
⑩.
Use the USB Device
A. In the Control Center, click the USB device server that has the
desired USB device attached.
B. Click the desired USB device as Fig 4.
C. Click the “Connect” button. Then the message “Manually Connect
by your_computer_name” ill be sho n, as Fig 5.
D. No , PC ill detect the plug-in of the USB device. The “connect”
operation is a soft are operation that simulates an actual USB
device plug-in. That is to say, hen you do a “connect” operation
in the Control Center, PC can then detect a USB device’s plug-in,
although actually you do not plug in any USB device.
E. Then, just use the USB device as if it is connected directly to your
PC’s USB port.
F. After you finish using the USB device, click the USB device in the
Control Center and then click the “Disconnect” button to
disconnect the USB device, as Fig 6. Other PCs can not “Connect”

7
the USB device until you “Disconnect” that USB device. That is to
say, only one PC is allo ed to connect the USB device at the same
time.
Figure 6 The Disconnect Button
⑪
⑪⑪
⑪.
An Example of USB Storage
If you connect a USB storage, like Fig 7, your PC ill have a ne disk.
If the USB storage is a flash drive, the ne disk is a “removable disk”.
8
Figure 7 The USB Storage
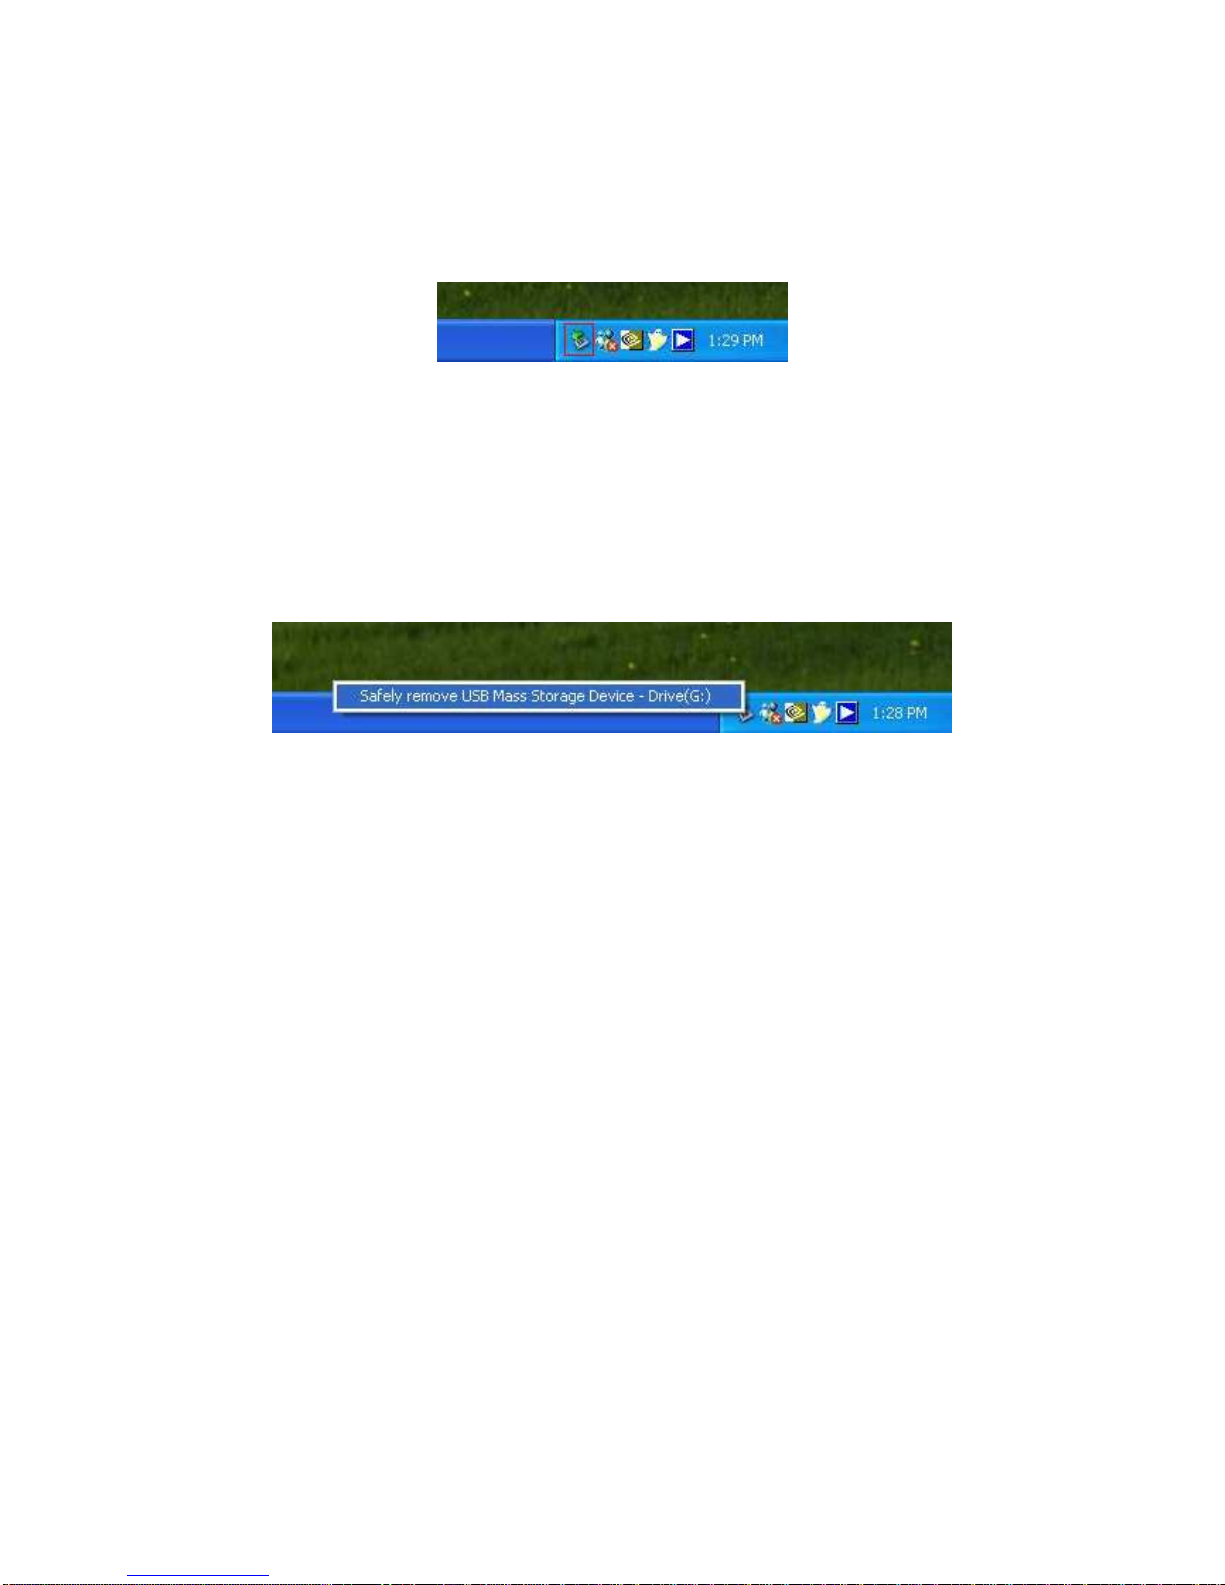
You can see the storage icon in the system tray, as Fig8.
Figure 8 The System Tray
Then just use the ne disk as a general disk. After you finish the disk
operations, click the storage icon in the system tray and choose “Safely
remove USB Mass Storage Device” to remove the USB storage, as
Fig10.
Figure 9 Removing the USB Storage
Then, in the Control Center, click the USB storage device and click the
“Disconnect” button to disconnect the USB storage device.
⑫
⑫⑫
⑫.
Default arameters
Some of the important default parameters are sho n belo .
-Administrator: admin
-Pass ord: admin
-Server Name: US204
-Workgroup: WORKGROUP
-Static IP: 192.168.1.100
-DHCP: enabled
Table of contents
Other Longshine Server manuals


