Setup Guide for the RadioRA®ChronosTM10
Step 1 Go to Add Event
Creating Time Clock Events
Up to 100 Time Clock Events may be programmed to each activate one of 13 programmed Time Clock Scenes.
For details on programming Time Clock Scenes, refer to pages 5 through 8.
Astronomical Time Clock Programming
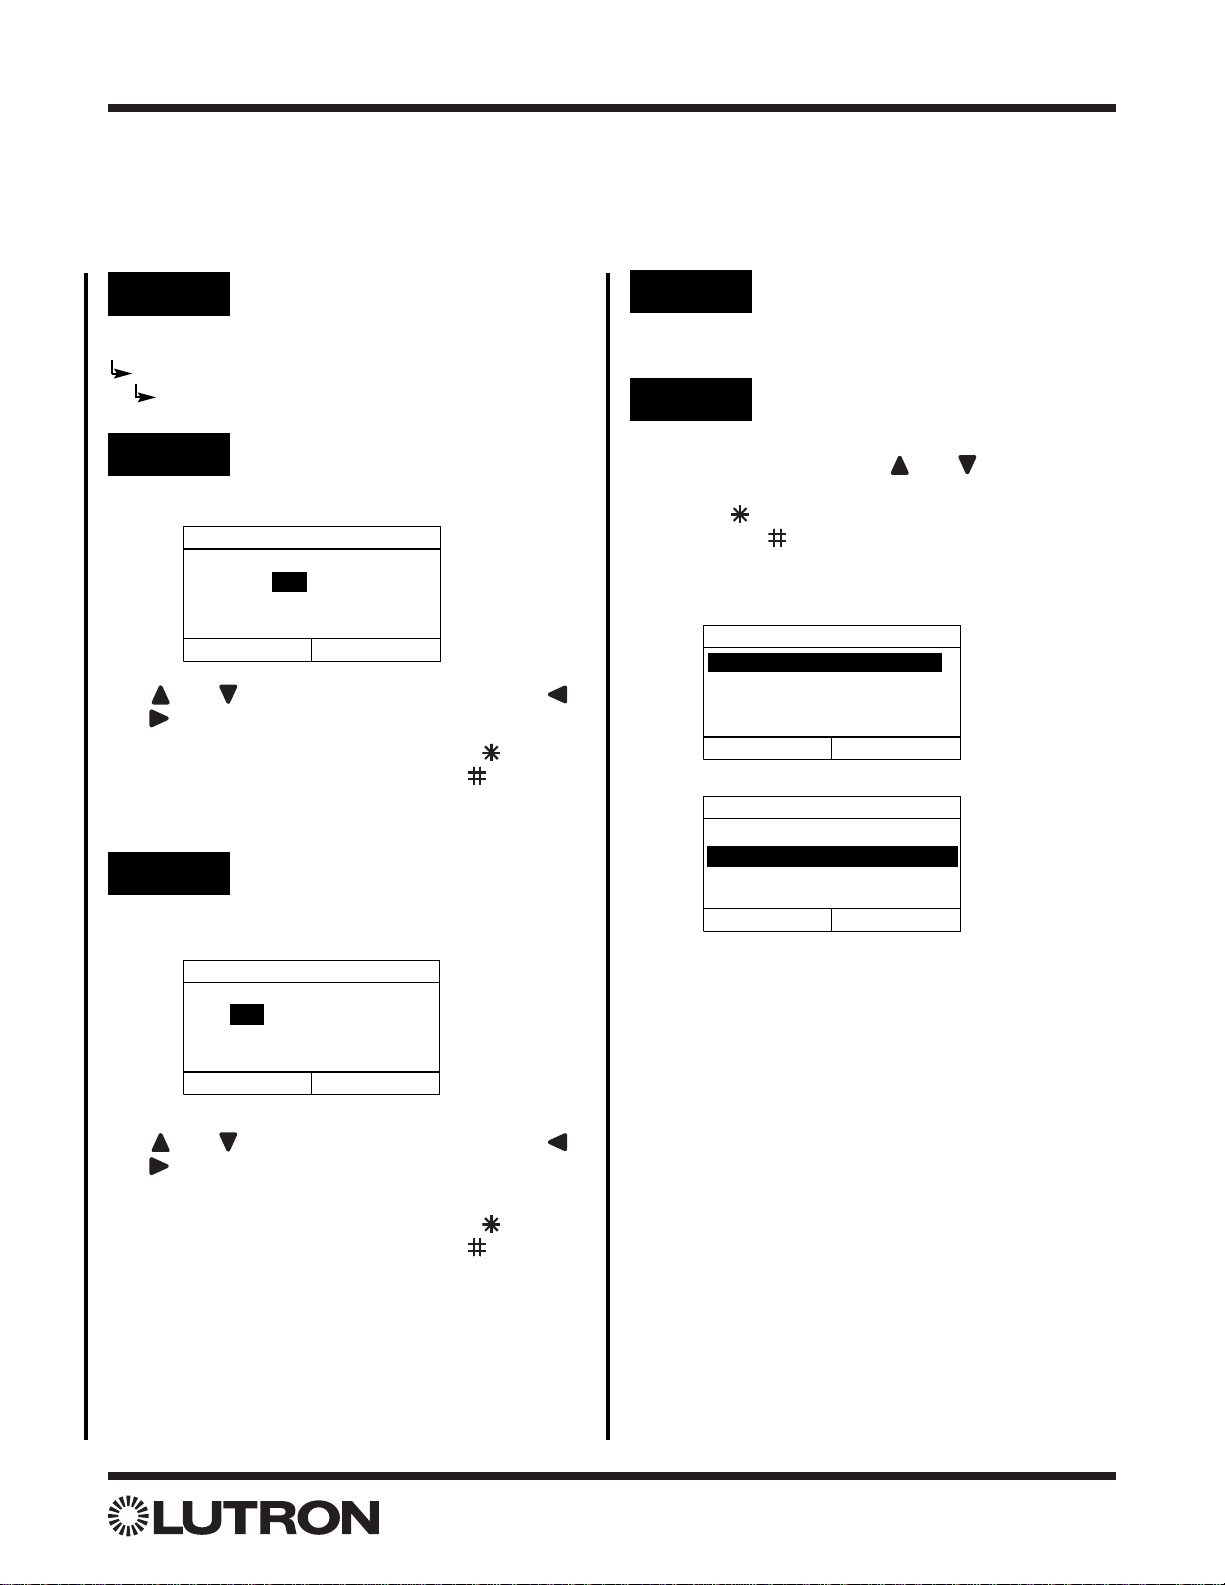
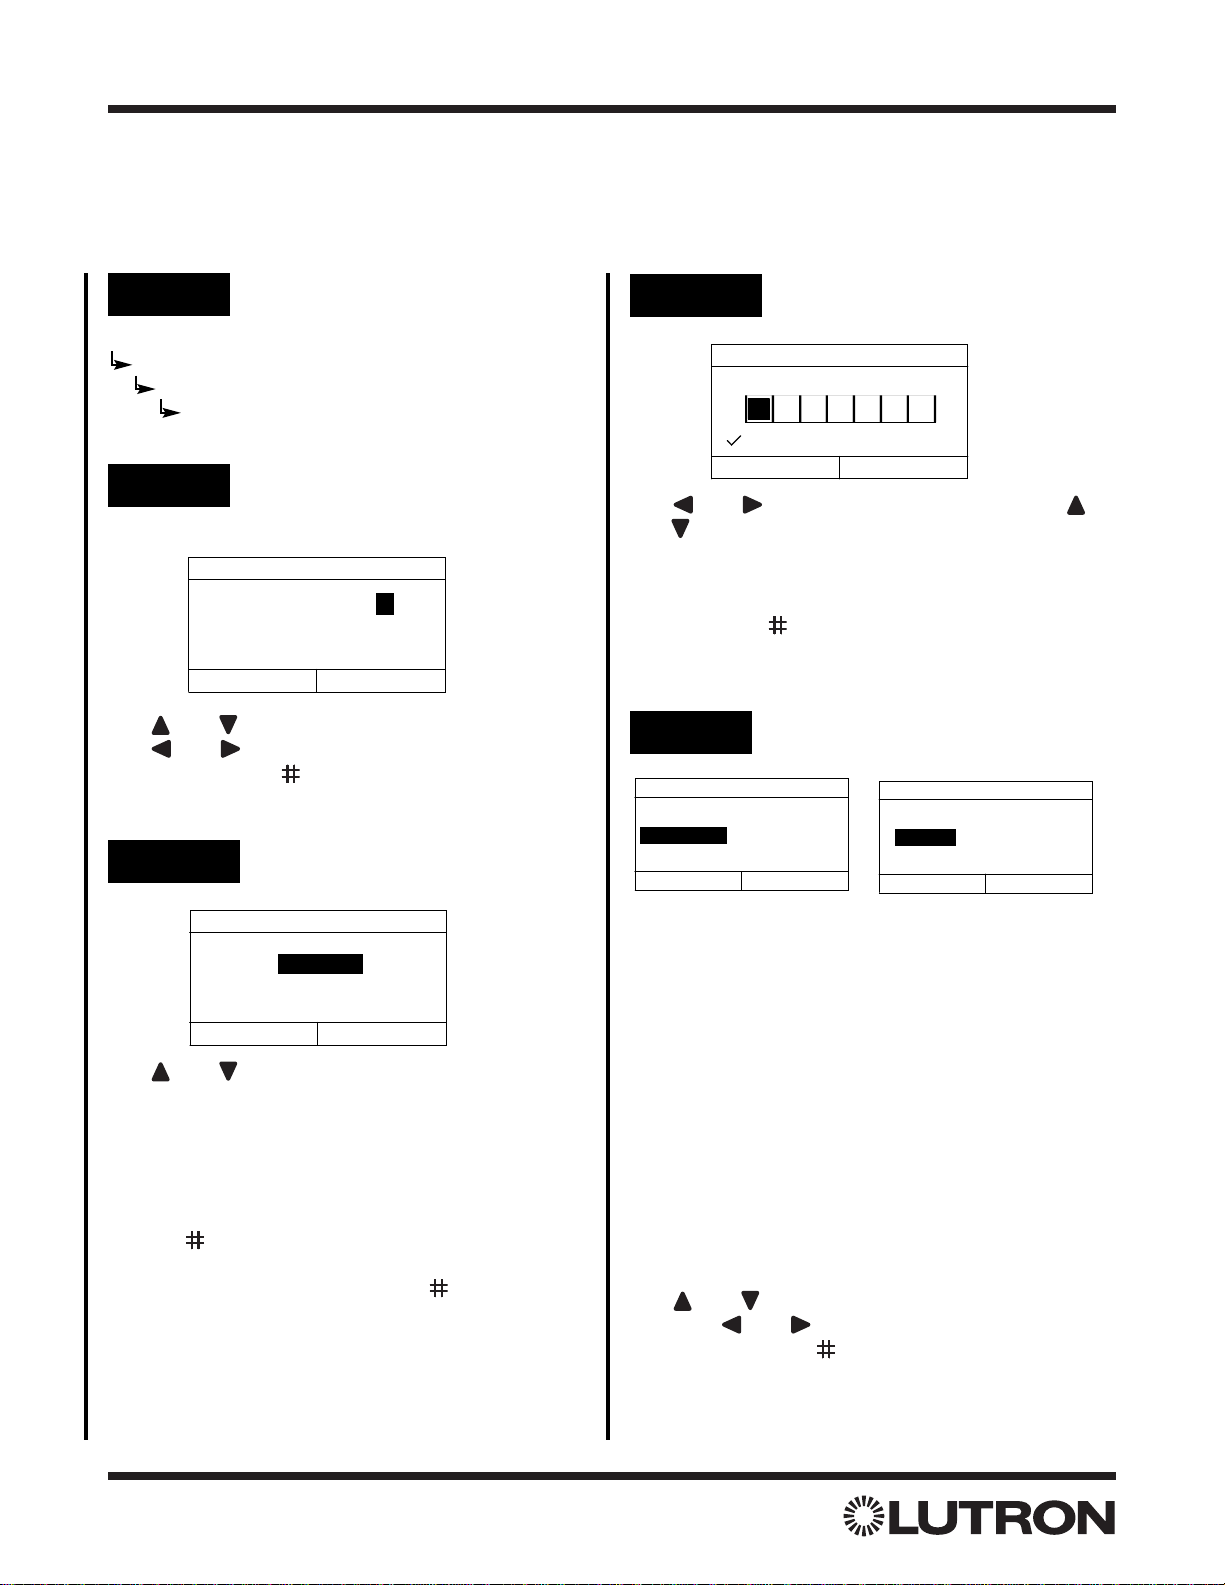
Set Event Name
Name: _ _ _ _ _ _ _ _
Cancel Next
Wa k e u p
Use and to change the highlighted character.
Use and to highlight the previous / next charac-
ter. Press “Next” ( button) to proceed to the next
step.
Step 2 Set Event Name
Step 3a Set Event Schedule
Use and to change whether the event should
occur on All Days, Selected Days, Weekdays only,
or Weekends only.
Note: Weekdays = Sunday noon - Friday 11:59 am,
and Weekends = Friday noon - Sunday 11:59 am.
For All Days, Weekdays, or Weekends, press
“Next” ( button) to proceed to Step 4.
For Selected Days, press “Next” ( button) to pro-
ceed to Step 3b.
Event Schedule
All Days
Previous Next
Event occurs every day.
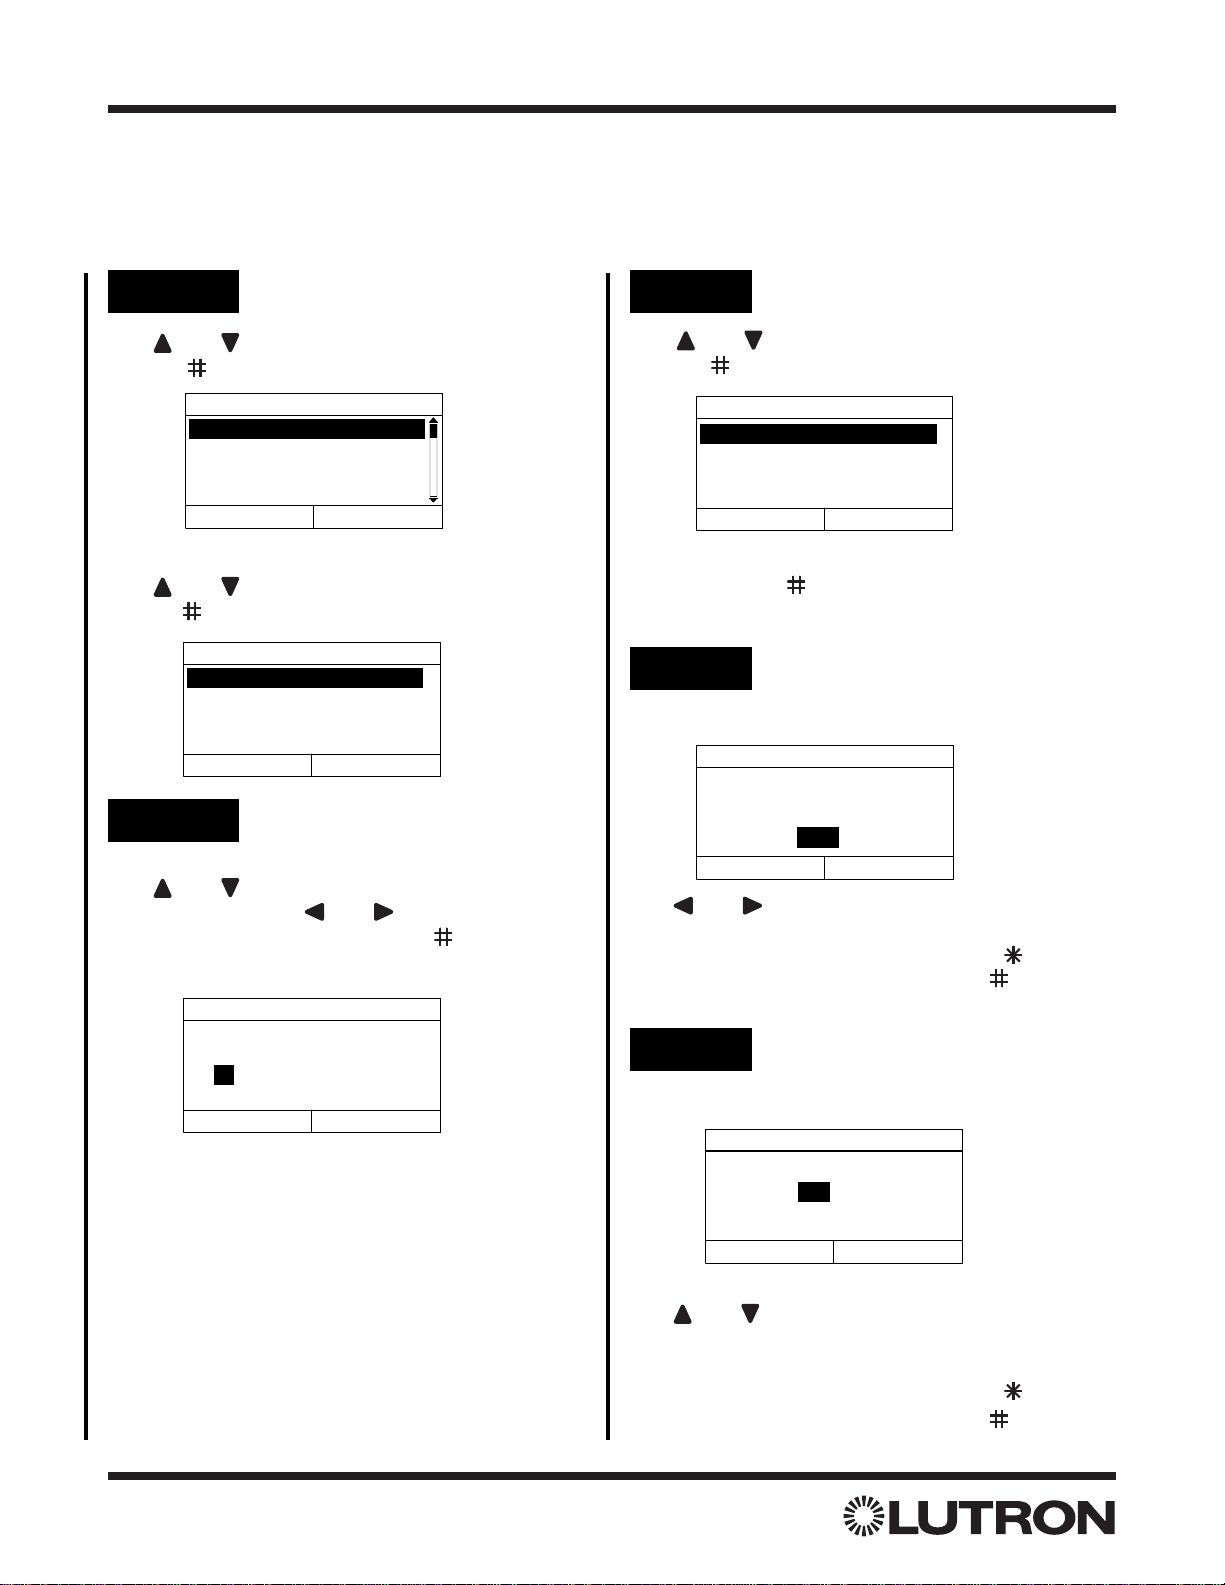
Step 4 Set Event Time
There are three types of Time Clock events:
• Fixed Time
• Sunrise
• Sunset
Fixed Time events are events that will activate at a
specific time. The Time field is used to set the exact
hour and minute at which the event will be activated.
Sunrise and Sunset events will be activated based
on the sunrise or sunset times for the current day. The
Time field is used to specify an offset from sunrise or
sunset. A negative offset will cause the event to hap-
pen prior to sunrise/sunset. A positive offset will cause
the event to activate after sunrise/sunset.
Use and to change the value of the highlighted
field. Use and to highlight the previous / next
field. Press “Next” ( button) to proceed to the next
step.
Event Time
Type Time
Fixed Time 06: 35 PM
Previous Next
(hh:mm)
Event Time
Type Offset
Sunrise + 01:35
Previous Next
(hh:mm)
Main Menu
Time Clock Setup
Manage Timed Events
Add Event
Step 3b Select Days
Use and to highlight the desired box. Use
and to place or remove a checkmark in the box.
Place a checkmark in each box under the days that
the Time Clock Event should occur.
Press “Next” ( button) to proceed to the next step.
Select Days
Previous Next
= Selected
SMTWThFS