MADRIX 3 PLEXUS User Manual / Handbuch2
© 2015 inoage GmbH
Table Of Contents / Inhaltsverzeichnis
I MADRIX PLEXUS User Manual (English) 5
................................................................................................................................... 61 Overview
................................................................................................................................... 72 MADRIX PLEXUS (Hardware)
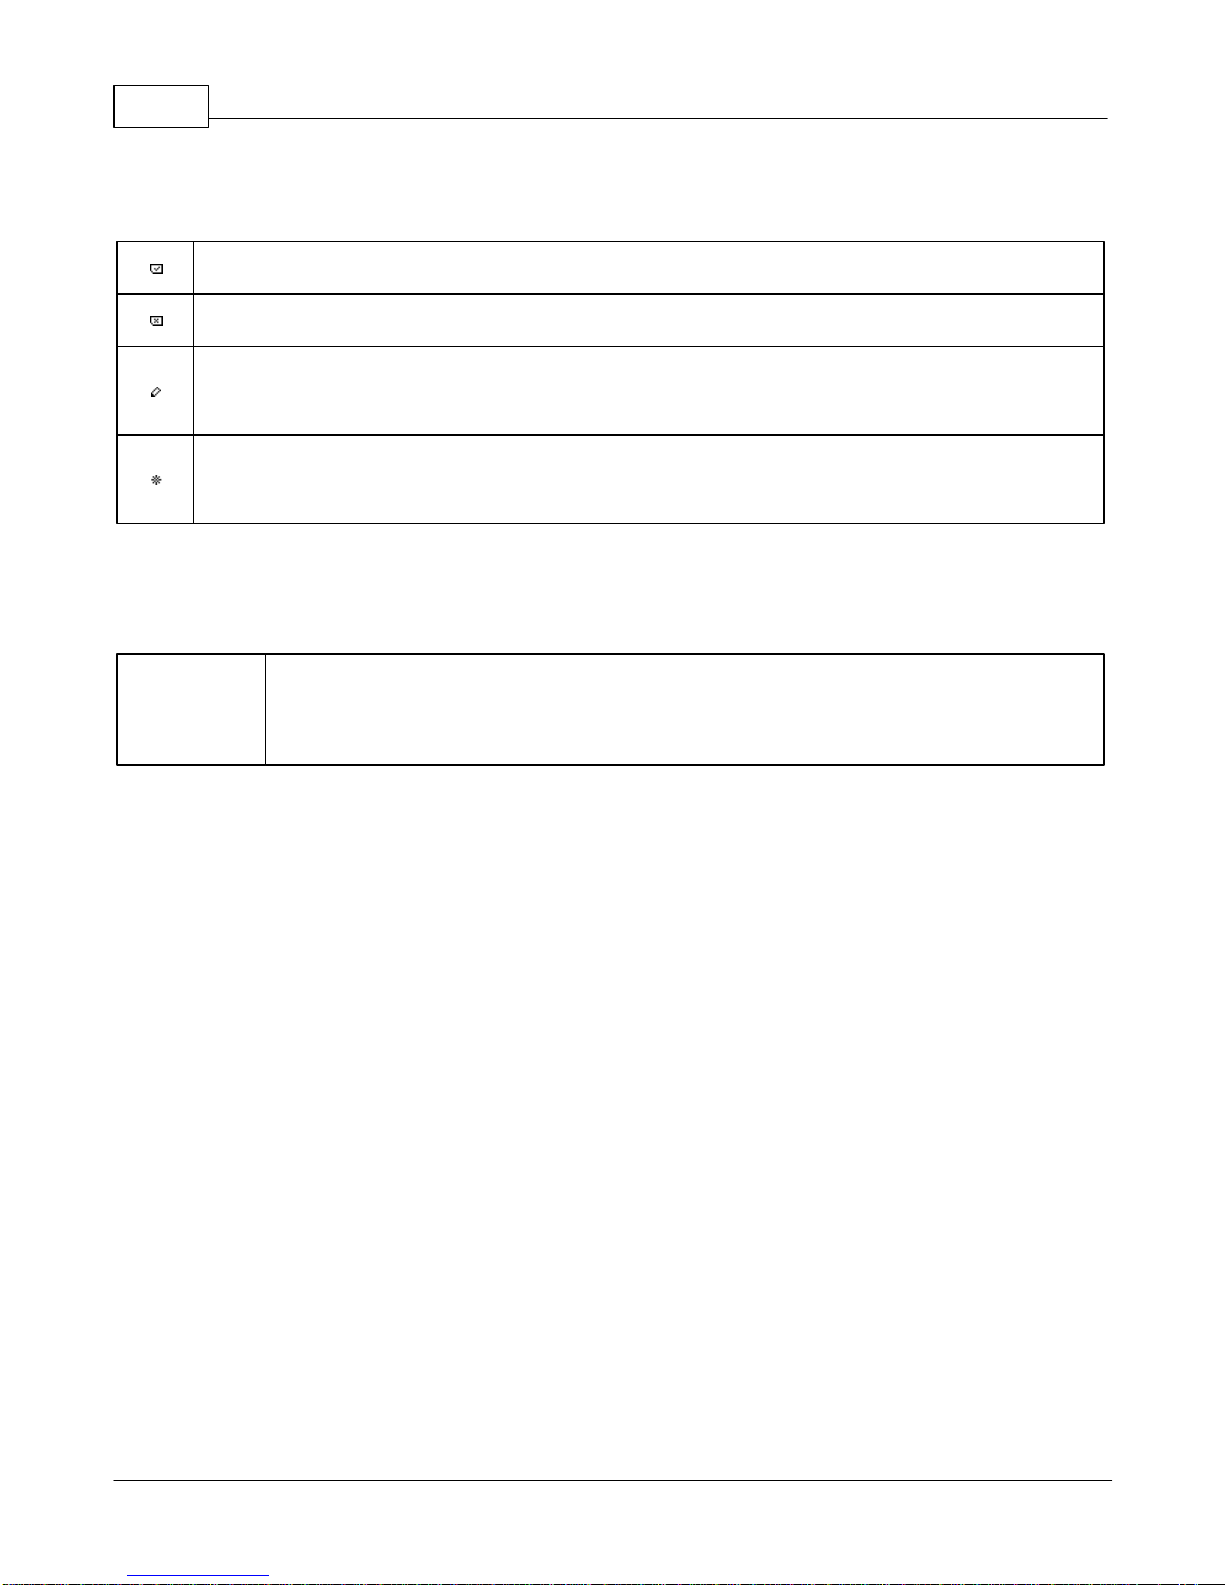
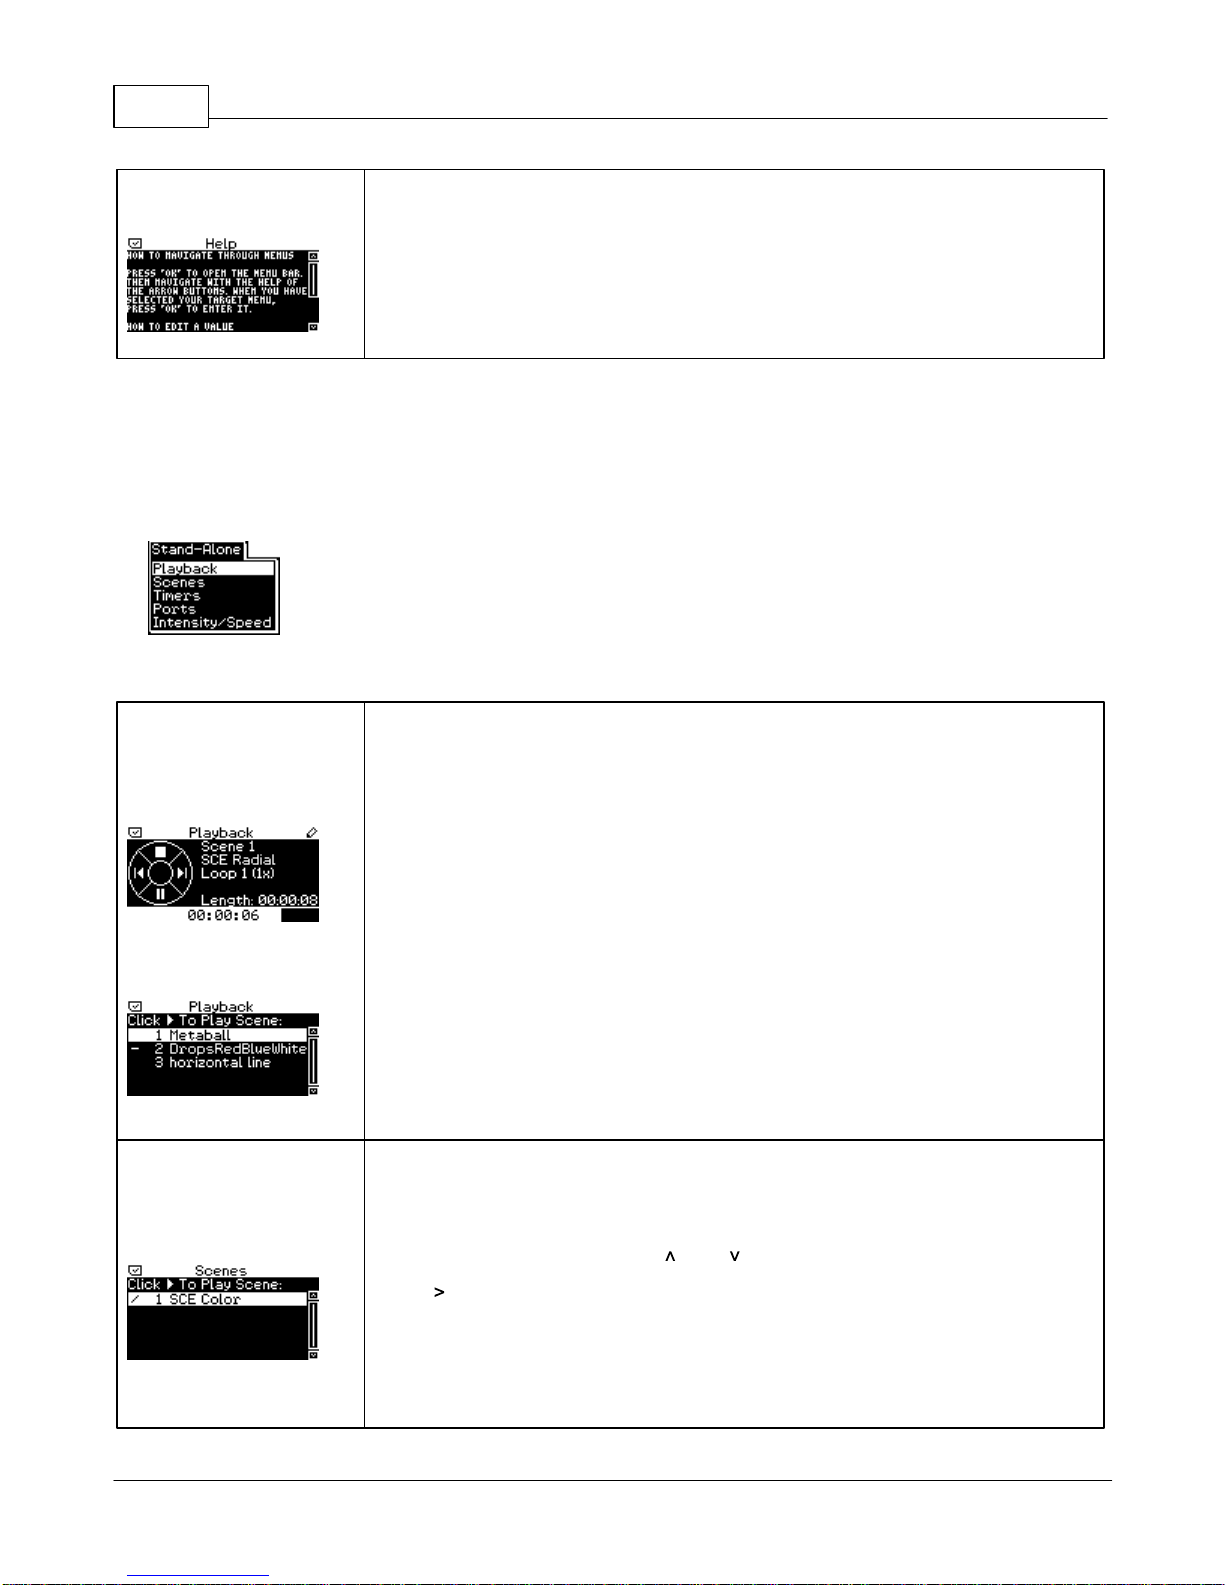
.......................................................................................................................................................... 7LCDGraphics Display (PLEXUS Menus)
.......................................................................................................................................................... 23Connectivity (Top And Bottom Connections)
.......................................................................................................................................................... 24Control Buttons
.......................................................................................................................................................... 26SDCards .......................................................................................................................................................... 27Extension Port
.......................................................................................................................................................... 34Remote Control
................................................................................................................................... 443 MADRIX (Software)
.......................................................................................................................................................... 44Loading And Enabling Drivers In MADRIX
.......................................................................................................................................................... 47Live Mode ......................................................................................................................................................... 48DMX-OUT (Output)
......................................................................................................................................................... 54DMX-IN(Input)
......................................................................................................................................................... 59Art-Net (Output)
......................................................................................................................................................... 71Art-Net Remote (Input)
.......................................................................................................................................................... 82Stand-Alone Mode
......................................................................................................................................................... 84Step 1), Step 2), Step 3)
......................................................................................................................................................... 85Step 4) Recording
......................................................................................................................................................... 94Step 5) Converting Files
......................................................................................................................................................... 101Step 6) Creating A PLEXUS Configuration
......................................................................................................................................................... 113Step 7), Step 8) Upload And Activation
......................................................................................................................................................... 114Tips .......................................................................................................................................................... 115Managing Devices Further
................................................................................................................................... 1284 MADRIX PLEXUS (Firmware)
.......................................................................................................................................................... 128Firmware Release Notes
.......................................................................................................................................................... 134Updating The Firmware
.......................................................................................................................................................... 137MADRIX PLEXUS Updater (Extra Tool)
................................................................................................................................... 1405 FAQs
................................................................................................................................... 1426 Help And Troubleshooting
................................................................................................................................... 1487 Imprint And Copyright
II MADRIX PLEXUS - Handbuch (Deutsch) 151
................................................................................................................................... 1521 Übersicht
................................................................................................................................... 1542 MADRIX PLEXUS (Gerät)
.......................................................................................................................................................... 154LCD-Grafikdisplay (Menüstruktur)
.......................................................................................................................................................... 170Anschlussmöglichkeiten
.......................................................................................................................................................... 172Bedientasten
.......................................................................................................................................................... 174SD-Karten .......................................................................................................................................................... 176Erweiterungsanschluss
.......................................................................................................................................................... 184Fernsteuerung
................................................................................................................................... 1953 MADRIX (Software)
.......................................................................................................................................................... 196Aktivieren der Treiber