MAKINEX VS-125 User manual

Vinyl Stripper
VS-125
OPERATOR’S MANUAL

Floor Stripper –User Manual Page 2 of 12
CONTENTS
ABOUT THIS MANUAL
3
- Key Terms
3
- Disclaimer
3
PRODUCT INFORMATION
4
- Safety Information
4
oGeneral Safety Instructions
4
oSafety Stickers
5
- Warranty
6
- Product Description and Specifications
7
INSTRUCTIONS FOR USE
8
- STEP 1 –Transporting and Storing the MAKINEX VS-125
8
- STEP 2 –Servicing the Machine before Each Use
8
- STEP 3 –Using the MAKINEX VS-125 Vinyl Stripper
9
SALES AND SPARES
11
Floor Stripper –User Manual Page 3 of 12
ABOUT THIS MANUAL
This manual is designed to provide the user with the information required to operate
and maintain the ‘VS-125’ Floor Stripper correctly and safely.
Key Terms
READ
CAREFULLY
READ CAREFULLY –refers to important information that should
be paid careful attention.
CAUTION
CAUTION - indicates a situation that may cause injury or damage
to the machine if the user does not follow the instructions.
WARNING
WARNING –indicates a situation that may cause injury or death if
the user does not follow the instructions correctly.
DANGER
DANGER –indicates a situation that will cause injury or death if
the user does not follow the instructions as written.
PROHIBITED
PROHIBITED –identifies actions that should never be carried out
by any one interacting with the machine.
Disclaimer
MAKINEX and its affiliates, takes no responsibility for any damage, injury or death
resulting from the incorrect or unsafe use of this machine. Use of this machine should
be undertaken by competent persons only. It is the operators’ responsibility to ensure
that the following safety procedures are followed. If you are unsure, do not operate this
machine.
Floor Stripper –User Manual Page 4 of 12
PRODUCT INFORMATION
Safety Information
General Safety Instructions
Throughout this document there are several safety warnings. The user should read
through this complete document before using the MAKINEX VS-125.
READ
CAREFULLY
Ensure you read all information contained in this manual before
using the MAKINEX VS-125
PROHIBITED
Do not operate this machine in a wet environment
DANGER
Always wear the recommended personal protective equipment
WARNING
Keep hands away from stripping blade when not installing or
removing the blade.
WARNING
Keep leads away from the front of the stripping blade.
CAUTION
Stop the unit whenever you leave the machine.
CAUTION
Do not install or remove a stripper blade with the power cord
plugged in
CAUTION
Do not use extension leads over 15M.

Floor Stripper –User Manual Page 5 of 12
Safety Stickers
There are several stickers on the MAKINEX VS-125 machine that have been provided
to alert the user of potential safety risks/hazards. Please read and adhere to all
instructions on the Unit.
PROHIBITED
It is forbidden to remove any safety or instructional stickers or
panels from the MAKINEX VS-125
READ
CAREFULLY
Read all safety and instructional stickers displayed on each
component of the MAKINEX VS-125 Vinyl Stripper
Floor Stripper –User Manual Page 6 of 12
Warranty
A Limited One Year Warranty applies to MAKINEX VS-125 only (this excludes
attachments and consumables).
Warranty does not cover wear and tear, breakage, misuse or theft. Warranty coverage
is at the manufacturer’s discretion.
Any unauthorized repair or part replacement will void warranty. Refer to manufacturer
for all repairs.
Regular service must be carried out by competent persons only; failure to comply will
void warranty.
Warranty does not cover consumables. Warranty does not cover attachments.
NOTE: Refer to place of purchase for your nearest warranty repair agent
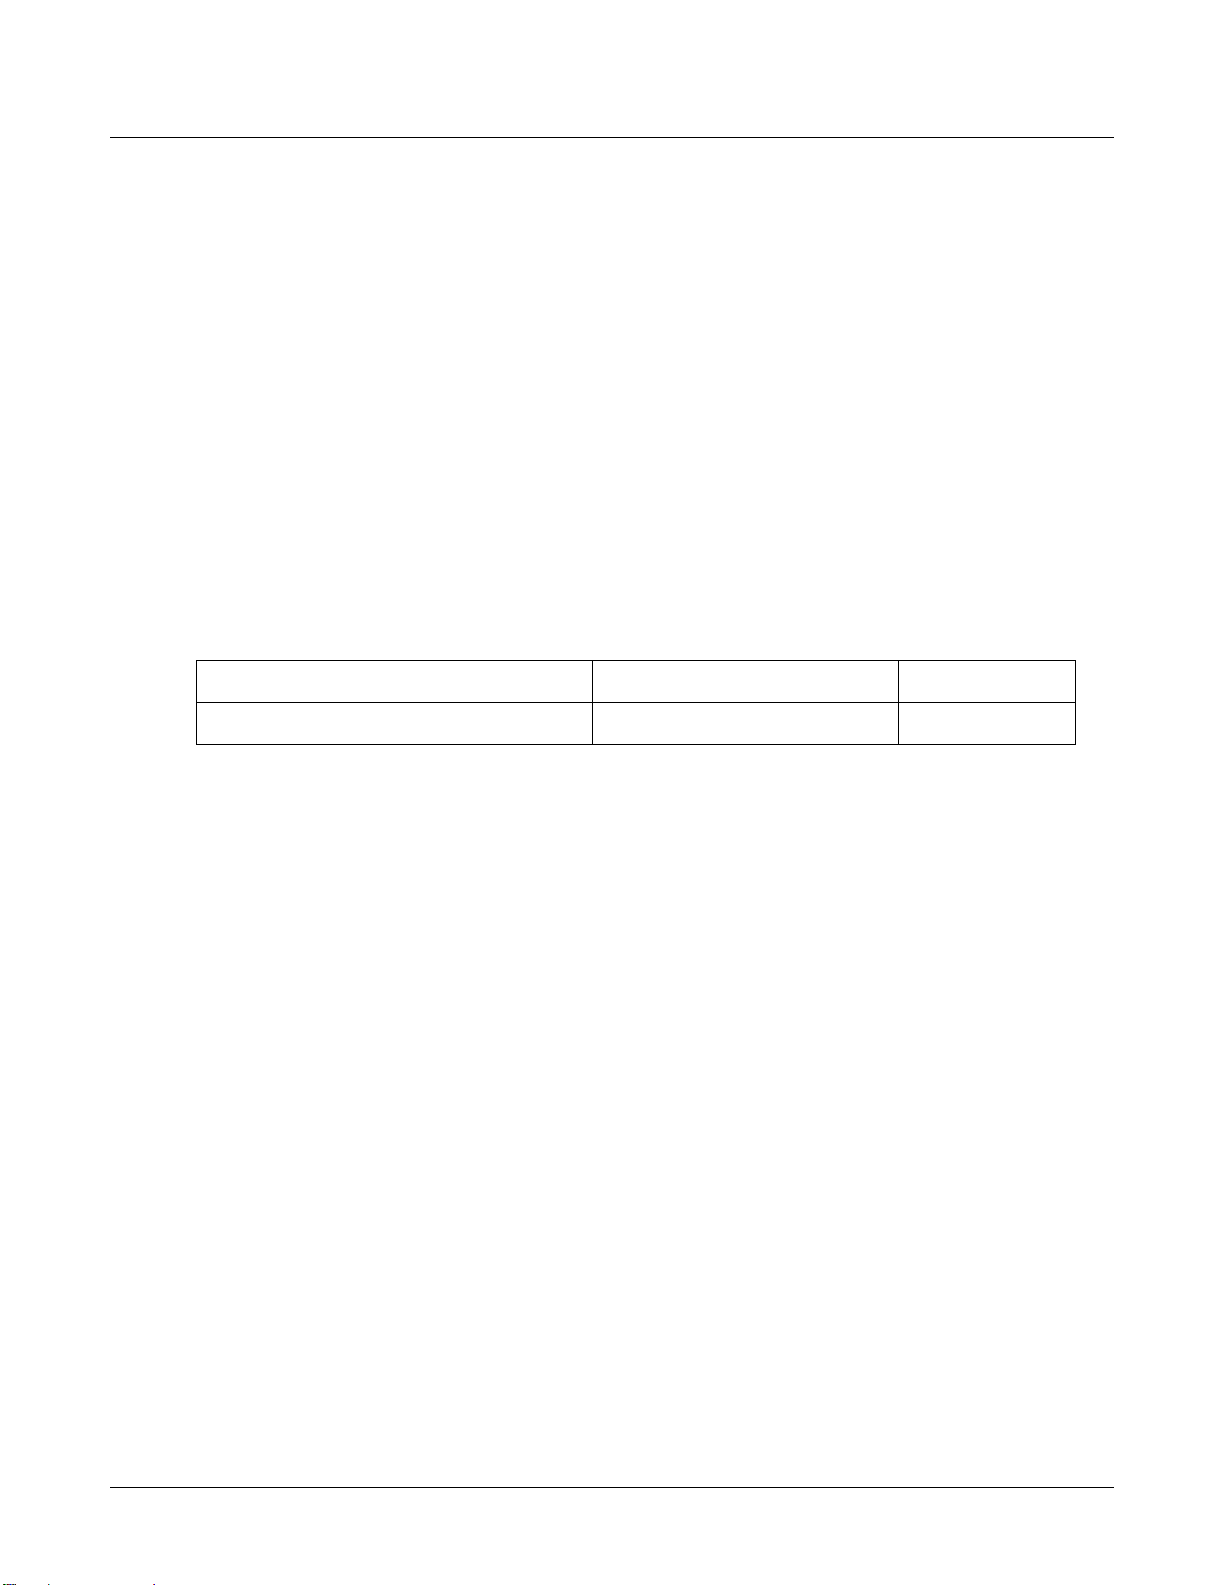
TABLE 1: Warranty Summaries
Part
Warranty Provider
Time
MAKINEX VS-125
MAKINEX
1 year

Floor Stripper –User Manual Page 7 of 12
Product Description and Specifications
The MAKINEX VS-125 is a world-class electric floor-stripping machine used
extensively in the construction and hire industry to remove coverings such as vinyl,
cork and tiles from floor surfaces.
MAKINEX VS-125 is solid and reliable, featuring tool-free set-up, quiet operation, and
minimum ongoing maintenance.
Features
Tool-free setup and operation
Heavy duty needle roller bearings
Fully adjustable neck and handle
16kg removable weight
3/4 Horsepower motor
Rigid steel construction
Stainless steel fittings
Removable blade
Convenient lifting handle & lifting eye
TABLE 2: MAKINEX VS-125 Product Specifications
MOTOR
TECO SINGLE PHASE (SEE APPENDIX)
INPUT
240V SINGLE PHASE 10 Amp
OVERALL WEIGHT
63kg
DIMENSIONS
920 x 365 x 880 mm
LENGTH x WIDTH x HEIGHT APPROX
MAXIMUM BLADE SIZE
255x125mm

Floor Stripper –User Manual Page 8 of 12
INSTRUCTIONS FOR USE
WARNING
Do not operate the MAKINEX VS-125 without wearing the
appropriate personal protective equipment and assessing the
surrounding area for hazards.
WARNING
Read and adhere to all safety and operation instructions
STEP 1 –Transporting and Storing the MAKINEX VS-125
Keep wheels on the ground at all times during transportation, storage and
use.
Lay protective sheet on surface for transporting.
Remove blade before transporting.
Never transport the stripper with the blade installed.
Before lifting - remove the weight from the stripper.
Before transporting –remove or lower the handle
Always lift the machine with two people or alternatively use a crane on the
lifting eye supplied.
STEP 2 –Servicing the Machine before Each Use
Each MAKINEX VS-125 machine has been individually checked after manufacture
to the highest standard. However, it is important to follow the service procedures
before each use, in order to prolong the life of this product and protect the warranty
conditions that apply.
Refer to Appendix for Service Procedures

Floor Stripper –User Manual Page 9 of 12
STEP 3 –Using the MAKINEX VS-125 Vinyl Stripper
DANGER
Do not cut the power cord
WARNING
Do not insert or remove the blade with the electrical cord plugged
in
1. Adjust the handle. To adjust the handle. Loosen hand screw until the handle can
move up and down. When in position required, tighten hand screw securely.
2. Selecting a blade
READ
CAREFULLY
FOR CONCRETE FLOORS –extend the blade approximately
20mm with the bevel facing up. (see picture).
FOR TIMBER FLOORS –extend the blade approximately 50mm
with the bevel facing the floor (see picture). If the blade has a
tendency of digging into the timber floor, extend the blade further
out. Always run the blade with the grain of the wood to reduce
gouging (some gouging will occur)
i. TILES –5” Blade. Pre-cut the flooring into 6” strips for ease of removal.
Run the machine diagonally to the tile joints s it is faster and easier.
ii. LINOLEUM / VINYL SHEET GOODS –5” Blade. Pre-cut the flooring into
6” strips for ease of removal.
iii. CARPET –Larger Blade. Pre-cut the flooring into 6” strips for ease of
removal. Cut carpet every 16” for ease of removal. It is generally faster
and easier to use two people, one running the machine and the other
removing the materials away from the machine
iv. Floor conditions vary and you may have to vary the extensions of the
blades.
v. If the blades have a tendency of riding over the material you are
removing, the blade may have become dull and need replacing. Caution
should be used in not raising the stripper too high.

Floor Stripper –User Manual Page 10 of 12
3. Installing a blade
WARNING
Ensure the machine is unplugged and tilt back onto the control
handles
i. 5” BLADE: Turn the handles to loosen the bottom plate, slide the blade
between the two bolts until is hits the back stop.
ii. Tighten the handles evenly while making sure the blade is straight.
CAUTION
Ensure blade is securely placed in position and clamped tightly
WARNING
Before turning the machine on, make sure it is clear from the walls,
humans, pets and other objects and obstructions
4. Tilt the Stripper back so the stripping blade is off the floor surface.
5. Plug machine into a power outlet.
6. Switch on Stripper.
7. Firmly grip both Rubber Handles during operation
8. Lower the stripping blade to the floor and push firmly.
CAUTION
BRACE YOURSELF FOR A BACKWARD PUSH
9. Push the stripper a short distance, then take one step forward, push the stripper
a short distance, then take another step forward –it will make the job much
easier than trying to push and walk at the same time. The wheels on the stripper
are for backward action and for mobility.
10.Push Forward slow and steady and strip 3 to 6 feet t a time and only strip 2/3 of
the blade width at a time
11.When a strip is cut, lift the blade, turn the machine off and walk back to the
starting position
12.When approaching a wall strip up to the baseboard
13.Once task is complete, tilt the Stripper back and turn off the Stripper.
CAUTION
Never lift the wheels off the ground while in operation as this can
cause serious gouging

Floor Stripper –User Manual Page 11 of 12
SALES & SPARES
For sales and spare parts for all MAKINEX products; please refer to your local
distributor below.
AUSTRALIA / NEW ZEALAND
UNITED STATES OF AMERICA
Address
15 Waltham Street
Artarmon NSW 2064
www.makinex.com.au
Customer Service
Mon-Fri 08:00-17:00
P +61 2 9460 8071
F +61 2 9439 9815
E
sales@makinex.com.au
Technical Service
Mon-Fri 08:00-17:00
P +61 2 9460 8071
F +61 2 9439 9815
P 855-625-4639
E p.maginnis@makinex.com
W makinex.com

Floor Stripper –User Manual Page 12 of 12
Table of contents


