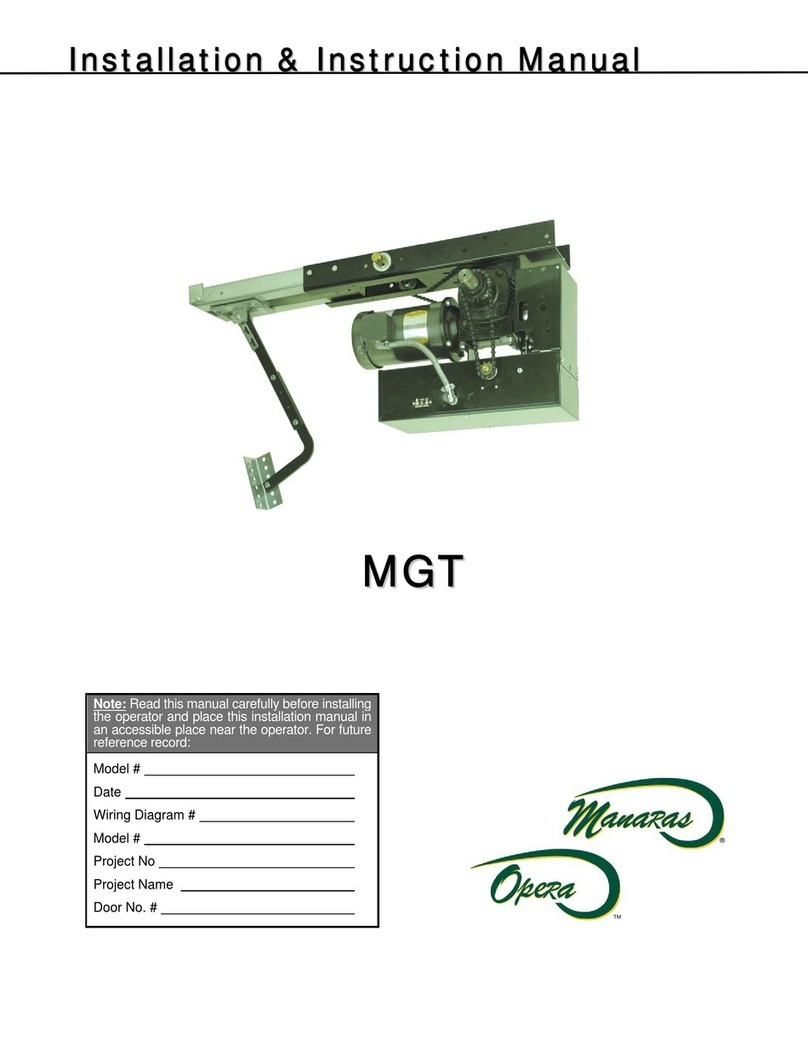
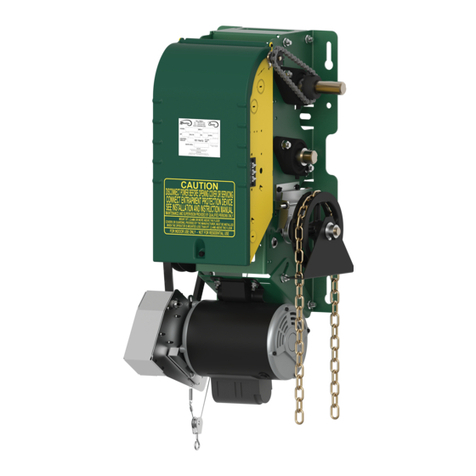
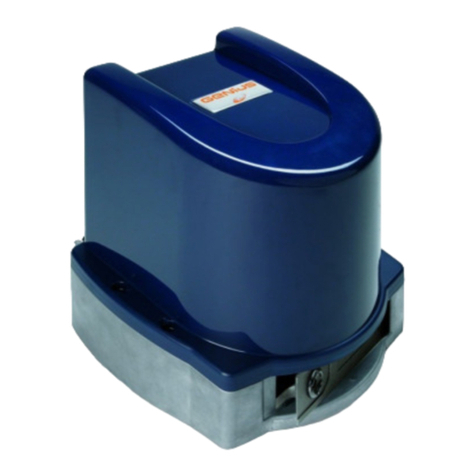
Manaras Silencio OTH-A.06 User manual

Addendum –
Addendum – Silencio
Silencio T M
Apartment Style Trolley Operator
Apartment Style Trolley Operator
This addendum is to be used in conjunction with the Installation & Instruction Manual.
S ile n c io T M
Commercial & Industrial Heavy-Duty Apartment Style Trolley Operators
Commercial & Industrial Heavy-Duty Apartment Style Trolley Operators
(For standard lift sectional doors with high-cycling daily frequency requirements)
(For standard lift sectional doors with high-cycling daily frequency requirements)
OTH-A.06 / OTBH-A.06
OTH-A.06 / OTBH-A.06
4 X Q U IE T E R *
READ AND FOLLOW ALL INSTRUCTIONS.
SAVE THESE INSTRUCTIONS.
GIVE TO END-USER.
Serial #
Model #
Wiring Diagram #
Project #/Name
Door #/Name
*
T h e S ile n c io TM operators are 4X Q U IETER than our “Prem ium Trolley A partm ent” M odel O TBH -A 05.
For technical support, please call 1-800-361-2260 or visit www.manaras.com for more information
For more information, please visit www.devancocanada.com or call toll free at 855-931-3334

2
TABLE OF CONTENTS
In tallation In truction ............................................................................................................................................... 3
1 General pecifications and Dimensions (OTH-A.06)..........................................................................................................................................4
2 General pecifications and Dimensions (OTBH-A.06)........................................................................................................................................5
3 ilencioTM Apartment tyle Trolley Operator Installation...................................................................................................................................6
3.1 Assembly Instructions...............................................................................................................................................................................6
3.2 Installation.................................................................................................................................................................................................8
Note ............................................................................................................................................................................ 10
Warranty....................................................................................................................................................................... 11
For technical support, please call 1-800-361-2260 or visit www.manara .com for more information

3
Installation Instructions
IMPORTANT INSTALLATION INSTRUCTIONS
WARNING
TO REDUCE THE RISK OF SEVERE INJURY OR
DEATH TO PERSONS:
1. READ AND FOLLOW ALL INSTALLATION INSTRUCTIONS.
2. Install only on a properly operating and balanced door. A door that is operating
improperly could cause severe injury. Have qualified service personnel make repairs
to cables, spring assemblies and other hardware before installing the operator.
3. Remove all pull ropes and remove, or make inoperative, all locks (unless
mechanically and/or electrically interlocked to the power unit) that are connected to
the door before installing the operator.
4. Installation of this door operator must be done by a qualified installer.
5. Verify that the operator is correct for type, size of door and frequency of use per the
operator specifications.
6. Install the door operator at least 8 feet (2,44 m) or more above the floor if the operator
has exposed moving parts. Covers or guarding, provided by the manufacturer, must
be installed when the operator is mounted less than 8 feet (2,44 m) above the floor.
7. Do not connect the door operator to the source of power until instructed to do so.
8. Locate the control station: (a) within sight of the door, (b) at a minimum height of
5 feet (1,5 m) above floors, landings, steps or any other adjacent walking surface so
small children cannot reach it, and (c) away from all moving parts of the door.
9. Install the Entrapment Warning Placard next to the control station in a prominent
location.
10. For products having a manual release, instruct the end user on the operation of the
manual release.
11. If you have any questions about the safety of the door operating system, do not install
the operator, contact Manaras-Opera at 1-800-361-2260.
For technical support, please call 1-800-361-2260 or visit www.manaras.com for more information

4
1 General Specifications and Dimensions (OTH-A.06)
UPPLY VOLTAGE...............................115, 230 VAC single-phase, 208, 460, 575 VAC three-phase
CONTROL VOLTAGE............................24 VAC class 2 transformer, 2 amp fuse type ACG
MOTOR.................................................Continuous duty 1/2, 3/4 horsepower
DOOR PEED......................................9” / second
NET WEIGHT (Operator only)...............71 Lbs (32 Kg)
TANDARD WIRING TYPE..................C2 (momentary contact to open/stop and constant-pressure-to-close)
APPLICATION.......................................Heavy duty for standard lift sectional doors with high cycling daily frequency
requirements
DUTY.....................................................>100 cycles/day
Table 1 - OTH-A.06 SilencioTM Operator Selection Guide
Maximum Area in Square Feet (general guideline)
Sectional Door
HP teel
18 ga ins.
teel
18 ga
20 ga ins.
Wood
teel 20 ga,
22 & 24 ga
ins.
Alu. teel
22 & 24 ga
Fiber
Glass
½196 245 314 343 392
¾ 270 319 441 490 549
For technical support, please call 1-800-361-2260 or visit www.manara .com for more information
Figure 1 - SilencioTM Dimensions OTH-A.06

5
General Specifications and Dimensions (OTBH-A.06)
UPPLY VOLTAGE...............................115, 230 VAC single-phase, 208, 460, 575 VAC three-phase
CONTROL VOLTAGE............................24 VAC class 2 transformer, 2 amp fuse type ACG
MOTOR.................................................Continuous duty 1/2, 3/4, 1 horsepower
DOOR PEED......................................9” / second
NET WEIGHT (Operator only)...............73 Lbs (33 Kg)
TANDARD WIRING TYPE..................C2 (momentary contact to open/stop and constant-pressure-to-close)
APPLICATION.......................................Heavy duty for standard lift sectional doors with high cycling daily frequency
requirements
DUTY.....................................................>100 cycles/day
Table - OTBH-A.06 SilencioTM Operator Selection Guide
Maximum Area in Square Feet (general guideline)
Sectional Door
HP teel
18 ga ins.
teel
18 ga
20 ga ins.
Wood
teel 20 ga,
22 & 24 ga
ins.
Alu. teel
22 & 24 ga
Fiber
Glass
½196 245 314 343 392
¾270 319 441 490 549
1294 392 490 564 613
For technical support, please call 1-800-361-2260 or visit www.manara .com for more information
Figure - SilencioTM Dimensions OTBH-A.06

6
3 SilencioTM Apartment Style Trolley Operator Installation
3.1 Assembly Instructions
CAUTION
The operator has exposed moving parts and to prevent access to the pinch points, this operator must be installed
at least 8 feet (2,44 m) or more above the floor. Alternatively, covers or guarding, provided by the manufacturer,
must be installed when the operator is mounted less than 8 feet (2,44 m) above the floor.
NOTICE
•Install the ilencioTM operator only when all openings of a horizontal slide door are guarded or screened
from bottom of the door to a minimum of 4 ft (1,22 m) above the ground to prevent a 2-¼ in (57,2 mm)
diameter sphere from passing through the openings anywhere in the door.
For technical support, please call 1-800-361-2260 or visit www.manara .com for more information
1
Attach tracks to ilencio operator
2
Assemble carriage
3
lide carriage on track
Bolt 3/8-16
Nut 3/8-16
Lock washer 3/8
Lock washer 3/8
Take-Up Bolt 3/8-16
Nut 3/8-16
Nut 3/8-16
Carriage
Track
Operator Side

7
For technical support, please call 1-800-361-2260 or visit www.manara .com for more information
Install spacers, sleeves and front idler
Lock washer 3/8
Bolt 3/8-16
pacer
Front idler
4
5
Install chain
B) Wrap chain around front idler.
C) Wrap chain around operator procket.
D) Attach chain to back of carriage.
A) Attach chain to front of carriage.
Carriage
Chain link
Chain
Front idler
Chain
Chain
Operator
sprocket
Carriage
Chain link
Chain
Nut
E) Adju t the ten ion on the chain.
Plastic sleeve
In tall the pla tic leeve over the
tandard pacer provided.

8
3. Installation
The ilencioTM Apartment style trolley operators are designed to be mounted directly over the center of the door. The
operator tracks should clear the door by approximately 2.5”. Off center mounting may be required, for example,
because of potential interfering structures. It is possible to install the operator slightly off the center on torsion spring
doors. Extension springs require center mounting.
For technical support, please call 1-800-361-2260 or visit www.manara .com for more information
1
Establish the center of the door
2
Establish the highest point of door travel
3
Position the U-shaped wall bracket
Center of the door
Highest point of door travel
Anti-vibration bracket
Attach the anti-vibration bracket to the U- haped wall
bracket u ing the nut upplied with the bracket.
Secure anti-vibration bracket to the header u ing the
appropriate anchor for your type of wall.
Wall fixation hole
4
Attach tracks to U-shaped wall bracket Allow the motor to re t on the floor and rai e the
front end of the rail and ecure with the bolt and
nut (do not tighten).
Bolt 3/8-16
Nut 3/8-16
U-shaped
wall bracket
Track
Lock Washer 3/8
Center of the door
Highest point
2.5”
Nut 3/8-24
U-shaped wall bracket
Wall fixation hole

9
For technical support, please call 1-800-361-2260 or visit www.manara .com for more information
Attach door arm
A emble and attach door arm to carriage.
Carriage
Lock nut 3/8-16
Bolt 3/8-16 x 2-1/4
Lock nut 3/8-16
Door arm
Bolt 3/8-16 x 1-1/4
Operator Side
Nut 3/8-16
Bolt 3/8-16 x 1
Door bracket Lock washer 3/8
Position and hang the ilencio operator
Track
Tracks
(front end)
U ing the operator' rear bracket and
appropriate fa tener , ecure the operator
to the hanging bracket .
Hanging brackets (example)
Hoi t the rear of the operator to the horizontal
po ition. Temporarily ecure with rope or chain.
Tighten wall bracket bolt and nut .
Door Side
≠ 90°
90°
5
6
Rear bracket
Attach door arm to door u ing appropriate fa tener .
Mount door bracket to the center of the door.
Door arm hould ideally hang vertically when the door i
clo ed.

11
Warranty
Manaras-Opera warrants its operators to be free from defects in material and workmanship under normal and proper
use for a period of three year from date of invoice, unless otherwise stated. Mechanical, electrical and electronic
accessories are warranted for one year from date of invoice, unless otherwise stated. Wearing parts such as clutch
pads, v-belts, and brake bands are excluded from warranty.
Manaras-Opera’s only obligation shall be to repair or replace defective equipment which does not conform to the
warranty. Manaras-Opera shall not be liable for any injury, loss or damage, direct or consequential, arising out of the
inability to use the equipment. Before using, Buyer and/or the ultimate User shall determine the suitability of the
product for its intended use, and User assumes all risks and liability in connection therewith. The foregoing may not
be changed except by an Agreement signed by an authorized representative of Manaras-Opera.
The articles that are replaced pursuant to the terms of this warranty shall be retained by Manaras-Opera, and the
User is responsible for any freight costs relating to repair or replacement.
The foregoing warranty is exclusive and in lieu of all other warranties of quality, whether written, oral or implied
(including any other warranty of merchantability or fitness for purpose).
The following are exclusions from warranty:
• If usage, product modification, adaptation or installation are not in accordance with our installation and
operating instructions.
• If the product has been opened, dismantled or returned with clear evidence of abuse or other damage.
• If our written specifications are not properly applied by the Buyer when selecting the equipment.
• If our written instructions for installation and wiring of the electrical connections have not been followed.
• If our equipment has been used to perform functions other than the functions it was designed to handle.
• If Manaras-Opera equipment is used with electrical accessories (switches, relays, etc.) that have not been
previously approved in writing by the Manaras-Opera Engineering Department.
• If electrical accessories and other components have been used in disregard of the basic wiring diagram for
which they were designed.
All costs related to installation and reinstallation of the Manaras-Opera equipment covered by this warranty are not
the responsibility of Manaras-Opera. Manaras-Opera will not be responsible for any consequential damages following
installation procedures performed by the Buyer or the User. If the Buyer resells any Manaras-Opera products to
another Buyer or User, it shall include all of the terms and provisions of this warranty in such resale. Manaras-Opera’s
responsibility to any such Third Party shall be no greater than Manaras-Opera’s responsibility under the warranty to
the original Buyer.
Return
No returns will be accepted without prior written authorization by Manaras-Opera. All returns must be accompanied by
a Return Authorization Number issued by Manaras-Opera, and all unauthorized returns will be refused. The return
shipment is to be freight prepaid by the Buyer, and under no circumstances shall the Buyer deduct the value of the
returned merchandise from any remittance due. A restocking fee of 15% of the Manaras-Opera sale price will be
charged for all returns not covered under warranty.
For technical support, please call 1-800-361-2260 or visit www.manara .com for more information

HOW TO ORDER
REPAIR PARTS
DEVANCO CANADA
19192 HAY ROAD, UNIT Q
SUMMERSTOWN, ON K0C 2E0
TOLL FREE: 855-931-3334
www.devancocanada.com
WHEN ORDERING REPAIR PARTS
PLEASE SUPPLY THE
FOLLOWING INFORMATION:
3PART NUMBER
3DESCRIPTION
3MODEL NUMBER
This manual suits for next models
1
Table of contents
Other Manaras Garage Door Opener manuals
Popular Garage Door Opener manuals by other brands
Overhead door
Overhead door INFINITY 2000 Installation, Programming, Operating Manual
Chamberlain
Chamberlain ATSW Programming Instruction

GRITAL
GRITAL GR25 manual

Chamberlain
Chamberlain LiftMaster LM60 Installation illustrations
Wayne-Dalton
Wayne-Dalton Flush 42 quick start guide
Genie
Genie GCL-MH Product guide

